9
10

Delete article

Deleted articles cannot be recovered.

Draft of this article would be also deleted.

Are you sure you want to delete this article?

More than 5 years have passed since last update.

Jupyter Notebookでpython3 Kernelを追加するのにはまったメモ

Last updated at Posted at 2018-05-12

Jupyter Notebookでpython3 Kernelを追加するのにはまったメモ

##anacondaでpython2.Xをセットアップした環境で、python3も利用したい場合
※自分の環境はWindows10です。

Anaconda promptで以下を実行

conda create -n python3 python=3.6
activate python3 
conda install notebook ipykernel
ipython kernel install --user

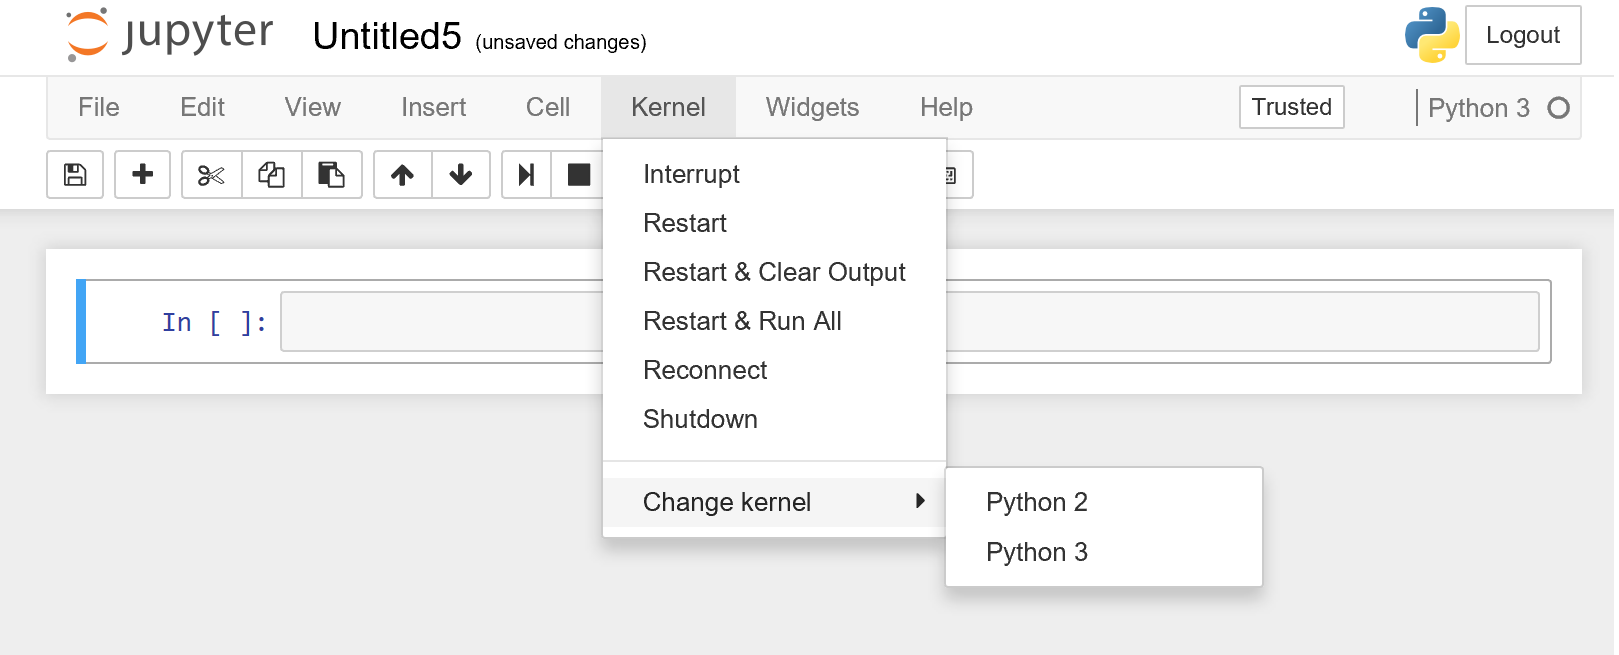
ipython kernel install コマンドで、カーネル追加となる

参考:
https://stackoverflow.com/questions/30492623/using-both-python-2-x-and-python-3-x-in-ipython-notebook

これで、Jupyter Notebookでpython3のカーネルが選択できるようになった。

jupyter.png

##次は、kernelを切り替えて処理を実行すると、2系では使えていたモジュールが使えないというエラー

ModuleNotFoundError: No module named pandas

python3環境用に別途installする必要があるらしい
anaconda promptからcondaでinstall

activate python3
conda install pandas

これで利用できるようになった。

作成した環境一覧確認コマンドはこちら

conda info -e

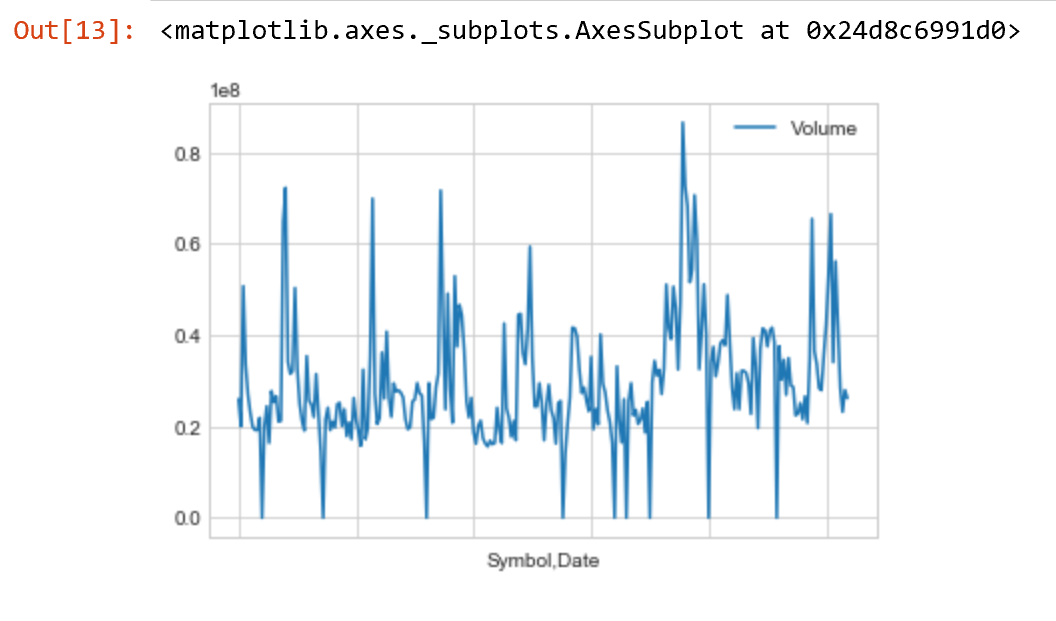
##今度は、matplotlibで name '_converter' is not defined というエラー

基本的にはmatplotlibのインストールが正しく完了していない場合に起こる模様。

conda install matplotlib

anaconda promptでインストールは正常に完了したはずなのに上記エラーとなった。

Jupyter Notebookを再起動すればOKとのことで試したら成功した。
matplot.png

参考:
https://github.com/pandas-dev/pandas/issues/19810

9
10
0

Register as a new user and use Qiita more conveniently

  1. You get articles that match your needs
  2. You can efficiently read back useful information
  3. You can use dark theme
What you can do with signing up
9
10

Delete article

Deleted articles cannot be recovered.

Draft of this article would be also deleted.

Are you sure you want to delete this article?