はじめに
AWS Amplifyを使うとサーバレスのバックエンドを簡単につくれるという話をききました。個人でアプリ開発をやってみたいなーという気持ちがあったのですが、バックエンド構築の手間がネックでなかなか手をつけられずにいたので、この機会にAmplifyを学習してみることにしました。
以下はAPIとAuthリソースを構築してフロント側に実装するまでのまとめです。
AWS Amplify とは
CLIでコマンドをポチポチするだけでクラウドにバックエンドリソース(S3やAPI GatewayなどのAWSサービス)を設定することができ、サーバレスバックエンドを簡単に構築できるサービスです。このサービスを使うことで、アプリ開発を超高速に行うことができます。
コマンドで作成できるリソースとしては以下のようなものがあります。
- Auth: Amazon Cognito(SignIn/SignUp機能を追加)
- Analytics: Amazon Pinpoint(ユーザのセッションやイベントを記録)
- Storage: Amazon S3
- Caching: Amazon Cloudfront
- API: API Gateway+Lambda(REST)やAppSync(GraphQL)
Black Beltの資料にもっと詳しい内容が載っています。
Amplify CLI の導入
バックエンドリソースをポチポチするだけで作成するには、Amplify CLIの導入と自分のAWSアカウントとの紐付けが必要になります。
導入方法は公式Docsに書いてあるので割愛しますが、簡単にまとめると以下のことを行っています。
- Amplify CLIのインストール(Node.jsとnpmの事前導入が必要)
- Amplifyの設定でAWSリソースを作成するためのIAMユーザを新規作成
- アクセスキーIDとシークレットアクセスキーを入力してAmplify CLIとIAMユーザを紐付け
アプリ構築
AmplifyでGraphQLやAuthなどのバックエンドリソースを構築し、Reactで作成したアプリでこれらを利用するところまでをまとめました。
最初にnpx create-react-app <app名>でプロジェクトを作成してください。
バックエンド構築
まずはプロジェクトにamplifyを導入します。以下のコマンドをうつと、デフォルトのエディタや使用フレームワークに関する質問がでてくるのでそれに答えます。
amplify init

? Enter a name for the project chatapp
? Enter a name for the environment dev
? Choose your default editor: Visual Studio Code
? Choose the type of app that you're building javascript
Please tell us about your project
? What javascript framework are you using react
? Source Directory Path:  src
? Distribution Directory Path: build
? Build Command:  npm run-script build
? Start Command: npm run-script start
Using default provider  awscloudformation

? Select the authentication method you want to use: (Use arrow keys)
? Select the authentication method you want to use: AWS profile

For more information on AWS Profiles, see:
https://docs.aws.amazon.com/cli/latest/userguide/cli-configure-profiles.html

? Please choose the profile you want to use default
API(GraphQL)リソースの構築
以下のコマンドで質問に答えていくと、amplify/backendの直下にapiフォルダが作成されます。
amplify add api

? Please select from one of the below mentioned services: GraphQL
? Provide API name: chatapp
? Choose the default authorization type for the API API key
? Enter a description for the API key:
? After how many days from now the API key should expire (1-365): 365
? Do you want to configure advanced settings for the GraphQL API No, I am done.
? Do you have an annotated GraphQL schema? No
? Choose a schema template: Single object with fields (e.g., “Todo” with ID, name, description)
schema.graphqlでスキーマを定義します。
type Post @model {
  id: ID!
  postOwnerId: String!
  postOwnerUsername: String!
  postTitle: String!
  postBody: String!
  createdAt: String
  comments: [Comment] @connection(name: "PostComments") #relationship
  likes: [Like] @connection(name: "PostLikes")
}

type Comment @model {
  id: ID!
  commentOwnerId: String!
  commentOwnerUsername: String!
  post: Post @connection(name: "PostComments")
  content: String!
  createdAt: String!
}

type Like @model {
  id: ID!
  numberLikes: Int!
  likeOwnerId: String!
  likeOwnerUsername: String!
  post: Post @connection(name: "PostLikes")
}
typeに@modelというディレクティブをつけると、データソース(DynamoDB)との連携やresolverを自動で生成してくれます。
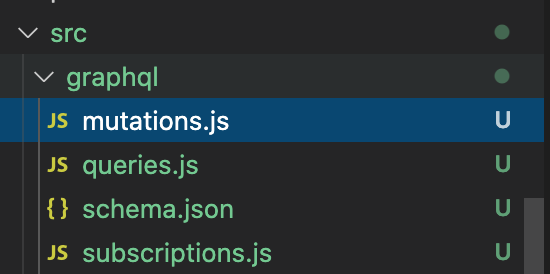
また、amplify codegenでsrc/graphqlにクライアントソースコード側でもアクセスできるライブラリも自動で生成してくれます。
ディレクティブについては、こちらのサイトが参考になりました。
amplify pushを実行して以下の質問に答えると、AWSのリソース(AppSync)が構築されます。
amplify push

| Category | Resource name | Operation | Provider plugin   |
| -------- | ------------- | --------- | ----------------- |
| Api      | chatapp       | Create    | awscloudformation |

? Are you sure you want to continue? Yes
? Do you want to generate code for your newly created GraphQL API Yes
? Choose the code generation language target javascript
? Enter the file name pattern of graphql queries, mutations and subscriptions src/graphql/**/*.js
? Do you want to generate/update all possible GraphQL operations - queries, mutations and subscriptions Yes
? Enter maximum statement depth [increase from default if your schema is deeply nested] 2
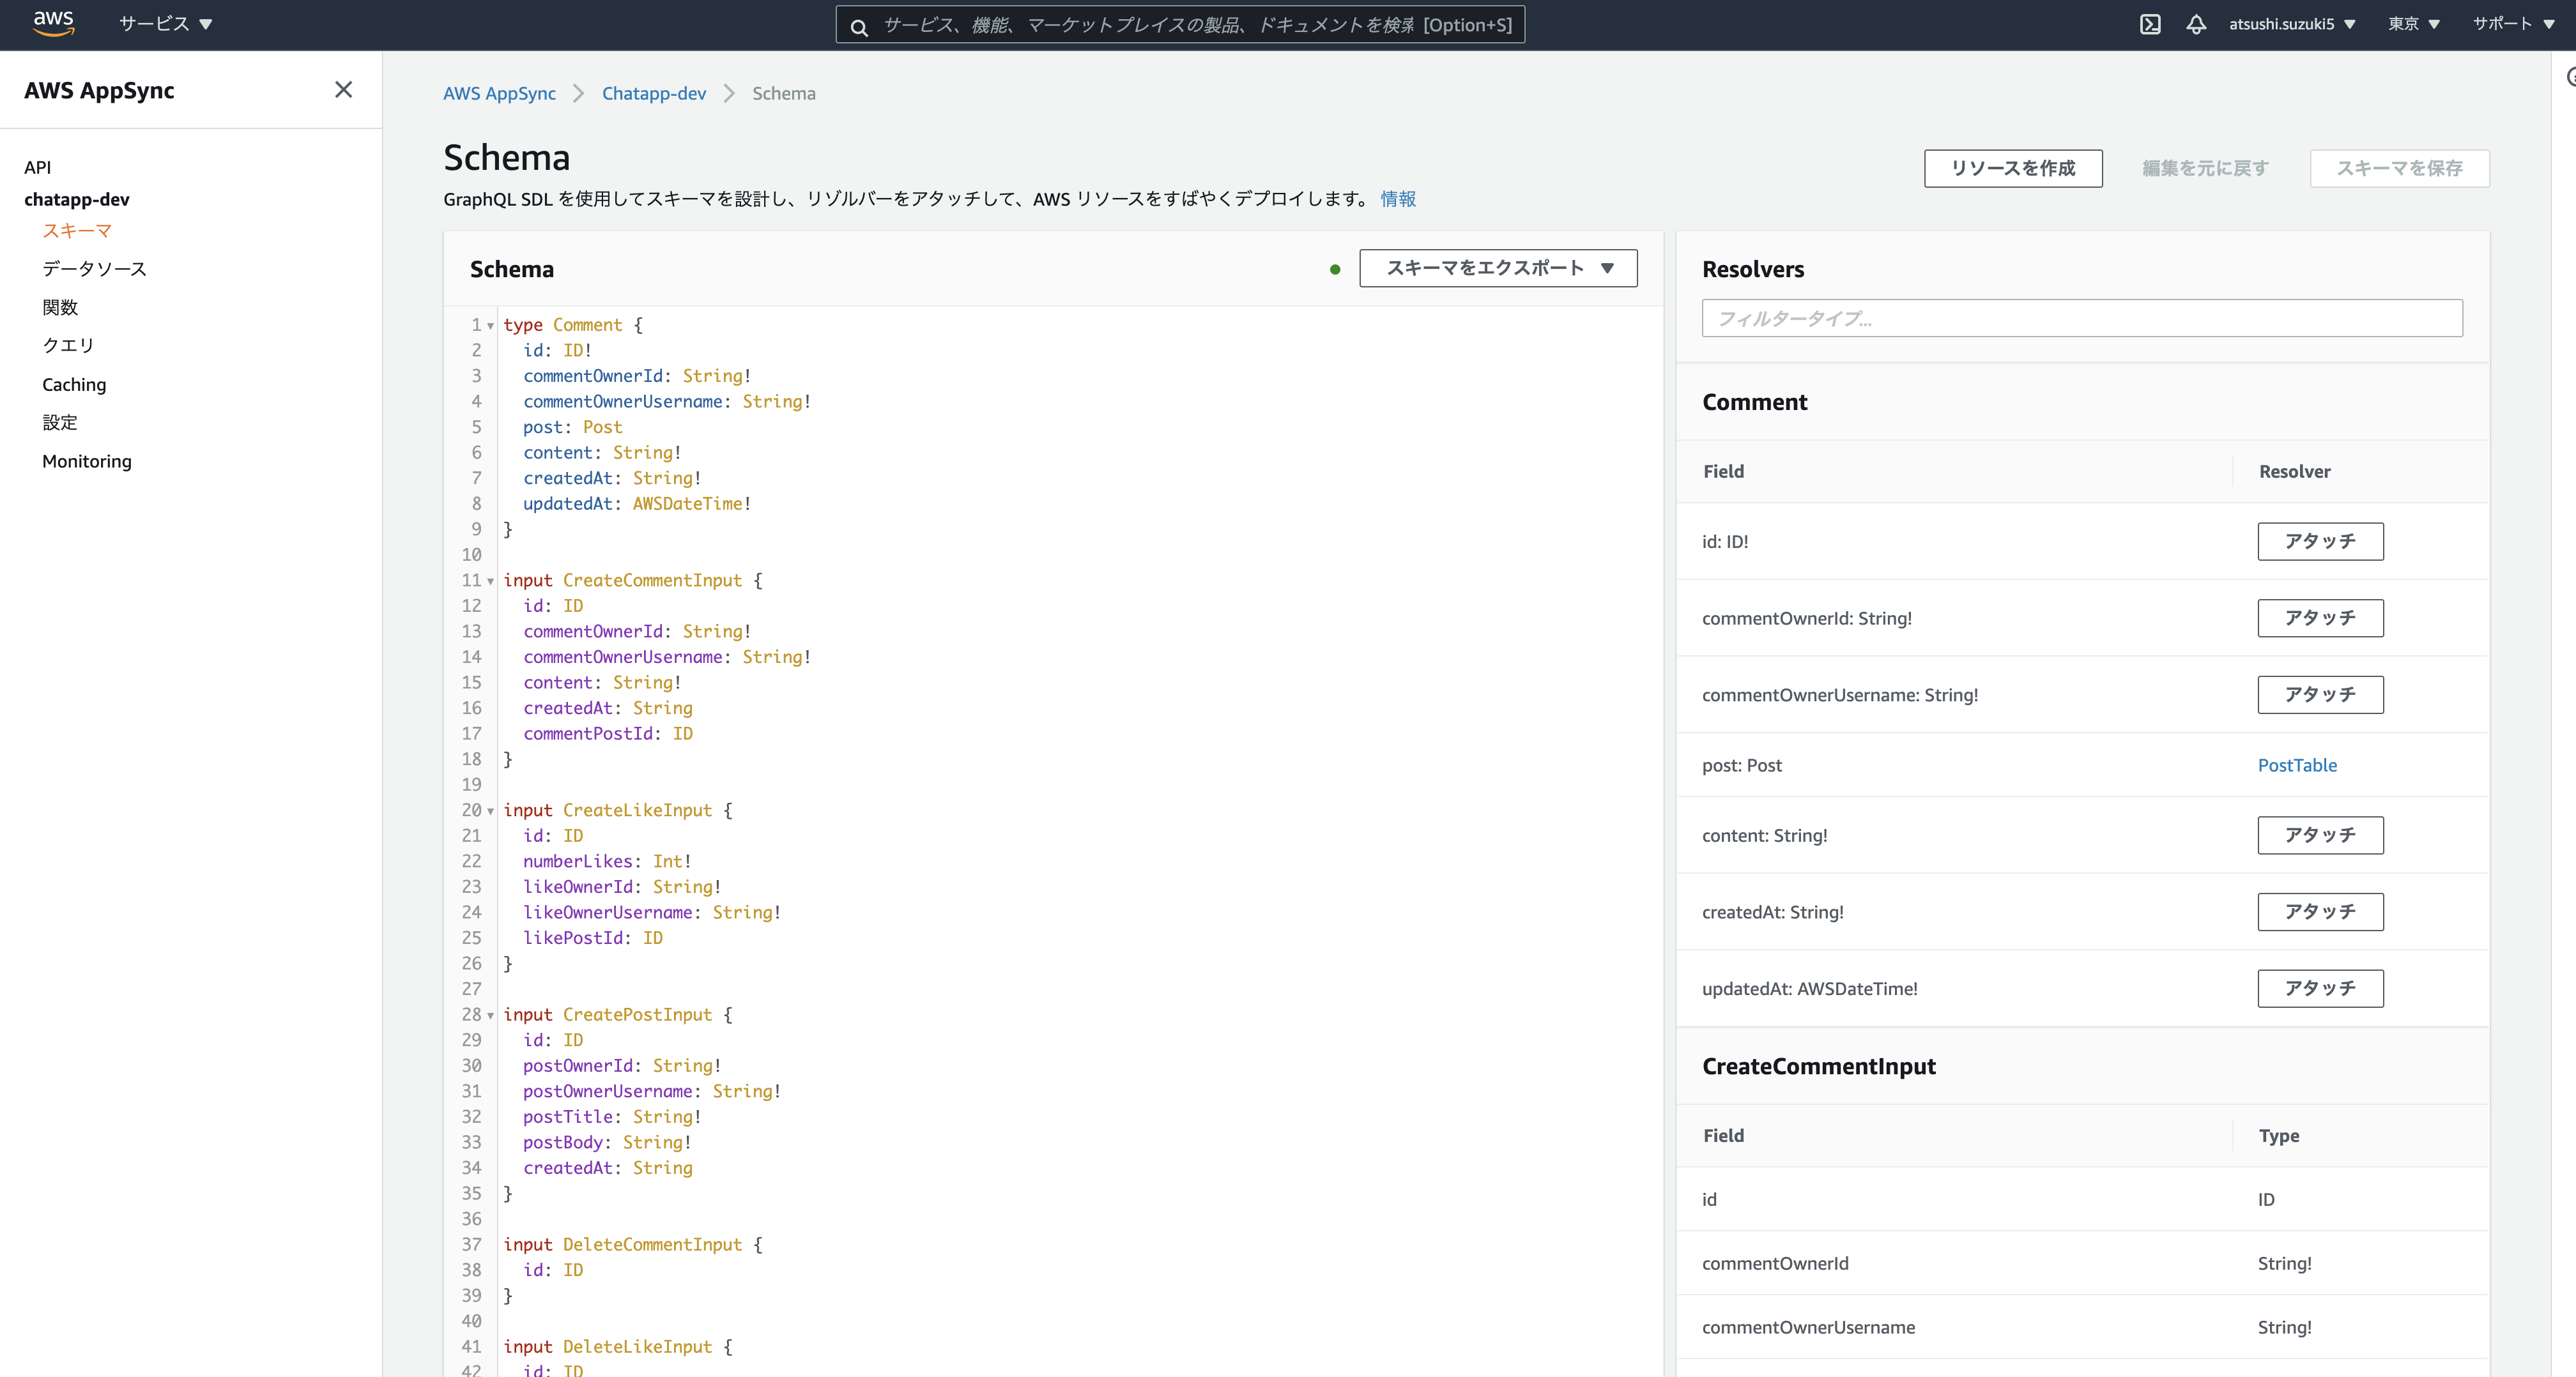
amplify console apiでAppSyncの画面を開くと、作成したSchemaを確認することができます。
Authリソースの構築
amplify add authを実行した後にamplify pushでAWSのリソース(Cognito)が構築されます。
amplify add auth

Using service: Cognito, provided by: awscloudformation

 The current configured provider is Amazon Cognito.

 Do you want to use the default authentication and security configuration? Default configuration
 Warning: you will not be able to edit these selections.
 How do you want users to be able to sign in? Username
 Do you want to configure advanced settings? No, I am done.
フロントエンドの設定
構築したAWSリソースをフロントエンド(React)で使う方法をまとめました。
API(GraphQL)
作成したQueryとMutationの読み込み方をまとめました。
Query
npm install aws-amplify aws-amplify-reactで必要なライブラリを導入し、作成したクエリを読み込んでAPI.graphql(graphqlOperation(listPosts))のようにするとクエリが実行されます。このとき、データを取得した後に表示を行いたいので、非同期処理(async~await)を行っています。
import { listPosts } from '../graphql/queries';
import { API, graphqlOperation } from 'aws-amplify';


const getPosts = async () => {
  const result = await API.graphql(graphqlOperation(listPosts));
};
Mutation
こちらもクエリと同様でgraphqlフォルダから読み込んで実行します。
以下はdeletePostの例です。削除するpostの指定のために、postIdを引数としてとっています。
  const handleDeletePost = async (postId) => {
    const input = {
      id: postId,
    };

    await API.graphql(graphqlOperation(deletePost, { input }));
Auth
withAuthentificatorをインポートしてAppをラッピングしてあげます。
import './App.css';
import { DisplayPosts } from './components/DisplayPosts';
import { CreatePost } from './components/CreatePost';
import { withAuthenticator } from 'aws-amplify-react';

function App() {
  return (
    <div className="App">
      <CreatePost />
      <DisplayPosts />
    </div>
  );
}

export default withAuthenticator(App, { includeGreetings: true });
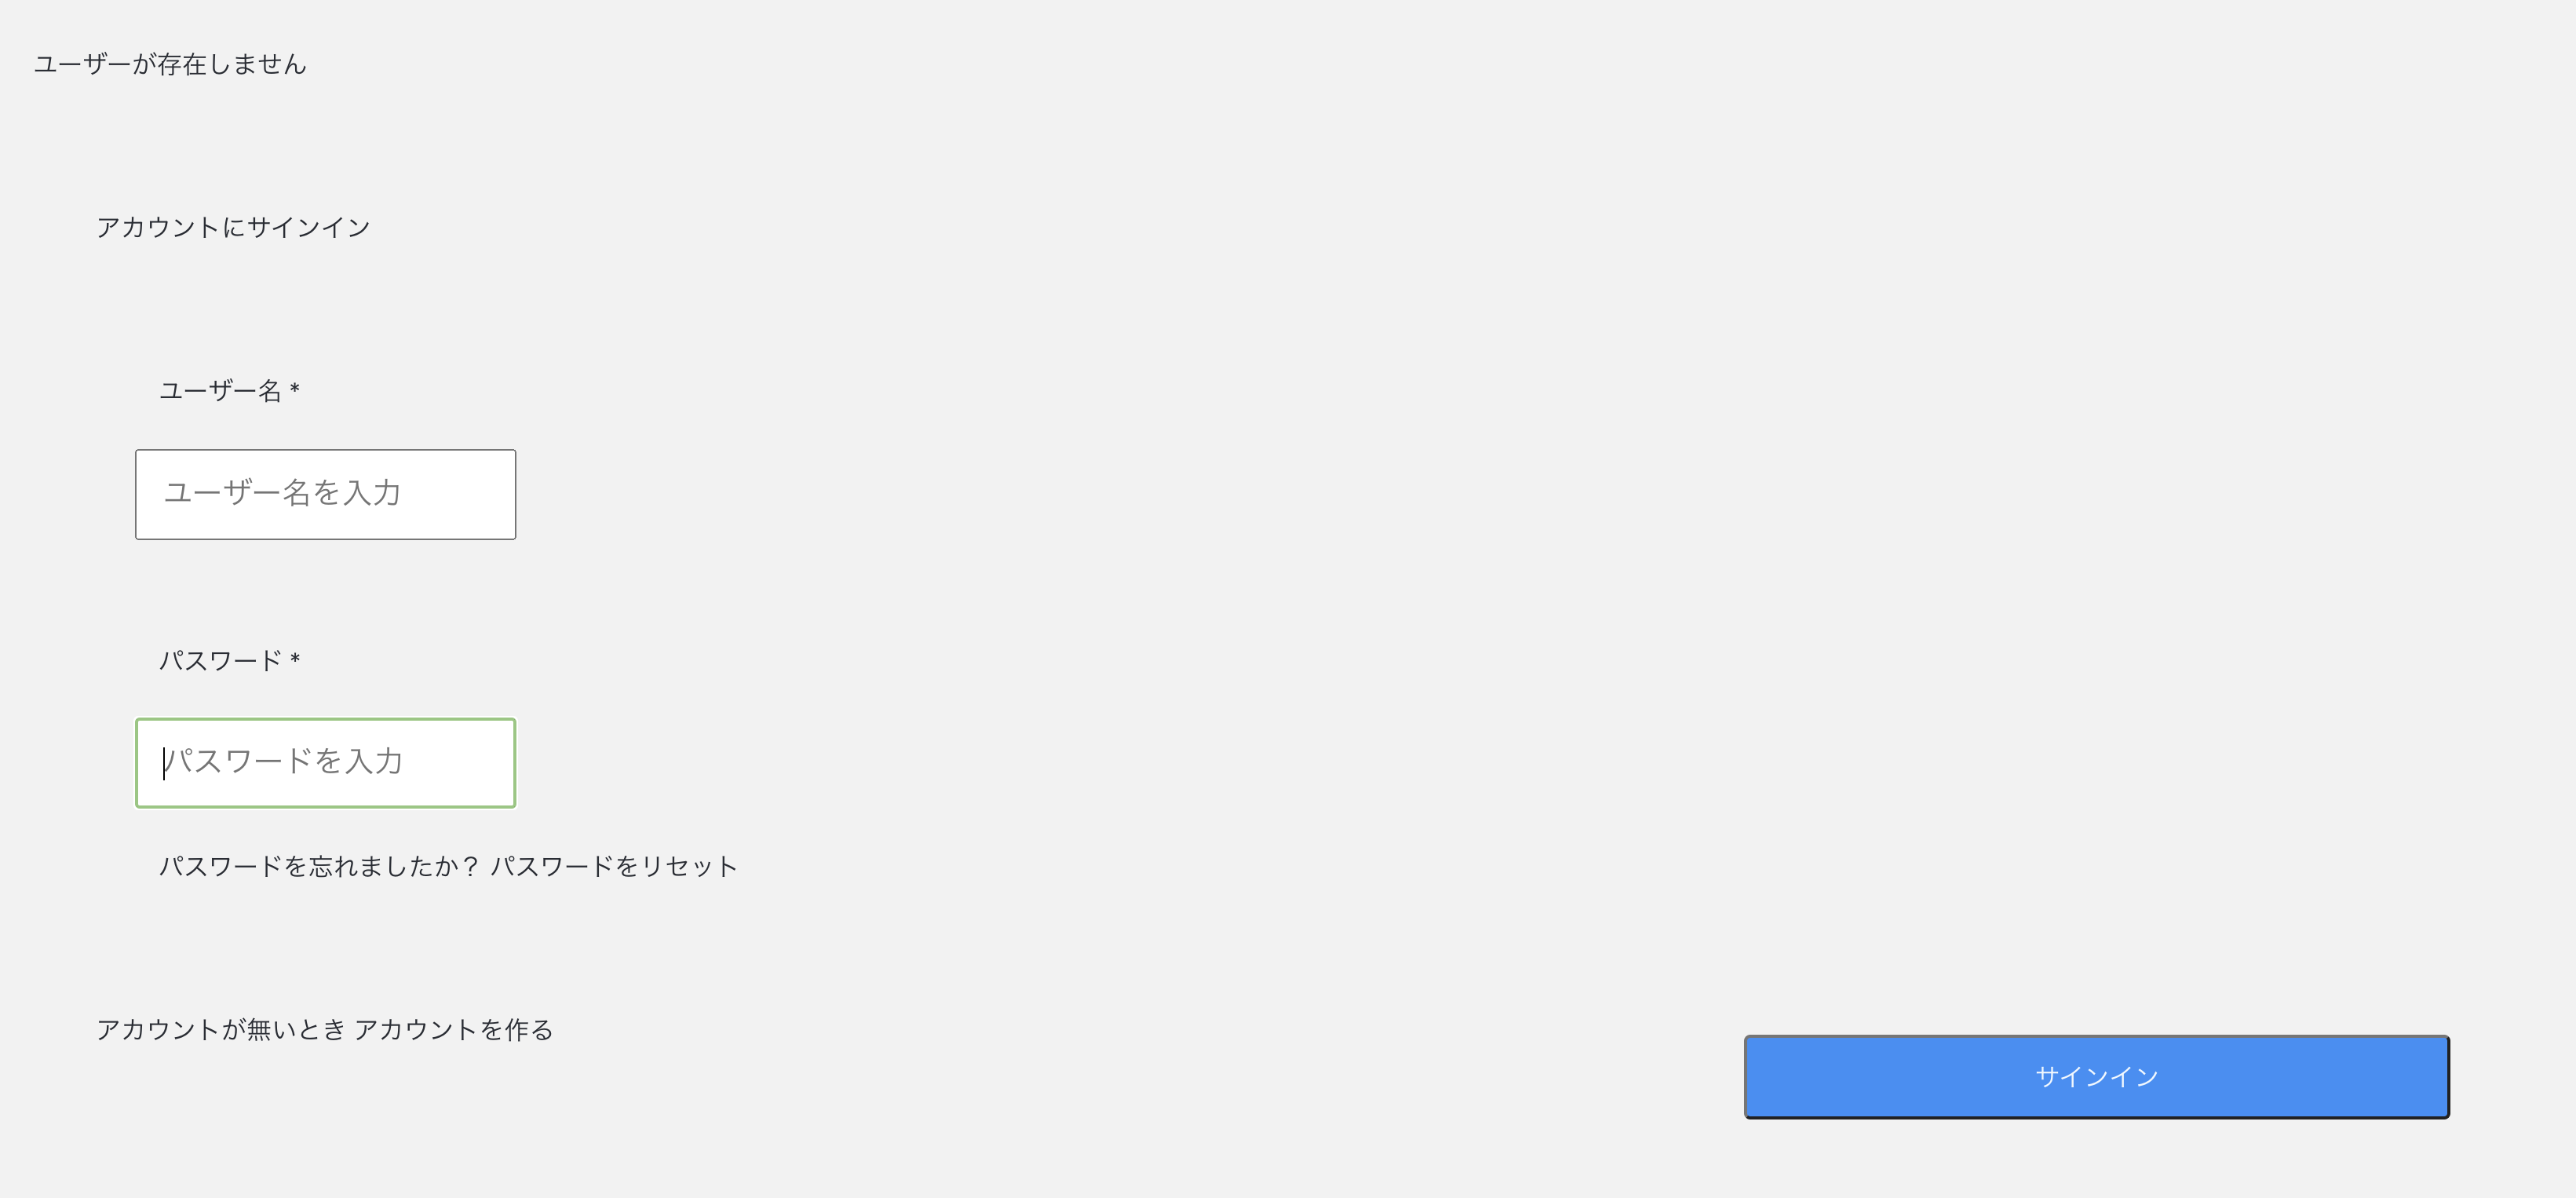
すると以下のようなログイン画面が自動で作られます。
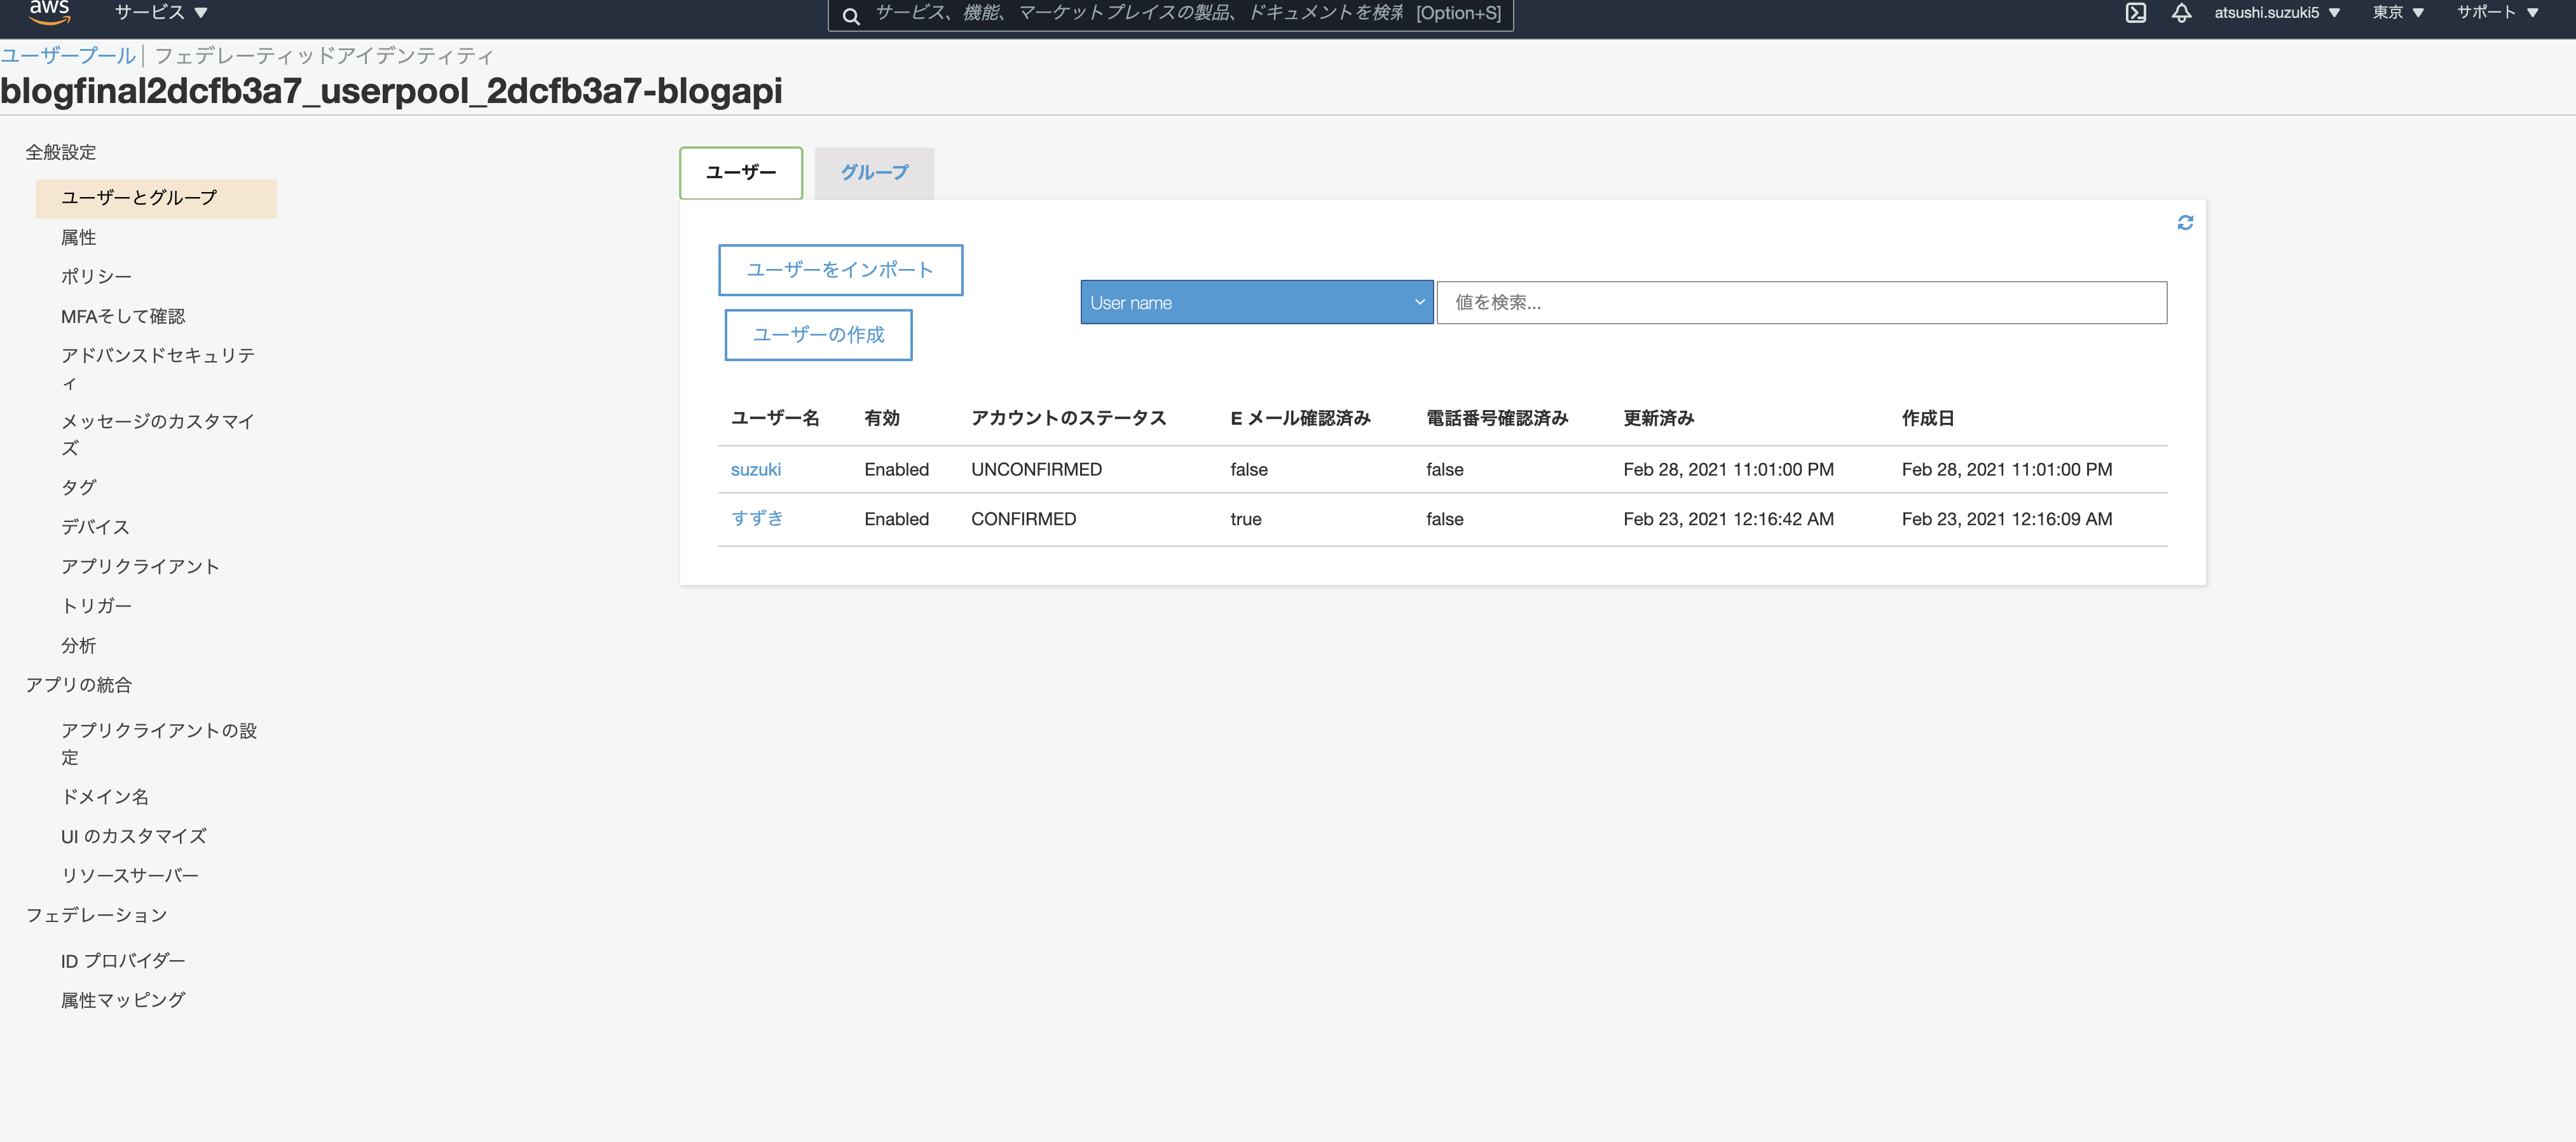
作成したアカウントはCognitoのユーザプールで管理されます。
おわりに
React Native+Amplifyでお腹弱い人向けのサービスでもつくろうかなと思っています。