本題の前に言わせてください
本日(2019/8/20)現在の状況では、8月30日についにNitendo eShopで買えるようになりそうです🎉🎉🎉
この日をどれだけ待ったでしょうか。何度も延期されるリリース、そして最近は日々(少しだけですけど)荒れていく公式のブログ…やっと来たよ!24日に公式サイトで何らかの発表があるので楽しみに待ちましょう!
子供の頃、BASICで実行したあの感動をSwitchでまた味わいたい!!!
詳しくは公式サイトをどぞ!
環境を立ち上げてみよう
とテンションは高いものの、実はまだほとんどFUZE BASICは使ったことがないのです😅
Switch版が出ることはほぼ確定したので、今からでもちょっとでも触っておきたいのです。
そこでまずは環境を立ち上げました。RaspberryPI上では簡単に動くのですが、やはり使い慣れたMac上で動かしたいので今回はVirtualBox上に作成したUbuntu上で動くように構築してみましょう!
…と思ったら公式サイトからLinux環境で動かす場合の記述が消えています。マジカ。。。
ちょっと前に実行したときのメモが残っているのでそっちで試してみます。大丈夫かな…
※試した結果、大丈夫でした!
- Ubuntu
- bento/ubuntu-16.04 (201906.18.0)
- VirtualBox
- 5.2.30
- Vagrant
- 2.2.5
- FUZE BASIC
- 3.9.2
こんな感じで構築してみます。VagrantやVirtualBoxのバージョンは古いですが、新しいバージョンでも構いません。
👮♀️その前に!!!
この手順を試すとFUZE BASICの環境が手に入ってしまいますが、実際はサイトに登録する必要があります。なので 必ずFuze Basicのサイトにユーザ登録してから試して下さい!!!

構築手順
Vagrantfileを取得
今回用のVagrantfileを用意しました。
git clone して任意のフォルダに展開してください。
git clone https://github.com/suruseas/fuze.git
Ubuntu環境の構築
まずは一回立ち上げましょう。
cd fuze
vagrant up
おもむろに実行して下さい。私も場合途中で GuestAdditions のバージョンが違うと警告されましたが、構築手順には影響しないので今回は対応しません。あとでやろう(他力本願)
立ち上がったあとは以下を実行して、ubuntuに接続して下さい。
$ vagrant ssh
Welcome to Ubuntu 16.04.6 LTS (GNU/Linux 4.4.0-150-generic x86_64)

 * Documentation:  https://help.ubuntu.com
 * Management:     https://landscape.canonical.com
 * Support:        https://ubuntu.com/advantage

0 packages can be updated.
0 updates are security updates.


vagrant@vagrant:~$
まずはubuntuの環境を整えます。以下を実行しました。
vagrant@vagrant:~$ sudo apt-get update
vagrant@vagrant:~$ sudo apt-get upgrade -y
vagrant@vagrant:~$ sudo apt-get install ubuntu-desktop -y
vagrant@vagrant:~$ sudo reboot
特に問題なく。。。面白くないな🤔
立ち上がったVirtual Boxの画面以下のようなGUIのログイン画面になっていると思いますので、一旦ログインして下さい。passwordは vagrantです。

ログインすることで後で使う ~/Downloads や ~/Desktop などのフォルダが作られます。
ログイン後の画面はそのままにしておいて構いません。ターミナルに戻って、ubuntuに再度接続しましょう。
$ vagrant ssh
Welcome to Ubuntu 16.04.6 LTS (GNU/Linux 4.4.0-150-generic x86_64)

 * Documentation:  https://help.ubuntu.com
 * Management:     https://landscape.canonical.com
 * Support:        https://ubuntu.com/advantage

0 packages can be updated.
0 updates are security updates.


vagrant@vagrant:~$
これで、Ubuntu周りは完了です!
FUZE BASICをインストール
いよいよFUZE BASICのインストールです。Installerの記載が公式サイトからなくなっていますが、fuzebasic_3.9.2_installer へのリンクがまだ生きているので試してみます。
vagrant@vagrant:~$ cd ~/Downloads
vagrant@vagrant:~/Downloads$ wget https://www.fuzebasic.com/bin/fuzebasic_3.9.2_installer
vagrant@vagrant:~/Downloads$ bash fuzebasic_3.9.2_installer
インストールスクリプトではライブラリのチェックが行われますが足りないライブラリは後で ldd コマンドで調べるので無視しても大丈夫です。
途中ダウンロードするか聞かれるので y で答えておいてください。以下のとなればインストール完了です。
Download new resources [y/n]: y
Downloading resources
Installation complete
足りないライブラリを調べてみましょう。
vagrant@vagrant:~/Downloads$ ldd /usr/bin/fuze | grep found
	libflite_cmu_us_awb.so.1 => not found
	libflite_cmu_us_rms.so.1 => not found
	libflite_cmu_us_slt.so.1 => not found
	libflite_cmu_us_kal16.so.1 => not found
	libflite.so.1 => not found
	libpython3.6m.so.1.0 => not found
結構ありますね。Pythonもあるみたい。まずは libflite から調べます。
vagrant@vagrant:~/Downloads$ sudo apt-cache search libflite
libflite1 - Small run-time speech synthesis engine - shared libraries
pd-flite - Speech synthesis for Pd
libflite1 っぽいのでインストールします。
vagrant@vagrant:~/Downloads$ sudo apt-get install libflite1 -y
インストールできたのでもう一度確認します。
vagrant@vagrant:~/Downloads$ ldd /usr/bin/fuze | grep found
	libpython3.6m.so.1.0 => not found
おおお。pythonだけになった!
Pythonの3.6系をインストールする
vagrant@vagrant:~/Downloads$ python3 --version
Python 3.5.2
どうやらインストールされているpythonは3.5.2なので、fuzeが要求している3.6系を入れます。ここでは前動かした実績のある 3.6.1 を入れることにします。
pyenv 経由でインストールしたいので、まずは pyenv から。
https://github.com/pyenv/pyenv を参考に pyenv をインストールしましょう。
ちなみに bashrc を利用することにします。
vagrant@vagrant:~/Downloads$ cd ~
vagrant@vagrant:~$ git clone https://github.com/pyenv/pyenv.git ~/.pyenv
vagrant@vagrant:~$ echo 'export PYENV_ROOT="$HOME/.pyenv"' >> ~/.bashrc
vagrant@vagrant:~$ echo 'export PATH="$PYENV_ROOT/bin:$PATH"' >> ~/.bashrc
vagrant@vagrant:~$ echo -e 'if command -v pyenv 1>/dev/null 2>&1; then\n  eval "$(pyenv init -)"\nfi' >> ~/.bashrc
vagrant@vagrant:~$ source ~/.bashrc
これで完了。さっさとpythonをインストールしましょう。なおどうせFUZE BASICしか使わない環境なので --enable-shared をつけてインストールしました。理由は忘れましたが、つけないと後で苦労した覚えが🤒
vagrant@vagrant:~$ PYTHON_CONFIGURE_OPTS="--enable-shared" pyenv install 3.6.1
Downloading Python-3.6.1.tar.xz...
-> https://www.python.org/ftp/python/3.6.1/Python-3.6.1.tar.xz
Installing Python-3.6.1...
WARNING: The Python bz2 extension was not compiled. Missing the bzip2 lib?
WARNING: The Python sqlite3 extension was not compiled. Missing the SQLite3 lib?
Installed Python-3.6.1 to /home/vagrant/.pyenv/versions/3.6.1
うるさいですね😡はいはい、インストールしますよ!
vagrant@vagrant:~$ sudo apt-get install libbz2-dev libsqlite3-dev -y
再度インストールを試します。
vagrant@vagrant:~$ PYTHON_CONFIGURE_OPTS="--enable-shared" pyenv install 3.6.1
pyenv: /home/vagrant/.pyenv/versions/3.6.1 already exists
continue with installation? (y/N) y
Downloading Python-3.6.1.tar.xz...
-> https://www.python.org/ftp/python/3.6.1/Python-3.6.1.tar.xz
Installing Python-3.6.1...
Installed Python-3.6.1 to /home/vagrant/.pyenv/versions/3.6.1
おお、できたっぽい!
パスを通して、bashrcを実行させて…
vagrant@vagrant:~$ echo 'export LD_LIBRARY_PATH=/home/vagrant/.pyenv/versions/3.6.1/lib:$LD_LIBRARY_PATH' >> ~/.bashrc
vagrant@vagrant:~$ source ~/.bashrc
FUZE BASICの依存関係をもう一度調べます。
vagrant@vagrant:~$ ldd /usr/bin/fuze | grep found
vagrant@vagrant:~$
おお、解決しました🎉🎉🎉🎉
念の為再起動します。
vagrant@vagrant:~$ sudo reboot
動かしてみる
これで大丈夫なはずなのでさっそくログインしてみます。おお、インストールされている。
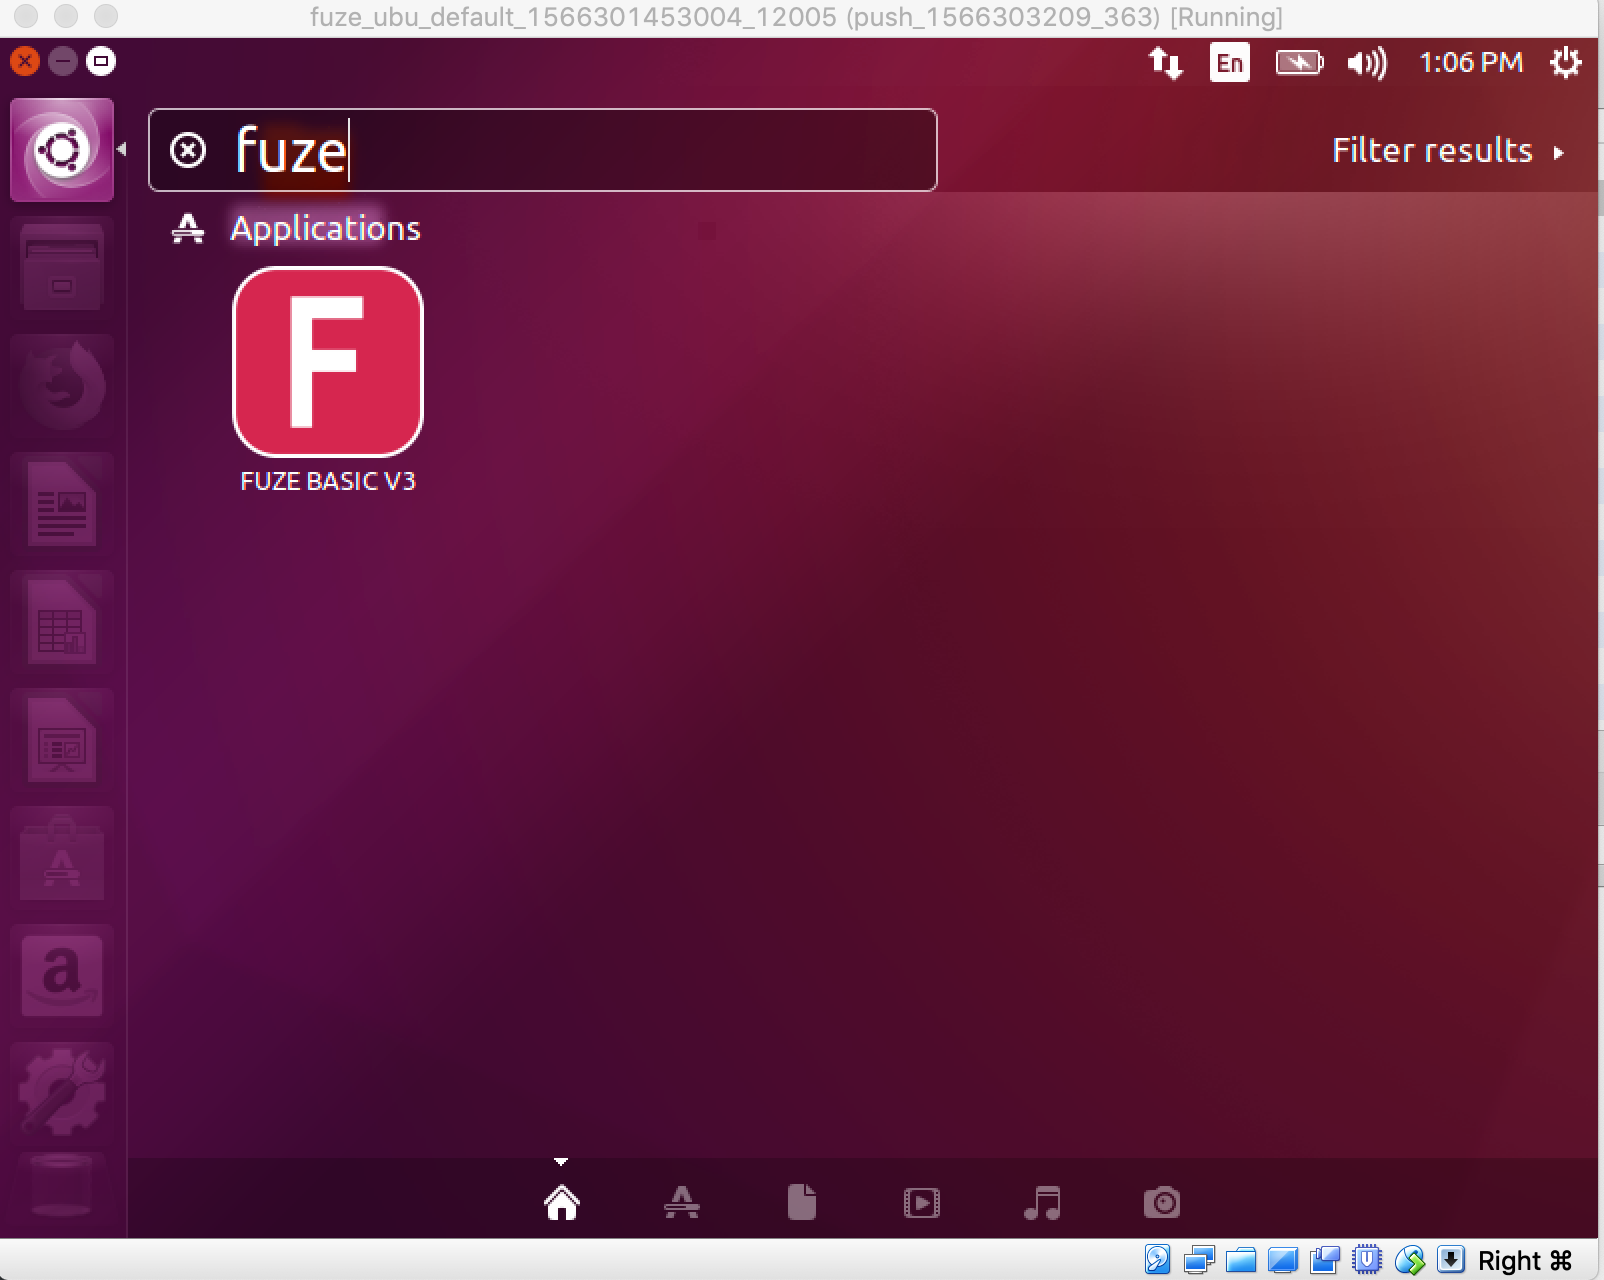
が…立ち上がらず。
面倒なのでターミナルから実行してみます。

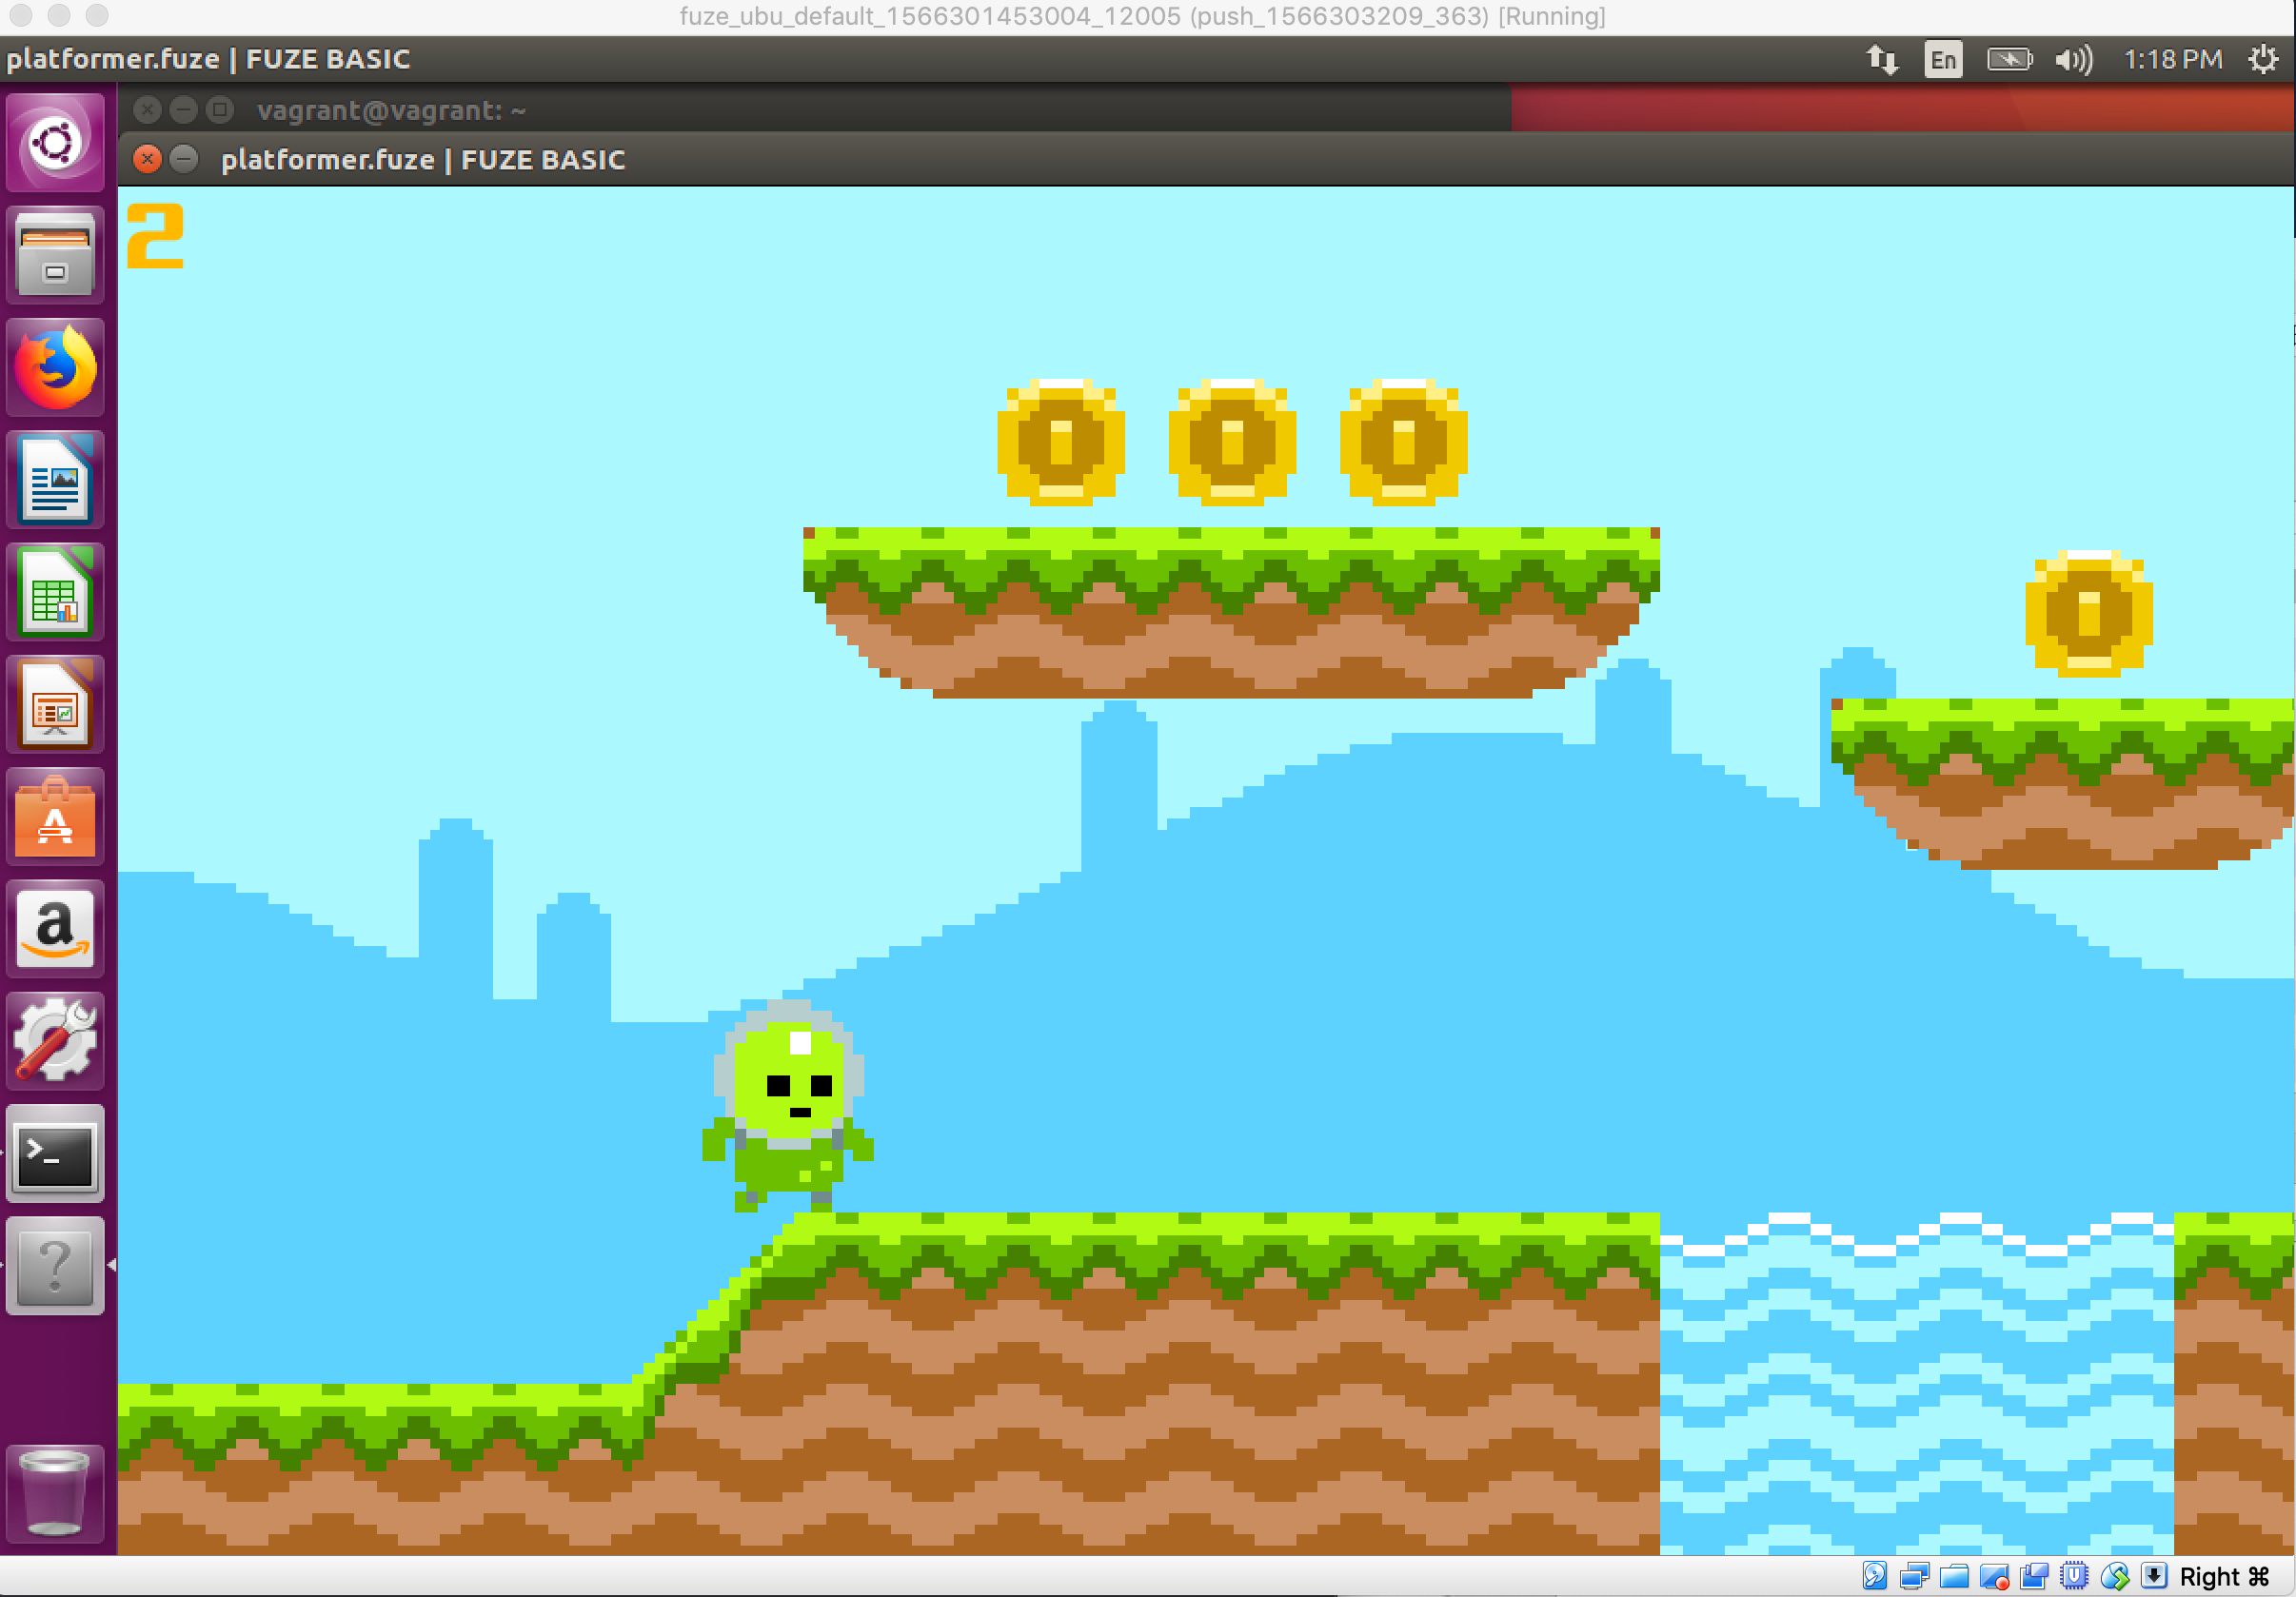
立ち上がった!普通に動きますね!

今日はここまで!ぼちぼち触ってみますー