ChainerやTensorflowを試してみたいと思った時に一番初めに問題になるのが実行環境をどうするかだと思います。
すでにLinux PCやMacを持っている場合は、それほど困ることは無いのですが、
Windowsの場合はサポートされていないのでどうしたものかと途方にくれてしまいます。
その場合には以下の方法が考えられます。
1. WindowsマシンをWindowsとLinuxのDualBootにする
2. WindowsにVirtualBoxなどの仮想化ソフトウェアを入れて仮想環境を構築する
3. Cloud上に仮想環境を構築する
今回は3の方法を試してみます。
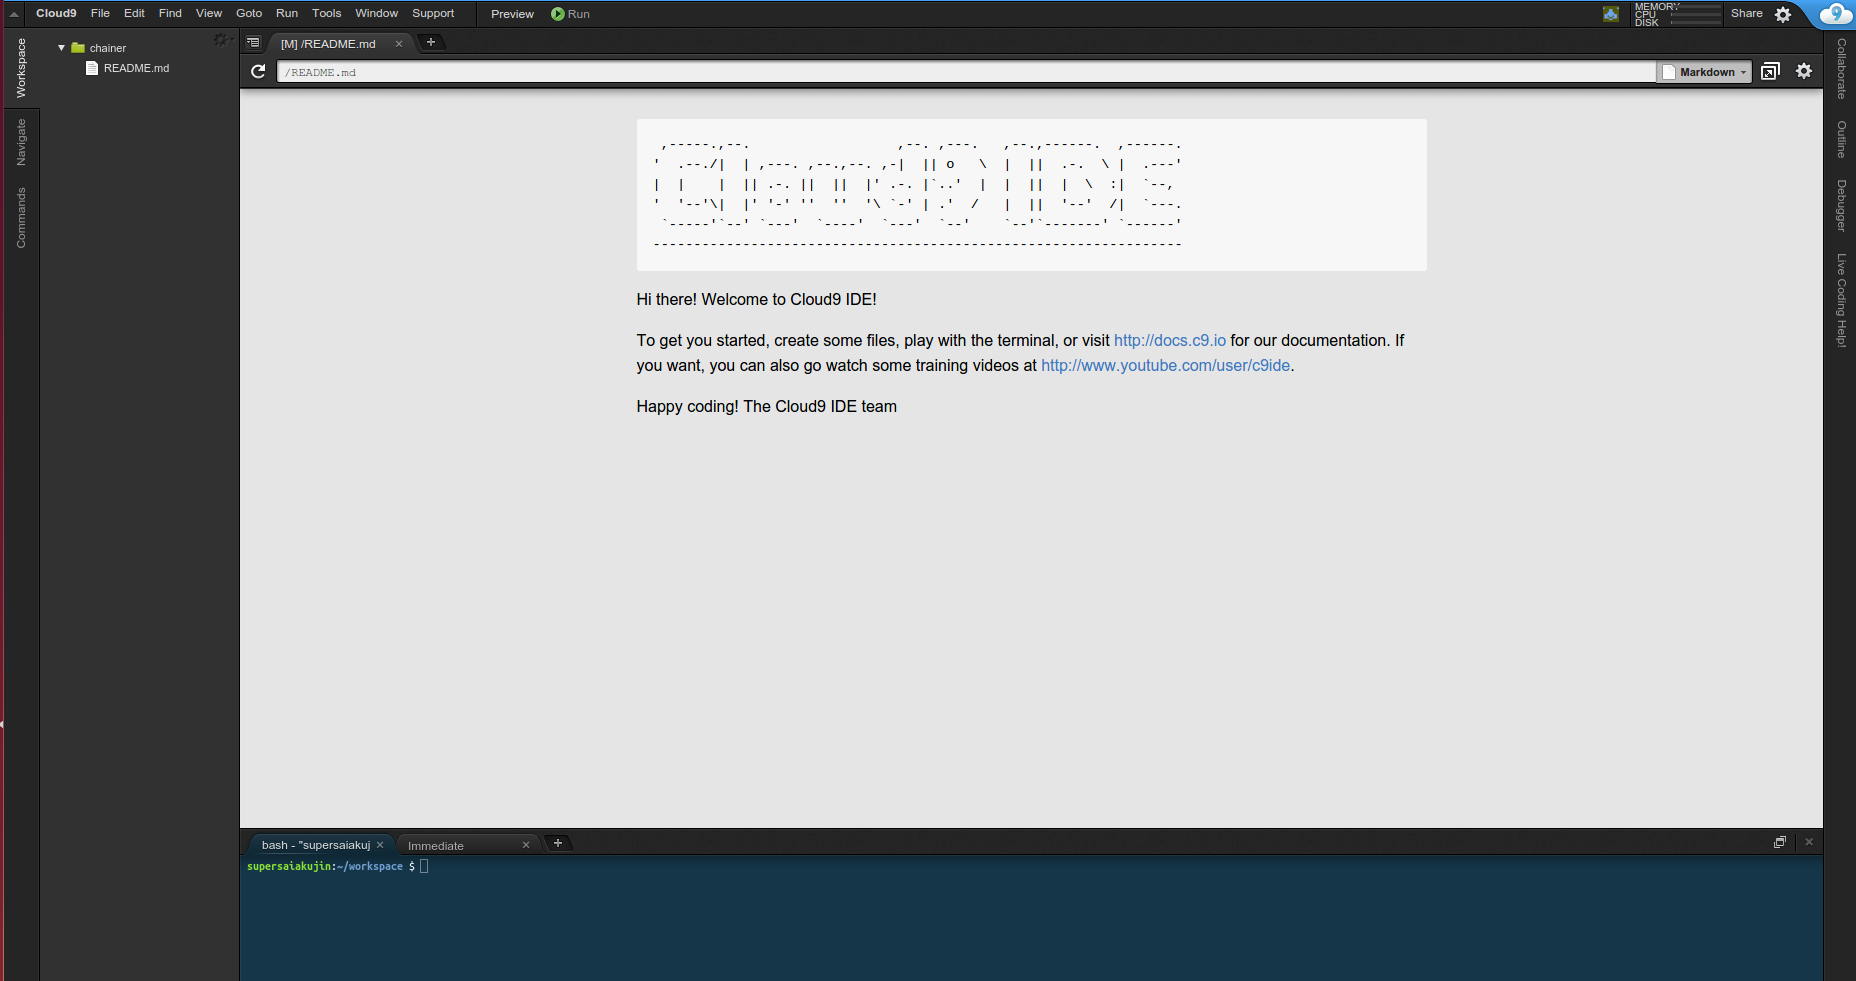
今回はCloud9を使用します。

まずは登録が必要なのでSIGN UPをクリックして、
Username
e-mail
password
を入力します。
GitHubのアカウントを持っていればGitHubアカウントで登録もできます。

アカウントを作成して、SIGN INすると下記のような画面になります。

次に仮想環境を作成します。
ここではWorkspace nameにchainerを入れ、Choose a templateでCustomを選んで、公開をPrivateに設定してCreate workspaceを押しました。

しばらく待つと下記のような画面になります。
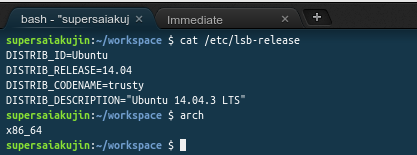
確認するとUbuntu 14.04.3 LTS 64bit環境のようです。
メモリは1GB,Diskは5GBです。
Chainerの環境構築
chainerのインストールはinstall guideに従うだけなので難しくないです。
sudo pip install -U setuptools
sudo pip install chainer
上記2つを実行すると下記のようにインストールが完了します。Install Guideには
apt-get install g++
と書いてありますが、すでに入っているのでやる必要は無いです。もちろんやってもすでにInstallされていますと出るだけですが。

chainerをimportしてバージョンを確認してみます。

インストールは終わりですが、せっかくなのでexampleを動かしてみます。
とりあえずgithubからchainerをとってきます。
git clone https://github.com/pfnet/chainer.git
実行・・・。遅い・・・。

あまり計算負荷がかからないものなら使えるかもしれないです。
chainerは無謀だったのかも・・・。