Flutterでいろいろなフローティングボタンを生成してみます。
よく見るフローティングボタン
よく見るこんなやつ
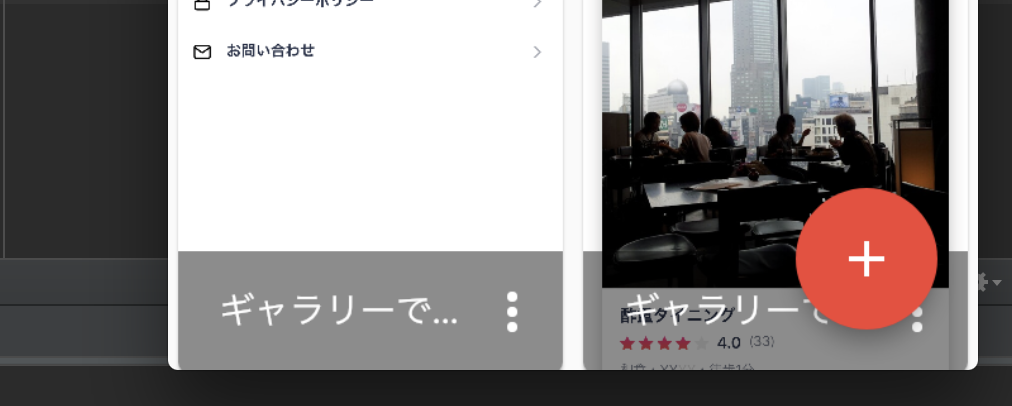
右下に浮いているフローティングボタンの実装はこんな感じです。
      floatingActionButton: FloatingActionButton(
        onPressed: () {
        },
        child: new Icon(Icons.add),
      ),
こんな実装を Scaffold の中に書きます。
文字入れてみる
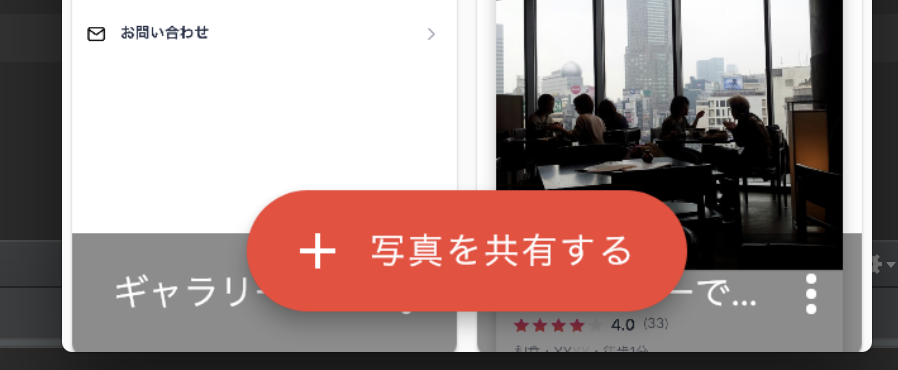
今度はこんな感じで文字をいれて浮かせたボタンをセンタリングします。
実装はこんな感じ
      floatingActionButton: FloatingActionButton.extended(
        onPressed: () {
        },
        icon: new Icon(Icons.add),
        label: Text("写真を共有する"),
      ),
これも同じく ``Scaffold` の中に書きます。
メニューの下を下にくっつけてみる
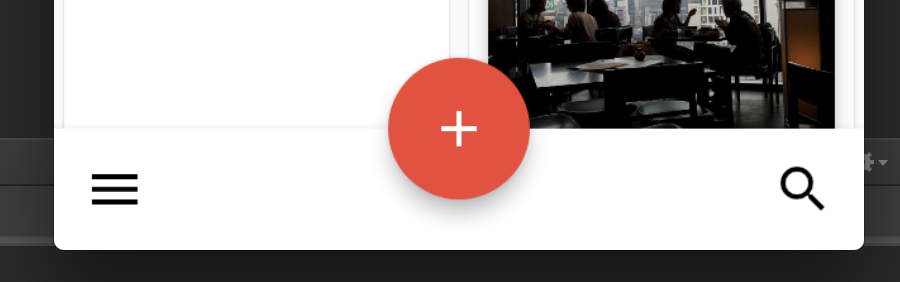
次は下にAPP barをひっつけてみます。
最近よくみるマテリアルデザインですね。
    floatingActionButton: FloatingActionButton(
        onPressed: () {
        },
        child: new Icon(Icons.add),
      ),
      floatingActionButtonLocation: FloatingActionButtonLocation.centerDocked,
      bottomNavigationBar: BottomAppBar(
          hasNotch: false,
          child: new Row(
            mainAxisSize: MainAxisSize.max,
            mainAxisAlignment: MainAxisAlignment.spaceBetween,
            children: <Widget>[
              IconButton(
                icon: Icon(Icons.menu),
                onPressed: () {},
              ),
              IconButton(
                icon: Icon(Icons.search),
                onPressed: () {},
              )
            ],
          ),
      ),
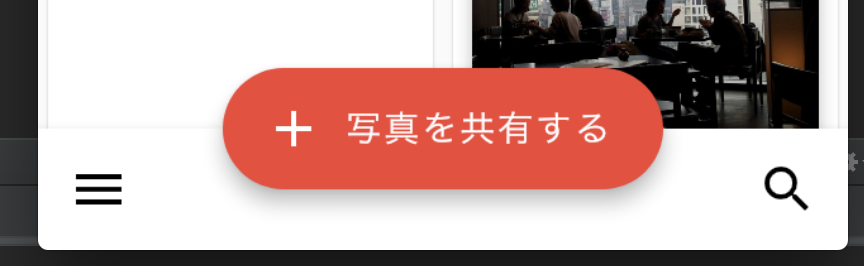
もちろん文字をいれたフローティングボタンもできます。
     floatingActionButton: FloatingActionButton.extended(
        onPressed: () {
        },
        icon: new Icon(Icons.add),
        label: Text("写真を共有する"),
      ),
      floatingActionButtonLocation: FloatingActionButtonLocation.centerDocked,
      bottomNavigationBar: BottomAppBar(
          hasNotch: false,
          child: new Row(
            mainAxisSize: MainAxisSize.max,
            mainAxisAlignment: MainAxisAlignment.spaceBetween,
            children: <Widget>[
              IconButton(
                icon: Icon(Icons.menu),
                onPressed: () {},
              ),
              IconButton(
                icon: Icon(Icons.search),
                onPressed: () {},
              )
            ],
          ),
      ),
Speed dialを実装する
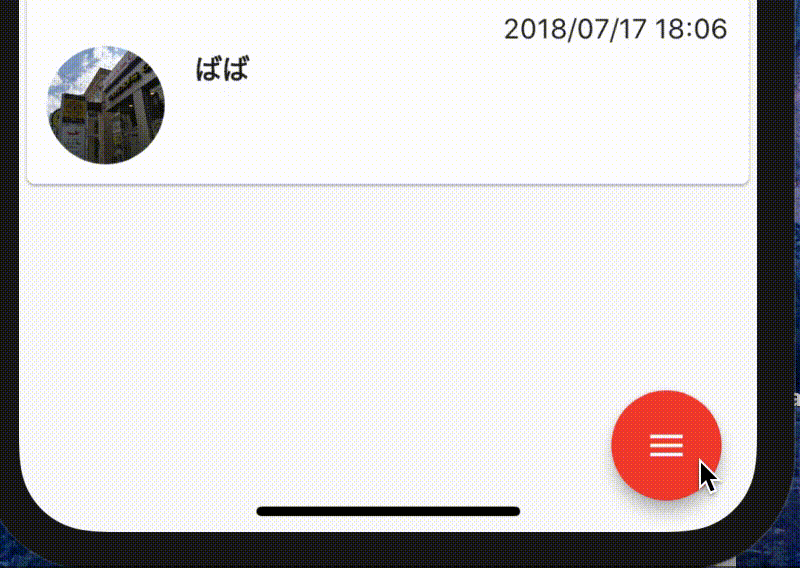
↑こんなやつです。
これは一から自作するより便利なプラグインがあるのでそれを使いましょう。
実装はこんな感じ
    floatingActionButton: SpeedDial(
      animatedIcon: AnimatedIcons.menu_close,
      animatedIconTheme: IconThemeData(size: 22.0),
      curve: Curves.bounceIn,
      children: [
        SpeedDialChild(
            child: Icon(Icons.create),
            backgroundColor: Colors.blue,
            label: "グループを作成する",
            onTap: () {
              Navigator.pushNamed(context, "/create_group");
            },
            labelStyle: TextStyle(fontWeight: FontWeight.w500)),
        SpeedDialChild(
            child: Icon(Icons.person_add),
            backgroundColor: Colors.green,
            label: "グループに参加する",
            onTap: () {
              Navigator.pushNamed(context, "/search_group");
            },
            labelStyle: TextStyle(fontWeight: FontWeight.w500)),
      ],
    ),
総括
こんなレイアウトもFlutterでは簡単に作れてしまうところはほんと素晴らしいなと思います。
Flutterに関しての呟きをたくさんしているのでよろしければフォローお願いします。↓
Twitter:https://twitter.com/yshogo87
また、以前Flutterを触ってみて得た知見を記事にしたのでこちらも一緒にお願いします。
「Flutterを触りまくったので知見を公開する」
https://note.mu/shogoyamada/n/n043aa4b7750e