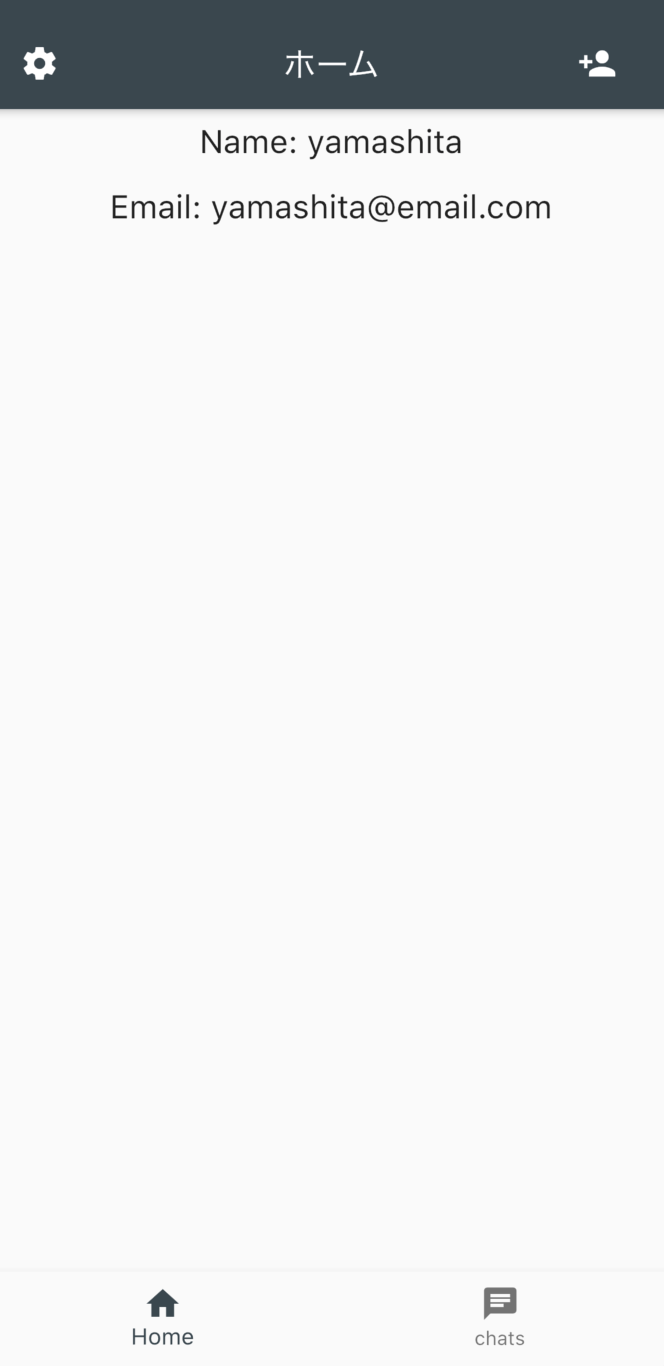
完成図
下記のようにFirebase authのEmail&Passwordを利用し、登録されたユーザーの情報(名前とEmailアドレス)を遷移させたHomeページで表示する実装を説明する記事です。
*写真のAppBarやBottomNavigationBarに関する説明はほとんどありません。
手順
画像のように実装するために以下の3つの手順をしたがって進めていきます。
-
createUserWithEmailAndPasswordにnameを追加する -
TextFormFieldで入力されたnameを受け取る -
displayNameで受け取った値を表示
createUserWithEmailAndPasswordにnameを追加する
import 'dart:async';
import 'package:firebase_auth/firebase_auth.dart';

class AuthService {
  final FirebaseAuth _firebaseAuth = FirebaseAuth.instance;

  Future<String> createUserWithEmailAndPassword(String email, String password, String name) async {
      final authResult = await _firebaseAuth.createUserWithEmailAndPassword(
      email: email,
      password: password,
    );
    return authResult.user.uid;
  }

  Future getCurrentUser() async {
    return await _firebaseAuth.currentUser();
  }
}
createUserWithEmailAndPassword(String email, String password, String name)
このように引数にnameを含めることでcurrentUserのデータを受け取った時に名前を表示させることができます。
あとで説明しますが、getCurrentUser()を利用することでユーザーの情報を取得することが可能になります。
TextFormFieldで入力されたnameを受け取る
import 'package:flutter/material.dart';
import 'auth_service.dart';

class Provider extends InheritedWidget {
  final AuthService auth;

  Provider({Key key, Widget child, this.auth}) : super(key: key, child: child);

  @override
  bool updateShouldNotify(InheritedWidget oldWidget) {
    return true;
  }

  static Provider of(BuildContext context) {
    return context.dependOnInheritedWidgetOfExactType<Provider>();
  }
}
class SignUpPage extends StatefulWidget {

  @override
  State<StatefulWidget> createState() => _SignUpPageState();
}

class _SignUpPageState extends State<SignUpPage> {
   String _email, _password, _name;

   void submit() async {
            final auth = Provider.of(context).auth;

            await auth.createUserWithEmailAndPassword(_email, _password, _name);
            Navigator.of(context).pushReplacementNamed('/home');
  }
}
まず、signup_pageのfinal auth = Provider.of(context).auth;で
先ほど定義したauth_serviceのメソッドをauth_provider.dartファイル経由で利用できるようにします。
ProviderやInheridedWidgetについては少し複雑なのでこれらの記事を参考にしてください。
今回はcurrentUserの表示がメインなのでできるだけ他の説明は省きます。
displayNameで受け取った値を表示する
import 'package:flutter/material.dart';
import 'auth_provider.dart';

class HomePage extends StatefulWidget {
  HomePage({Key key, this.uid}) : super(key: key);
  final String uid;

  @override
  _HomePageState createState() => _HomePageState();
}

class _HomePageState extends State<HomePage> {

  @override
  Widget build(BuildContext context) {
    return Scaffold(
      appBar: AppBar(
        leading:FlatButton(
            padding: EdgeInsets.all(8.0),
            child: Icon(Icons.settings,color: Colors.white),
            onPressed: ()=> Navigator.of(context).pushNamed("/setting"),
        ),
        actions: <Widget>[
            new FlatButton(
              onPressed: ()=> Navigator.of(context).pushNamed("/add"),
              child: Icon(Icons.person_add, color: Colors.white,),
            ),
          ],
          title: Text('ホーム'),
          centerTitle: true,
      ),
      body: Column(
        children: <Widget> [
          ProfileView(),
        ],
      ),
      bottomNavigationBar: BottomNavigationBar(
          items: [
            BottomNavigationBarItem(
              icon: Icon(Icons.home),
              title: Text('Home'),
            ),
            BottomNavigationBarItem(
              icon: Icon(Icons.chat),
              title: Text('chats'),
            ),
          ],
        ),
      );
  }
}

class ProfileView extends StatelessWidget {
  @override
  Widget build(BuildContext context) {
    return Column(
          children: <Widget>[
            FutureBuilder(
              future: Provider.of(context).auth.getCurrentUser(),
              builder: (context, snapshot) {
                if (snapshot.connectionState == ConnectionState.done) {
                  return displayUserInformation(context, snapshot);
                } else {
                  return CircularProgressIndicator();
                }
              },
            )
          ],
        );
  }

  Widget displayUserInformation(context, snapshot) {
    final user = snapshot.data;

    return Column(
      children: <Widget>[
        Padding(
          padding: const EdgeInsets.all(8.0),
          child: Text(
            "Name: ${user.displayName}", style: TextStyle(fontSize: 20),
          ),
        ),

        Padding(
          padding: const EdgeInsets.all(8.0),
          child: Text(
            "Email: ${user.email}", style: TextStyle(fontSize: 20),
          ),
        ),
      ],
    );
  }

}
ついに本題です。この手順だけ少し説明が多くなります。
HomePageクラスについてはbodyにProfileViewが入ってるなとだけ理解してもらえれば良いです。
まずFutureBuilderについて。
As the name suggests, this Widget manages the UI depending on the current state of the Future. You can show a widget (like a CircularProgressIndicator) while the data is being loaded and another widget (like a list) when the data has been fetched successfully.
Flutter Widget Guide — FutureBuilder Widget in 5 mins or less.
名前の通り、FutureBuilderはFutureの状態によってUIを操作するWidgetです。
データをロードしている時にはCircularProgressIndicatorのようなWidgetを表示したり、取得に成功した時にはListのような他のWidgetを表示することができます。
どのように動くかはこの記事が非常にわかりやすいです。
FutureBuilder(
              future: Provider.of(context).auth.getCurrentUser(),
              builder: (context, snapshot) {
                if (snapshot.connectionState == ConnectionState.done) {
                  return displayUserInformation(context, snapshot);
                } else {
                  return CircularProgressIndicator();
                }
              },
            )
まずはfutureに一番最初の手順のauth_service.dartで作成したgetCurrentUserを入れます。
ここでもProviderを利用することで、親のWidgetを参照することができるようになるため、AuthServiceで定義したgetCurrentUserを利用することができます。
次にbuilderの引数にはcontextとsnapshotを入れ、条件分岐を記入していきます。
snapshotによってデータの取得を行います。
つまりif (snapshot.connectionState == ConnectionState.done)はデータの取得を行い、正常に接続が完了した場合を表しています。
その後、これがtrueの場合はdisplayUserInformation Widgetを表示、falseの場合はCircularProgressIndicatorを表示させます。
*CircularProgressIndicatorはロード中にグルグル回るあれです。
ではtrueの場合に返されるdisplayUserInformation Widgetをみていきます。
Widget displayUserInformation(context, snapshot) {
    final user = snapshot.data;

    return Column(
      children: <Widget>[
        Padding(
          padding: const EdgeInsets.all(8.0),
          child: Text(
            "Name: ${user.displayName}", style: TextStyle(fontSize: 20),
          ),
        ),

        Padding(
          padding: const EdgeInsets.all(8.0),
          child: Text(
            "Email: ${user.email}", style: TextStyle(fontSize: 20),
          ),
        ),
      ],
    );
  }
ユーザー情報をuserと定義し、Columnで表示する名前とEmailを縦に並べるようにします。
Firebaseに元から定義されているdisplayNameとemailを利用して取得したユーザーデータをそれぞれ表示させます。
これで完成です。
参考
海外のYoutuberですが、非常に参考になります。
githubのソースコードも公開してくれているので参考にしてみてください。