はじめに
プロジェクトの作成
- 仮想環境を有効化する
cd C:\Python\env1
. Scripts/activate
- プロジェクトを作成する
django-admin startproject mysite
現在のディレクトリにmysiteが作成されます。
mysite/
    manage.py
    mysite/
        __init__.py
        settings.py
        urls.py
        asgi.py
        wsgi.py
- トップのmysite・・・ルートディレクトリで任意の名前で作成できる。変更も可。
- manage.py・・・Djangoプロジェクトの様々な操作を行うためのコマンドラインユーティリティ。
- mysite・・・このプロジェクトのパッケージ。
- mysite/init.py・・・このディレクトリがpythonであることの空ファイル。
- mysite/settings.py・・・プロジェクトの設定ファイル。
- mysite/urls.py・・・URLを宣言。
- mysite/asgi.py・・・プロジェクトを提供するASGI互換WEBサーバーのエントリポイント。
- mysite/wsgi.py・・・プロジェクトをサーブするためのWSGI互換WEBサーバーのエントリポイント。
開発用サーバーの起動
- トップのmysiteディレクトリに移動する
cd mysite
- 開発サーバーを起動する
python manage.py runserver
起動に成功したら、URLにアクセス(http://127.0.0.1:8000/)
ロケットが離陸しているページが出ていれば、成功。
Pollsアプリケーション作成
- アプリケーションを作成
python manage.py startapp polls
これで、アプリケーションが作成されました。
ビュー作成
- ビューを作成する
from django.http import HttpResponse

def index(request):
    return HttpResponse("Hello, world. You're at the polls index.")
ビューを呼ぶためにURLを対応付けします。
- urlを紐付けする
from django.urls import path
from . import views

urlpatterns = [
    path('', views.index, name='index'),
]
- ルートのURLにモジュールの記述を反映させる
from django.contrib import admin
from django.urls import include, path

urlpatterns = [
    path('polls/', include('polls.urls')),
    path('admin/', admin.site.urls),
]
- サーバーを起動する
python manage.py runserver
サーバーを起動したら、動作確認する。(http://localhost:8000/polls/)
「Hello, world. You're at the polls index.」と表示されていることが確認できます。
DataBaseの設定
- mysite/settings.pyにはデフォルトでSQLiteが設定されている。
- ほかのデータベース等を使いたい場合は、このファイルを修正する。
python manage.py migrate
テーブルが作成される。INSTALL_APPSの設定をもとに、mysite/settings.pyファイルのデータベース設定に従って必要なすべてのテーブルを作成します。
モデルの作成
- pollアプリケーションではQuestionとChoiceの2つのモデルを作成します。
from django.db import models

class Question(models.Model):
    question_text = models.CharField(max_length=200)
    pub_date = models.DateTimeField('date published')


class Choice(models.Model):
    question = models.ForeignKey(Question, on_delete=models.CASCADE)
    choice_text = models.CharField(max_length=200)
    votes = models.IntegerField(default=0)
個々のクラス変数はモデルのデータベースフィールドを表現しています。
モデルを有効にする
- pollsアプリケーションをインストールしたので、設定する必要
polls.apps.PollsConfigを設定する。
INSTALLED_APPS = [
    'polls.apps.PollsConfig',
    'django.contrib.admin',
    'django.contrib.auth',
    'django.contrib.contenttypes',
    'django.contrib.sessions',
    'django.contrib.messages',
    'django.contrib.staticfiles',
]
設定したら、Djangoのモデルを反映させるため以下のコマンドを実施する。
python manage.py makemigrations polls
実施すると、マイグレーションが作成されます。
Migrations for 'polls':
  polls/migrations/0001_initial.py
    - Create model Question
    - Create model Choice
polls/migrations/0001_initial.pyとして作成される。
自動でデータベーススキーマを管理するためのコマンドを実行する。
python manage.py sqlmigrate polls 0001
sqlmigrateコマンドはマイグレーションの名前を引数にとってSQLを返します。
実際には反映されない、反映されるときに実行されるSQLが表示される。
- テーブルを反映させる
python manage.py migrate
migrateは適用されていない、マイグレーションを補足してデータベースに対して実行する。同期をとる。
Djangoが提供するAPIを実施してみる
- QuestionとChoiceモデルの編集を行う
import datetime

from django.db import models
from django.utils import timezone

class Question(models.Model):
    question_text = models.CharField(max_length=200)
    pub_date = models.DateTimeField('date published')
    def __str__(self):
        return self.question_text

    def was_published_recently(self):
        return self.pub_date >= timezone.now() - datetime.timedelta(days=1)

class Choice(models.Model):
    question = models.ForeignKey(Question, on_delete=models.CASCADE)
    choice_text = models.CharField(max_length=200)
    votes = models.IntegerField(default=0)
    def __str__(self):
        return self.choice_text
対話モードでの表示を見やすくするためと、Djangoの自動生成adminでオブジェクトの表現として使用されるため、str()メソッドをモデルに追加しました。
- 対話モードを起動する
python manage.py shell
対話を始める
>>> from polls.models import Choice, Question
>>> Question.objects.all()
>>> Question.objects.filter(id=1)
>>> Question.objects.filter(question_text__startswith='What')
>>> from django.utils import timezone
>>> current_year = timezone.now().year
>>> Question.objects.get(pub_date__year=current_year)
>>> Question.objects.get(pk=1)
>>> q = Question.objects.get(pk=1)
>>> q.was_published_recently()
>>> q = Question.objects.get(pk=1)
>>> q.choice_set.all()
>>> q.choice_set.create(choice_text='Not much', votes=0)
>>> q.choice_set.create(choice_text='The sky', votes=0)
>>> c = q.choice_set.create(choice_text='Just hacking again', votes=0)
>>> c.question
>>> q.choice_set.all()
>>> q.choice_set.count(
>>> Choice.objects.filter(question__pub_date__year=current_year)
>>> c = q.choice_set.filter(choice_text__startswith='Just hacking')
>>> c.delete()
モデルのリレーションの操作を行っています。
※詳細は別途記載したいと思います。
管理ユーザを作成
- ユーザを作成
アプリケーションのadminサイトにログインできるユーザーを作成します。
python manage.py createsuperuser
ユーザー名は適当につけてください
Username: ユーザ名
メールアドレスを入力します
Email address: admin@example.com
exampl.comは誰でも使用して問題のない、例示用のドメイン名です。
入力すると、パスワードの入力を求められます。
Password: **********
Password (again): *********
Superuser created successfully.
これで管理ユーザの作成は以上です。
開発サーバーの起動
- 開発サーバーを起動する
サーバーが立ち上がってなければ実施する
python manage.py runserver
起動したら、*http://localhost:8000/admin/*にアクセスします。
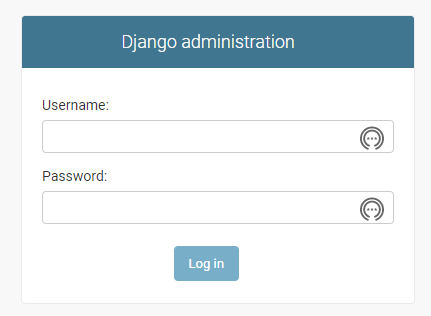
管理画面にログインする
- 先ほど管理ユーザ作成時に設定した、usernameとpasswordを入力するログインに成功すると以下の画面が表示される
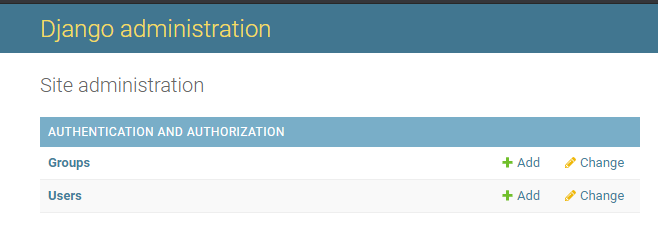
GroupsとUsersは、Djangoの認証機能フレームワークdjango.contrib.authにより提供されているコンテンツです。
Pollアプリをadmin上で編集できるように追加を行う
- polls/admin.pyを開いて編集する。
Questionのオブジェクトがadminのインターフェースを持つことで表示されるようになります。
インターフェースを持ったことをadminに教えます。
from django.contrib import admin
from .models import Question

admin.site.register(Question)
管理画面にpollsが表示されるようになりました。
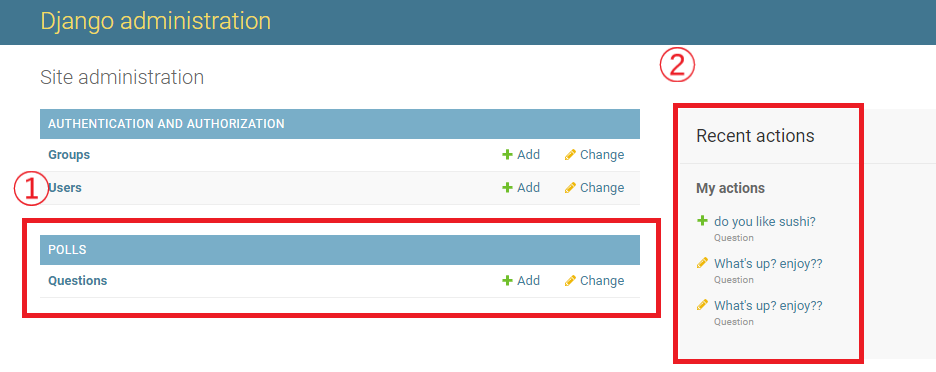
- ①追加したpolls
- ②操作を行うと履歴として表示される。
管理画面を操作してみる
-
pollsのQuestionsを押下
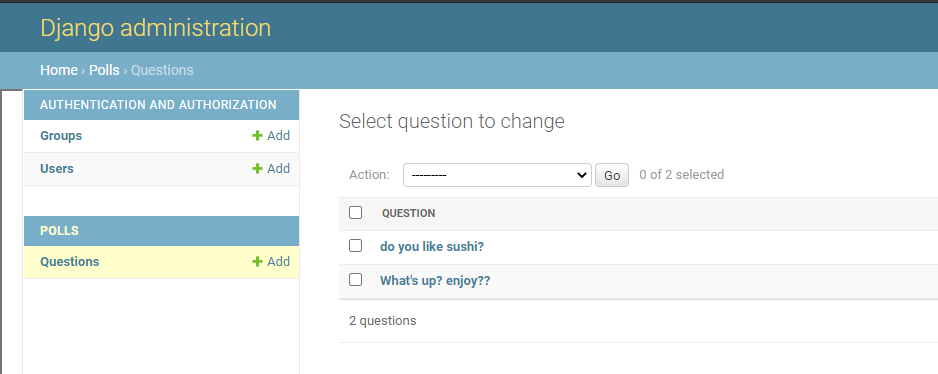
-
do you like sushi?を押下
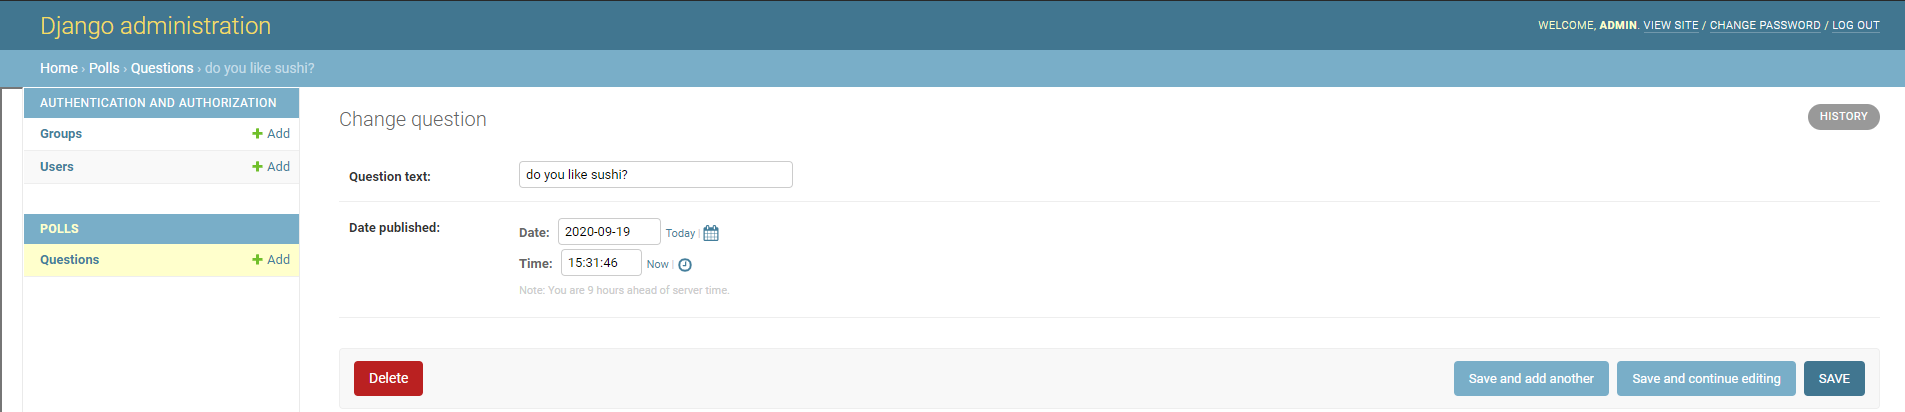
色々と更新したりすることができる
djangoを用いてWEBアプリケーション開発 ~開発その2~ >>>