はじめに
ESP32-DevKitCを触る機会があったので,開発環境構築からLチカまでをまとめておきます.
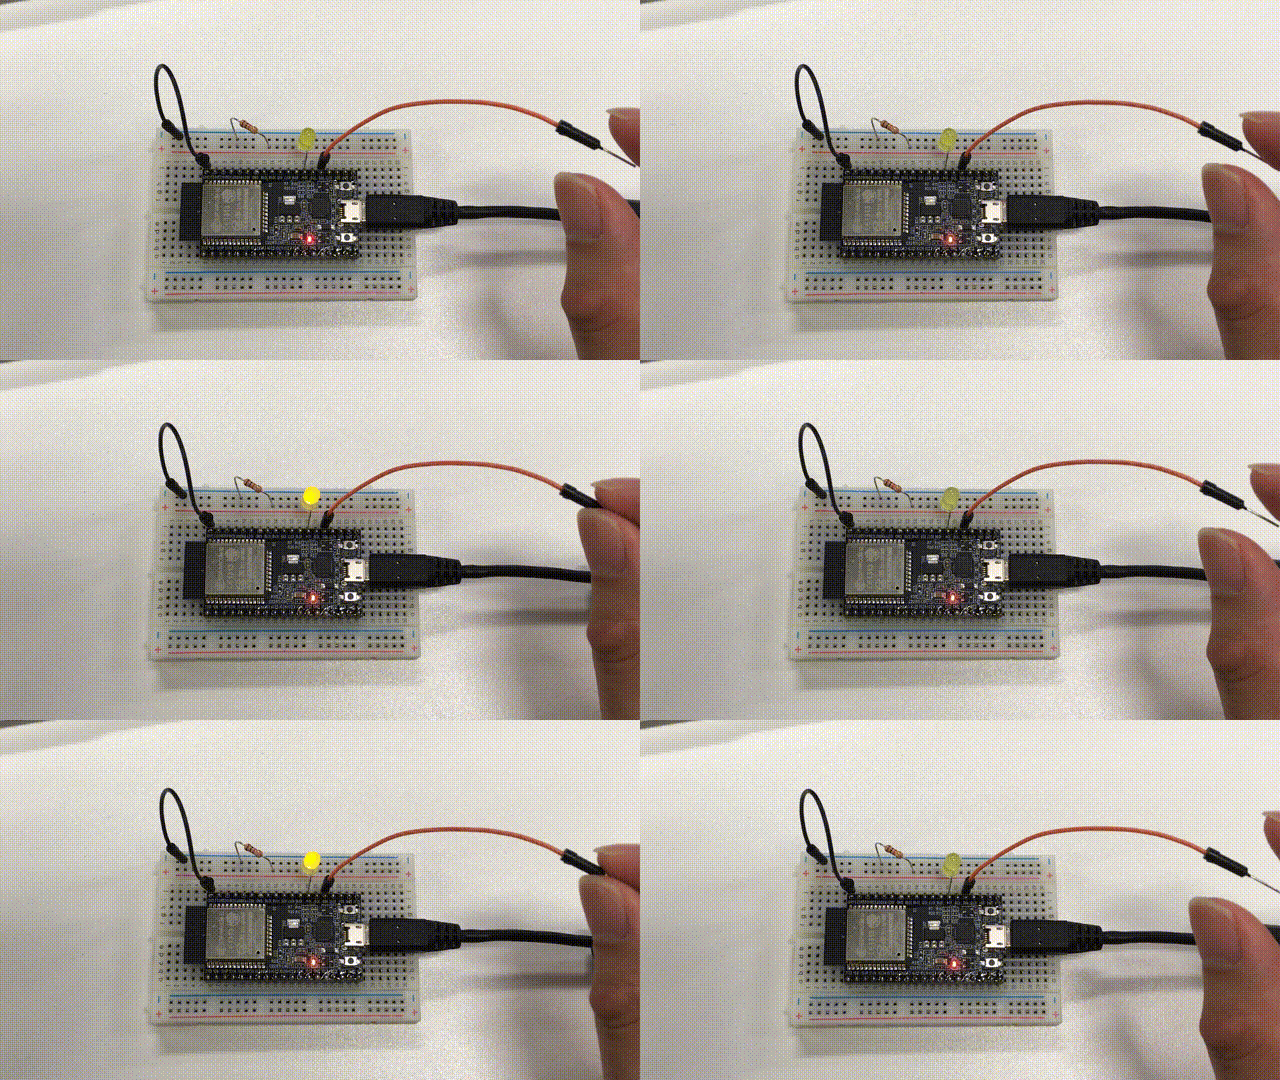
静電容量タッチインターフェース用のPINが10本もあるので,それを使ってタッチを検出しLEDを光らせます.
ちなみにESP32の開発ボードは秋月で1500円くらいで買えます.
ESP32-DevKitC ESP-WROOM-32開発ボード : 秋月電子通商
参考文献リストは末尾に載せています.
開発環境
- Mac OS Sierra
- Arduino IDE
開発環境構築
ESP32を開発するにあたっては様々な開発環境があるようです.
参考 : ESP32の開発環境いろいろ - Qiita
自分は使い慣れたArduino IDEで開発したかったのでArduino core for the ESP32を使うことにしました.
Mac OSの場合は,以下の公式のドキュメントを参考にします.
arduino-esp32/mac.md at master · espressif/arduino-esp32
- Arduino IDEをArduino - Softwareからインストール
- ターミナルに以下のコマンドをコピペ実行
mkdir -p ~/Documents/Arduino/hardware/espressif && \
cd ~/Documents/Arduino/hardware/espressif && \
git clone https://github.com/espressif/arduino-esp32.git esp32 && \
cd esp32/tools/ && \
python get.py
確認のため,Arduino IDEを開いてツール->ボード->ESP32 Dev Moduleを選択し,
ツール->シリアルポート->/dev/cu.SLAB_USBtoUARTを選択.
・・・すればよいのですが,ESP32をつないでもシリアルポートに/dev/cu.SLAB_USBtoUARTが表れません.
どうやら,Silicon Labs VCP Driverというものが必要っぽいです.
参考 : USB port not listed on Mac OS X · Issue #370 · espressif/arduino-esp32
そこで,以下からMac OS用のドライバをインストールします.
USB - UART ブリッジ VCP ドライバ|Silicon Labs
これでシリアルポートに/dev/cu.SLAB_USBtoUARTが現れるはずです ![]()
タッチセンサを使ってLチカ
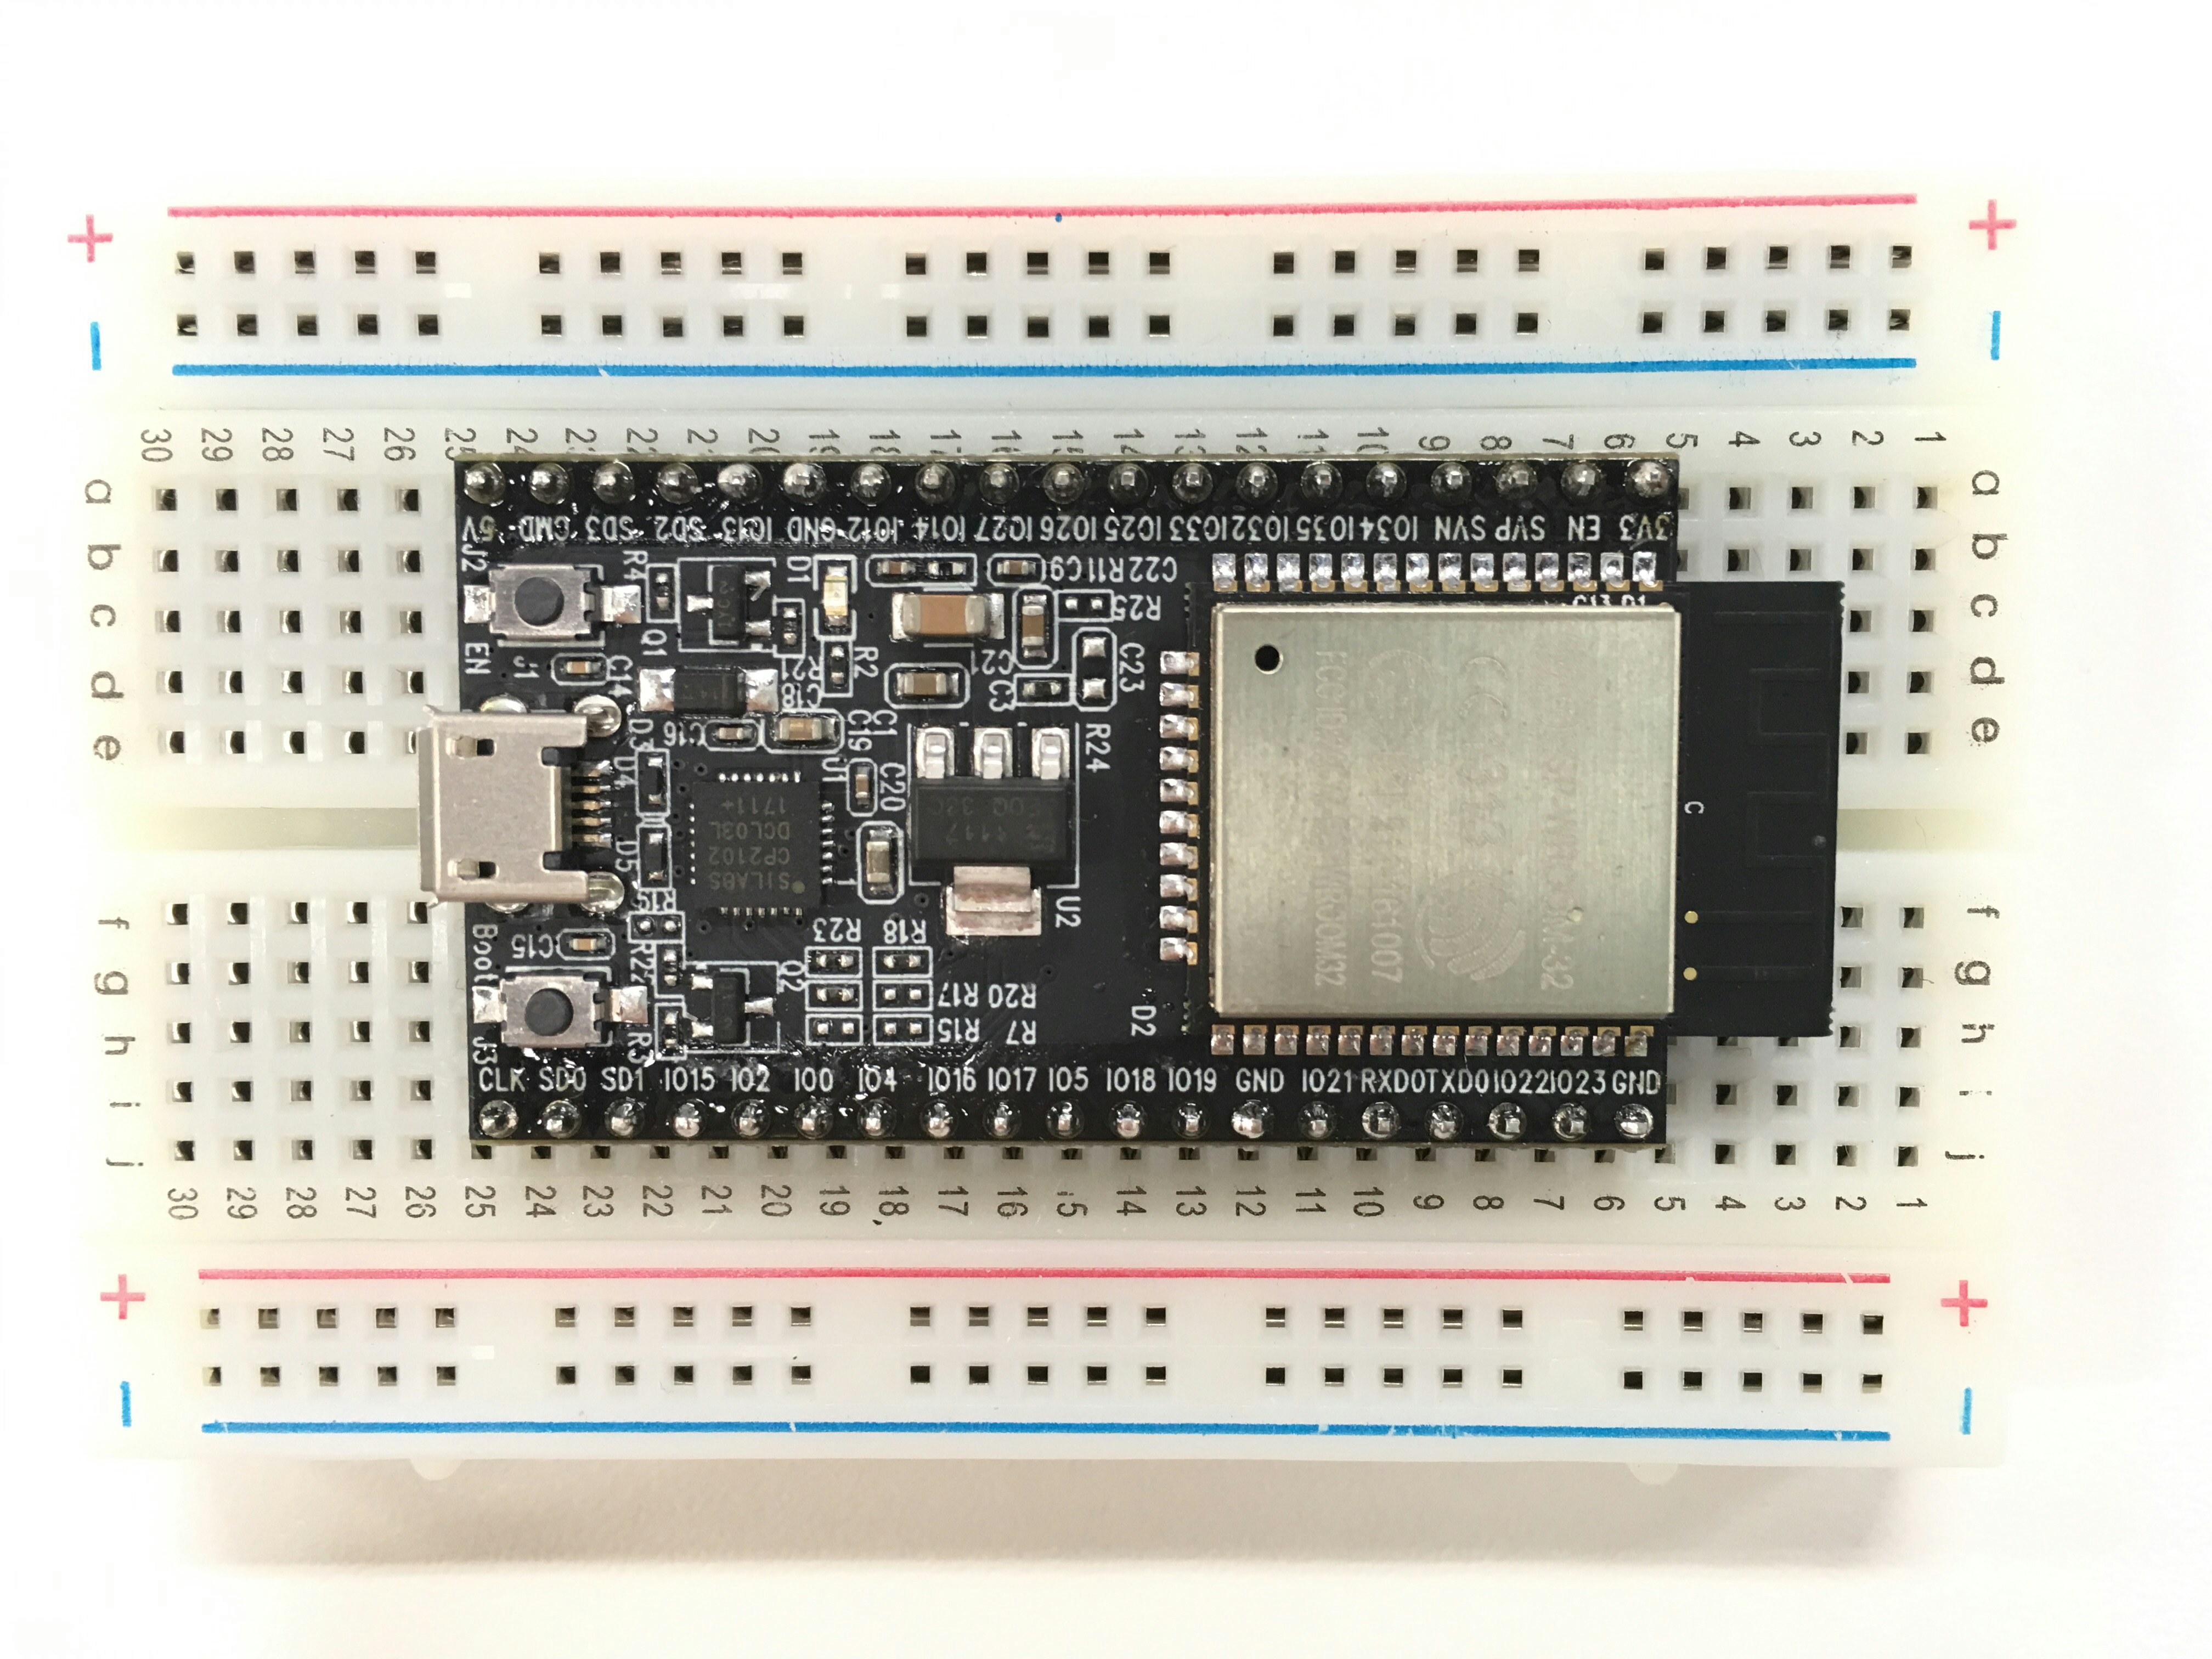
ブレッドボードのサイズ
手元にあったブレッドボードにESP32-DevKitCを刺すと,見事に片側1列しか使えなくなりました.
もう一方のサイドにあるPIN使えない・・・

片側に6穴ずつあるサンハヤトの SAD-101が良いらしいです.
ESP32-DevKitC 各部詳細 : ESP-WROOM-32
タッチでLチカ
以下のピン配置を参考にして適当に配線します.
LEDはIO4をタッチセンサはIO2を使用しました.
タッチセンサのIO2からはジャンパ線を生やしているだけです.
(これだけでタッチセンサできるの便利すぎワロタ.しかも10本あるのやべえ)
 (image from [arduino-esp32/esp32_pinmap.png at master · espressif/arduino-esp32](https://github.com/espressif/arduino-esp32/blob/master/docs/esp32_pinmap.png))
コードは以下です.
int threshold = 20;
int touched_value = 0;
int LED_PIN = 4;

void setup() {
  pinMode(LED_PIN, OUTPUT);
}

void loop(){
  touched_value = touchRead(T2);
  if (touched_value < threshold) {
    digitalWrite(LED_PIN, HIGH);
  }
  else {
    digitalWrite(LED_PIN, LOW);
  }
  delay(10);
}
