はじめに
2016年4月に新卒で入社し、プログラミング歴は約9ヶ月です。
プログラミングは英語だけではなく、世界中の言語で生み出されているようですがその中でも唯一、右から左に書かれるアラビア語のプログラミング言語「قلب」「Qalb」について纏めてみました。
figure#1:アラビア語で右から「Qalb:programming language」
環境
- Windows 7 Professional
- Ubuntu 16.04 (Windowsからリモートで接続)
- Ruby 2.3.1
- npm 3.5.2
- VIM 7.4(任意)
事前準備
- アラビア語入力の設定(Windows)
- アラビア語入力の設定(Ubuntu)←任意
- アラビア語入力の設定(vim)←任意
Agenda
アラビア語入力設定(Windows)
入力設定はできても、日本のパソコンであればキーボードにアラビア文字はないので↓ご参考に。
figure#2:アラビア文字のキーボード
- アラビア語入力の設定(Linux)←任意
- アラビア語入力の設定(vim)←任意
アラビア語プログラミング言語「قلب」「Qalb」について
Qalbはコンピューターサイエンティストのラムジー・ナセル(Ramsey Nasser)が2012年に生み出したアラビア語のプログラミング言語。
https://github.com/nasser/--- よりクローンは可能だが、4年ほど更新されておらず、README.mdにも詳しい情報は記載されていない。
設定
- Gitクローン
$ git clone https://github.com/nasser/---.git qalb
ディレクトリ名が「---」だと少々分かりにくいので、クローンと同時にプログラミング言語名の「qalb」へとディレクトリ名を変更しています。
- ~/qalbをワーキングディレクトリにする
$ cd ~/qalb
- npmのインストール
$ sudo apt install npm
- npmのバージョン確認
$ npm -v
3.5.2
- npm install コマンドでpackage.jsonのdependenciesとして記載されているモジュールがインストールされる
$ npm install
---@0.0.0 ~/qalb
`-- pegjs@0.7.0
- bundleをインストールする
$ bundle install
Fetching gem metadata from http://rubygems.org/.........
Fetching version metadata from http://rubygems.org/.
Installing i18n 0.6.1
Installing multi_json 1.5.0
Installing builder 3.0.4
Installing daemons 1.1.9
Installing eventmachine 1.0.0 with native extensions
Installing rack 1.4.1
Installing tilt 1.3.3
Using bundler 1.13.6
Installing activesupport 3.2.9
Gem::Ext::BuildError: ERROR: Failed to build gem native extension.

[省略]

An error occurred while installing eventmachine (1.0.0), and Bundler cannot continue.
Make sure that `gem install eventmachine -v '1.0.0'` succeeds before bundling.
↑既存のGemfile.lockに記載されているgemのバージョンが古いため失敗
- 既存のGemfile.lockの削除
$ rm Gemfile.lock
- bundle install再トライ
$ bundle install
Fetching gem metadata from http://rubygems.org/..........
Fetching version metadata from http://rubygems.org/.
Resolving dependencies...
Using concurrent-ruby 1.0.2
Using i18n 0.7.0
Using minitest 5.10.1
Using thread_safe 0.3.5
Installing bson 1.12.5
Using daemons 1.2.4
Using eventmachine 1.2.1
Installing rack 1.6.5
Using tilt 2.0.5
Using bundler 1.13.6
Using tzinfo 1.2.2
Installing bson_ext 1.12.5 with native extensions
Installing mongo 1.12.5
Installing rack-protection 1.5.3
Installing thin 1.7.0 with native extensions
Using activesupport 5.0.0.1
Installing plucky 0.6.6
Installing sinatra 1.4.7
Installing activemodel 5.0.0.1
Installing mongo_mapper 0.13.1
Bundle complete! 4 Gemfile dependencies, 20 gems now installed.
Use `bundle show [gemname]` to see where a bundled gem is installed.
↑bundle install 成功し、Gemfile.lockがアップデートされます。
- gem installでeventmachineをインストールする
$ sudo gem install eventmachine
Fetching: eventmachine-1.2.1.gem (100%)
Building native extensions.  This could take a while...
Successfully installed eventmachine-1.2.1
Parsing documentation for eventmachine-1.2.1
Installing ri documentation for eventmachine-1.2.1
Done installing documentation for eventmachine after 3 seconds
1 gem installed
- foremanのインストール(※今回はProcfileのtransitionをherokuではなく、foremanで試してみる)
$ sudo gem install foreman
Fetching: thor-0.19.4.gem (100%)
Successfully installed thor-0.19.4
Fetching: foreman-0.82.0.gem (100%)
Successfully installed foreman-0.82.0
Parsing documentation for thor-0.19.4
Installing ri documentation for thor-0.19.4
Parsing documentation for foreman-0.82.0
Installing ri documentation for foreman-0.82.0
Done installing documentation for thor, foreman after 0 seconds
2 gems installed
- foremanをチェックする
$ foreman check
- Option1:foremanコマンドでポート番号を指定してProcfileを実行する
Option2:またはProcfileに記載されているコマンドを実行する
$ foreman start -p 3000
- Web上ホスト名とポート番号を指定してアクセス(クライアントはChromeを使用しています)
http://localhost:3000
↓下記のような画面が出力されれば成功
- 実行結果
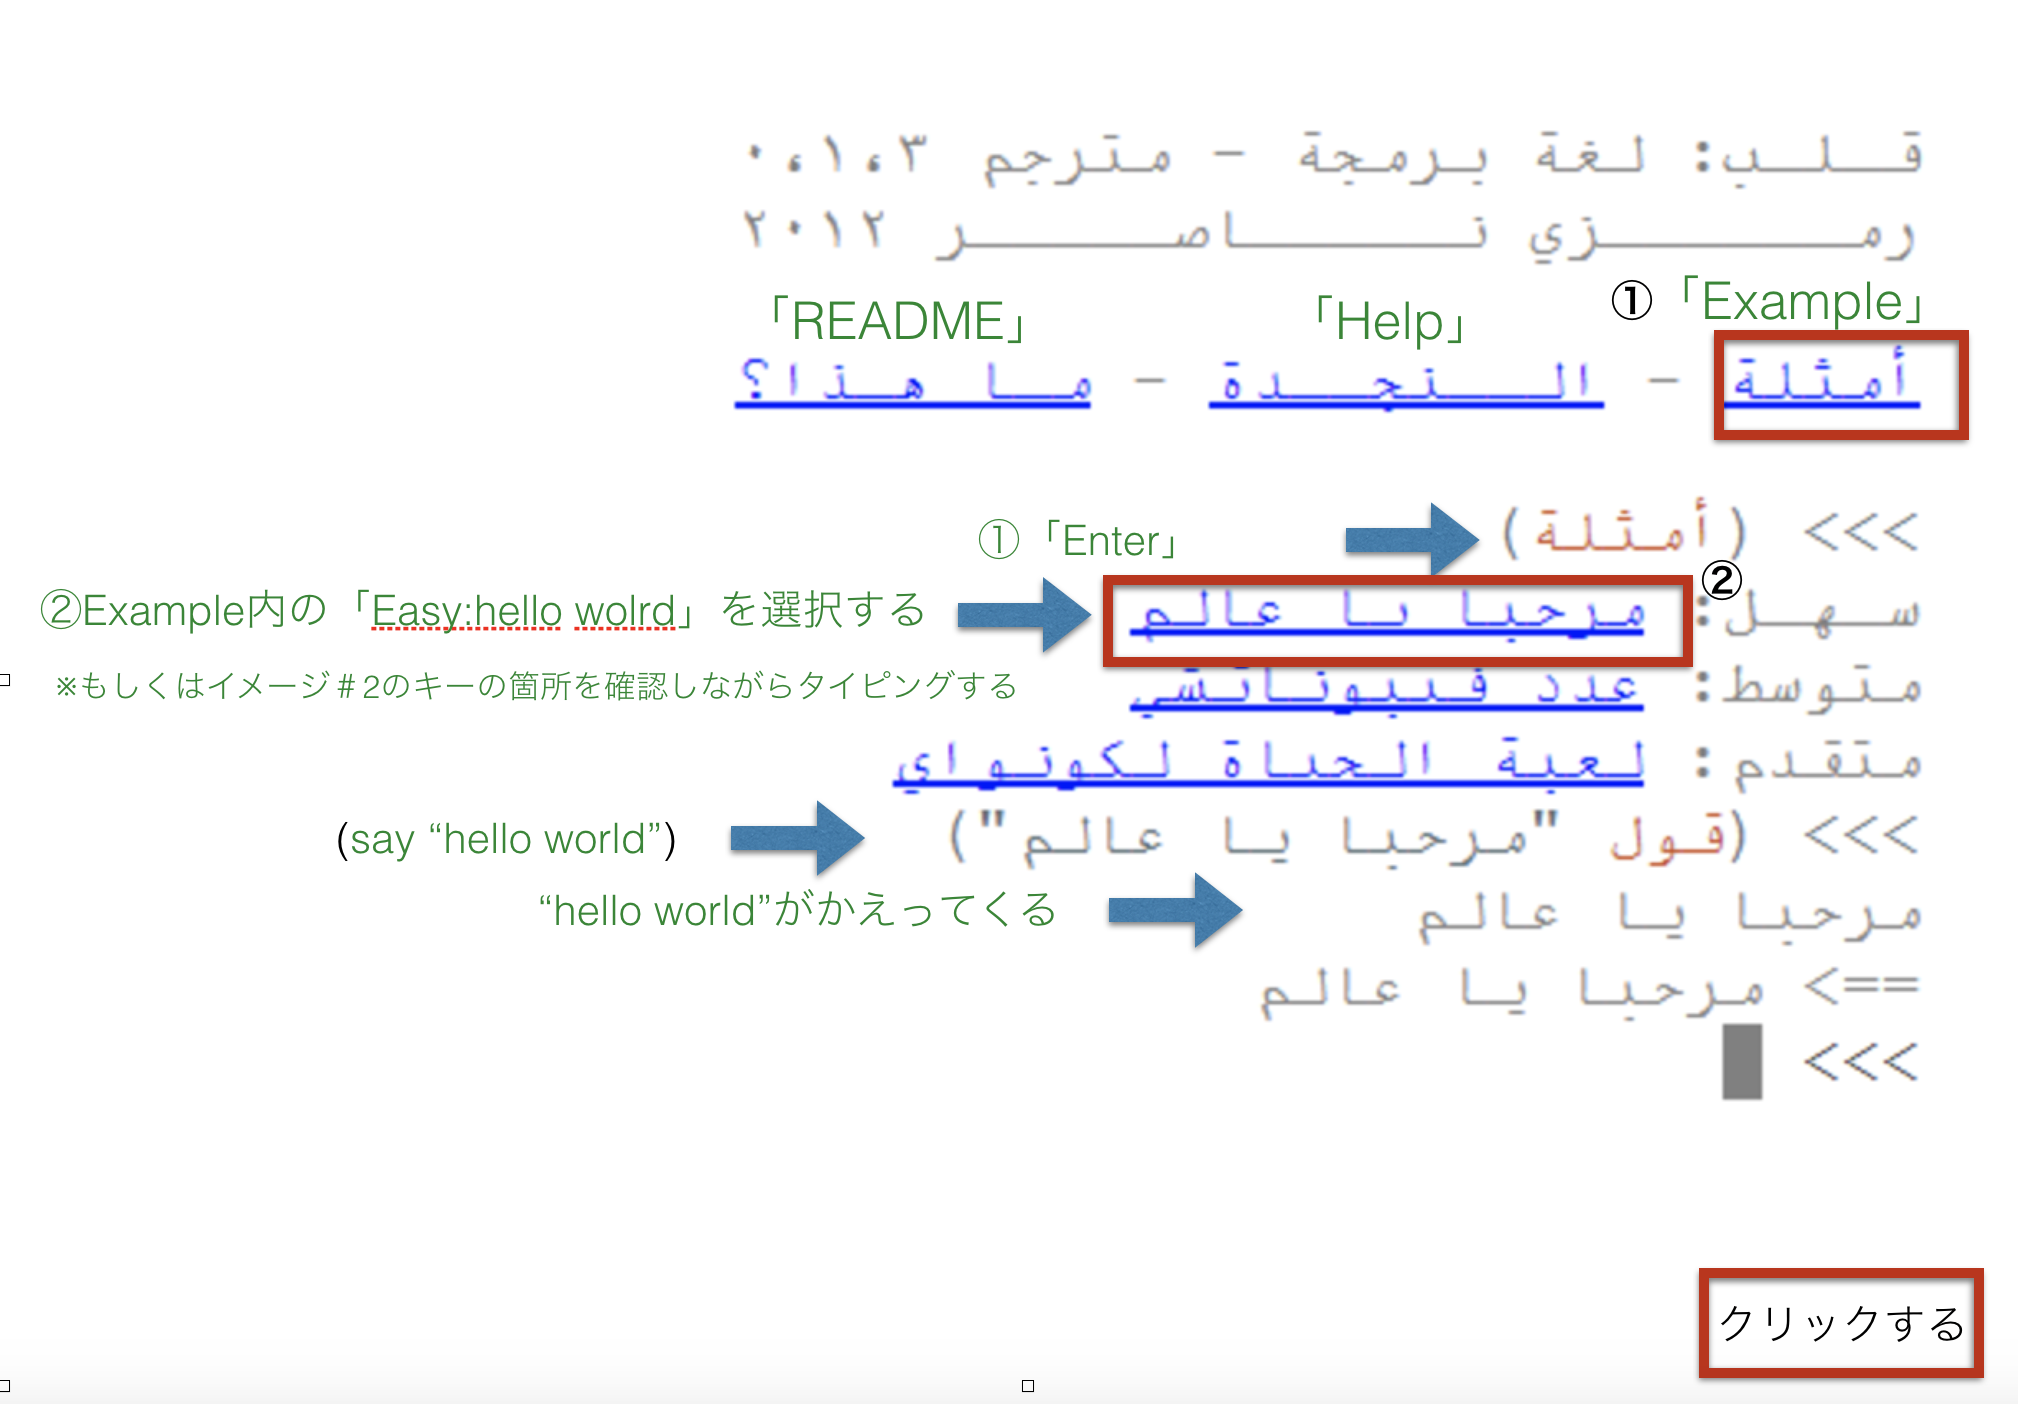
figure#3
参考資料


