Note
この記事では紹介してませんが、アップデートで追加された Virtual Deliverability Manager もオススメです。
https://blog.serverworks.co.jp/how-to-investigate-the-sender-and-recipient-of-bounced-emails-in-amazon-ses
はじめに
一般的にメールサーバーを運用するのは大変です。世の中にはスパムメールを送る業者が存在しており、メール機能を提供するプロバイダー側で独自のフィルターを構築し、利用者がスパムメールを受信しないように運営されている場合もあります。
Amazon SES (Simple Email Service) を利用してメールを送る際も同様に、一般的なメールの運用が必要になります。一般的なメール関連の用語に次のものがあります。
-
バウンス (Bounce)
- 送信したメールが、何らかのエラーによって送信者に差し戻されること。バウンスメールには「ハード」と「ソフト」の2種類がある。
- ハードバウンス (Hard Bounce)
- 永続的なエラーによるバウンス。そのメールアドレスには基本的に届けることができない。メールアドレスが存在しない、受信拒否されている、など- ソフトバウンス (Soft Bounce)
- 一時的なエラーによるバウンス。時間をおいて再送信すれば届くことが多い。メールボックスがいっぱい、サーバのダウン、など
- ソフトバウンス (Soft Bounce)
-
苦情 (Complaint)
- メールの受信者が、メーラー上で「迷惑メール報告」や「迷惑メールフラグ」をつけること。
SES の Document には、バウンス率を5%以下に抑えることや、苦情率を 0.1 % 以下に抑えることがベストプラクティスとして記載されています。
https://docs.aws.amazon.com/ja_jp/ses/latest/dg/success-metrics.html
バウンスや苦情を抑えるために、現状のレートやログを確認することは重要です。確認することで、改善策の検討材料にできます。
ということで、今回は SES のバウンス・苦情レートの確認方法や、SES のログの確認方法をご紹介します。
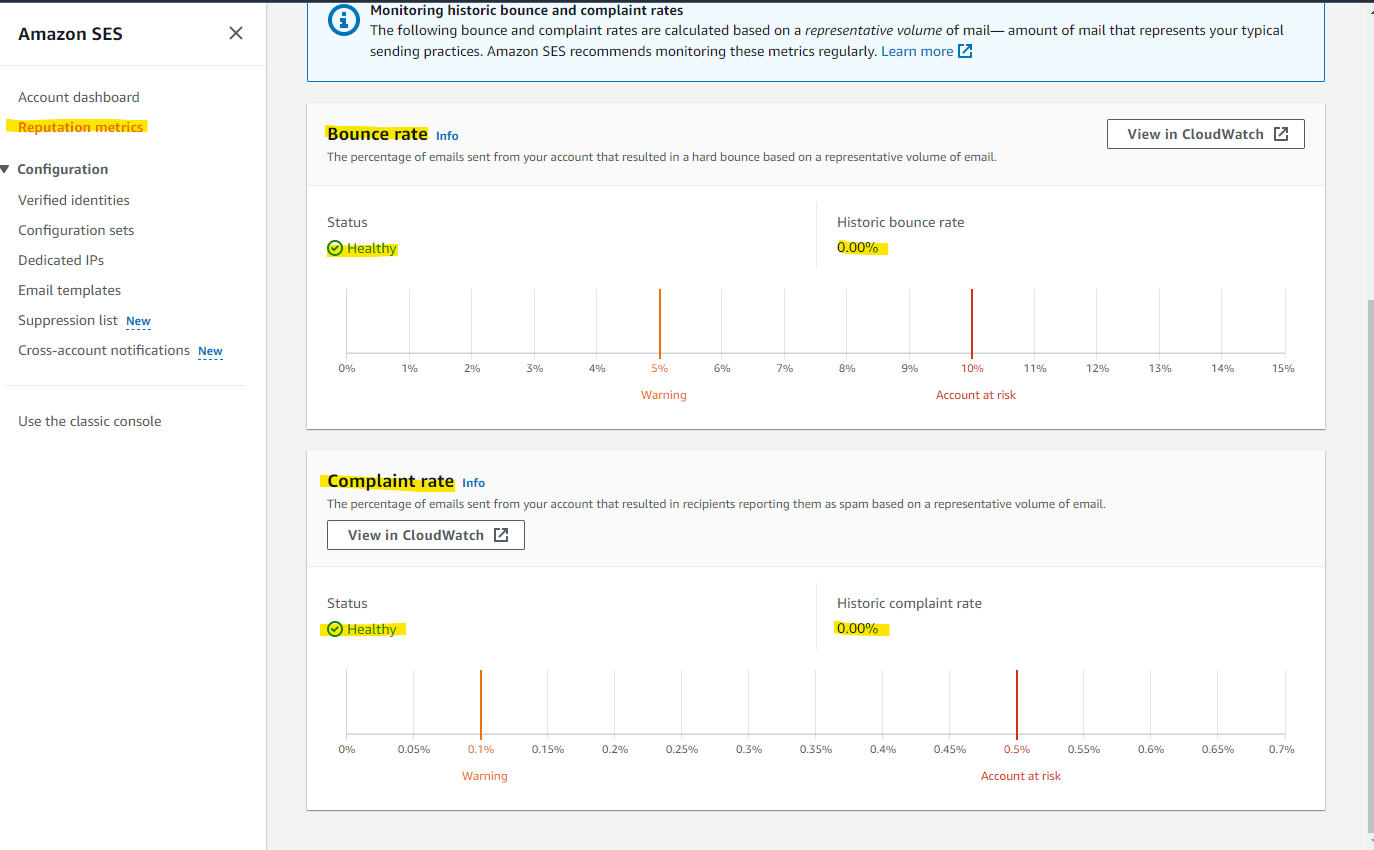
SES でバウンス率・苦情率を確認
AWS マネージメントコンソールで Reputation metrics を開くことで、最近のバウンス率・苦情率を確認できます。Warning 以下に抑えるように運用をしていくのがベストプラクティスと書かれています。
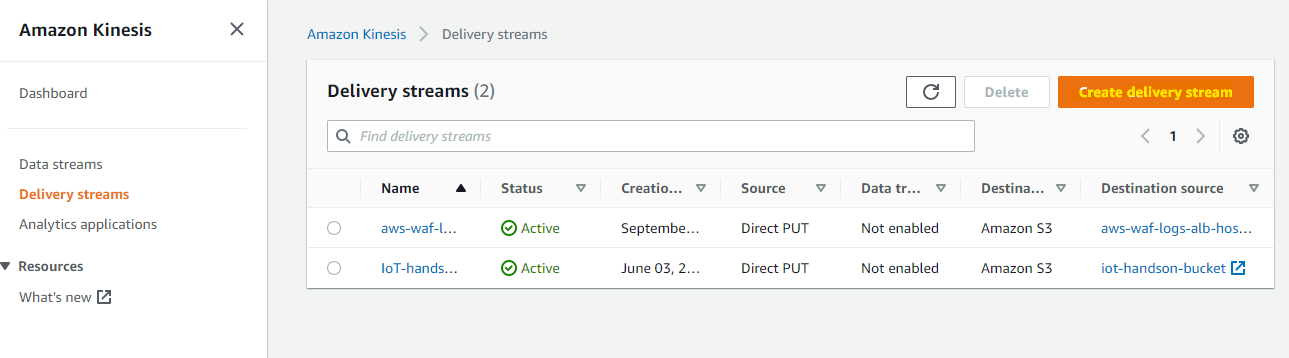
Kinesis Firehose を作成
上記の機能でバウンス率・苦情率はわかりますが、具体的に失敗した宛先や理由は確認ができません。詳細を確認するために、SES のアクセスログを Kinesis Firehose を経由して S3 に出力できます。
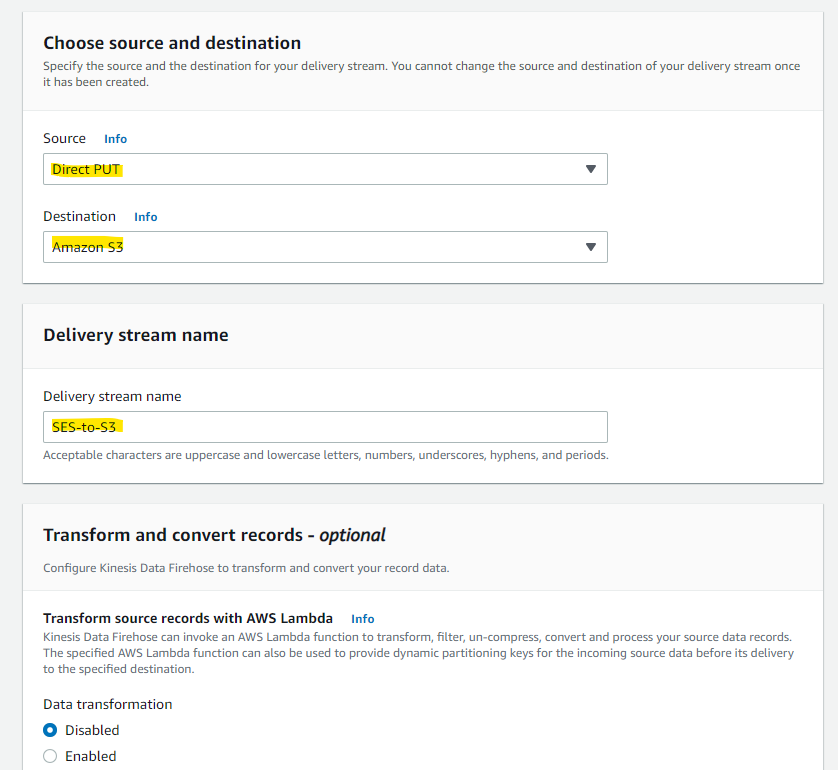
それでは、Kinesis Firehose を作成していきます。
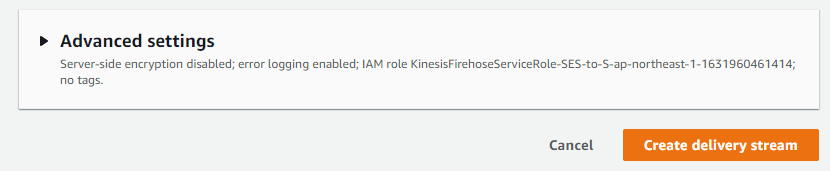
Create
S3 へ保存するパラメータを指定
出力先の S3 Bucket を指定
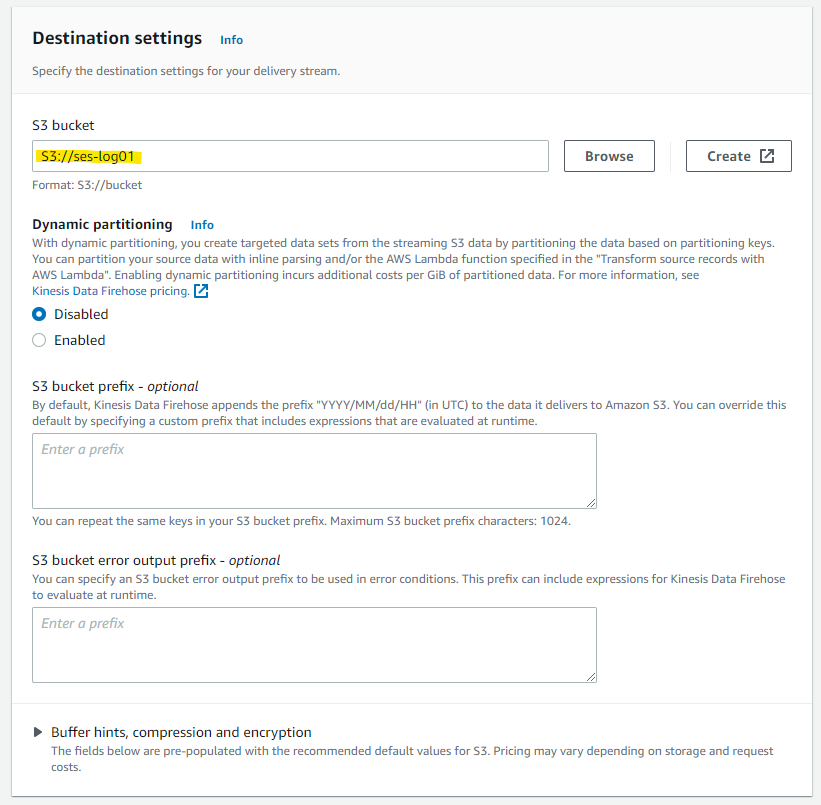
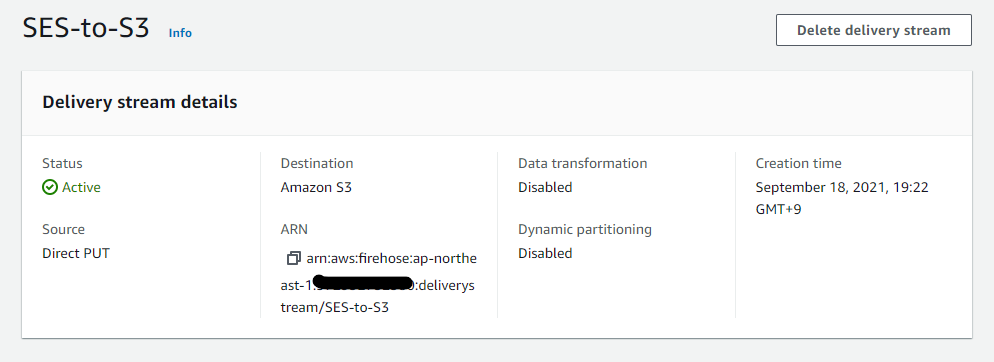
Create
Kinesis Firehose が作成されます。
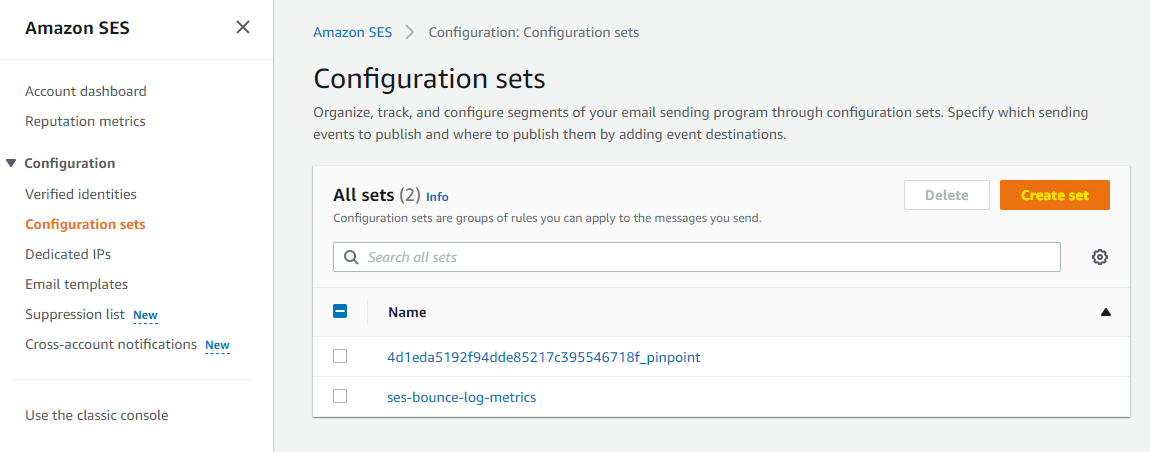
Configuration Sets を設定
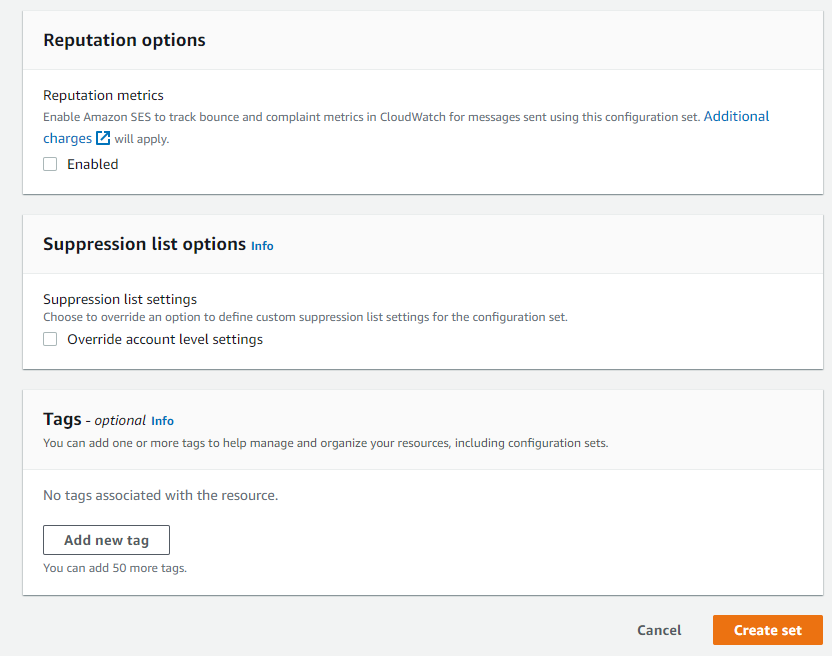
次に、SES 側でログを出力するため Configuration Sets が必要です。Configuration sets のページを開き、Create set を選択します。
好きな名前を入れいます。それ以外はデフォルトのままです。
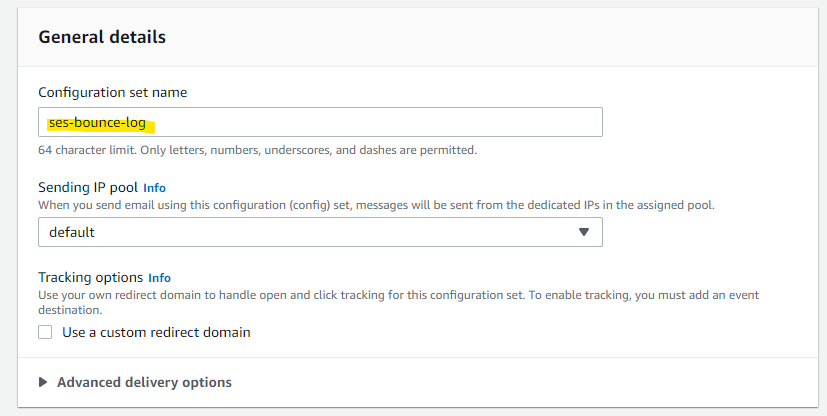
Create Set を押します。
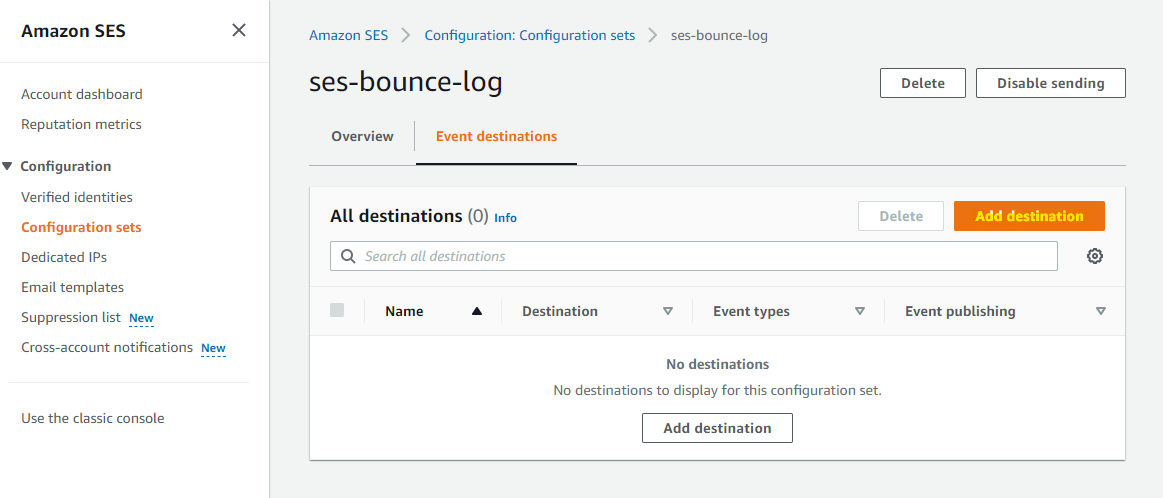
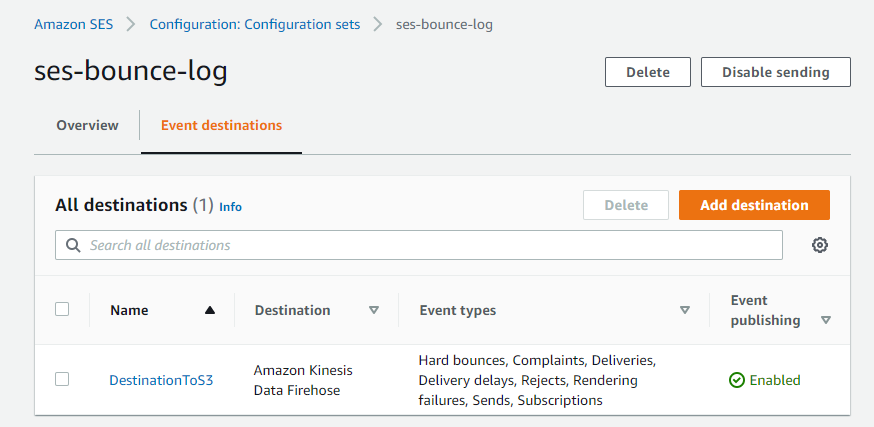
作成されたので、Event destinations を選択します。

Add destination を押します
今回はすべてのログを取得対象にしてみます。実際には、必要なログに絞るとコストを最適化できます。
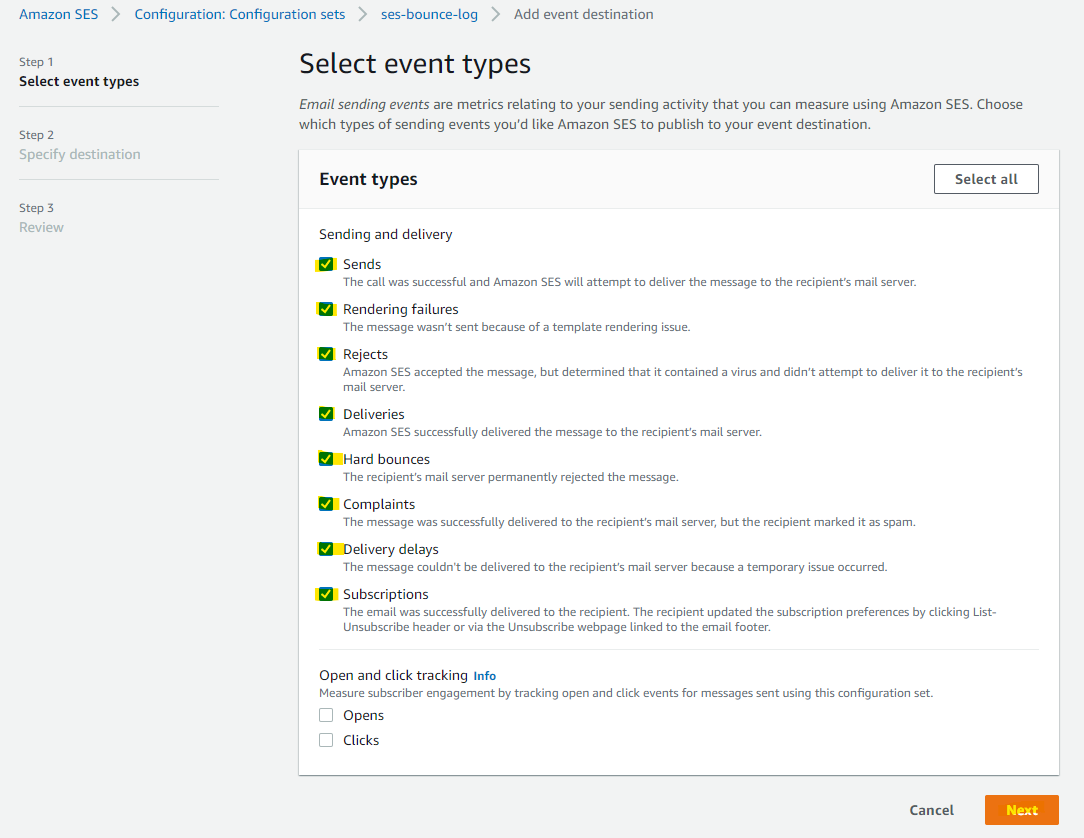
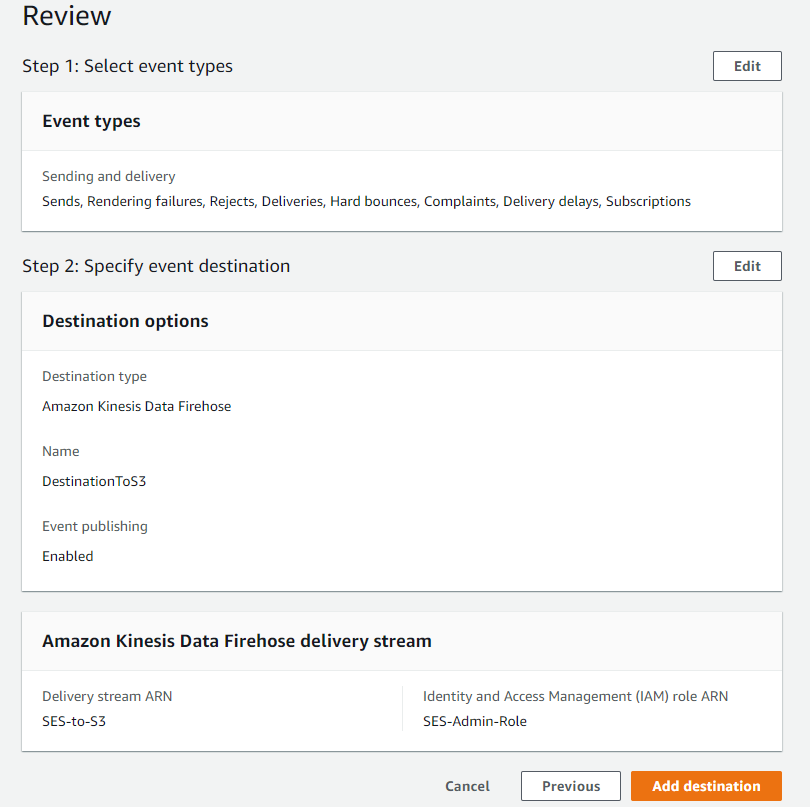
次のパラメータを入れて Next を押します。
- Destination の名前
- Kinesis Firehose の指定
- 利用する IAM Role

Add destination を押します。
追加されました
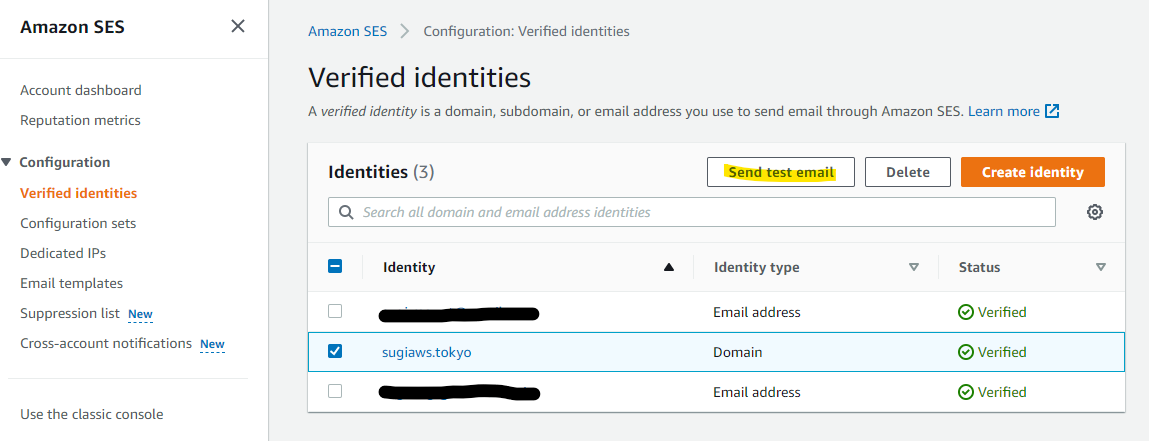
バウンス用のテスト用アドレスに送付
AWS には、いくつかのテスト用メールアドレスが準備されています。その中の一つに、バウンス用のメールアドレスがこちらです。
bounce@simulator.amazonses.com
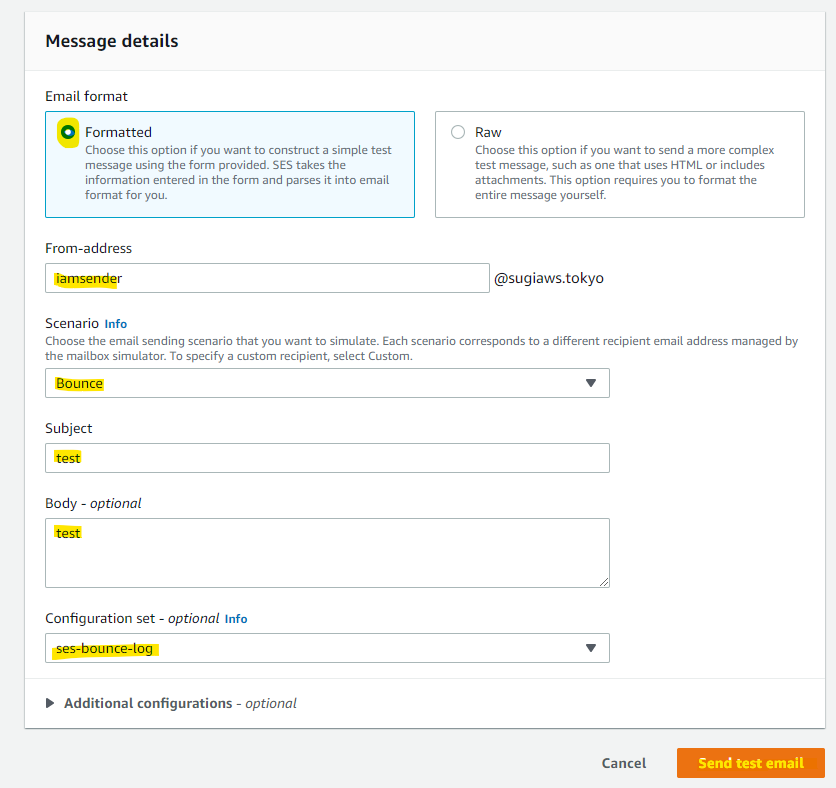
上記のメールアドレス宛に、テストメールを送付します。
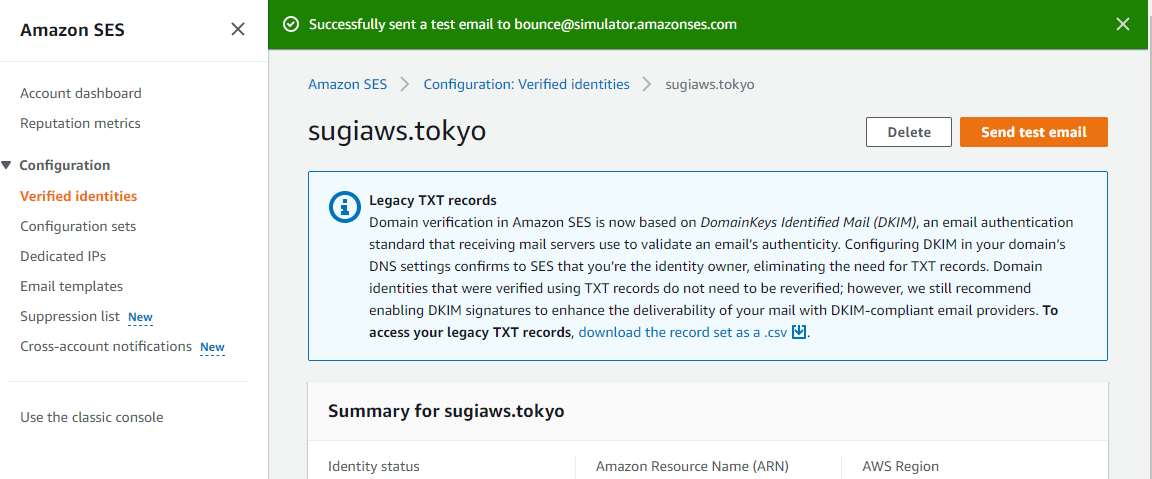
送信されました。
Firehose によって、S3 上にログが格納されている
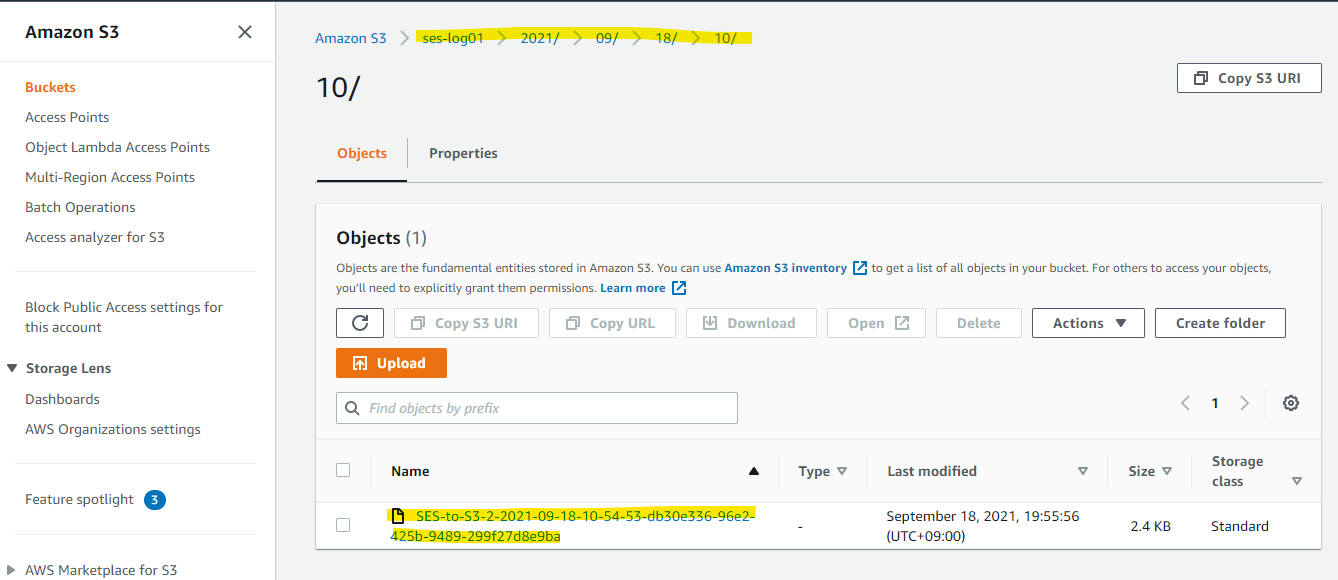
このログの中身は次のような内容になっている。eventType が Bounce になっており、これでログのタイプを識別可能
JSON で整形
{
	"eventType": "Bounce",
	"bounce": {
		"feedbackId": "0106017df049212c-fbd27120-8194-4d83-8c67-d514aae44c81-000000",
		"bounceType": "Permanent",
		"bounceSubType": "General",
		"bouncedRecipients": [
			{
				"emailAddress": "bounce@simulator.amazonses.com",
				"action": "failed",
				"status": "5.1.1",
				"diagnosticCode": "smtp; 550 5.1.1 user unknown"
			}
		],
		"timestamp": "2021-12-25T06:31:04.378Z",
		"reportingMTA": "dns; e234-6.smtp-out.ap-northeast-1.amazonses.com"
	},
	"mail": {
		"timestamp": "2021-12-25T06:31:03.076Z",
		"source": "iamsender@sugiaws.tokyo",
		"sourceArn": "arn:aws:ses:ap-northeast-1:xxxxxxxxxxxx:identity/sugiaws.tokyo",
		"sendingAccountId": "xxxxxxxxxxxx",
		"messageId": "0106017df0491ca4-134afe35-9bc6-4035-aae7-632194ccaadc-000000",
		"destination": [
			"bounce@simulator.amazonses.com"
		],
		"headersTruncated": false,
		"headers": [
			{
				"name": "Return-Path",
				"value": "xxxxxxxxxxxx"
			},
			{
				"name": "From",
				"value": "iamsender@sugiaws.tokyo"
			},
			{
				"name": "To",
				"value": "bounce@simulator.amazonses.com"
			},
			{
				"name": "Subject",
				"value": "test"
			},
			{
				"name": "MIME-Version",
				"value": "1.0"
			},
			{
				"name": "Content-Type",
				"value": "multipart/alternative;  boundary=\"----=_Part_211408_1918512267.1640413863078\""
			}
		],
		"commonHeaders": {
			"returnPath": "xxxxxxxxxxxx",
			"from": [
				"iamsender@sugiaws.tokyo"
			],
			"to": [
				"bounce@simulator.amazonses.com"
			],
			"messageId": "0106017df0491ca4-134afe35-9bc6-4035-aae7-632194ccaadc-000000",
			"subject": "test"
		},
		"tags": {
			"ses:operation": [
				"SendEmail"
			],
			"ses:configuration-set": [
				"ses-bounce-log"
			],
			"ses:source-ip": [
				"xxxxxxxxxxxx"
			],
			"ses:from-domain": [
				"sugiaws.tokyo"
			],
			"ses:caller-identity": [
				"Admin"
			]
		}
	}
}
まとめ
SES に Kinesis Firehose と S3 を組み合わせることで、アクセスログを出力できることがわかりました。今回の記事では出力するまででしたが、実際の運用では検索したくなると思います。その時には Athena を使って検索が可能です。Athena S3 みたいなキーワードで検索すると設定方法が出てくるので、ぜひ Athena も試してみると良いと思います。
参考URL
E メールを介したAmazon SES に関する通知の受信
https://docs.aws.amazon.com/ja_jp/ses/latest/dg/monitor-sending-activity-using-notifications-email.html