はじめに
AWS では、「Purpose-built databases」と表現される、利用するサービスのワークロードに合わせて最適なデータベースを選択する考え方があります。実現したいシステムをデータ構造に落とし込み、最適なパフォーマンスでお客様にサービスを提供するために、様々な用途に合わせたデータベースが選べます。
その中で今回はグラフデータベースである Amazon Neptune を取り上げていきます。
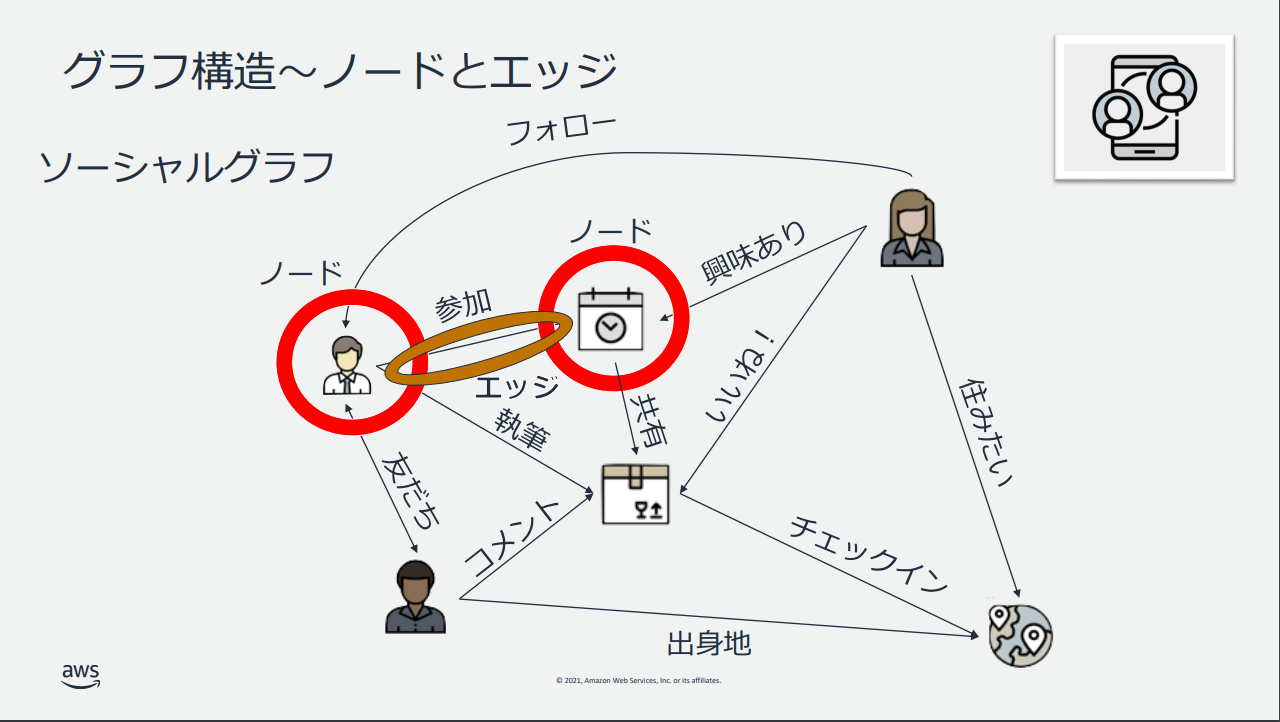
グラフデータベースが利用できるわかりやすい例として、次のものがあります。
URL : https://pages.awscloud.com/rs/112-TZM-766/images/2_20211111_Neptune_shoukai.pdf
ソーシャルネットワークを表現しており、「ユーザー」「記事」「いいね!」「コメント」といった登場人物がいます。A さんの友達がコメントしている記事を いいね!している人など、複雑な多対多の関係性となっています。こういった複雑な関係性でなおかつ大量にデータがあるとき、一般的な RDBMS だとパフォーマンスの問題がある可能性があります。そこで、多対多の関係性の表現に強い Amazon Neptune を利用することで、パフォーマンスをよくデータ提供ができます。
今回の記事では、Neptune を構築してみて、どういった使い方が出来るものなのか確認していきましょう。AWS Document の次の URL を参考に進めていきます。
Getting Started : https://docs.aws.amazon.com/ja_jp/neptune/latest/userguide/neptune-setup.html
Neptune を作成
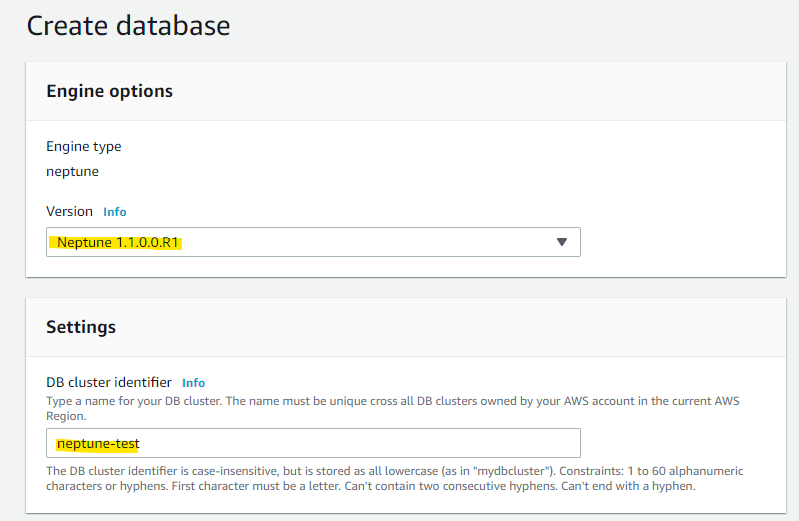
Neptune のページを開き、Create Database を押します
各種パラメータを指定します
- Neptune のバージョンを指定
- Cluster 名を指定
各種パラメータを指定します
- 本番環境向け
- Instance Size
- 異なる AZ に Read Replica を作成する、Multi-AZ 構成
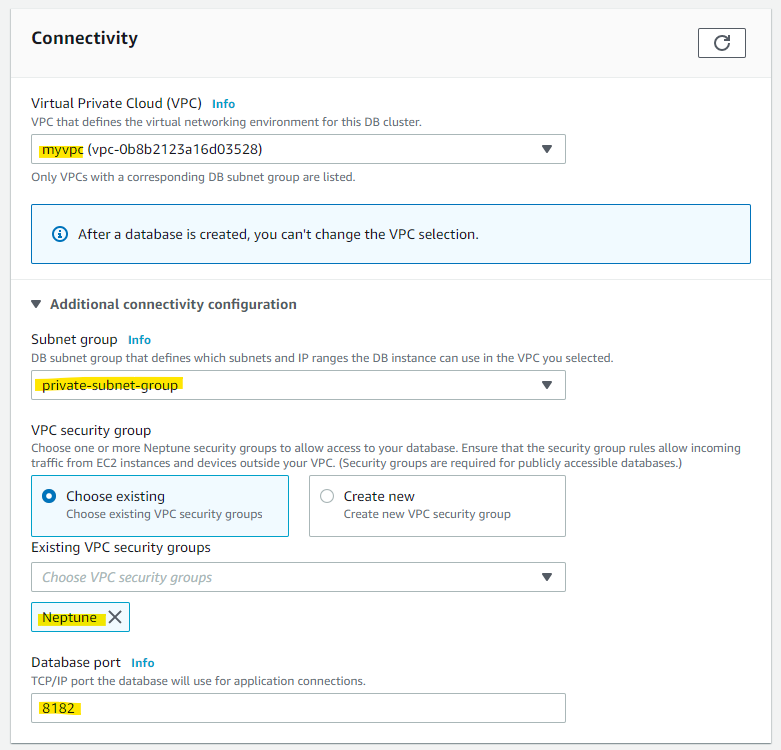
各種パラメータを指定します
- VPC, Subnet Group, Security Group を指定
- Neptune の Port を指定
他の各種設定はデフォルトのままで進めます。RDS の設定画面に似ていますね。
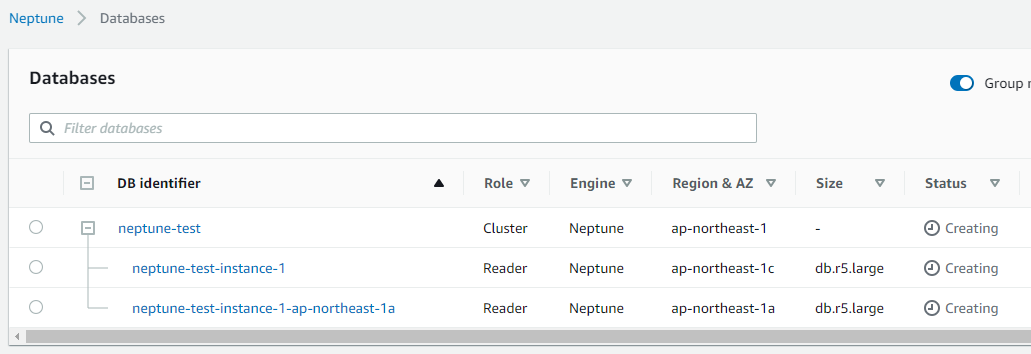
Create Database を選択します
2 つの AZ にまたがって、2つの Neptune インスタンスが Creating となりました
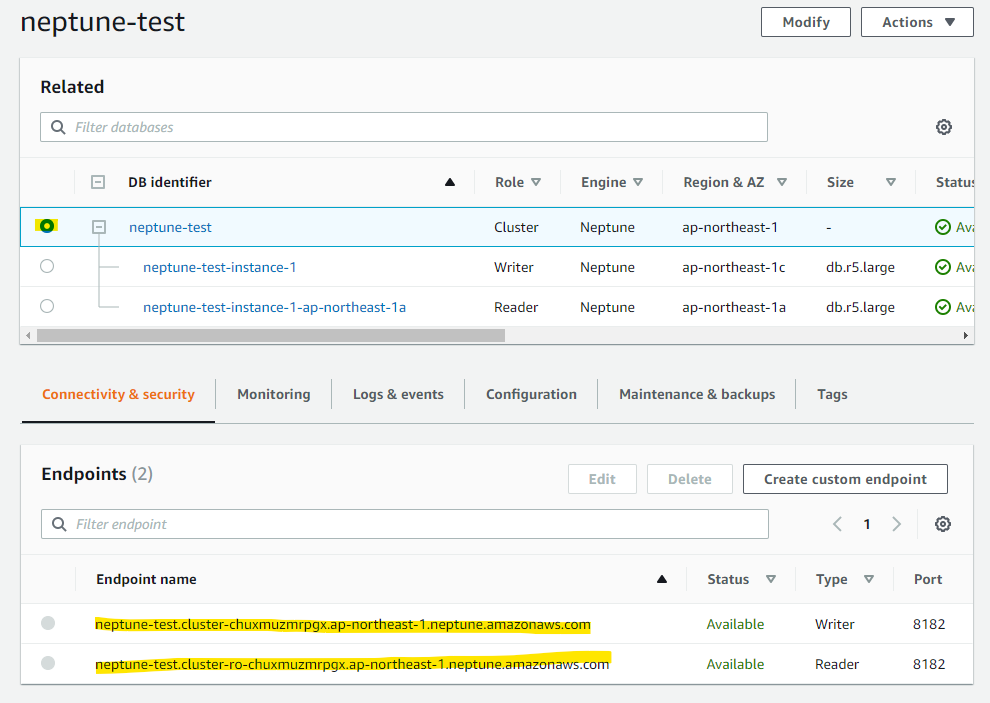
一定時間後、Available と変わりました。Writer インスタンス1個と、Reader インスタンス 1 個が作成出来ました。
クラスタの詳細を開くと、Writer Endpoint, Reader Endpoint が確認できます。
curl で SPARQL
Neptune クラスタは VPC 内に作成していますので、VPC 内に存在する EC2 インスタンスからアクセスを行います。
EC2 インスタンスで以下の curl コマンドを実行し、データを INSERT します。
RDF では、主語-述語-目的語を表現するためのトリプルと呼ばれる概念があり、これをINSERT します。 <https://test.com/s> <https://test.com/p> <https://test.com/o> が、主語-述語-目的語の部分です。
curl -X POST \
--data-binary 'update=INSERT DATA { <https://test.com/s> <https://test.com/p> <https://test.com/o> . }' \
https://neptune-test.cluster-chuxmuzmrpgx.ap-northeast-1.neptune.amazonaws.com:8182/sparql
実行例
- JSON でレスポンスが返ってきている
- 処理に掛かった時間も教えてくれる
> curl -X POST \
      --data-binary 'update=INSERT DATA { <https://test.com/s> <https://test.com/p> <https://test.com/o> . }' \
      https://neptune-test.cluster-chuxmuzmrpgx.ap-northeast-1.neptune.amazonaws.com:8182/sparql
[
{
    "type" : "UpdateEvent",
    "totalElapsedMillis" : 144,
    "elapsedMillis" : 6,
    "connFlush" : 0,
    "batchResolve" : 0,
    "whereClause" : 0,
    "deleteClause" : 0,
    "insertClause" : 0
},
{
    "type" : "Commit",
    "totalElapsedMillis" : 206
}
]⏎
データの INSERT が無事に終わったので、次にデータの取得を行っていきます。
- グラフ内のトリプル(主語-述語-目的語)
curl -X POST \
--data-binary 'query=select ?s ?p ?o where {?s ?p ?o} limit 10' \
https://neptune-test.cluster-chuxmuzmrpgx.ap-northeast-1.neptune.amazonaws.com:8182/sparql
実行例
> curl -X POST \
      --data-binary 'query=select ?s ?p ?o where {?s ?p ?o} limit 10' \
      https://neptune-test.cluster-chuxmuzmrpgx.ap-northeast-1.neptune.amazonaws.com:8182/sparql
{
  "head" : {
    "vars" : [ "s", "p", "o" ]
  },
  "results" : {
    "bindings" : [ {
      "s" : {
        "type" : "uri",
        "value" : "https://test.com/s"
      },
      "p" : {
        "type" : "uri",
        "value" : "https://test.com/p"
      },
      "o" : {
        "type" : "uri",
        "value" : "https://test.com/o"
      }
    } ]
  }
}
Jupyter Notebook を作成する
curl を使った SPARQL アクセスをしましたが、毎回 curl でコマンドを打っていくのは大変です。そこで、Neptune で提供されている Jupyter Notebook を便利に利用できます。この Notebook の中には、Neptune Workbench と呼ばれる、クエリーと可視化が出来るツールが含まれており、開発作業に便利に活用できます。
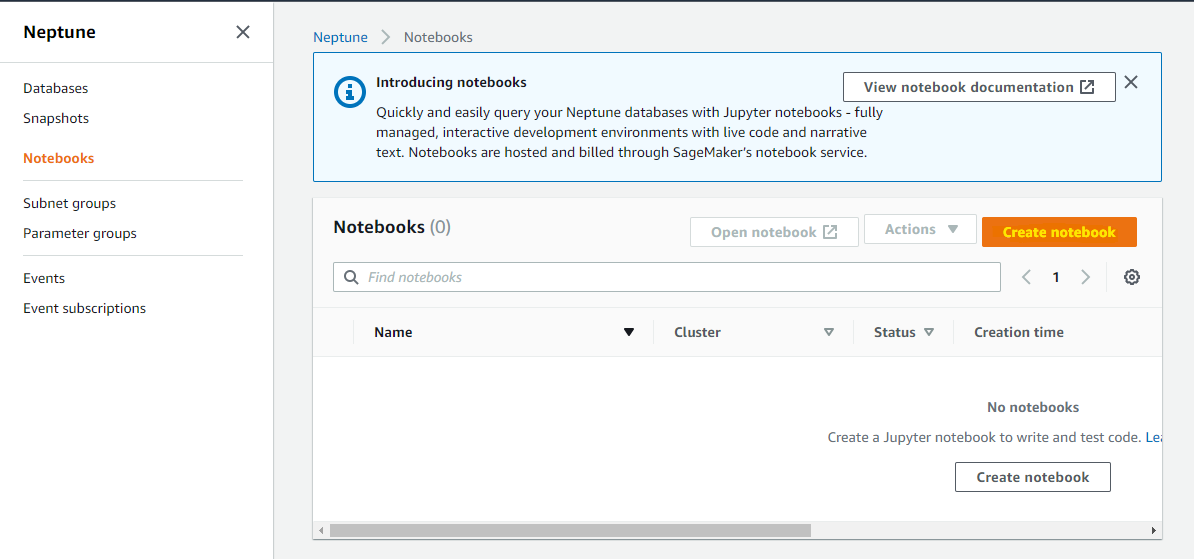
Neptune のメニューから、Create Notebook を選びます
パラメータを入力します
- 連携したい Neptune クラスタ
- Notebook のインスタンスタイプ
- など
以下のパラメータをいれて、Create を押します。
- Notebook Instance の Subnet や Security Group を選択
Notebook Instance が作成され、pending となりました
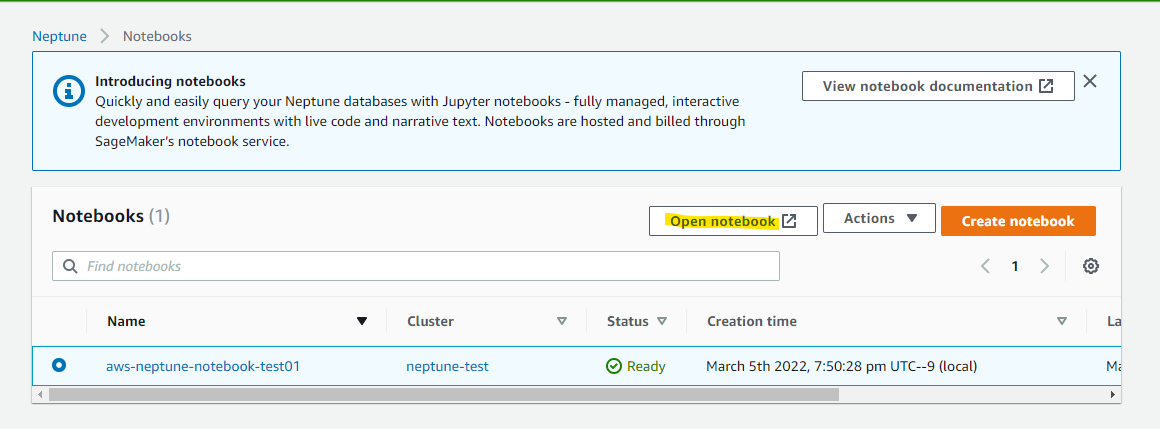
一定時間後、Ready になったあとに、Open notebook を押します。
Jupyter Notebook が開きました
Neptune の Notebook には、多くのサンプルがあります
Neptune Workbench で SPARQL クエリー
Notebook 上で、新規の Notebook を作成しましょう。New から Python 3 を選択します。
新たな Notebook が作成されました。
新たな Notebook 上で、SPARQL を簡単に実行できるようになっています。%%sparql を頭に付けることで、それ以降は SPARQL のクエリーを記述出来、簡単に Jupyter Notebook 上でクエリー実行できます。
今回は、curl で既に入れているデータに対して、取得を行ってみましょう。次の文字列を入れて、Run で実行します。
%%sparql

SELECT ?s ?p ?o WHERE {?s ?p ?o} LIMIT 10
実行されました。SPARQL の実行結果が Table で見えています。curl の時と比べて記述量が SPARQL 部分となっており、シンプルにできていることがわかります。Graph も押してみましょう。
以下のように、クエリーに紐づくデータを可視化できています。今回は、意味のないデータであまり感動がありませんが、実際のワークロードでは便利に関係性を可視化で把握できて便利そうですね。
まとめ
今回の記事では、次の2点を整理しました
- Neptune クラスタの構築方法
- SPARQL を利用したアクセス方法は、curl を使ったアクセス、および、Jupyter Notebook で Neptune Workbench を使ったアクセス
メモ : データの作成と削除のクエリー
Insert
%%sparql

INSERT DATA { <https://test.com/s> <https://test.com/p> <https://test.com/o> . }
Delete
%%sparql

DELETE DATA { <https://test.com/s> <https://test.com/p> <https://test.com/o> . }
参考URL
