はじめに
前回の記事 では、Chime SDK と IVS を組み合わせた AWS Sample をローカル環境上で動かしました。今回の記事では、この AWS Sample を少し発展させて次の2点を行う手順を紹介します。
- Amplify Console で Web UI をホスティング
- 独自に作成した IVS を利用
Amplify Console でホスティングする
Amplify Console と呼ばれる、静的なウェブサイトをホスティングしてくれるサービスがあります。ホスティング機能のほかに、GitHub や CodeCommit にプッシュしたことをトリガーに自動デプロイしてくれる、パイプラインが提供されているのが特徴的です。パイプラインを自分で作る必要がなく、負担を軽減できます。
前回の記事ではローカル環境で Web UI を動かしていたので、Amplify Console でホスティングしていきます。前回 git clone した中に含まれる/web-ui のディレクトリを、そのまま GitHub に Push します。
cd project/web-ui
cp -r * ../../amazon-ivs-chime-web-demo-webui-amplify-console/
GitHub に Push する
git init
git add -A
git commit -m "first commit"
git add origin https://github.com/Sugi275/amazon-ivs-chime-web-demo-webui-amplify-console.git
git push
Push が終わったあとに、マネージメントコンソールの Amplify ページで Host web app を選択します。

今回は、GitHub を使ったので、GitHub を選択して Continue を押します。
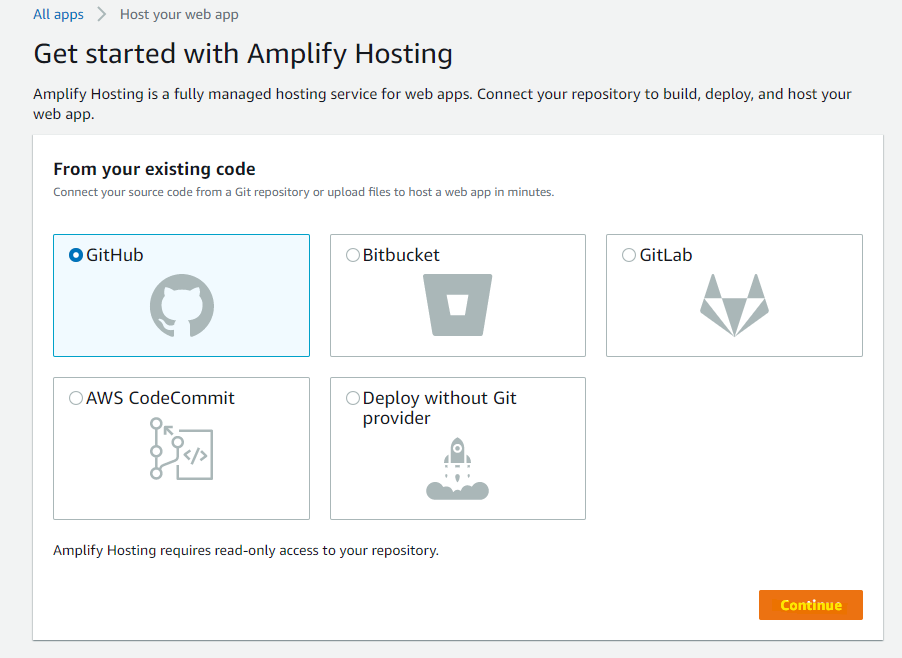
GitHub 上の 自分の Repository を選択します。

このまま Next

Save and deploy を押します。

自動 Deploy が走ります。一定時間まちます。

一定時間後、Deploy が完了になります。URL をクリックすると、

React で作成された Web UI が表示されます。

IVS の Channel を作成
自分で作った IVS の画面を組み込みたいため、IVS Channel を作成します。Create Channel を押します。

適当な名前を入れます
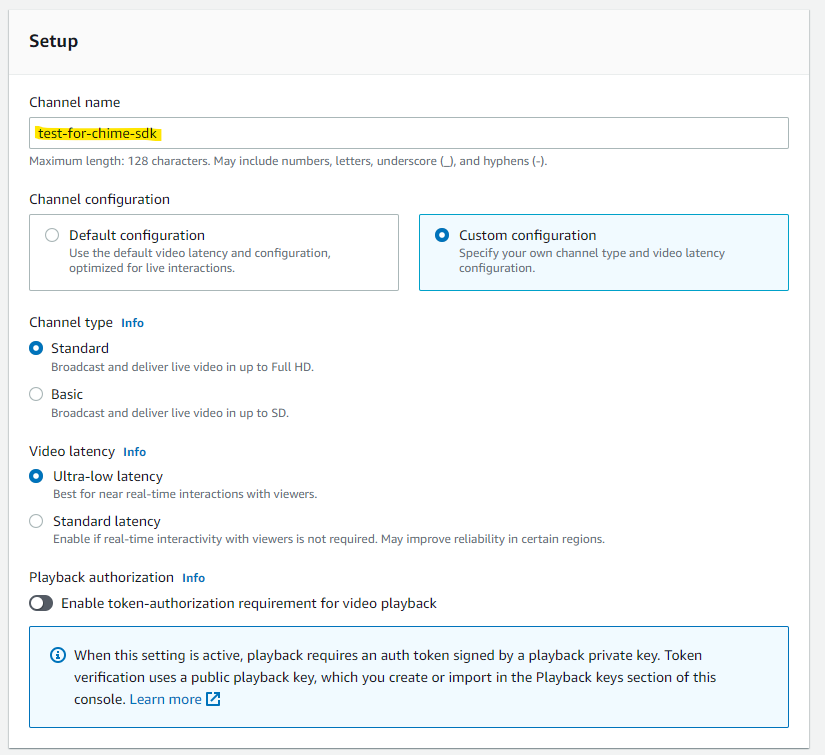
このまま Create Channel を押します

Channel が作成されました

Web UI の Repository に含まれているsrc/config.js を編集します。
- DEFAULT_VIDEO_STREAM : 作成した IVS の
Playback URLを指定
export const BASE_HREF = '';

// API endpoint for retrieving the attendees list, joining the room, and ending the room
export const CHIME_ROOM_API = 'https://aecufl5u4a.execute-api.ap-northeast-1.amazonaws.com/Prod/';

// Chime-SDK allows up to 16 attendee videos
export const CHIME_ROOM_MAX_ATTENDEE = 16;

// Default video stream to play inside the video player
export const DEFAULT_VIDEO_STREAM =
  'https://4d1c106fb53f.us-west-2.playback.live-video.net/api/video/v1/us-west-2.xxxxxxxxxxxx.channel.3Lw9chothhUi.m3u8';

// Default Chat websocket link
export const CHAT_WEBSOCKET = 'wss://ivbgk8ez24.execute-api.ap-northeast-1.amazonaws.com/Prod';

// Chime-SDK logging level: INFO, WARN, ERROR, DEBUG
export const CHIME_LOG_LEVEL = 'WARN';

// Chime-Web UI debugging logging: true / false
export const DEBUG = false;
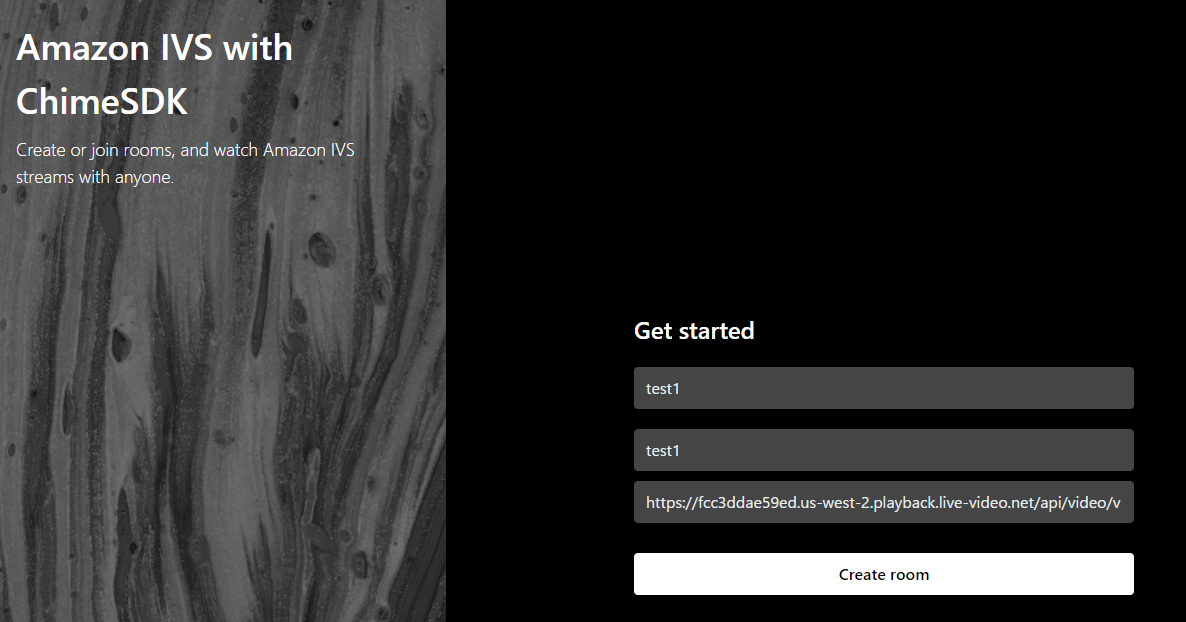
Amplify に Push すると、反映されます。
OBS
自分で作成した IVS に RTMP に OBS で配信をしてみます。設定を押します。

IVS Channel の詳細画面に表示されている、Ingest Server と Streaming Key を指定します。

適当に時計画面を配信するように設定して、配信開始を押します。

右下がグリーンになっているので、配信できていることがわかります。

動作確認
Amplify Console でホスティングしている Web UI にアクセスします。
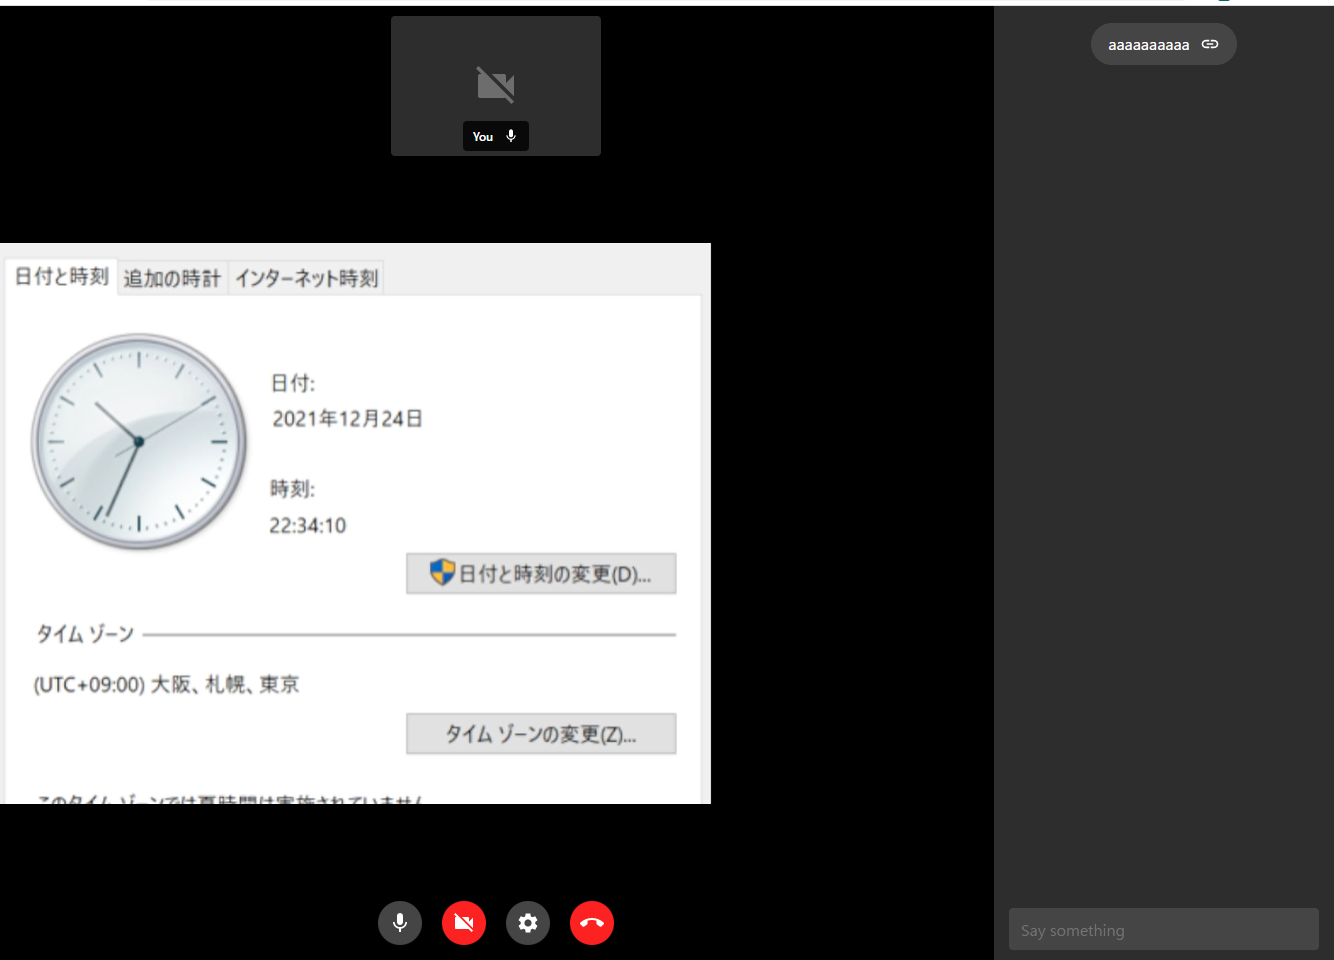
すると、Chime SDK を使った通話画面に、独自の IVS Channel を表示することが出来ました。
参考URL