はじめに
Glue の Visual ETL でオンプレミスの MySQL から、Redshift Serverless にデータ連携する手順を簡単に確認します。
オンプレミス MySQL
Site-to-Site VPN で接続したオンプレミス環境に、MySQL 8.0 を用意します。
適当に Table を作成します。
-- テーブルの作成
CREATE TABLE onpretable (
    id INT AUTO_INCREMENT PRIMARY KEY,
    name VARCHAR(50),
    email VARCHAR(100),
    amount DECIMAL(10, 2),
    created_date DATE,
    updated_timestamp TIMESTAMP DEFAULT CURRENT_TIMESTAMP
);

-- データの挿入
INSERT INTO onpretable (name, email, amount, created_date) VALUES
('山田太郎', 'yamada@example.com', 5000.00, '2023-01-15'),
('佐藤花子', 'sato@example.com', 3500.50, '2023-02-20'),
('鈴木一郎', 'suzuki@example.com', 7200.75, '2023-03-10'),
('田中誠', 'tanaka@example.com', 1200.25, '2023-04-05'),
('伊藤美咲', 'ito@example.com', 9800.00, '2023-05-12'),
('渡辺健太', 'watanabe@example.com', 4300.60, '2023-06-18'),
('小林優子', 'kobayashi@example.com', 6700.30, '2023-07-22'),
('加藤裕太', 'kato@example.com', 2100.90, '2023-08-30'),
('高橋直子', 'takahashi@example.com', 8500.40, '2023-09-14'),
('吉田拓也', 'yoshida@example.com', 3900.80, '2023-10-25');
データが存在していることを確認します。
mysql> SELECT * FROM onpretable;
+----+--------------+-----------------------+---------+--------------+---------------------+
| id | name         | email                 | amount  | created_date | updated_timestamp   |
+----+--------------+-----------------------+---------+--------------+---------------------+
|  1 | 山田太郎     | yamada@example.com    | 5000.00 | 2023-01-15   | 2025-04-27 05:27:41 |
|  2 | 佐藤花子     | sato@example.com      | 3500.50 | 2023-02-20   | 2025-04-27 05:27:41 |
|  3 | 鈴木一郎     | suzuki@example.com    | 7200.75 | 2023-03-10   | 2025-04-27 05:27:41 |
|  4 | 田中誠       | tanaka@example.com    | 1200.25 | 2023-04-05   | 2025-04-27 05:27:41 |
|  5 | 伊藤美咲     | ito@example.com       | 9800.00 | 2023-05-12   | 2025-04-27 05:27:41 |
|  6 | 渡辺健太     | watanabe@example.com  | 4300.60 | 2023-06-18   | 2025-04-27 05:27:41 |
|  7 | 小林優子     | kobayashi@example.com | 6700.30 | 2023-07-22   | 2025-04-27 05:27:41 |
|  8 | 加藤裕太     | kato@example.com      | 2100.90 | 2023-08-30   | 2025-04-27 05:27:41 |
|  9 | 高橋直子     | takahashi@example.com | 8500.40 | 2023-09-14   | 2025-04-27 05:27:41 |
| 10 | 吉田拓也     | yoshida@example.com   | 3900.80 | 2023-10-25   | 2025-04-27 05:27:41 |
+----+--------------+-----------------------+---------+--------------+---------------------+
10 rows in set (0.00 sec)
Redshift Serverless
Redshift Serverless 側にもデータを格納するためのテーブルを作成します。
CREATE TABLE dev.public.onpretable (
    id INT PRIMARY KEY,
    name VARCHAR(50),
    email VARCHAR(100),
    amount DECIMAL(10, 2),
    created_date DATE,
    updated_timestamp TIMESTAMP DEFAULT GETDATE()
);
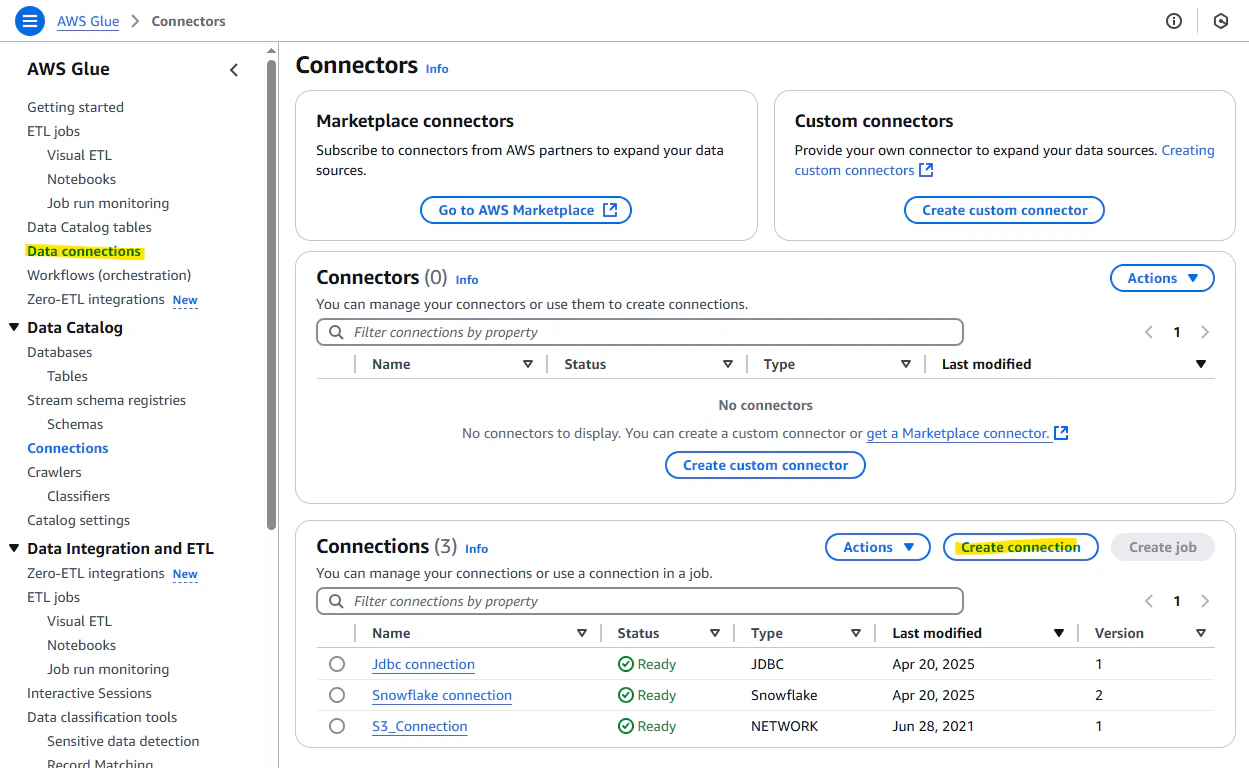
Glue : JDBC Connection
オンプレミスの MySQL に接続するために、Glue で Connection を作成します。
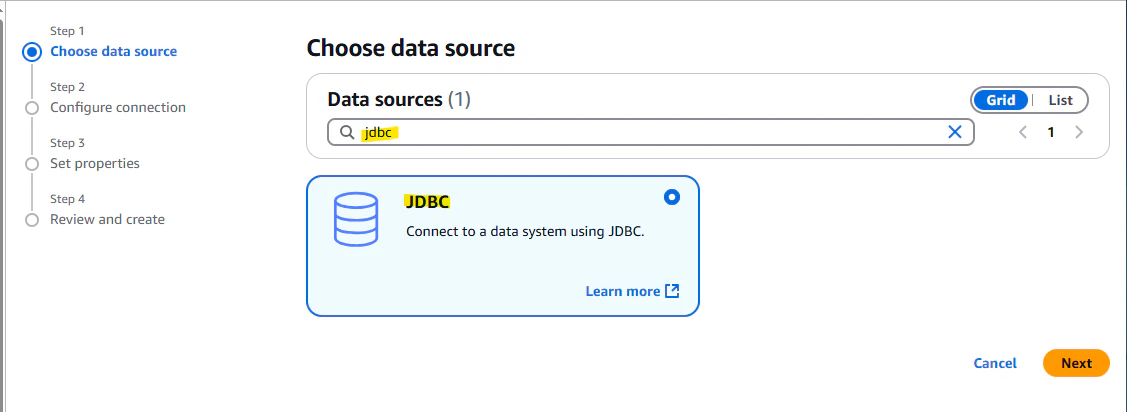
JDBC を選択します。
-
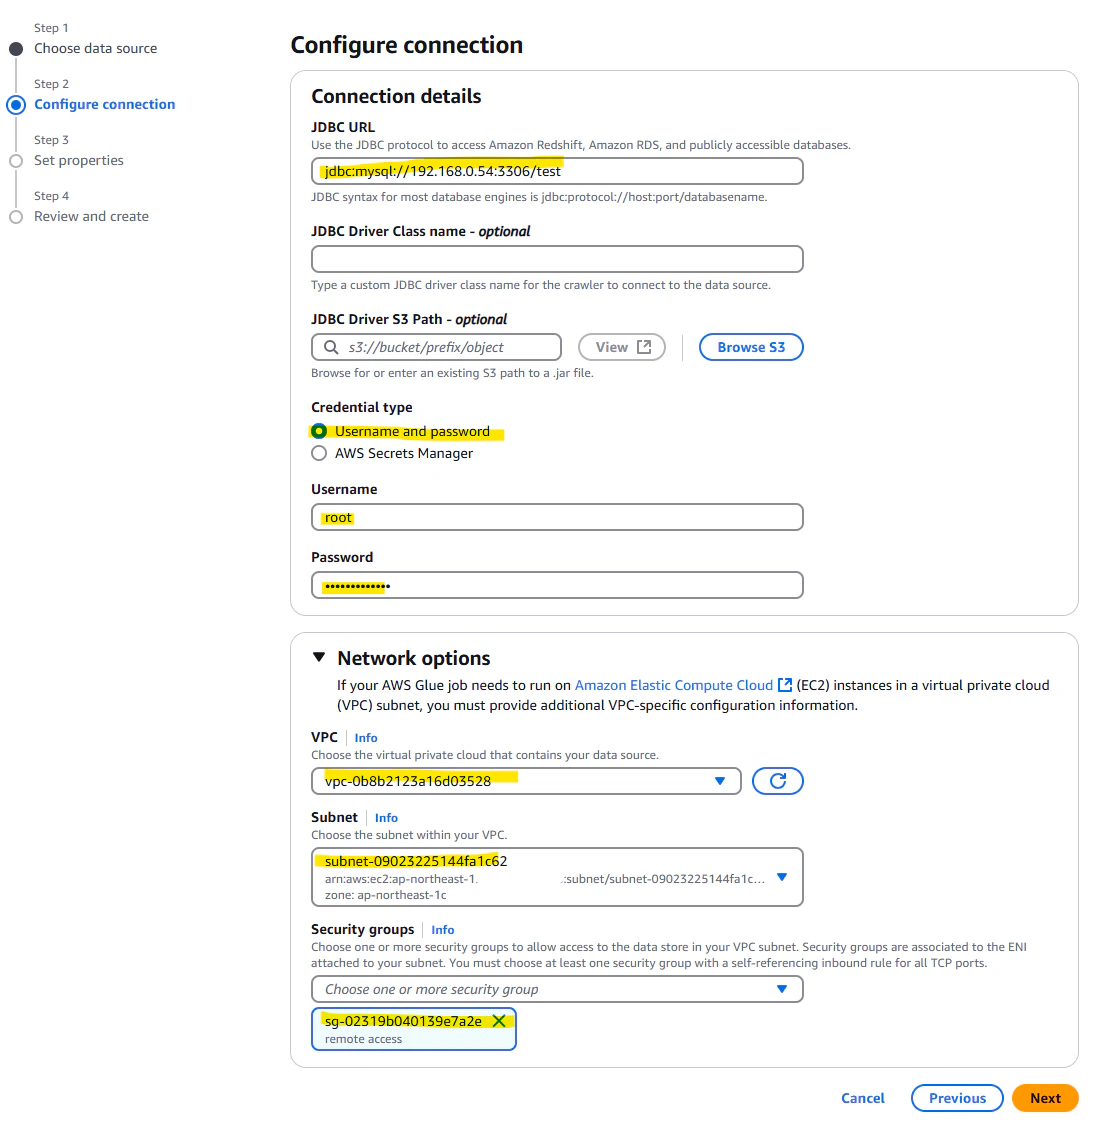
JDBC URL :
jdbc:mysql://192.168.0.54:3306/testこういった文字列を指定します。オンプレミスの MySQL サーバーの IP アドレス、ポート番号、データベース名です。 -
Network Options : Site-to-Site VPN や Direct Connect などでオンプレミスネットワークと接続している VPC を選択します。
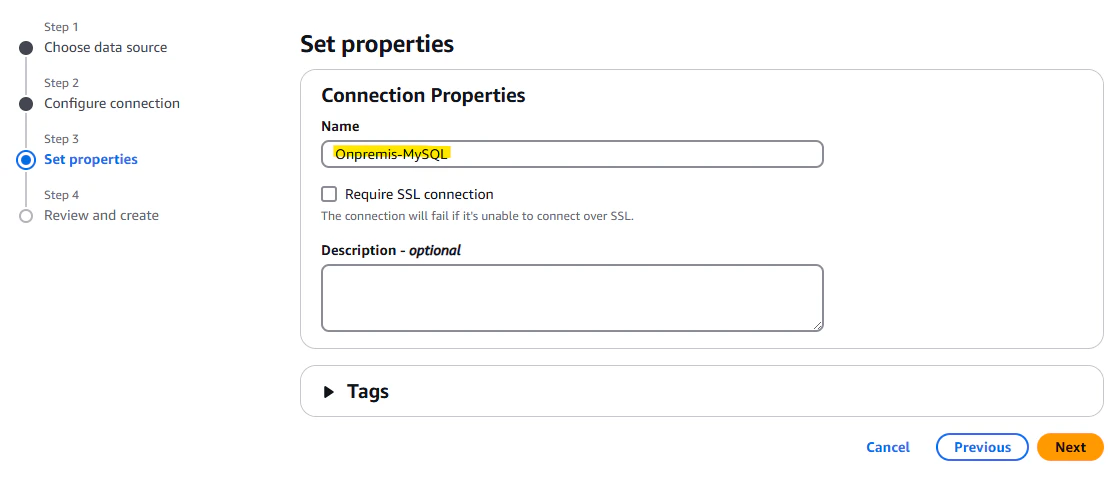
名前を入力します
Glue : Visual ETL
Glue で Visual ETL を作成していきます。
まず、Source Table を MySQL で指定します。
- この Source Table は、テーブル名を指定し、そのテーブルのデータをすべて取得する動作となる。特定の SQL 文でカスタマイズしたいときは、Visual ETL である程度流れを組み立てたあとに、Script オンリーモードに変更して編集する必要がある。
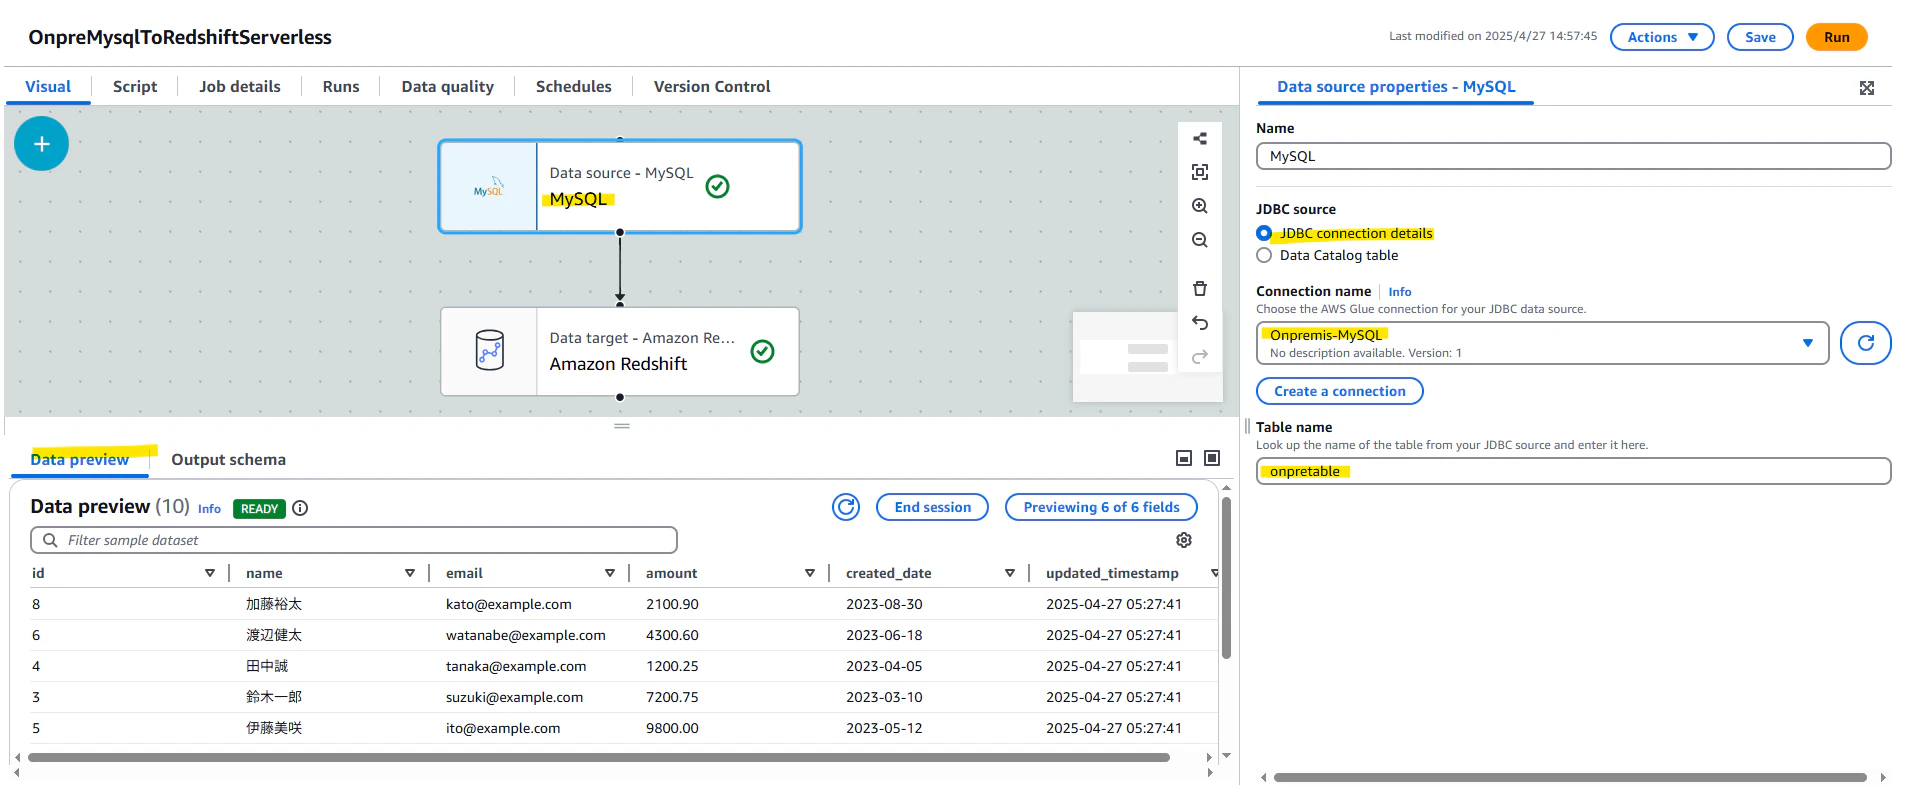
Target として Redshift Serverless を選択します。MERGE コマンドで id を基に UPSERT をします。

なお、このときの Visual ETL の裏側で自動生成された Python コードは以下の通りです。
import sys
from awsglue.transforms import *
from awsglue.utils import getResolvedOptions
from pyspark.context import SparkContext
from awsglue.context import GlueContext
from awsglue.job import Job
from awsglue import DynamicFrame

args = getResolvedOptions(sys.argv, ['JOB_NAME'])
sc = SparkContext()
glueContext = GlueContext(sc)
spark = glueContext.spark_session
job = Job(glueContext)
job.init(args['JOB_NAME'], args)

# Script generated for node MySQL
MySQL_node1745733296554 = glueContext.create_dynamic_frame.from_options(
    connection_type = "mysql",
    connection_options = {
        "useConnectionProperties": "true",
        "dbtable": "onpretable",
        "connectionName": "Onpremis-MySQL",
    },
    transformation_ctx = "MySQL_node1745733296554"
)

# Script generated for node Amazon Redshift
AmazonRedshift_node1745733318859 = glueContext.write_dynamic_frame.from_options(frame=MySQL_node1745733296554, connection_type="redshift", connection_options={"postactions": "BEGIN; MERGE INTO public.onpretable USING public.onpretable_temp_xtpbwa ON onpretable.id = onpretable_temp_xtpbwa.id WHEN MATCHED THEN UPDATE SET id = onpretable_temp_xtpbwa.id, name = onpretable_temp_xtpbwa.name, email = onpretable_temp_xtpbwa.email, amount = onpretable_temp_xtpbwa.amount, created_date = onpretable_temp_xtpbwa.created_date, updated_timestamp = onpretable_temp_xtpbwa.updated_timestamp WHEN NOT MATCHED THEN INSERT VALUES (onpretable_temp_xtpbwa.id, onpretable_temp_xtpbwa.name, onpretable_temp_xtpbwa.email, onpretable_temp_xtpbwa.amount, onpretable_temp_xtpbwa.created_date, onpretable_temp_xtpbwa.updated_timestamp); DROP TABLE public.onpretable_temp_xtpbwa; END;", "redshiftTmpDir": "s3://aws-glue-assets-xxxxxxxxxxxx-ap-northeast-1/temporary/", "useConnectionProperties": "true", "dbtable": "public.onpretable_temp_xtpbwa", "connectionName": "Jdbc connection", "preactions": "CREATE TABLE IF NOT EXISTS public.onpretable (id INTEGER, name VARCHAR, email VARCHAR, amount DECIMAL, created_date DATE, updated_timestamp TIMESTAMP); DROP TABLE IF EXISTS public.onpretable_temp_xtpbwa; CREATE TABLE public.onpretable_temp_xtpbwa (id INTEGER, name VARCHAR, email VARCHAR, amount DECIMAL, created_date DATE, updated_timestamp TIMESTAMP);"}, transformation_ctx="AmazonRedshift_node1745733318859")

job.commit()
動作検証
作成した Visual ETL を実行します。

Success となりました。
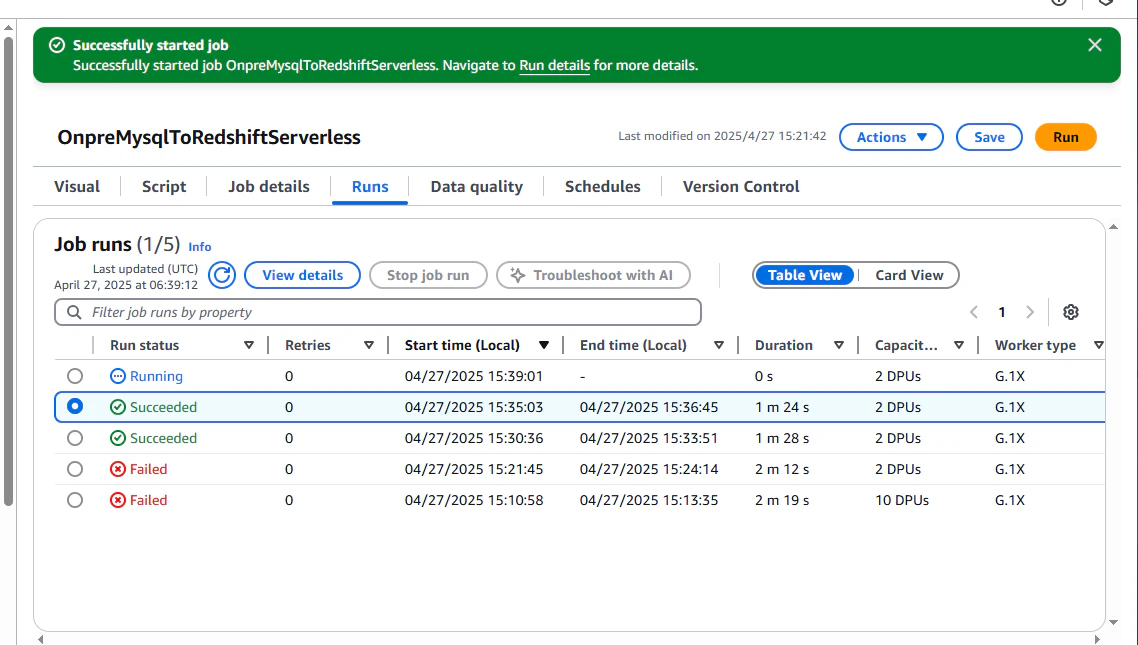
実際に、オンプレミスの MySQL のデータが Redshift 側に反映されていることがわかります。

検証を通じてわかったこと
- Visual ETL で Source を JDBC Connection で接続したときに、指定したテーブルのデータをすべて取得する Full Scan の動きとなる。これを特定の日付などで差分を抽出したい場合は、Visual ETL ではできずに、Script で編集する必要がある。
- ただし、一度 Script を直接編集すると、Visual ETL には戻せないので注意。