はじめに
Amazon Cognito は、固有の User API を使った認証に加えて、OAuth 2.0 認証フレームワークをサポートしています。OAuth 2.0 は、いくつかの認証フローが RFC で定義されています。例えば、次のようなものがあります。
- Authorization code grant : ユーザー認証で利用される基本的な方式
- Implicit grant : 「Authorization code grant」が利用できない特別な利用が有る場合にのみ利用する方式
- Client credentials grant : システム間の連携で利用される方式
詳細は次の英語 Blog で説明されています。
https://aws.amazon.com/jp/blogs/mobile/understanding-amazon-cognito-user-pool-oauth-2-0-grants/
この記事では、「Client credentials grant」を利用する方法を検証してみる内容です。「Client credentials grant」を利用するシチュエーションは次を想像しています。
- システム間の認証で利用する。具体的には、**「AWS 外」**のシステムから、AWS 上の API Gateway を呼びだす。
- この時に特定のシステムのみアクセスを許可したい。
**「AWS 外」**と強調しているのは、AWS 内のアクセスでは、あえて「Client credentials grant」を利用しなくても良い場合があります。例えば、EC2 から API Gateway にアクセスしたいときに、API Gateway の認証方式で「AWS IAM」を選択可能です。これによって、特定の IAM Role を持っている EC2 インスタンスに限定できるので、こちらの方が最適な場合が考えられます。
ということで、「Client credentials grant」の検証を進めてみましょう!
Cognito : User Pool を作成
まず Cognito の User Pool を作成します。既に User Pool を持っている場合は、この章は無視して頂いて大丈夫です。
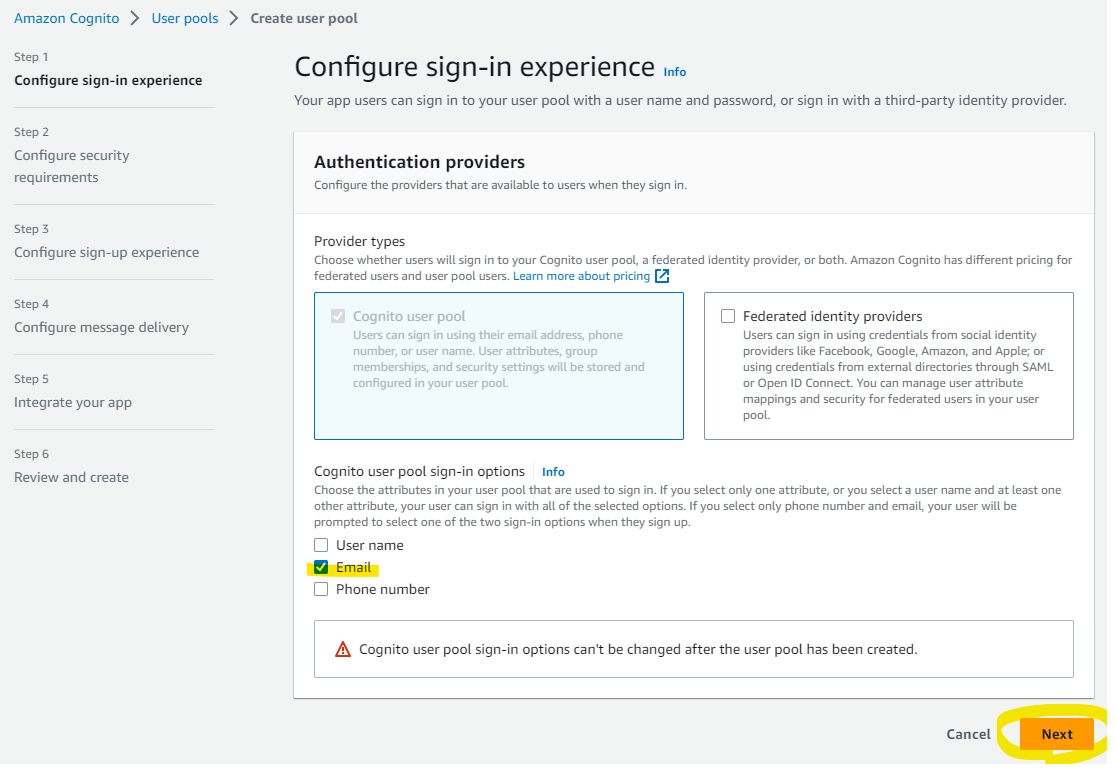
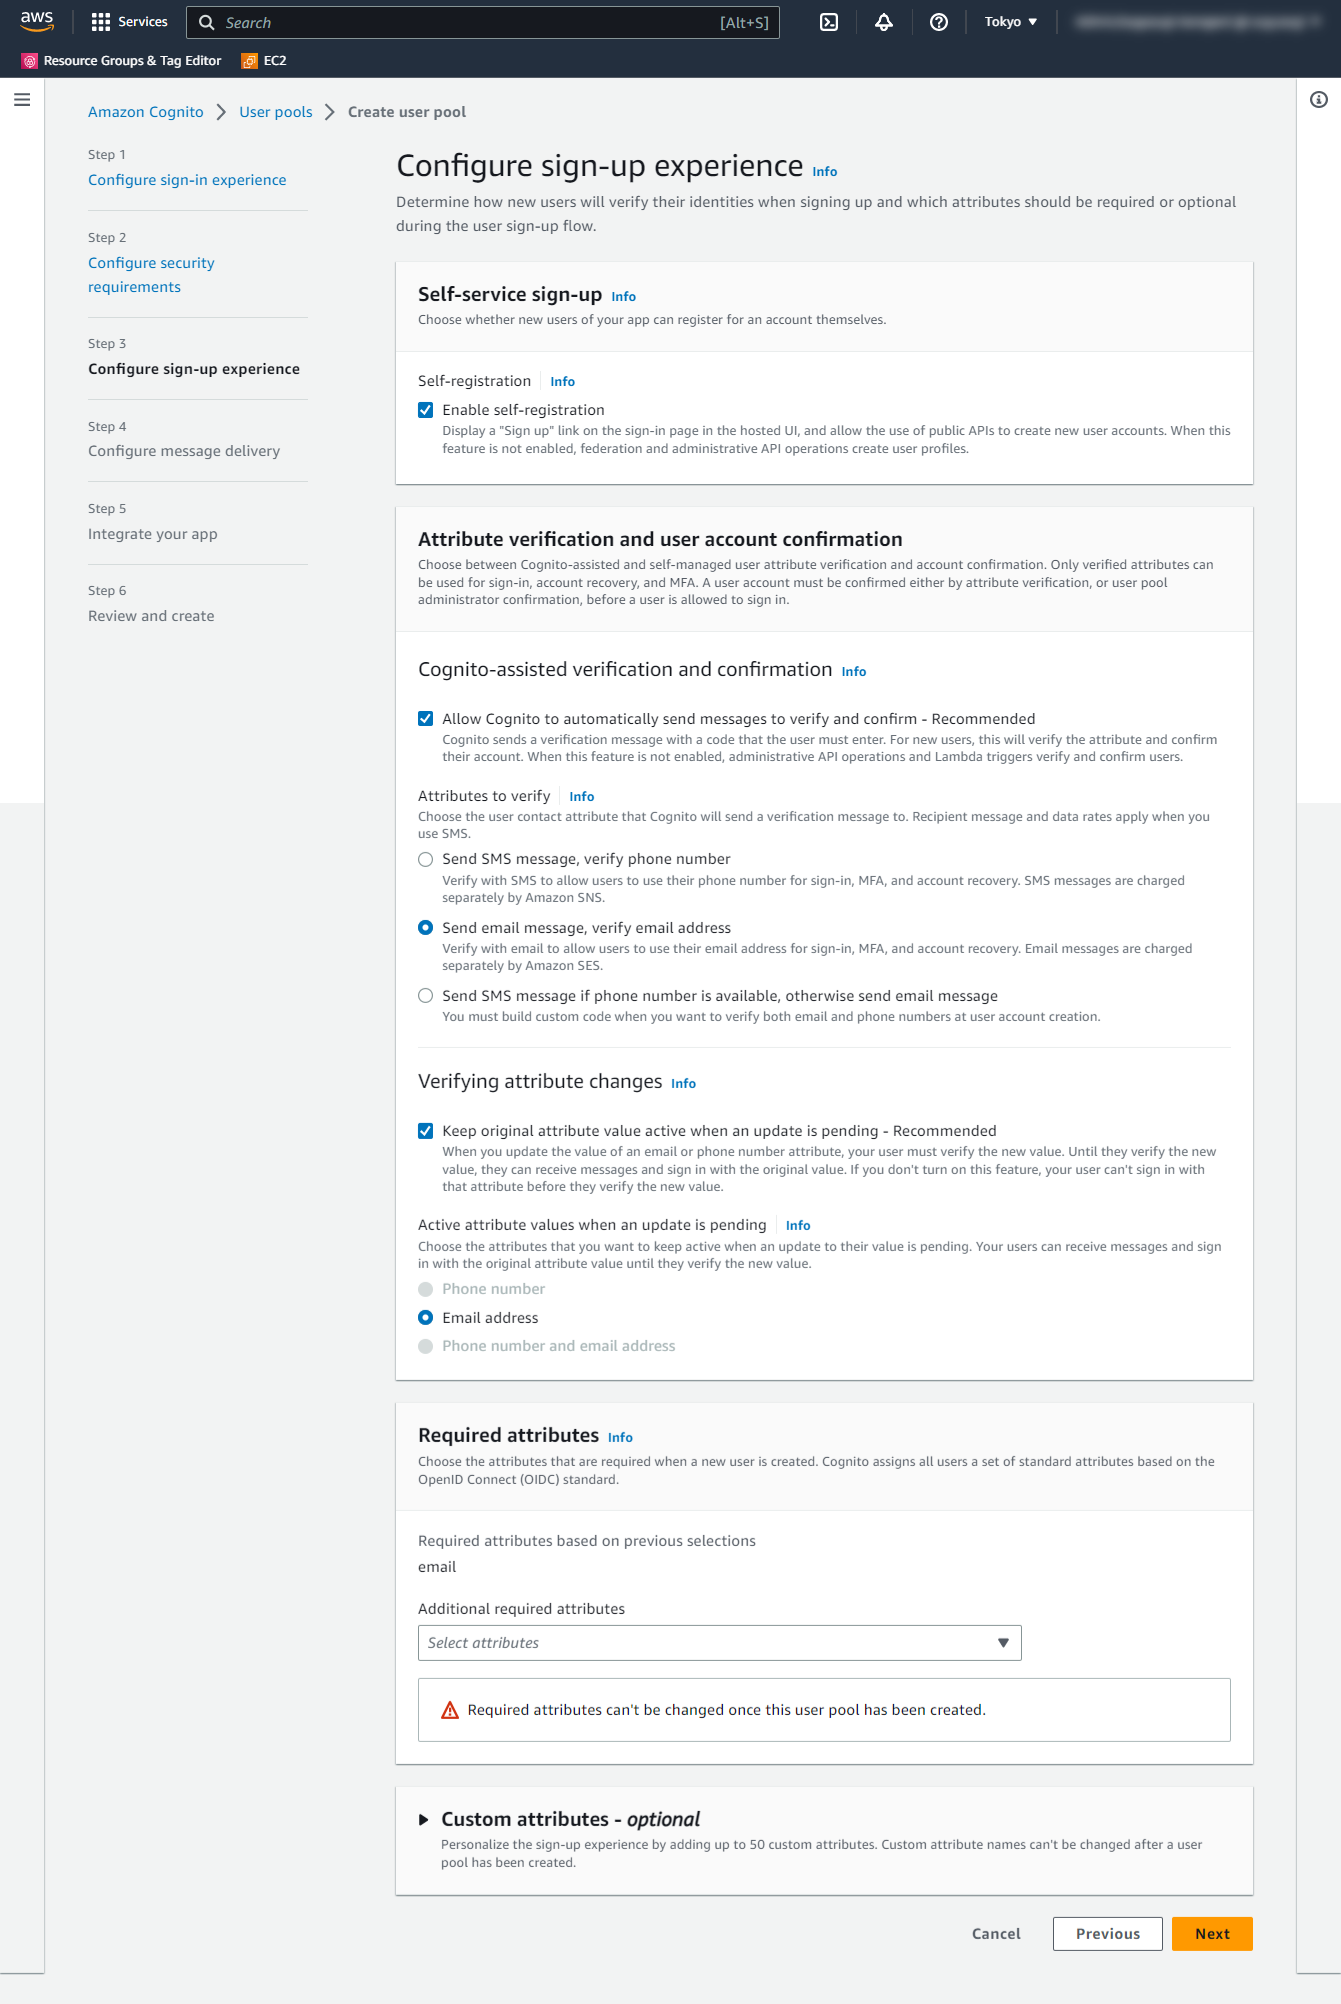
「Client credentials grant」にはあまり関係がないですが、ユーザー属性として Email を選択します。
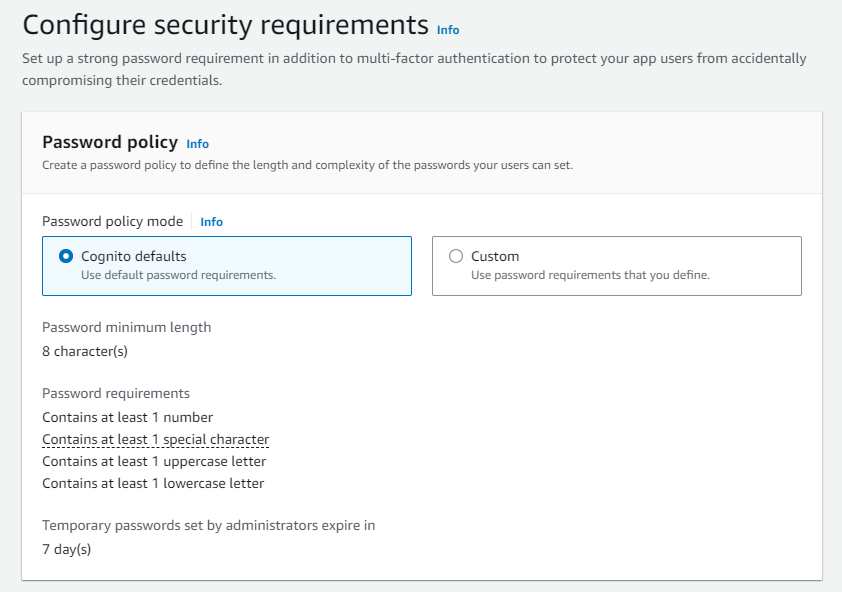
Password Policy は Default のままです。
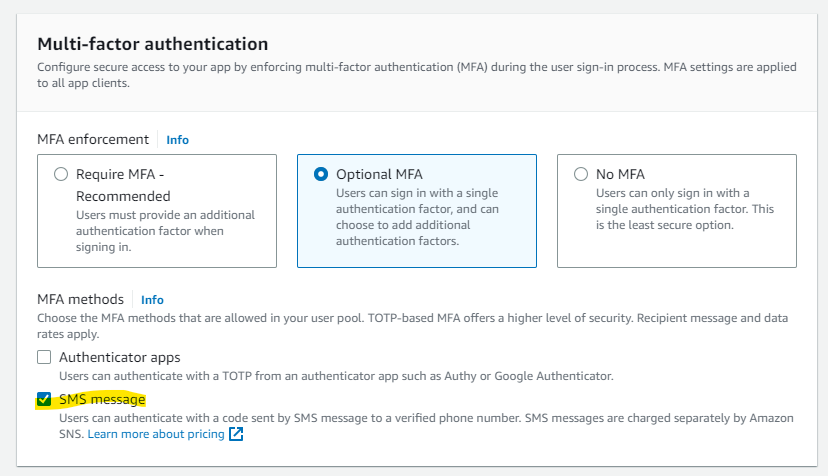
使わないですが、MFA は Optional にしてみます。
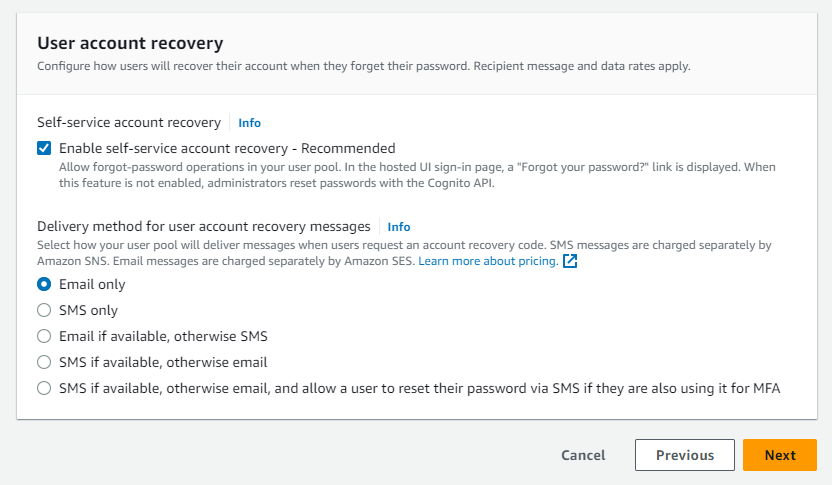
このあたりも Default のままです。
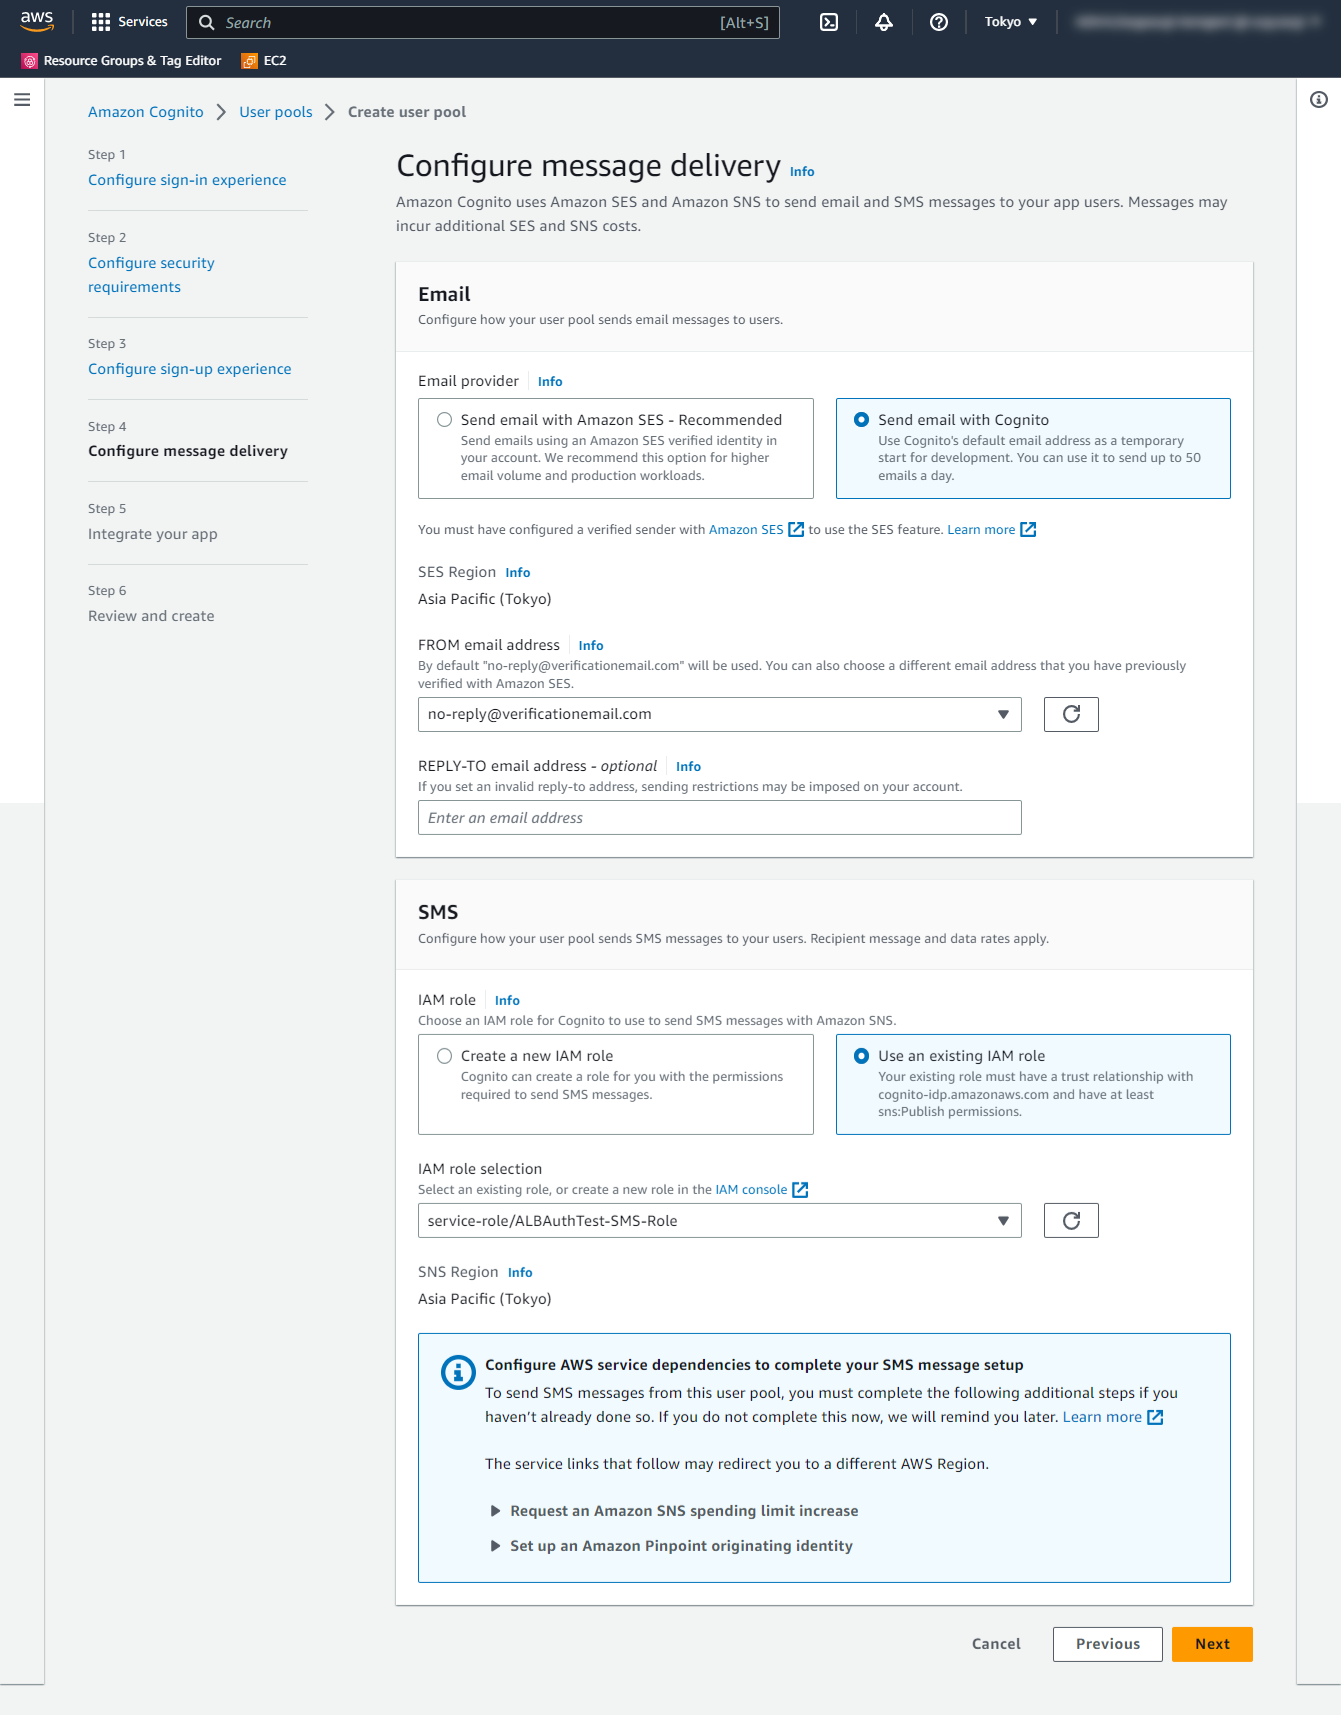
このあたりも Default のままです。
適当に指定します。
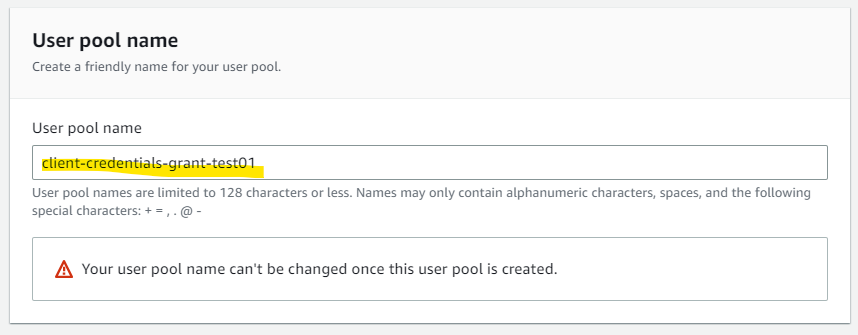
Userpool 名を入力します。
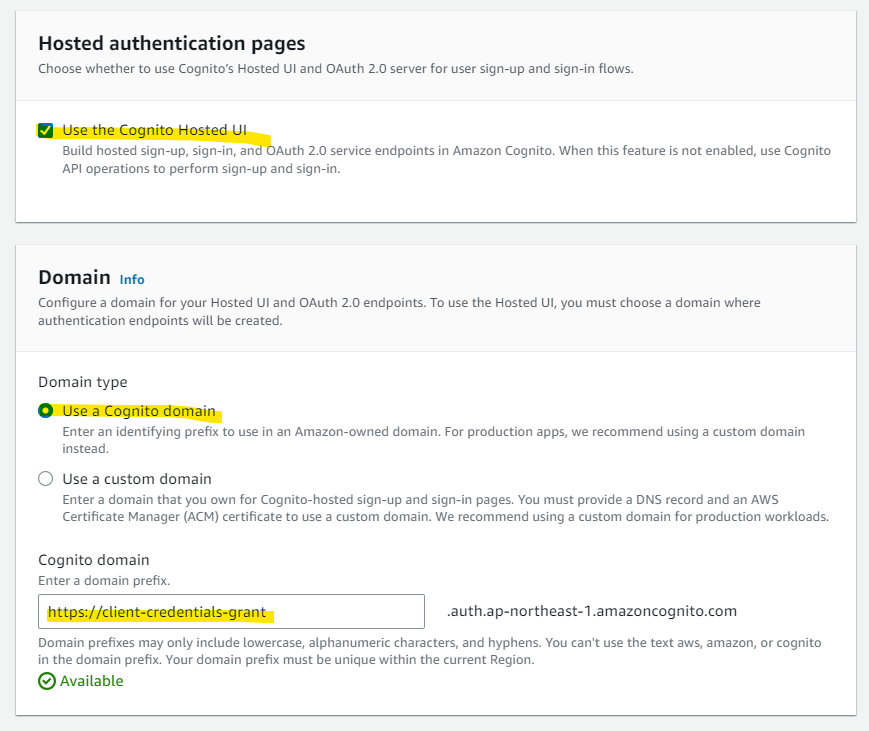
Hosted UI の利用を ON にします。
client-credentials-grant
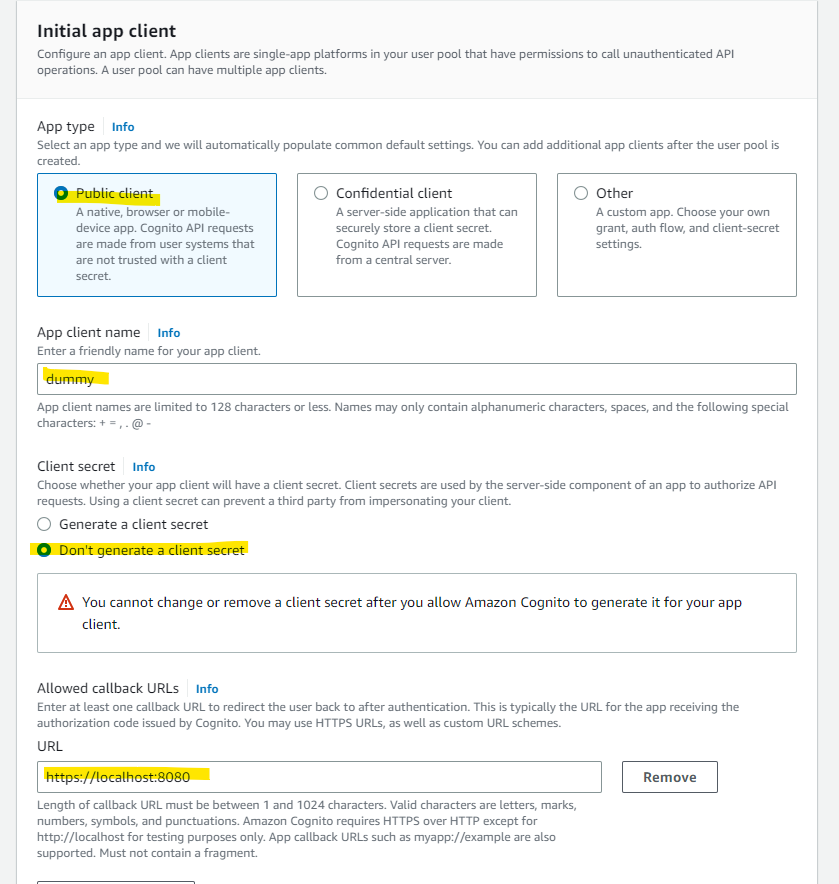
画面上、App Client を作成しないといけないです。後で削除するので、適当な名前を入力します。
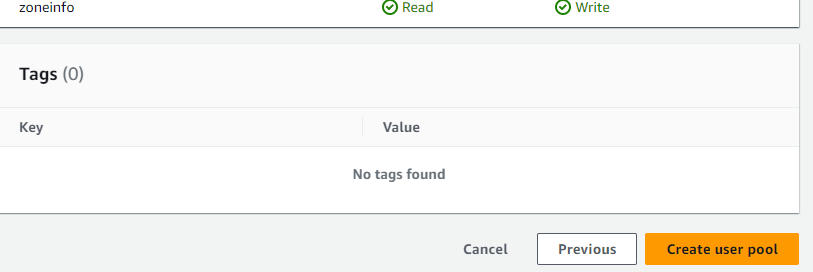
Create を押します。
User Pool が作成されました。
Cognito : Resource Server を作成
次に、Cognito User Pool 上で Resource Server の定義が必要です。
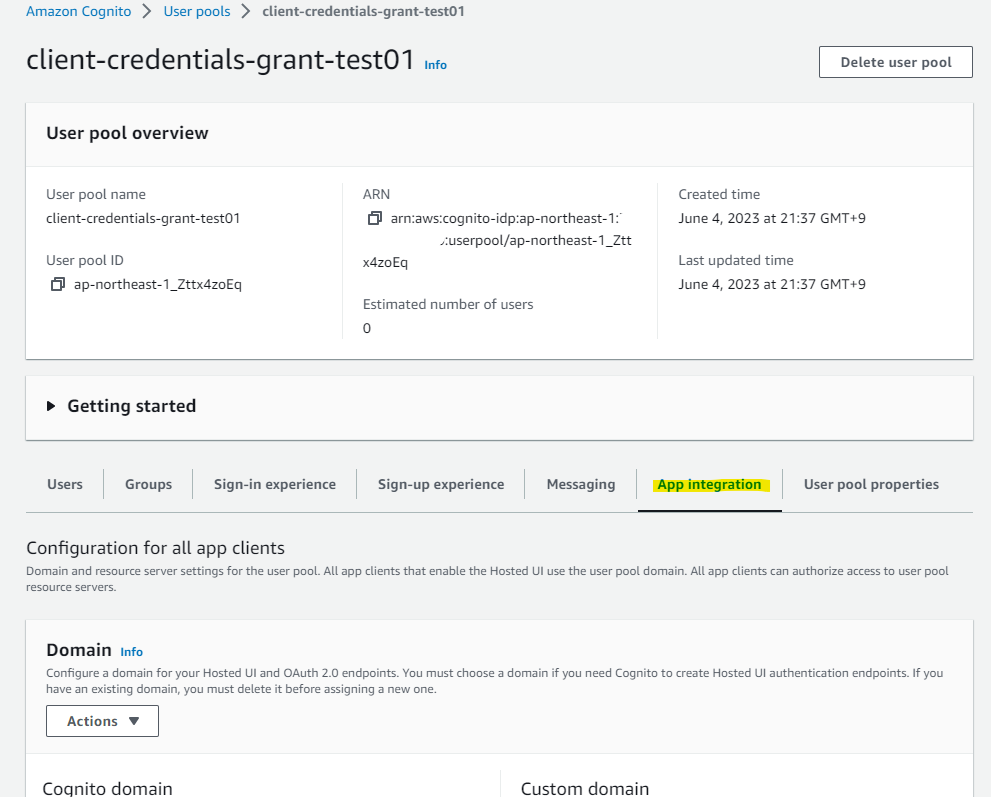
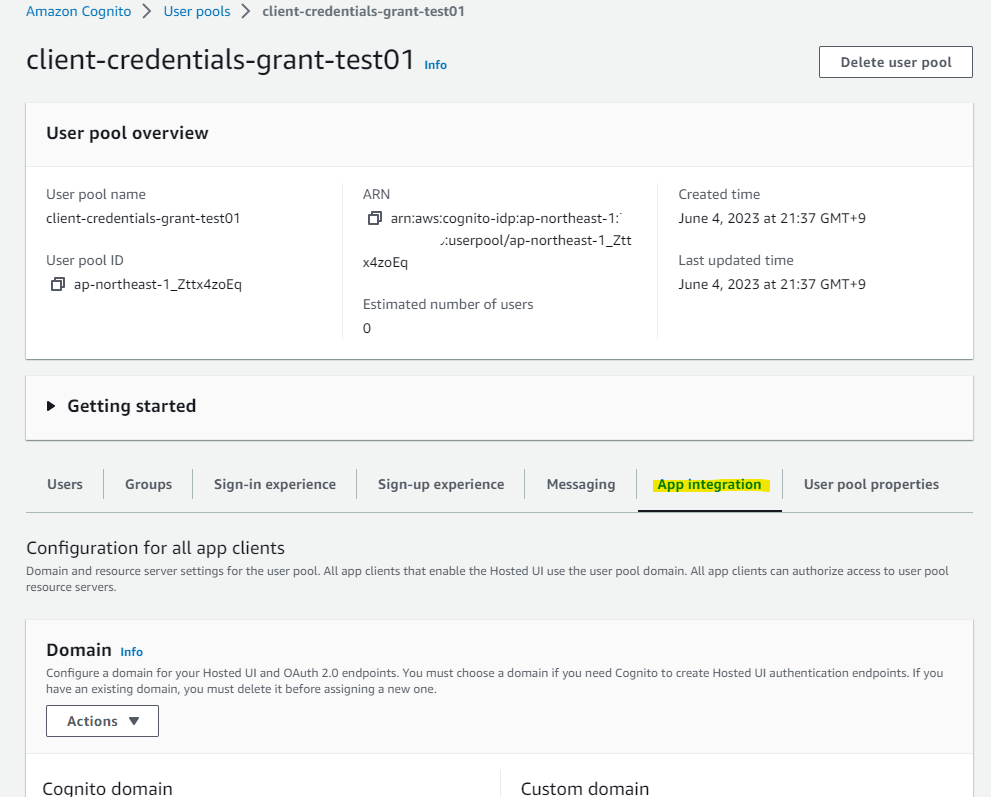
作成した User Pool を選択します。
App integration のタブを選択します。
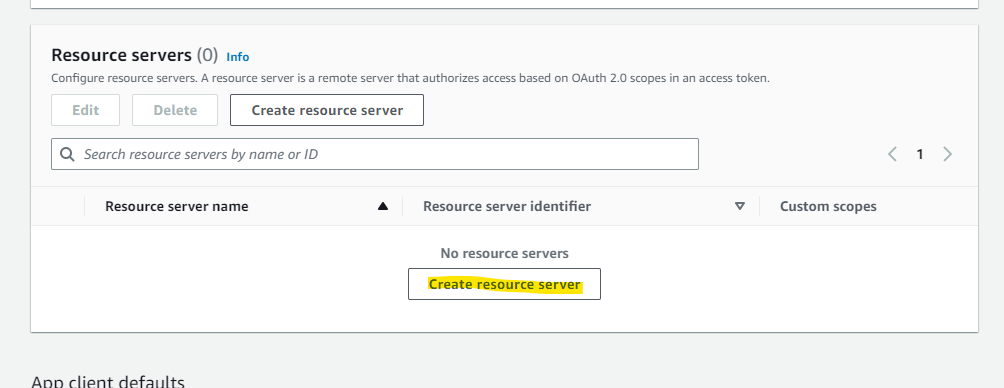
Create resource server のボタンを押します。
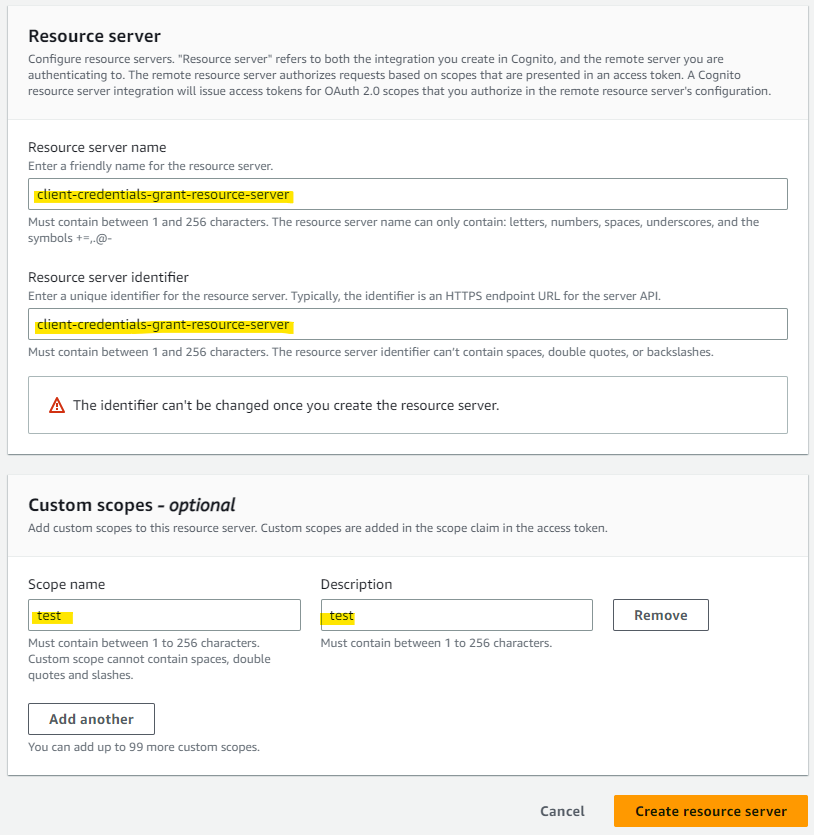
この Resource Server の名前は任意の好きなもので大丈夫です。Scope も指定します。
client-credentials-grant-resource-server
Cognito : App Client を作成
次に、Cognito 上で App Client を作成します。App integration のタブを選択します。
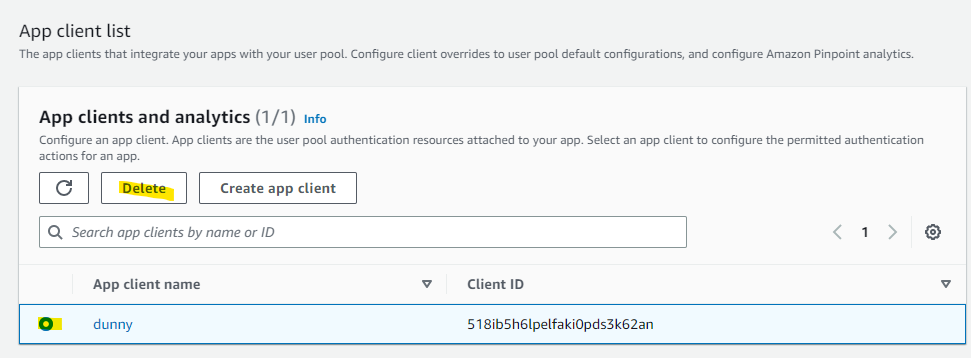
以前作成した Dummy の Application Client を削除します。
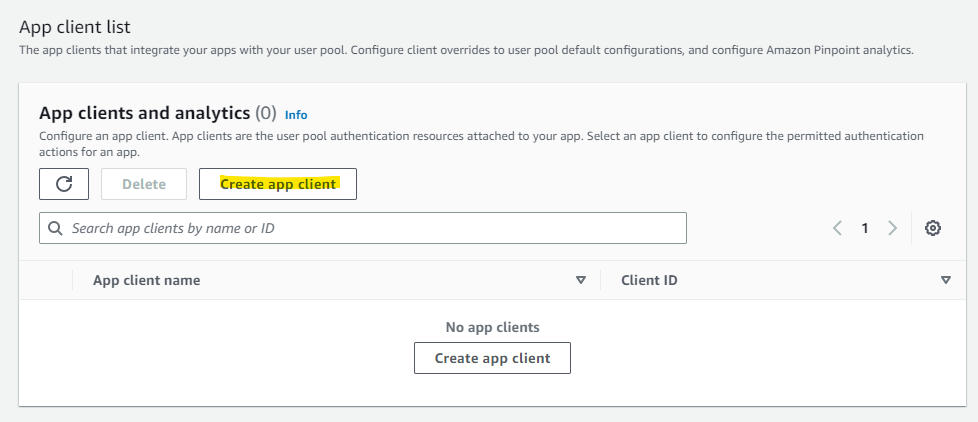
その後、Create app client を押します。
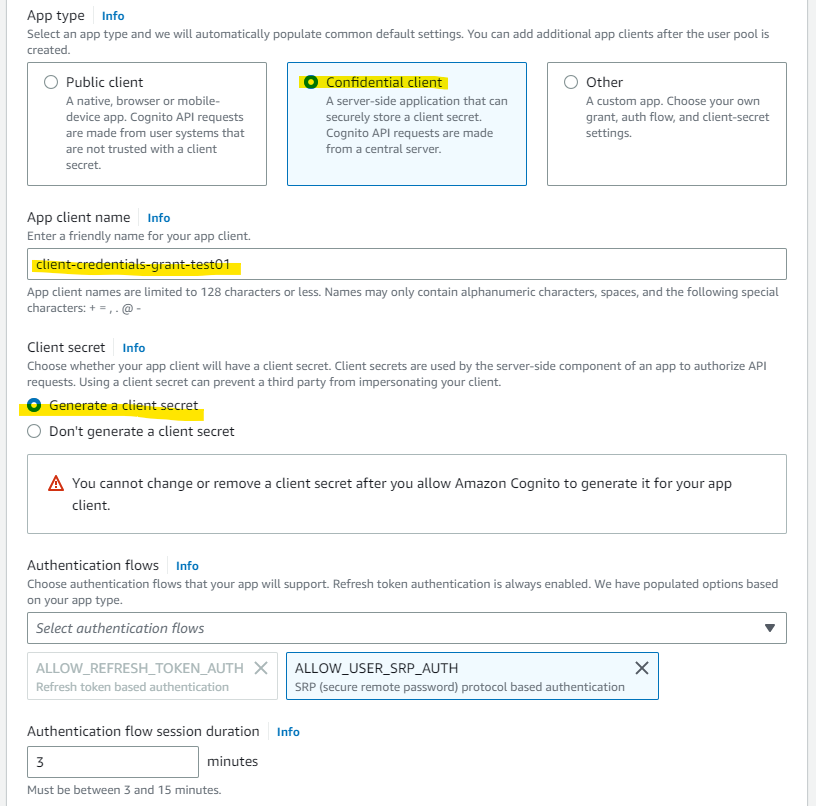
Confidential client を生成します。
client-credentials-grant-test01
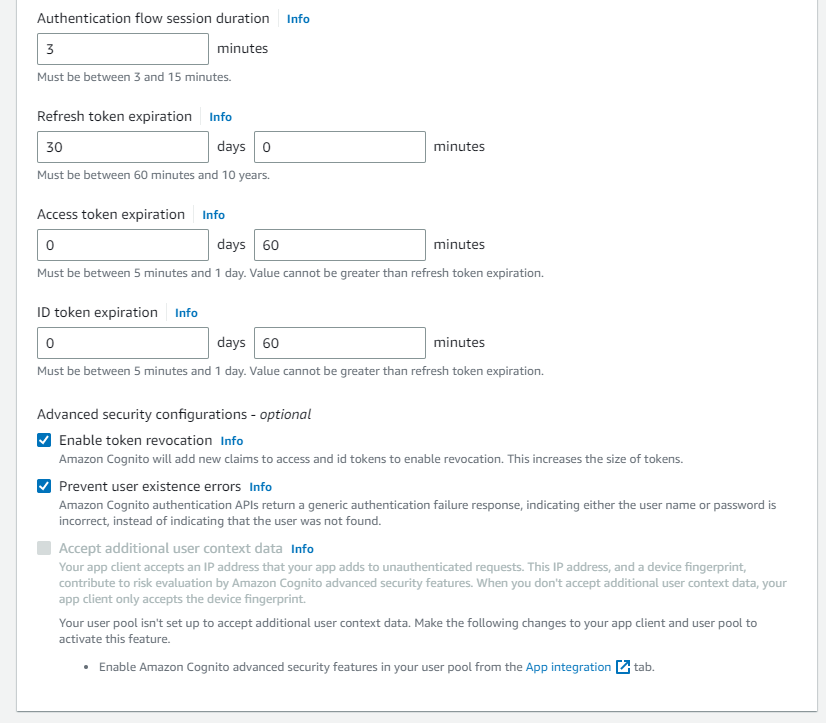
このあたりはデフォルトです。
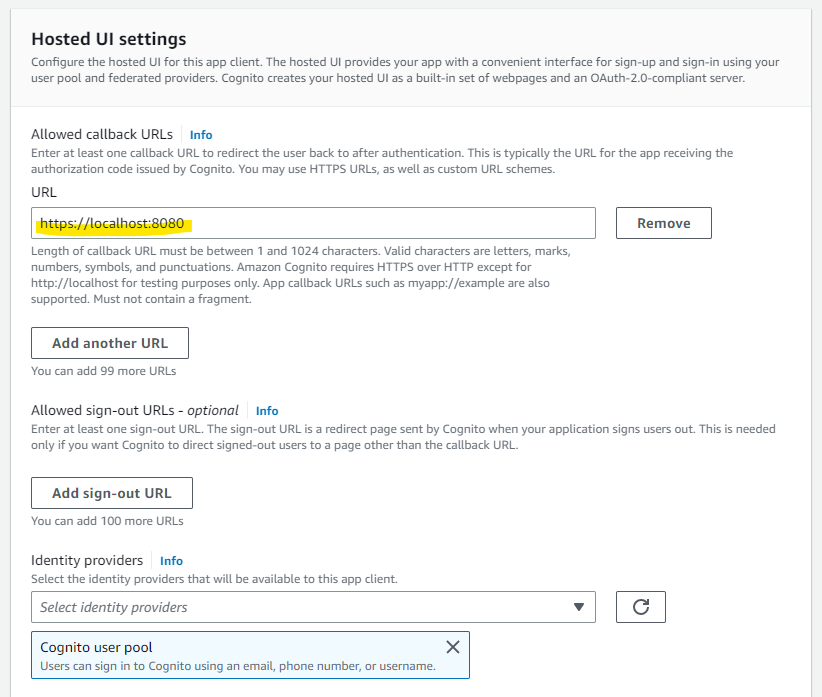
使わないですが、callback url を適当にします。
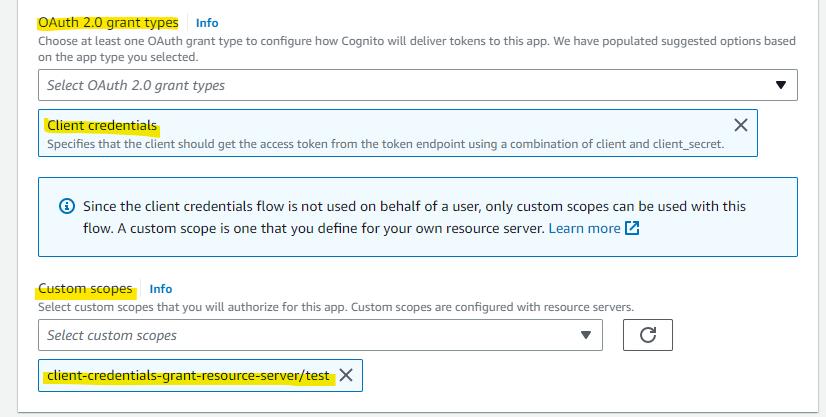
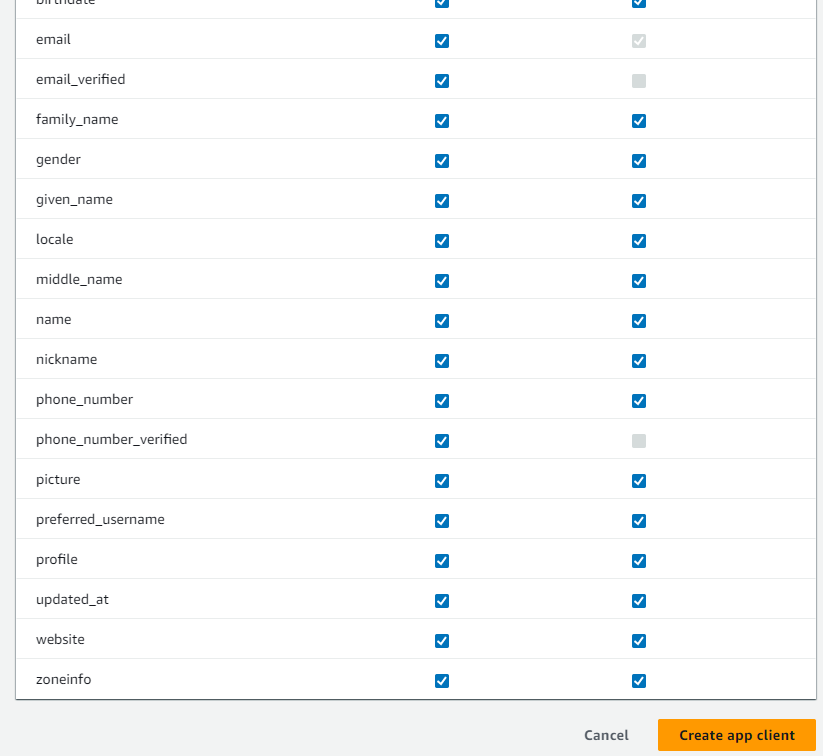
ポイントがここです。Client credentials を選択し、Custom scppes も指定します。
Create を押します。
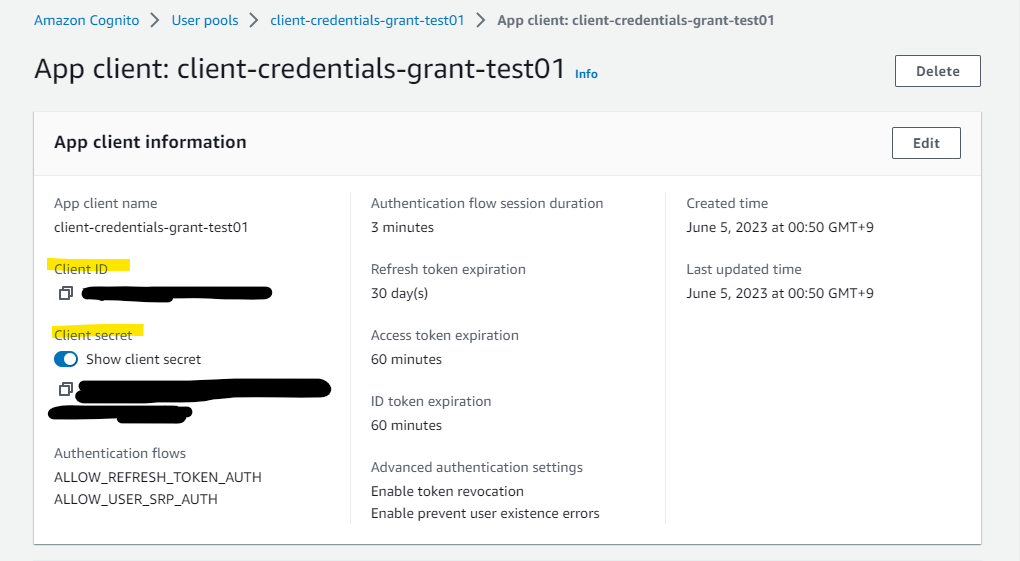
生成されました。Client ID と Client Secret を後で使うため、メモっておきます。
API Gateway と Lambda に紐づけ
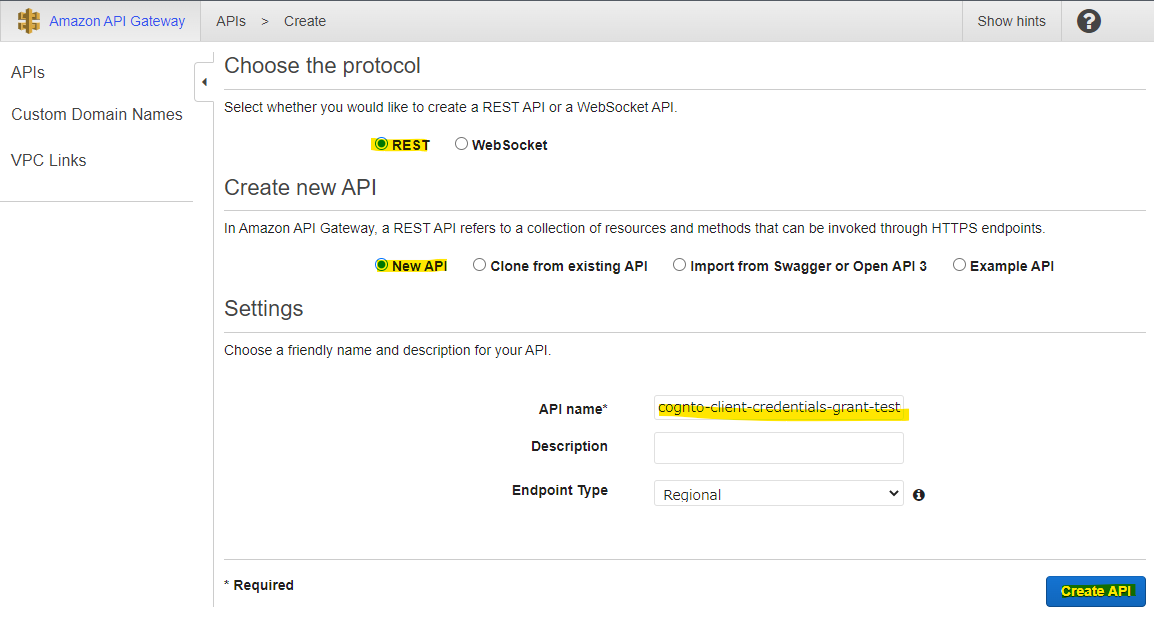
「Client credentials grant」の動作確認をするために、API Gateway と Lambda を準備します。REST API のものを作成します。
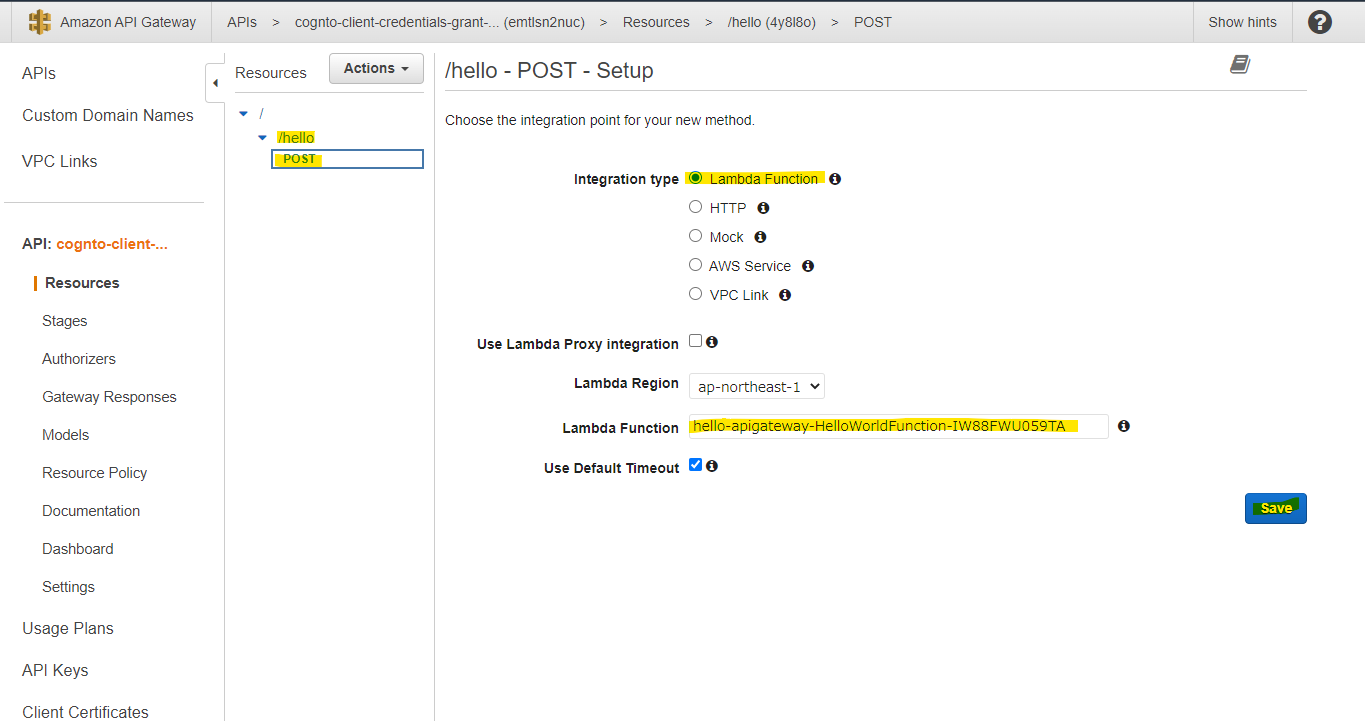
適当にリソースを作成して、Lambda 関数を紐づけます。
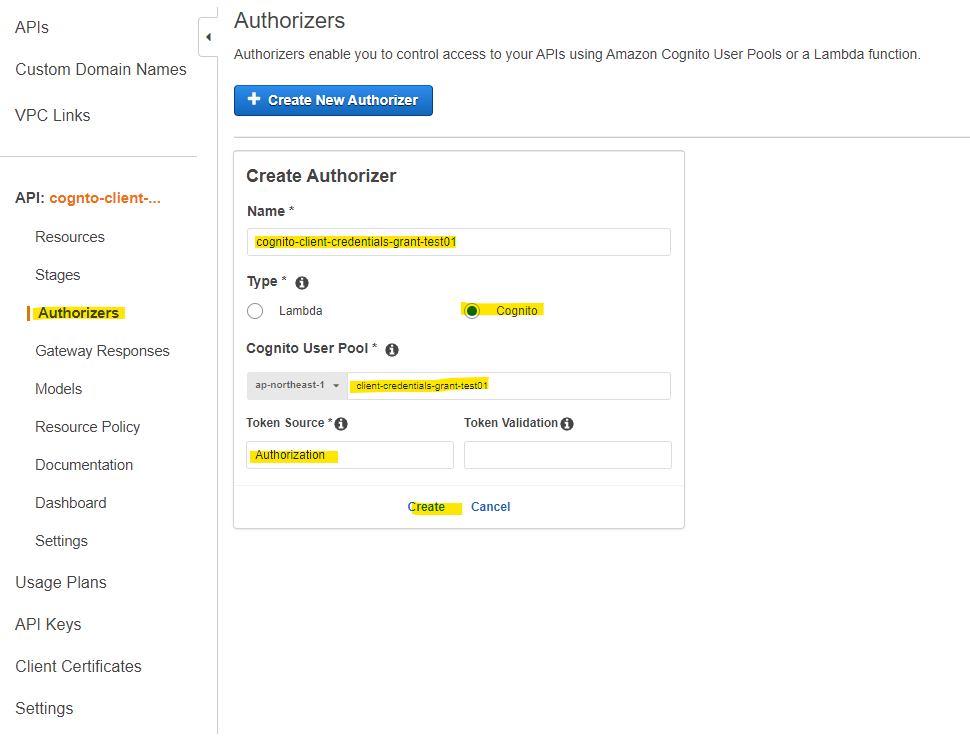
API Gateway に、Cognito のオーソライザーを紐づけるために、Authorizers のメニューから作成します。
Authorization
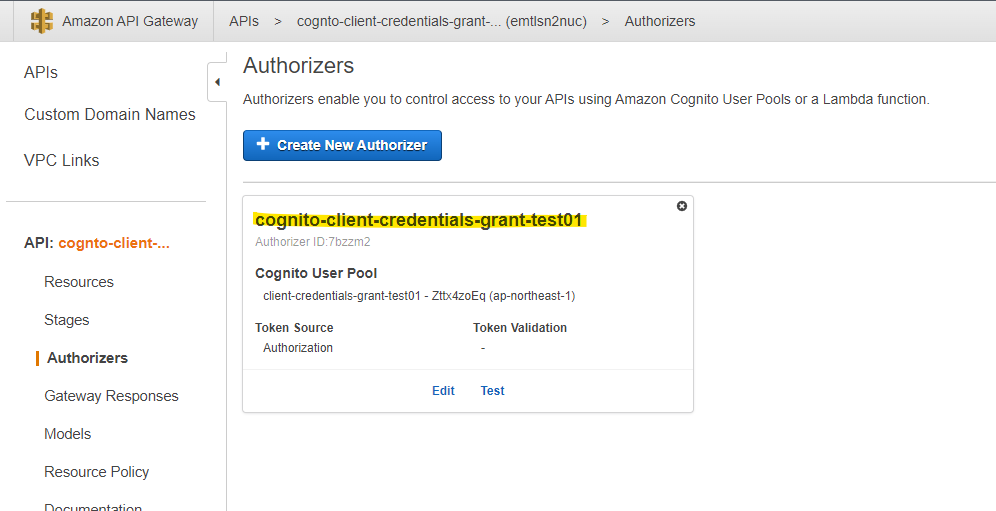
Authorizer が作成されました。
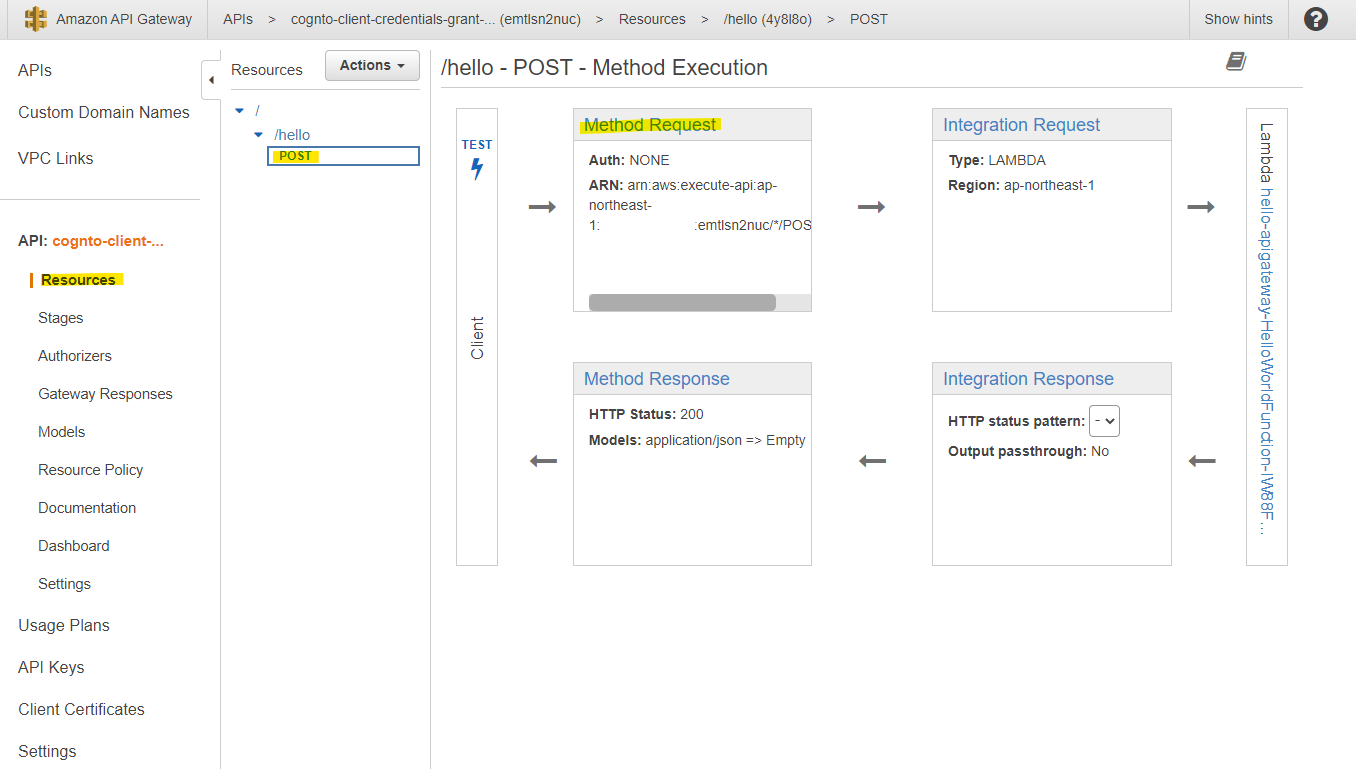
対象のリソースに、Authorizer を紐づけます。
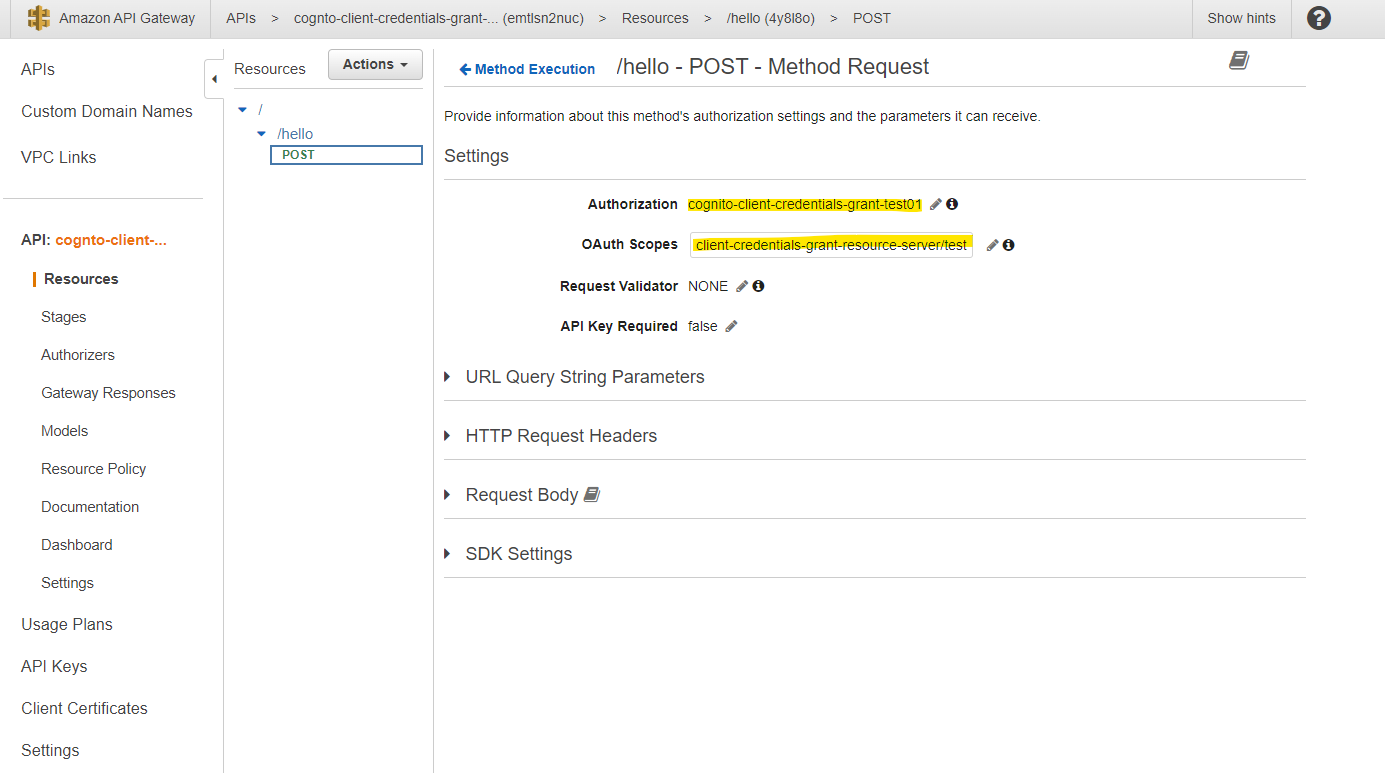
Authorization と OAuth Scopes をします。OAuth Scopes は、Cognito 上で定義したものを指定します。
client-credentials-grant-resource-server/test
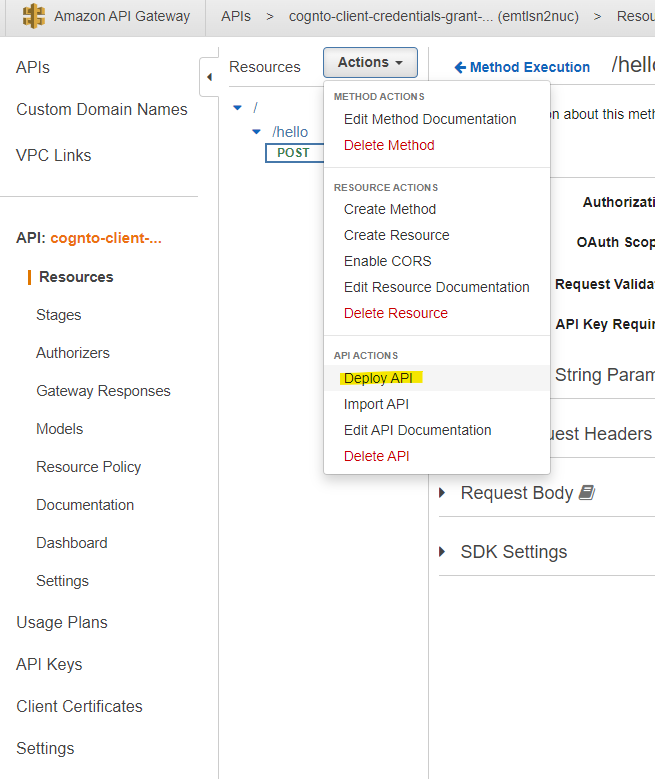
Deploy を押します。
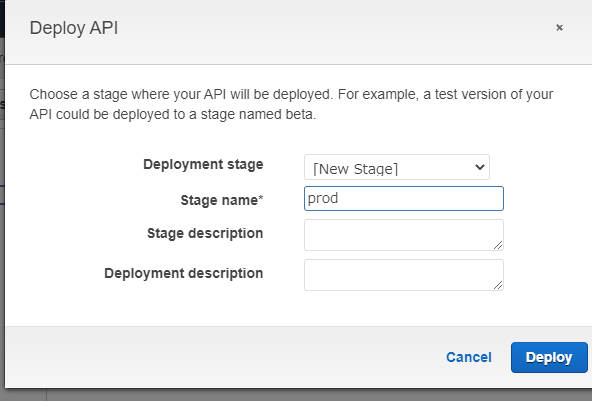
Deploy を押します。
動作確認
実際に、「Client credentials grant」で Token を取得して、API Gateway にアクセスできるか試してみましょう。
まず、Token が無い状態で API Gateway にアクセスしてみると、想定通りエラーになります。
> curl -X POST https://emtlsn2nuc.execute-api.ap-northeast-1.amazonaws.com/prod/hello
{"message":"Unauthorized"}
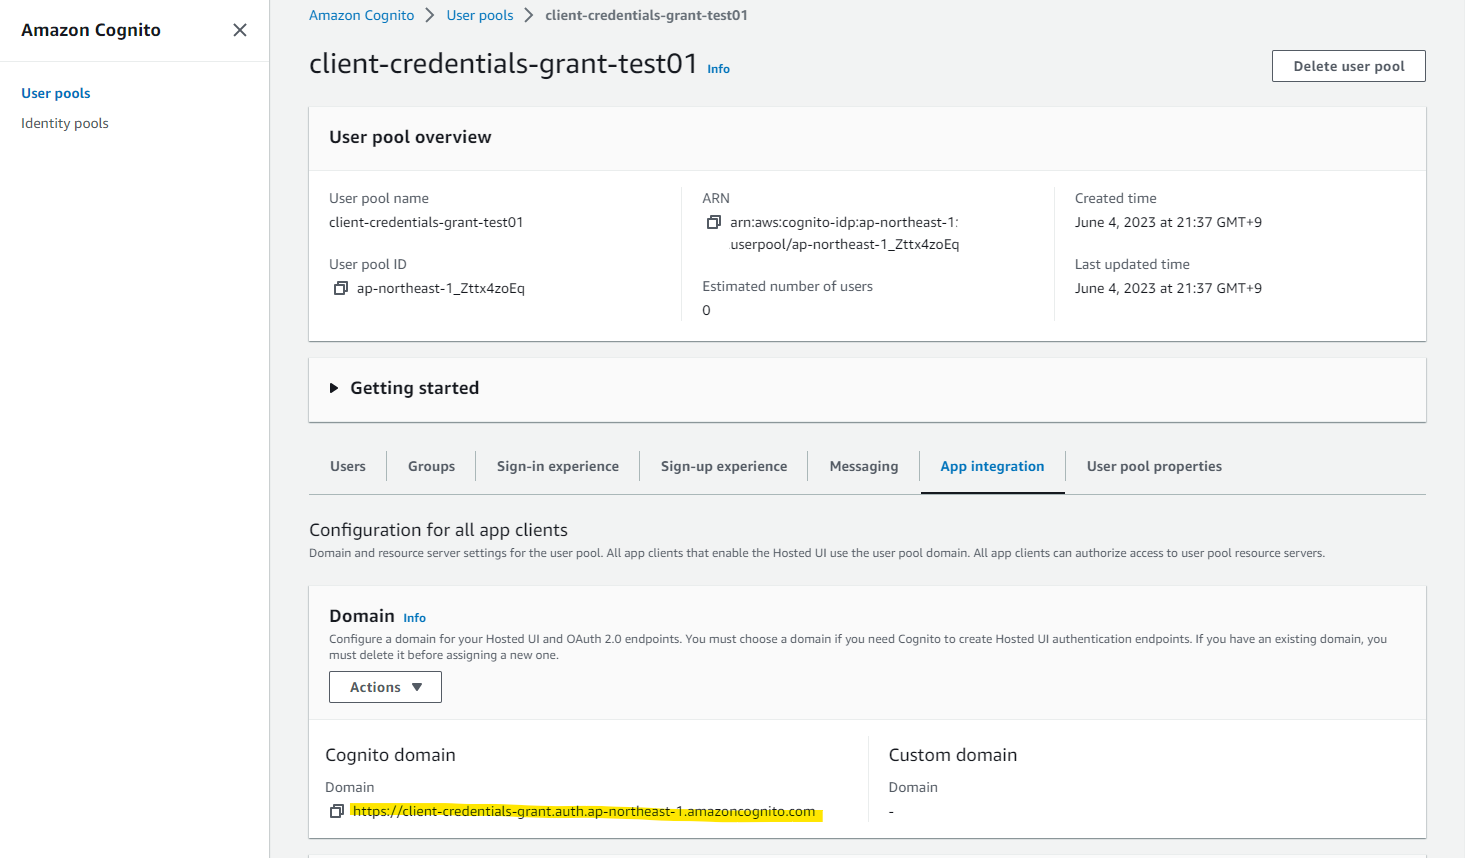
Token を入手するための Cognito の Domain URL を調べます。
https://client-credentials-grant.auth.ap-northeast-1.amazoncognito.com
Token を取得するために、curl で Cognito のエンドポイントにアクセスします。APP_CLIENT_ID や CLIENT_SECRET, TOKEN_END_POINT は環境に合わせて書き換えてください。
- Cognito 上で生成した Client ID と Client Secret を使って、Base64 でエンコードする
- エンコードで得られた文字列をリクエストヘッダー
Authorizationに入れる
# 事前準備
APP_CLIENT_ID=himitsu1
CLIENT_SECRET=himitsu2
TOKEN_END_POINT=https://client-credentials-grant.auth.ap-northeast-1.amazoncognito.com
CODE=`echo -n ${APP_CLIENT_ID}:${CLIENT_SECRET} | base64 -w 0`

# トークン取得
curl -X POST ${TOKEN_END_POINT}/oauth2/token \
-H "Authorization: Basic $CODE" \
-H "Content-Type: application/x-www-form-urlencoded" \
-d "grant_type=client_credentials" | jq .
実行例 : 次のように Access Token が取得できます。この Access Token を使って API Gateway にアクセスができます。
{
  "access_token": "eyJraWQiOiJsK25WZTd.....省略......CmA",
  "expires_in": 3600,
  "token_type": "Bearer"
}
access_token を変数に格納します。
access_token=$(curl -X POST ${TOKEN_END_POINT}/oauth2/token \
-H "Authorization: Basic $CODE" \
-H "Content-Type: application/x-www-form-urlencoded" \
-d "grant_type=client_credentials" \
--data-urlencode 'scope=client-credentials-grant-resource-server/test' | jq -r .access_token)
確認です。
echo $access_token
次のように curl で API Gateway にアクセスします。リクエストヘッダーに、access_token を指定します。
curl -X POST \
-H "Authorization:$access_token" \
https://emtlsn2nuc.execute-api.ap-northeast-1.amazonaws.com/prod/hello
以下のように、Lambda の実行結果が返ってくれば OK です!
$ curl -X POST \
> -H "Authorization:$access_token" \
> https://emtlsn2nuc.execute-api.ap-northeast-1.amazonaws.com/prod/hello
{"statusCode": 200, "body": "{\"message\": \"hello world\"}"}
検証を通じてわかったこと
- Cogitno で 「Client credentials grant」でアクセスが可能
- Cognito のマネージメントコンソールにある App Client の画面で「Client credentials grant」周りの設定が可能
参考 URL

