はじめに
IIS でサービスを提供しているシステムで、Windows Server のオートスケールを行ったときに、自動的に設定を行うべきものがいくつかあります。IIS の設定・最新のアプリケーションコードの配置・FSx for Windows File Server などの SMB の参照設定、などなどです。
user data や CodeDeploy 等を活用することで実現できそうなことはわかりますが、具体的にどのように設定すればいいのかわからなかったので検証してみました。その時の構成や手順などを紹介します。
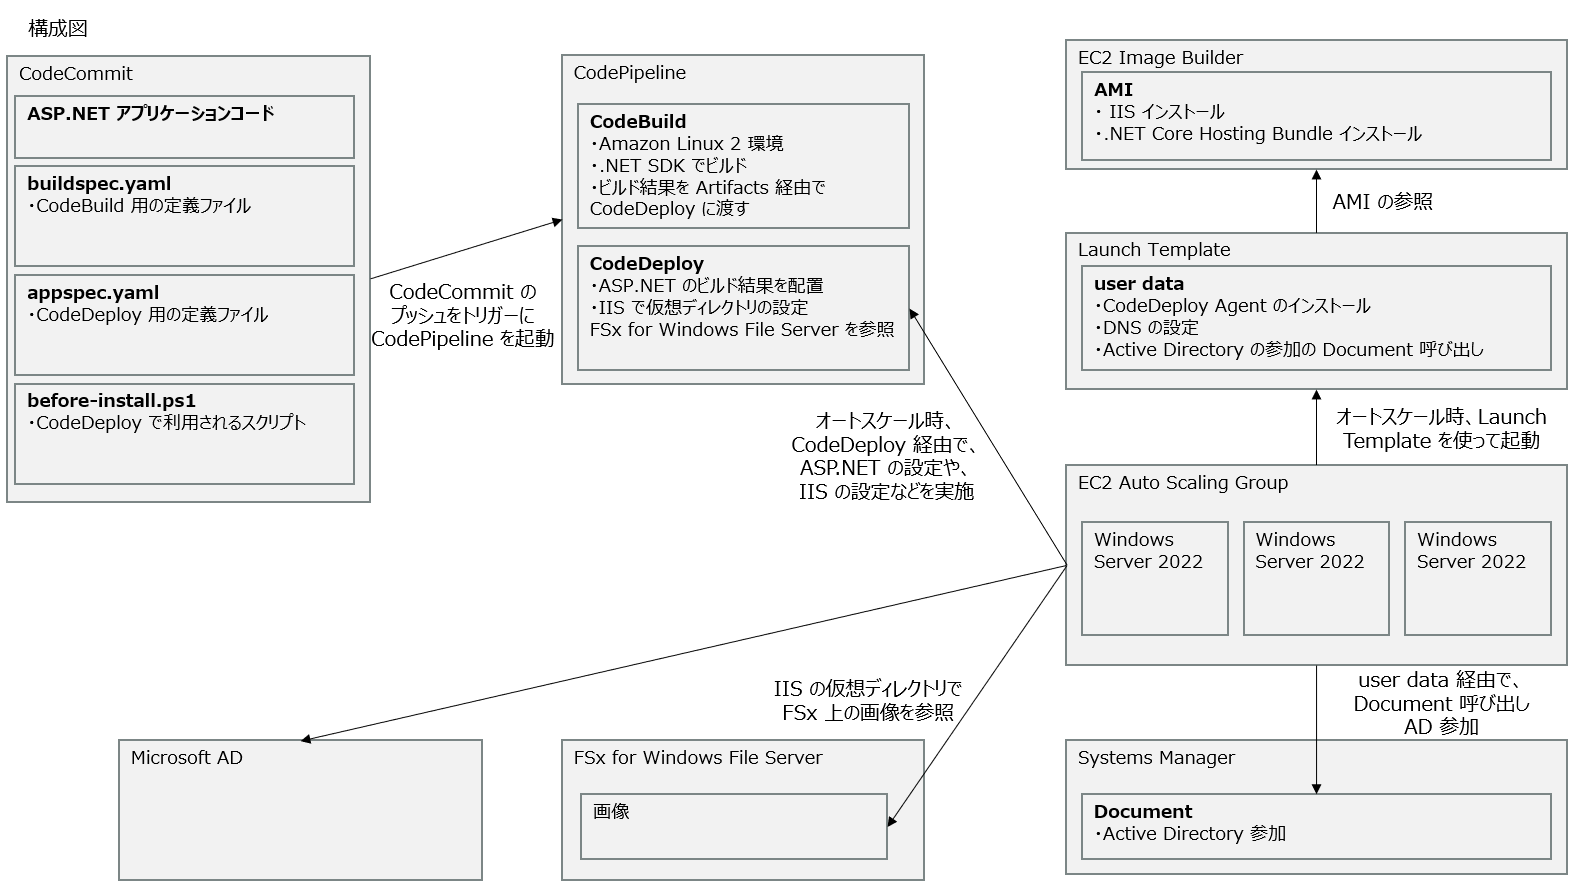
構成図
まず、全体的な構成図を載せます。環境によってはいくつか異なる点はあるかもですが、この記事の構成として紹介していきます。
- オートスケールで利用する AMI は、EC2 Image Builder で作成する。AMI の中には、IIS に必要なソフトウェアをインストールする
- Windows Server がオートスケールで増えたときに、user data を実行する
- user data では、CodeDeploy Agent のインストール・DNS の設定・Active Directory 参加のための Systems Manager Run Command の呼び出し、などを実行する
- Active Directory は、Microsoft AD を利用する。オンプレミスの Active Directory の場合は、AD Connector を利用すると楽に設定が可能
- CodeDeploy Agent 経由で、最新のアプリケーションの配置や、IIS の仮想ディレクトリの設定を行う
- IIS の仮想ディレクトリ経由で、FSx for Windows File Server に格納している画像ファイルを参照する
- ASP.NET のコードは、CodeCommit で管理しており、いつでも最新のコードをデプロイできるようにする
Active Directory に参加するのに、Systems Manager を活用する
EC2 に詳しい方は、もしかするとこんな疑問を持つかもしれません。
- Active Directory に参加するために、Systems Manager 使う必要ある?EC2 の設定の中に「Domain join directory」があって、これを使えば良いんじゃない?
という疑問です。
自分自身、上の疑問を思っていたのですが、結論としては Systems Manager を利用するのが良いです。理由は、Auto Scaling Group で利用する Launch Template に、「Domain join directory」に関する設定は存在しないためです。従って別の方法で Active Directory の参加を実現していくために、Systems Manager を利用します。
AWS Blog にも、Systems Manager を利用する旨が紹介されています。
それでは具体的な手順を紹介していきましょう。
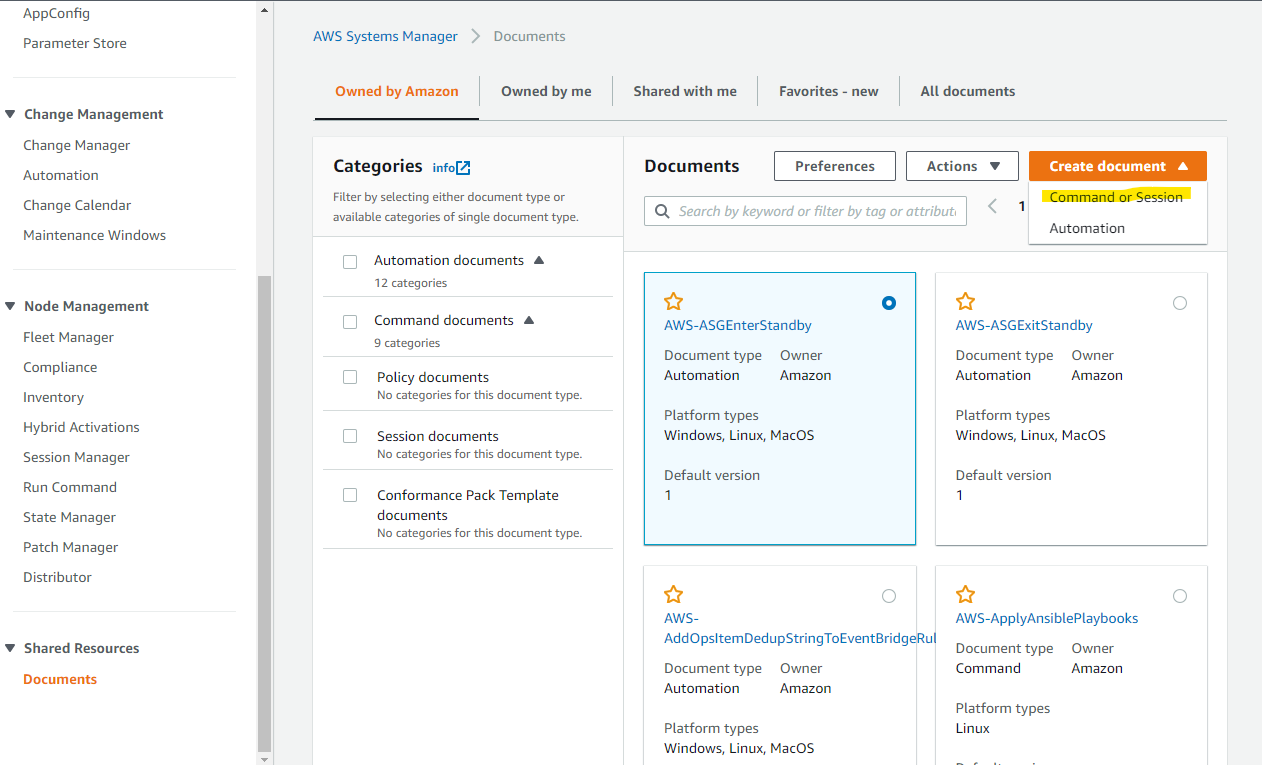
Systems Manager Document の作成
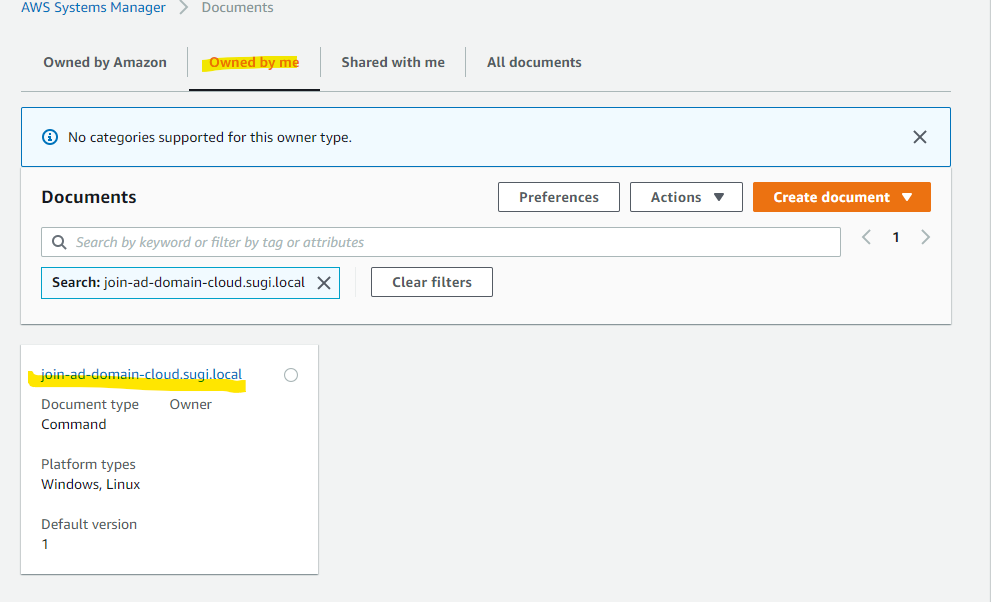
まず、Systems Manager で Active Directory に参加するための Document を作成します。
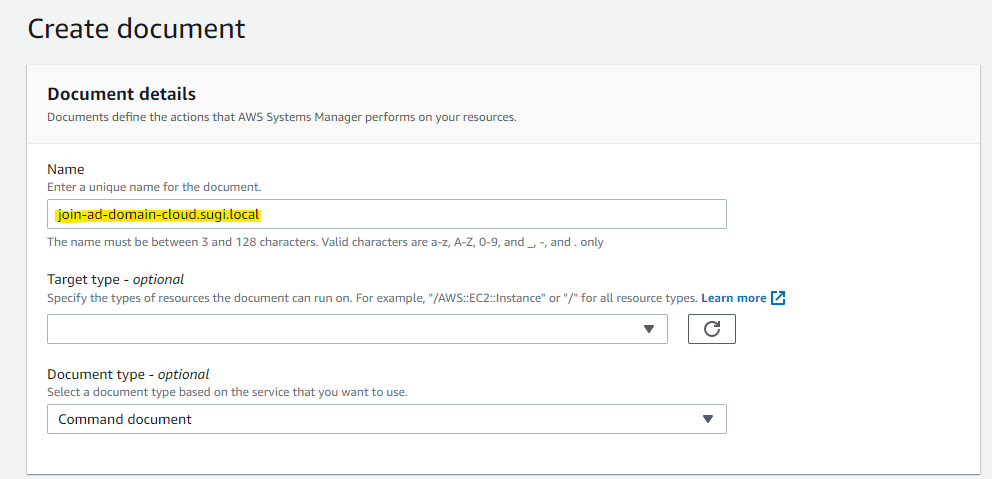
適当に名前を指定します
join-ad-domain-cloud.sugi.local
Systems Manager には、aws:domainJoin プラグインが提供されており、AD 参加を簡単に定義できます。
- directoryId : Directory Service 上の ID を指定
- directoryName : Directory の名前を指定
- dnsIpAddresses : Active Directory 上の DNS IP アドレスを指定 (今回は、Microsoft AD の IP アドレス)
{
  "schemaVersion": "1.2",
  "description": "Join your instances to an AWS Directory Service domain.",
  "runtimeConfig": {
    "aws:domainJoin": {
      "properties": {
        "directoryId": "d-95671f8323",
        "directoryName": "cloud.sugi.local",
        "dnsIpAddresses": [
          "10.0.1.113",
          "10.0.100.47"
        ]
      }
    }
  }
}
指定して、Create document を押します。
Document が作成されました。
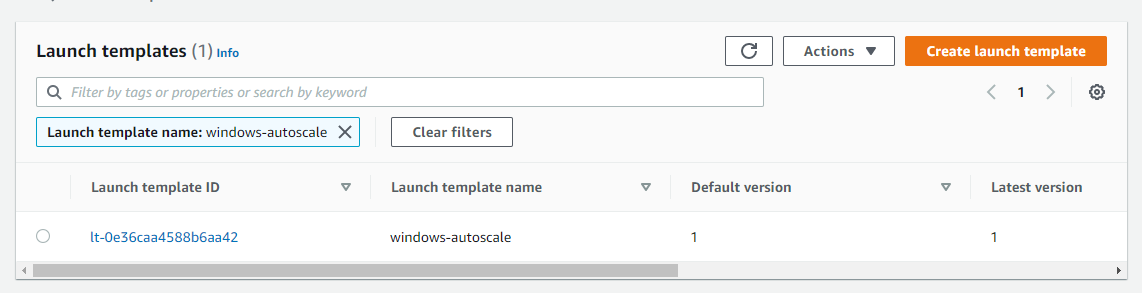
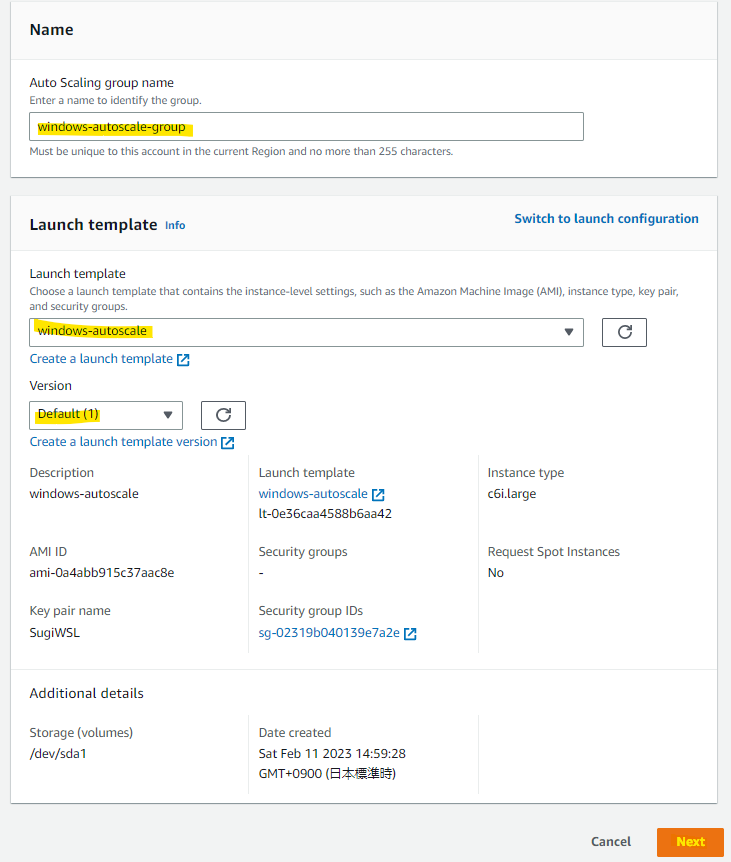
Launch Template の作成
Auto Scaling Group が利用する Launch Template を作成します。
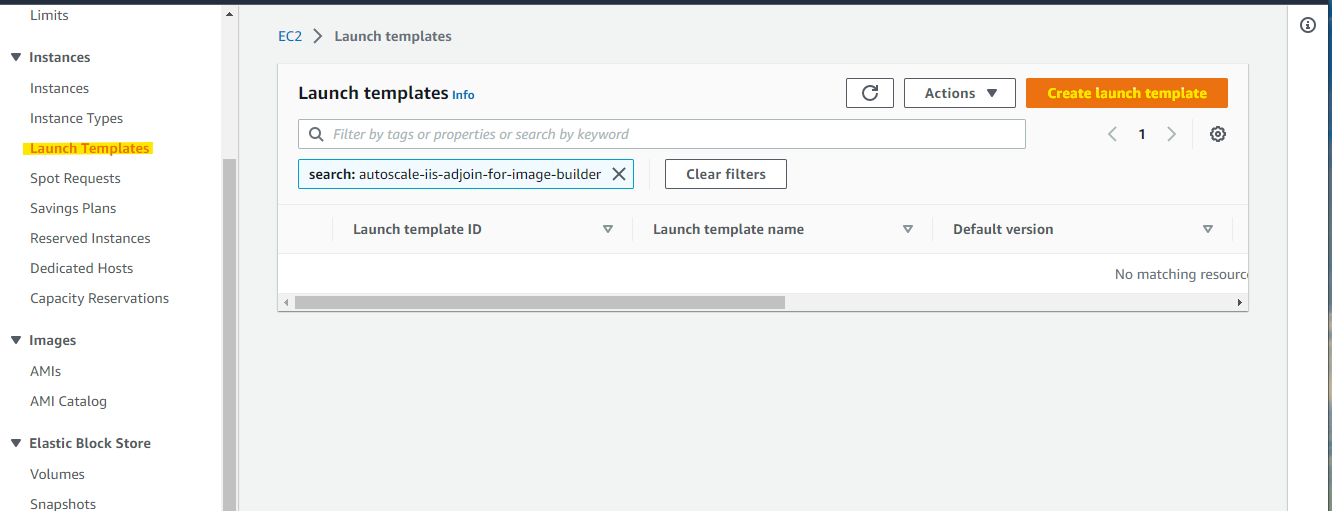
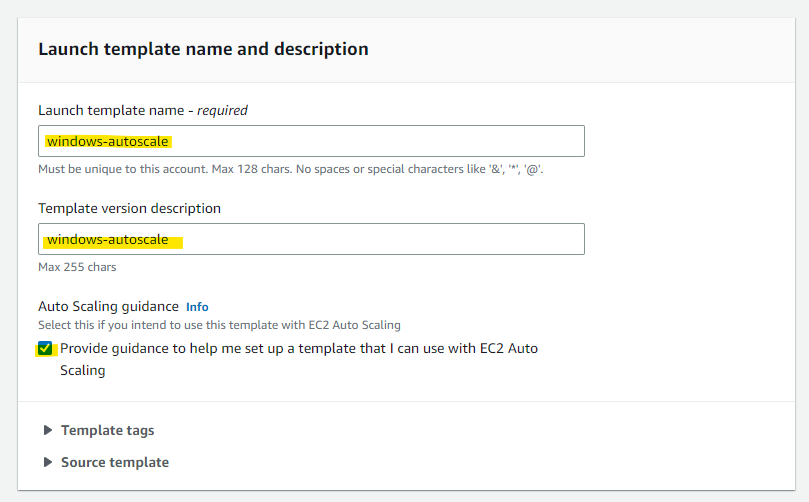
名前を適当に指定します。
windows-autoscale
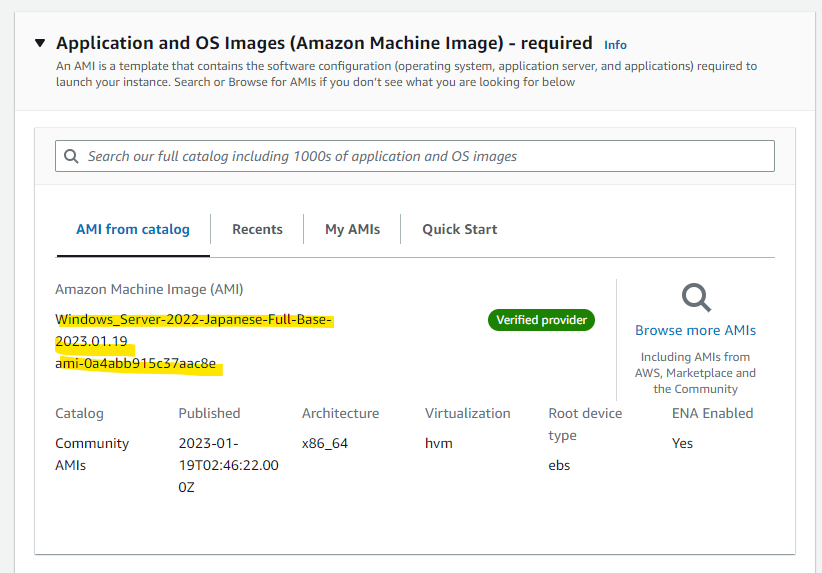
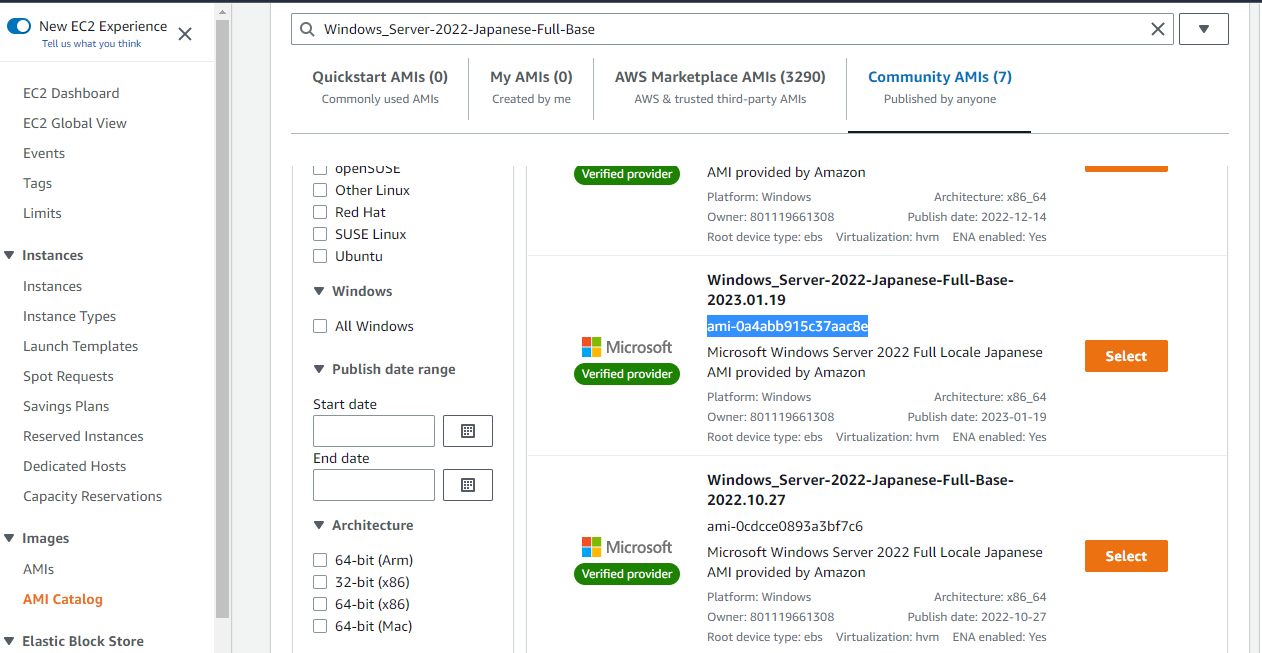
適当に AMI を選びます。後述の EC2 Image Builder で上書きするので、適当に Windows Server の AMI を指定します。
ami-0a4abb915c37aac8e
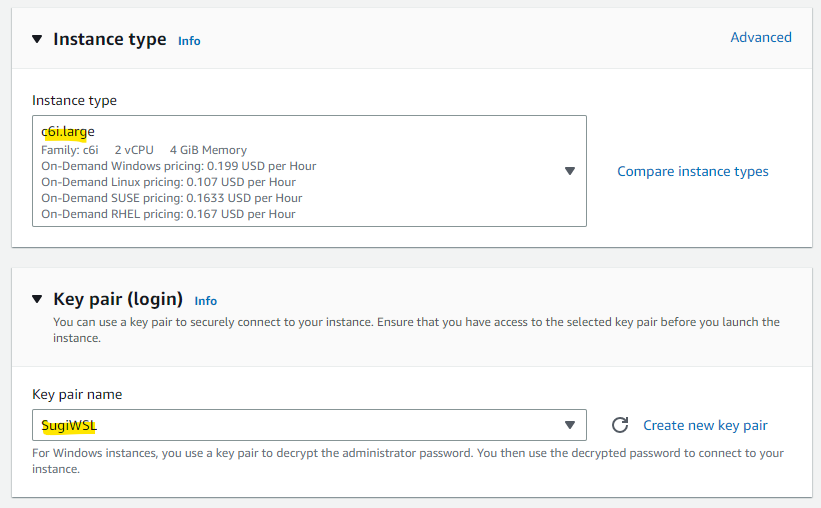
Instance Type や Key Pair を指定します。
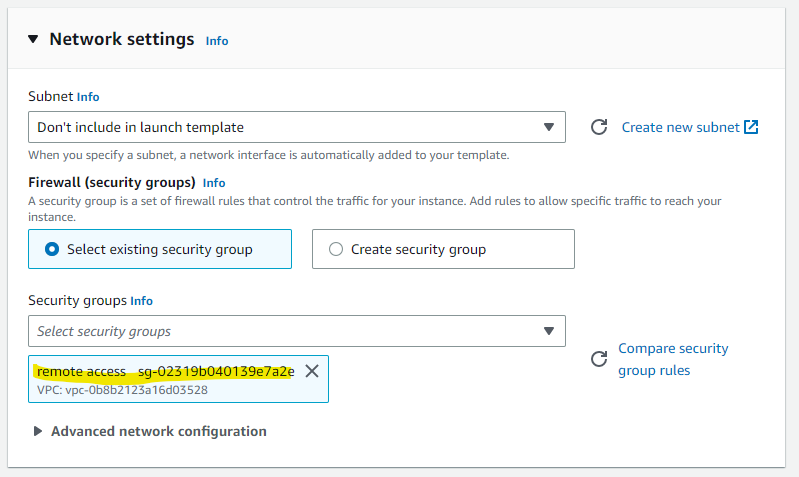
Subnet の指定はせず、Security Group を指定します。
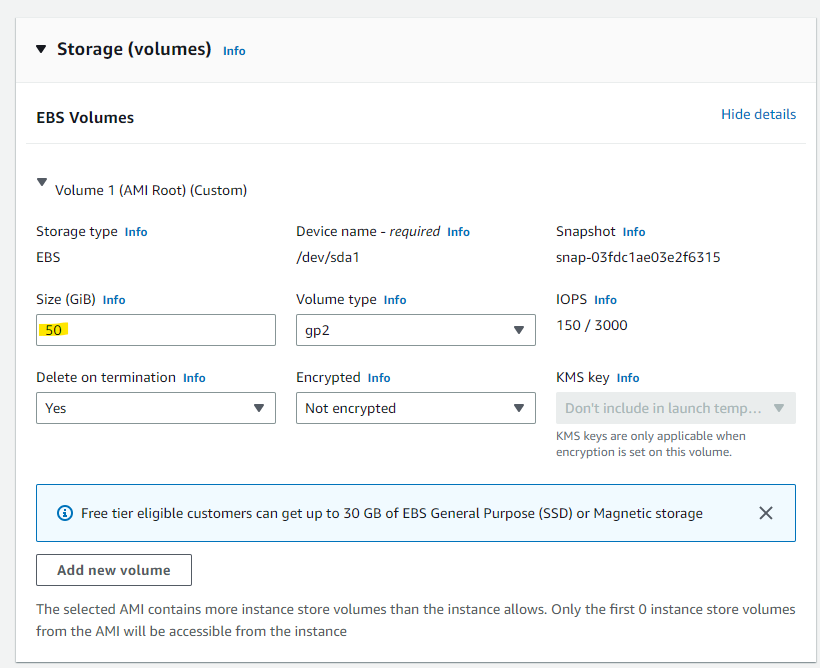
ストレージサイズの指定をします。
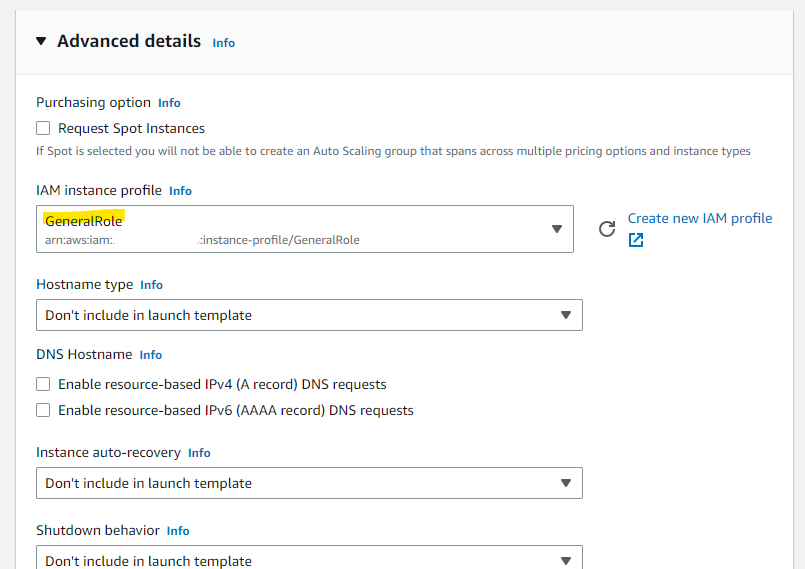
Systems Manager の実行が許可されている IAM Role を指定します。user data 経由で実行するために必要です。
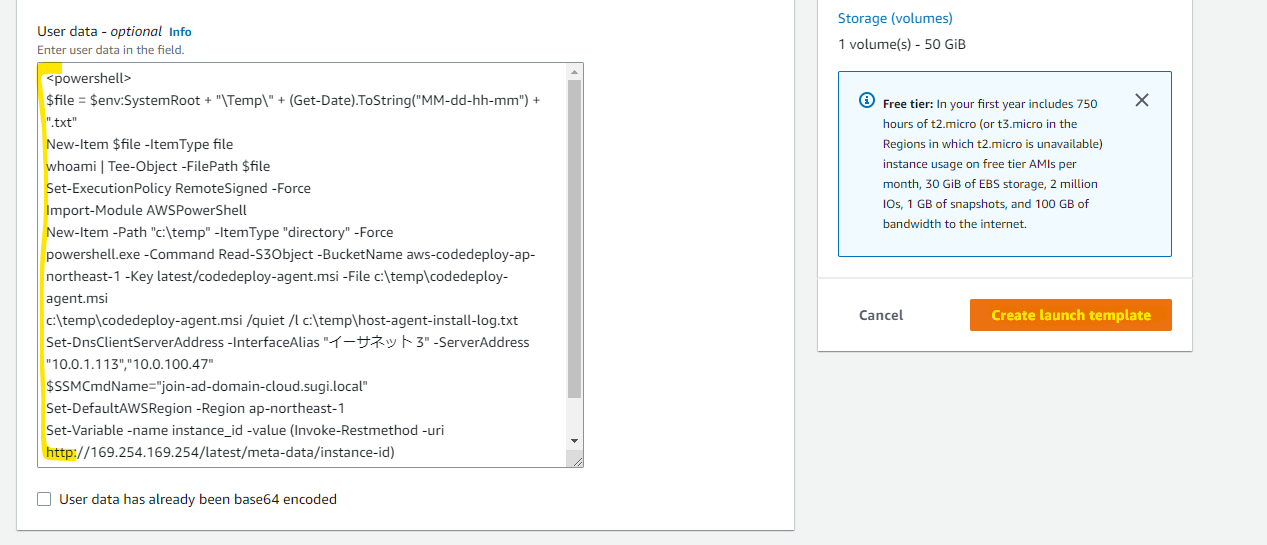
Userdata を指定します。
- Userdata の動作確認
- CodeDeploy Agent のインストール
- DNS の設定
- Active Directory 参加の Systems Manager の Document を呼びだし
<powershell>
$file = $env:SystemRoot + "\Temp\" + (Get-Date).ToString("MM-dd-hh-mm") + ".txt"
New-Item $file -ItemType file
whoami | Tee-Object -FilePath $file
Set-ExecutionPolicy RemoteSigned -Force
Import-Module AWSPowerShell
New-Item -Path "c:\temp" -ItemType "directory" -Force
powershell.exe -Command Read-S3Object -BucketName aws-codedeploy-ap-northeast-1 -Key latest/codedeploy-agent.msi -File c:\temp\codedeploy-agent.msi
c:\temp\codedeploy-agent.msi /quiet /l c:\temp\host-agent-install-log.txt
Set-DnsClientServerAddress -InterfaceAlias "イーサネット 3" -ServerAddress "10.0.1.113","10.0.100.47"
$SSMCmdName="join-ad-domain-cloud.sugi.local"
Set-DefaultAWSRegion -Region ap-northeast-1
Set-Variable -name instance_id -value (Invoke-Restmethod -uri http://169.254.169.254/latest/meta-data/instance-id)
New-SSMAssociation -InstanceId $instance_id -Name $SSMCmdName
</powershell>
指定して、Create launch template を押します。
作成されました
EC2 Image Builder
次に、IIS などが事前にインストールされている AMI を EC2 Image Builder から作成していきます。
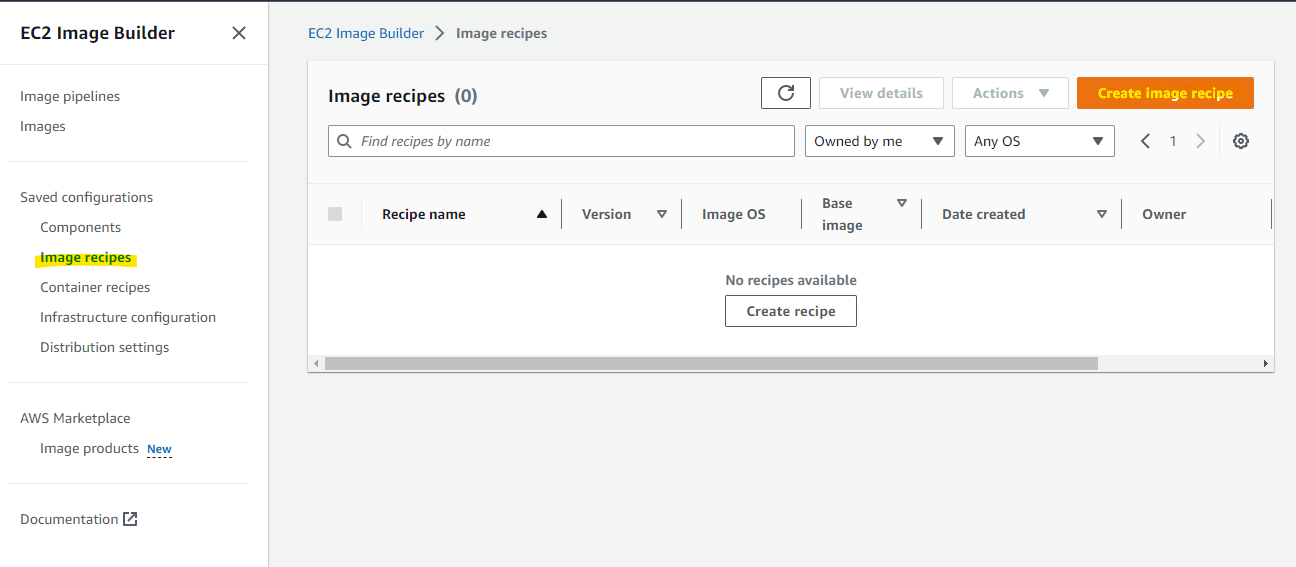
Image Recipe の作成
Image Recipe を作成します。
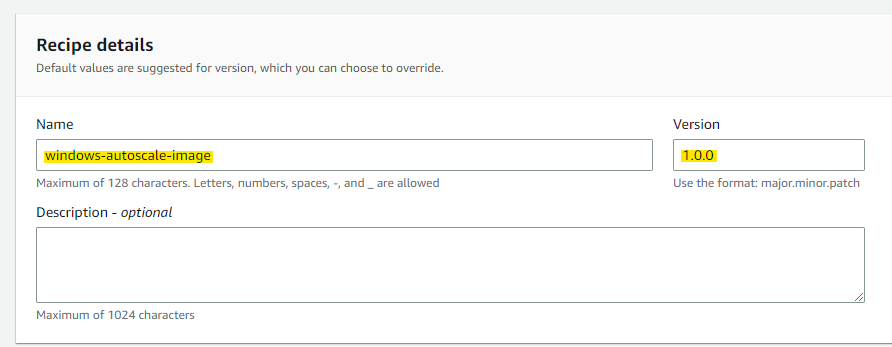
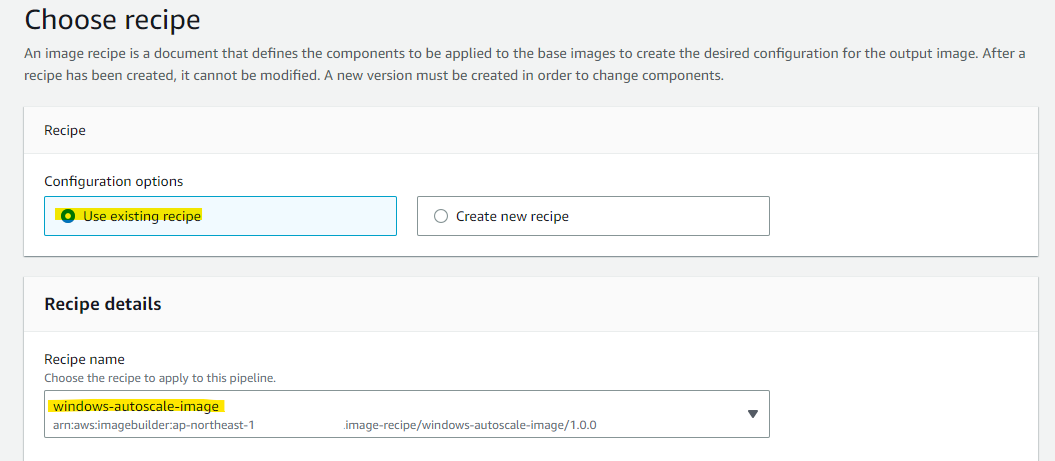
名前を指定します
windows-autoscale-image
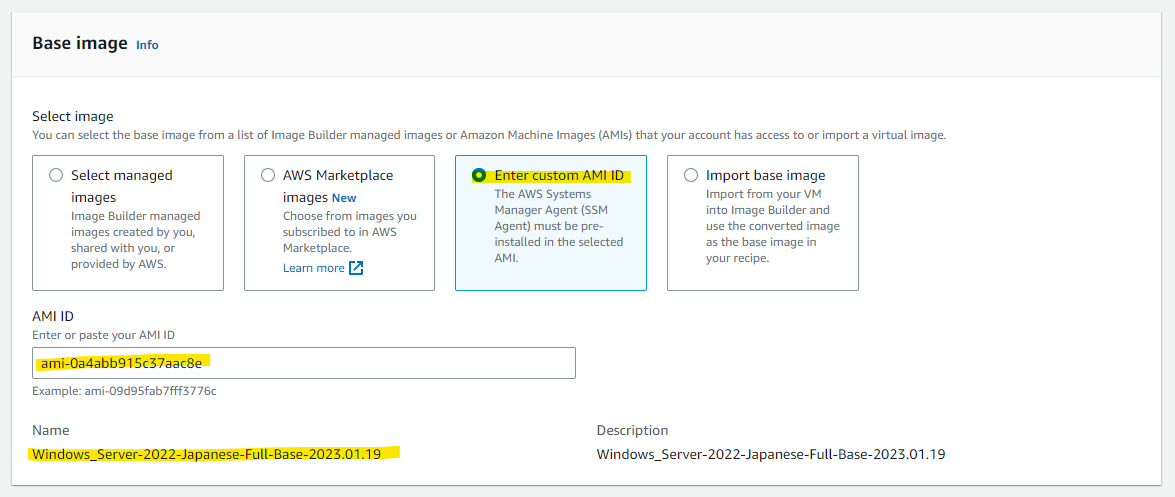
利用したい Windows Server 2022 Japanese の AMI を調べます
ami-0a4abb915c37aac8e
見つけた AMI ID を指定します
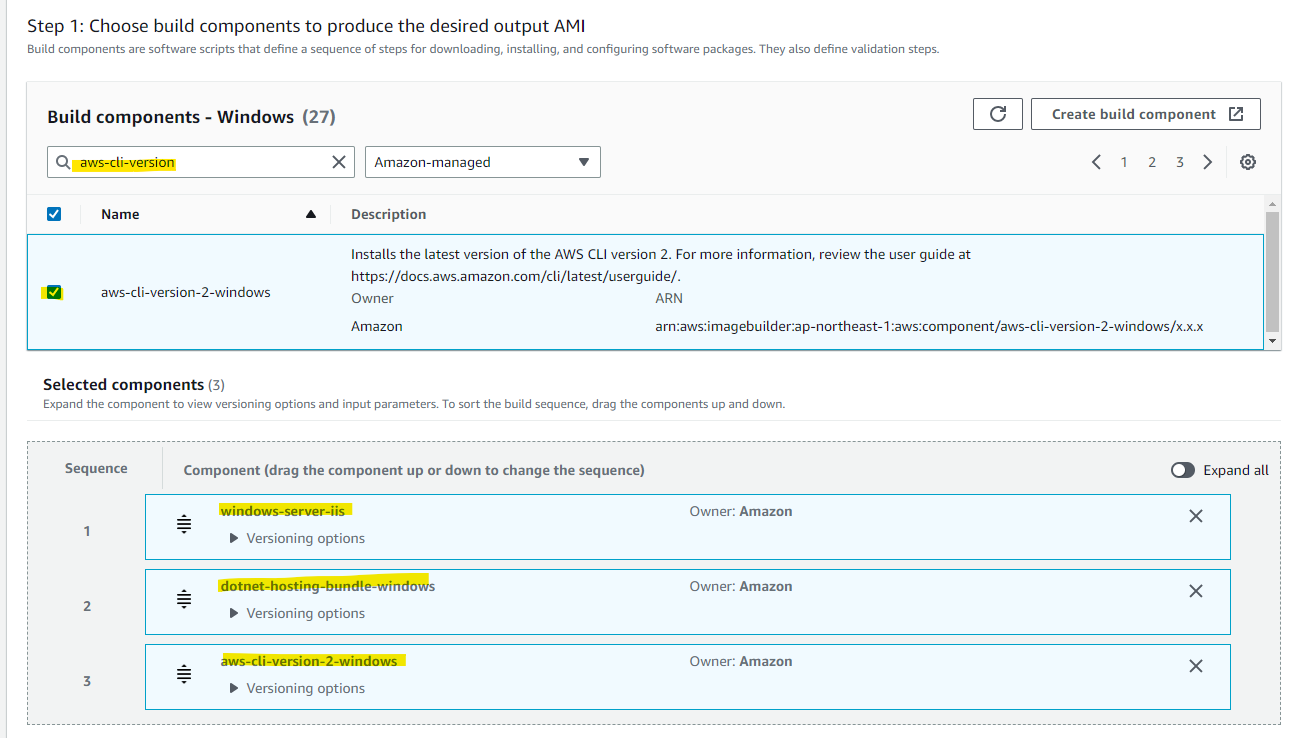
この Windows Image にインストールするものを、既存の Component から選択します
- windows-server-iis : IIS のインストール
- dotnet-hosting-bundle-windows : IIS の稼働に必要なものを指定
- aws-cli-version-2-windows : 使わないので、指定しなくてもよかった。今後のために指定しててもいいかも
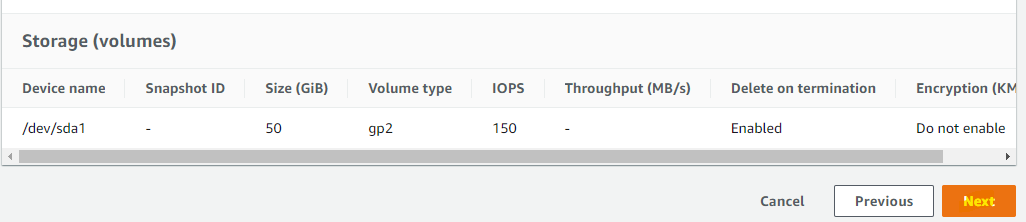
EBS の容量などを指定して、Create を押します
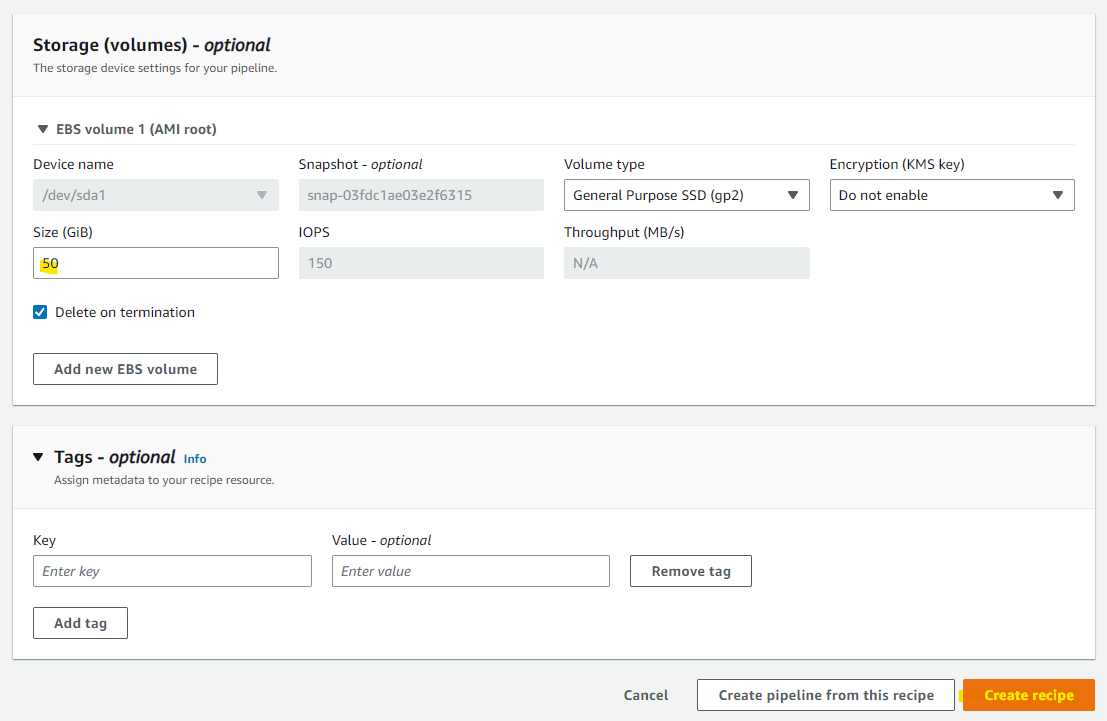
Image Recipe が作成されました
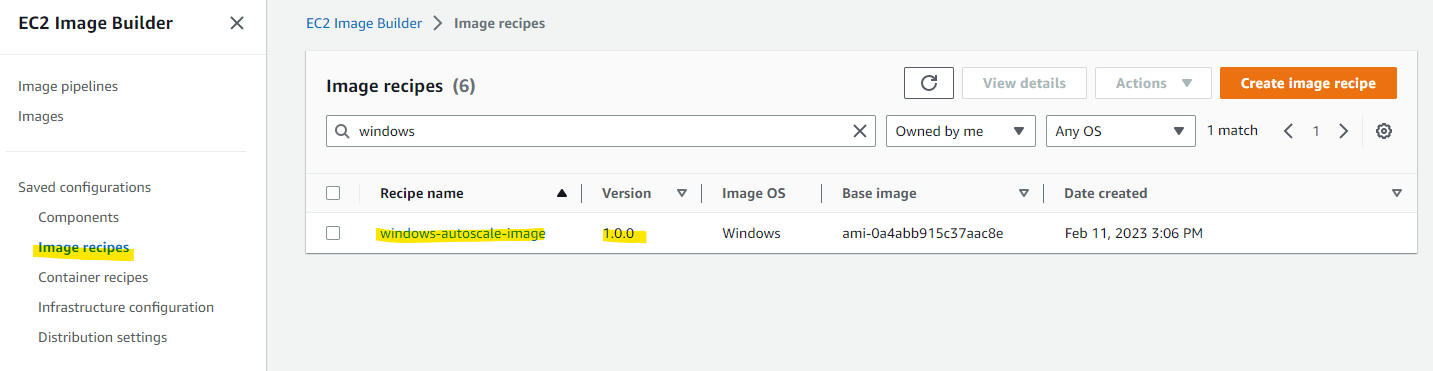
Image Pipeline の作成
実際に AMI を作成するための image pipeline を作成します。
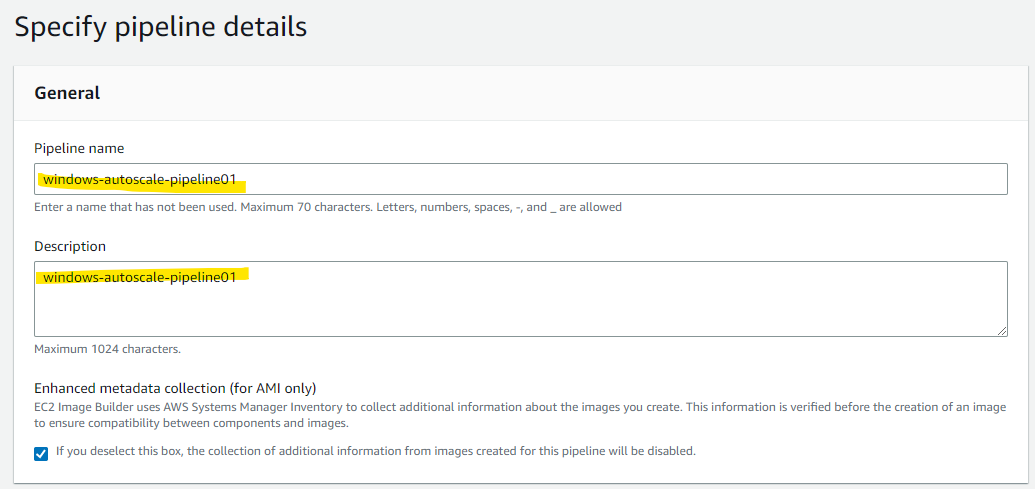
名前を指定します
windows-autoscale-pipeline01
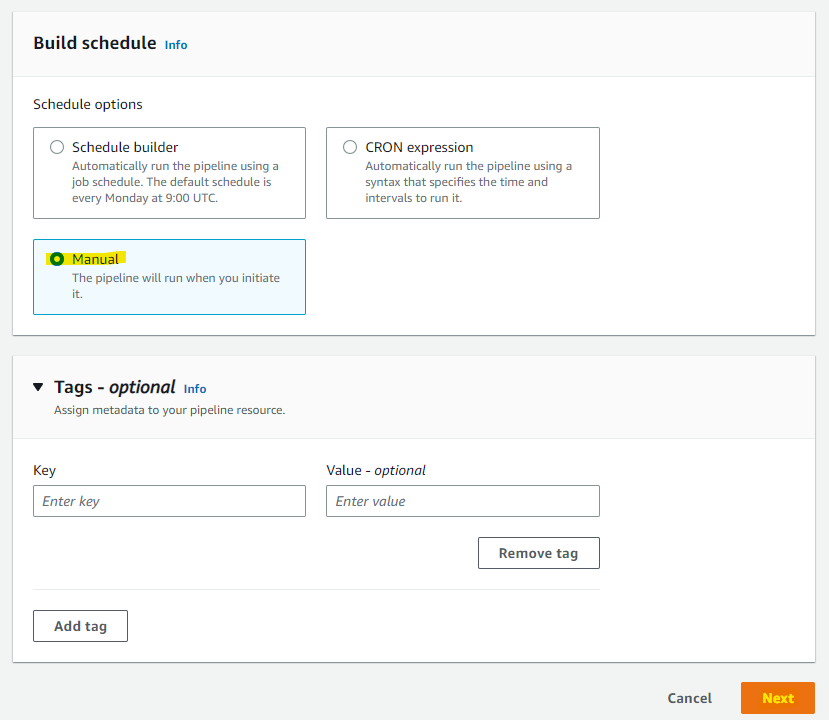
pipeline の実行は、Manual を指定します。Windows Update を指定しておいて、定期実行していくのも良いと思います。
利用する Recipe を指定します
Next
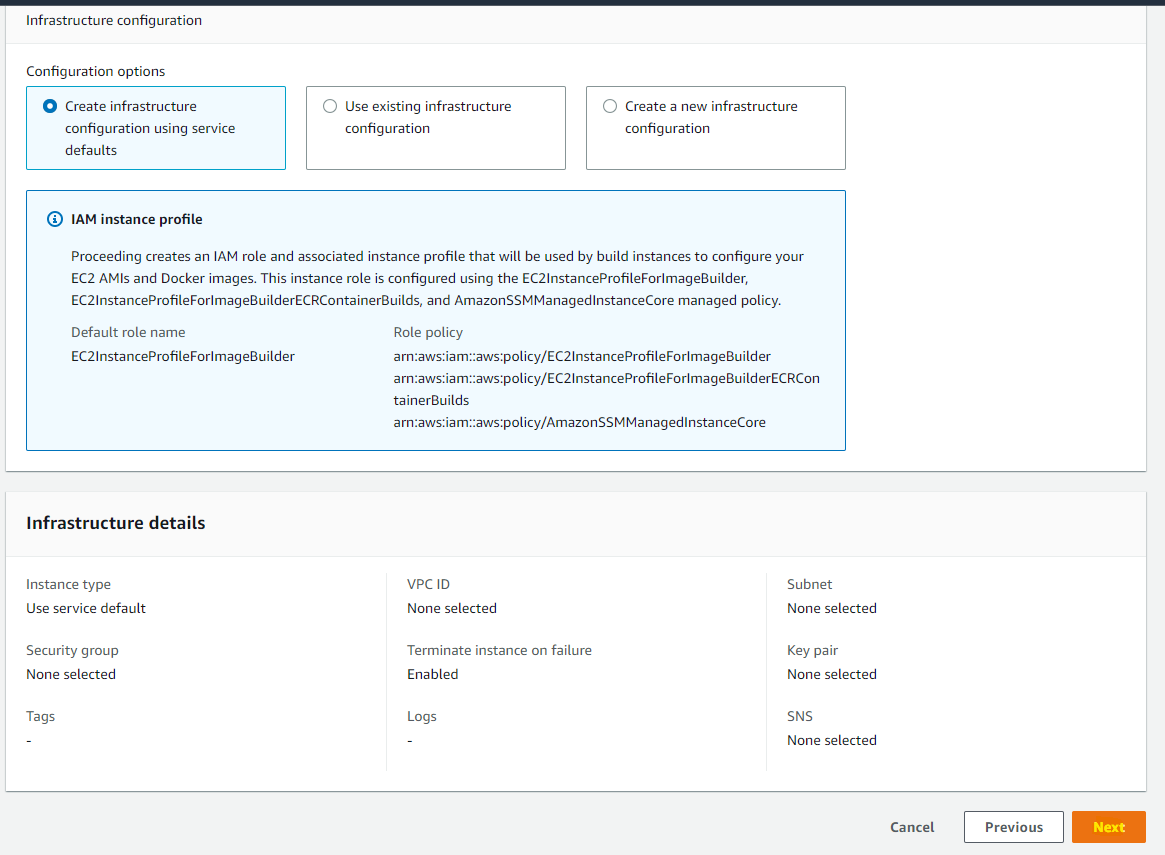
Build 用の環境を指定可能。デフォルトのまま
distribution settings を行います。これを設定することで、Launch Template で利用する AMI に自動的に反映させることが出来ます。
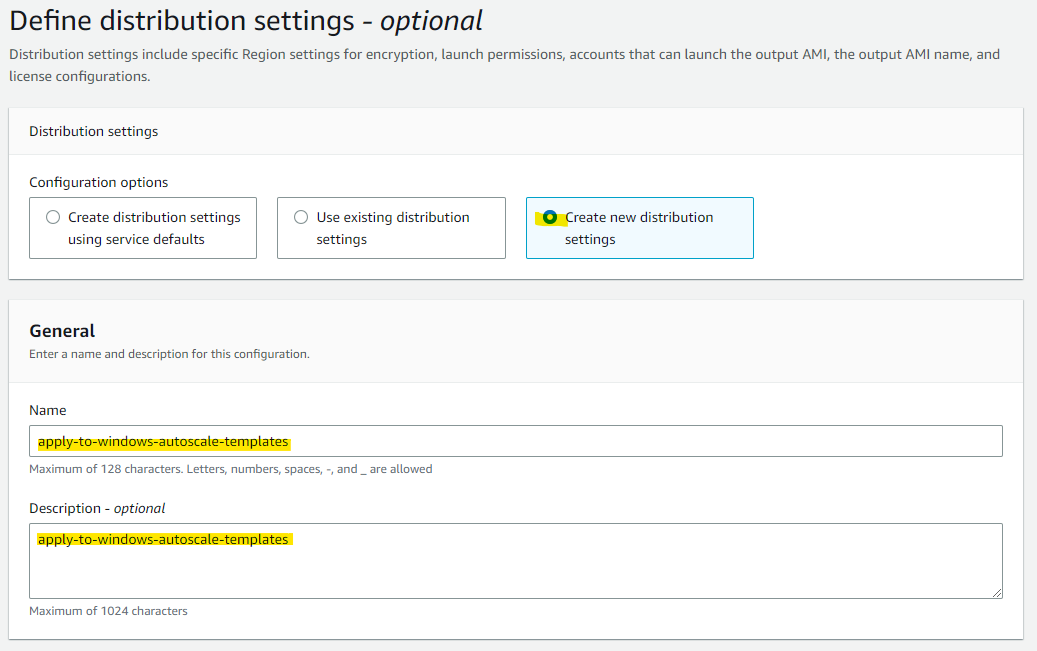
AMI の名前や、自動反映する Launch Template を指定します
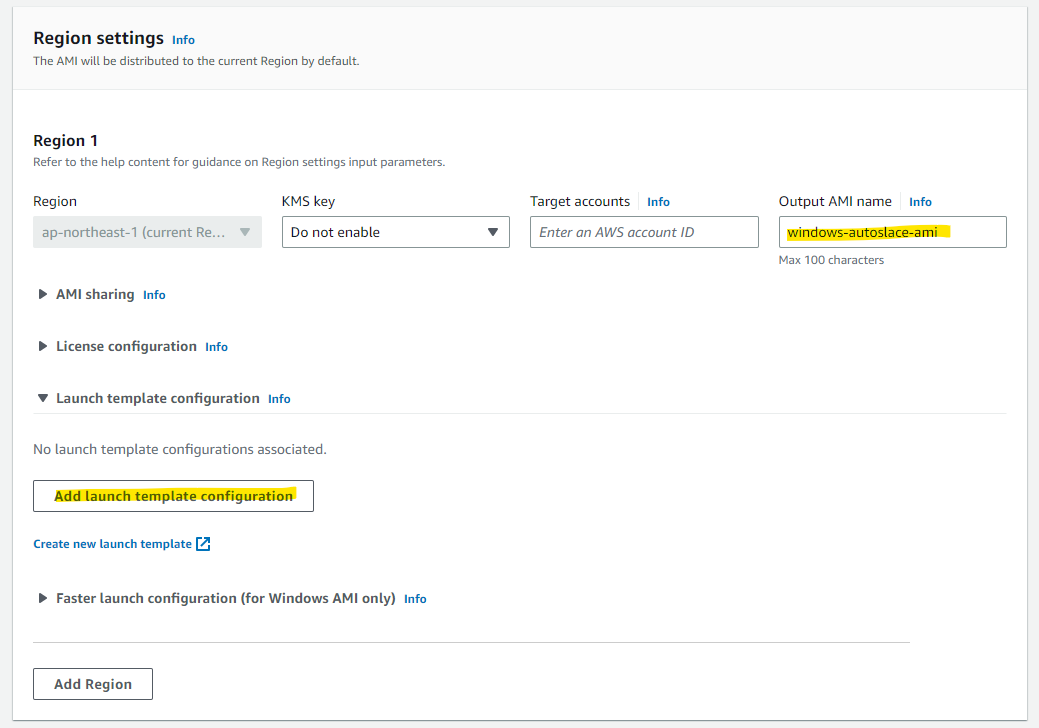
前の手順で作成した Launch Template を指定します
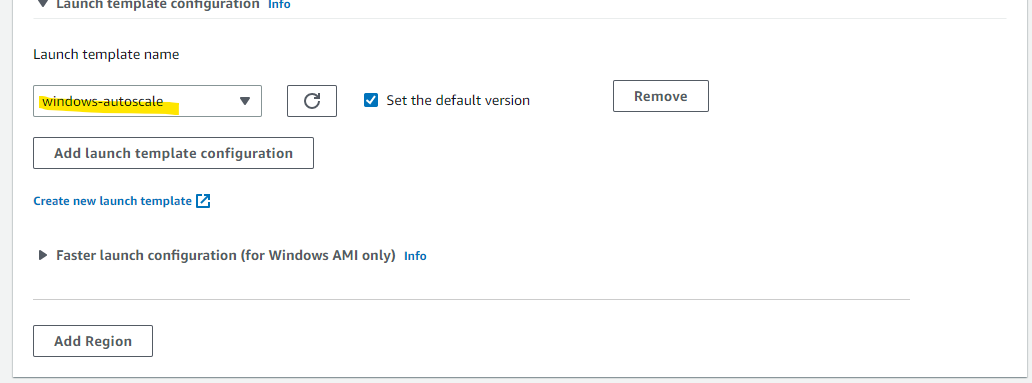
Next
Create Pipeline をおします
Image Pipeline が作成されました
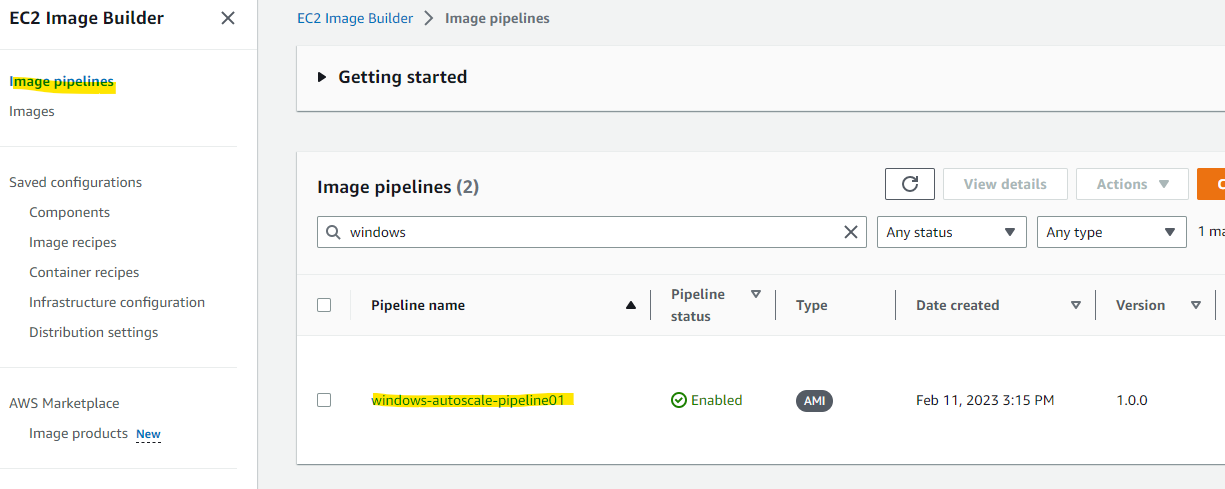
Image の Build
Image Pipeline を手動でうごかして、AMI を作成します
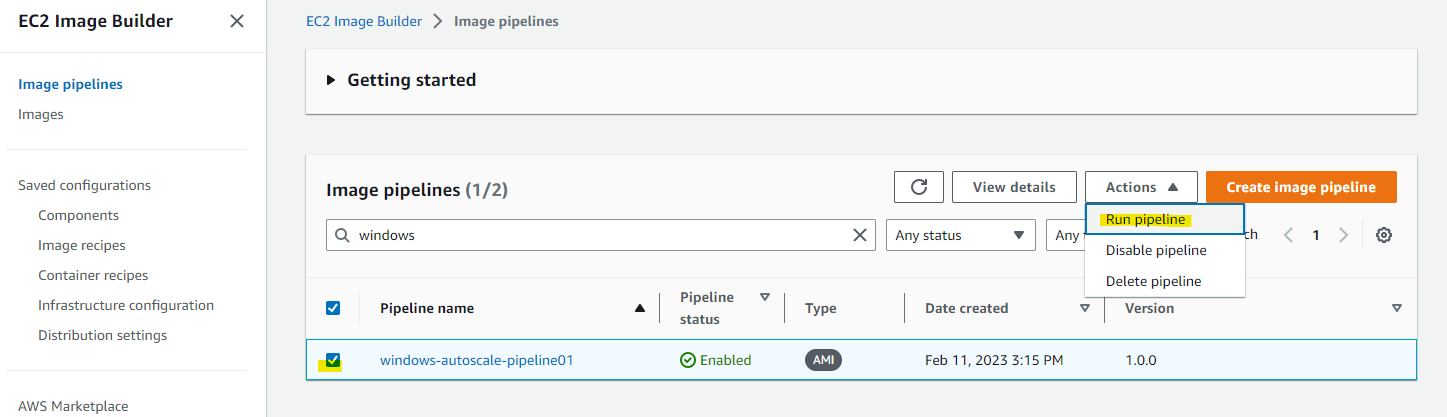
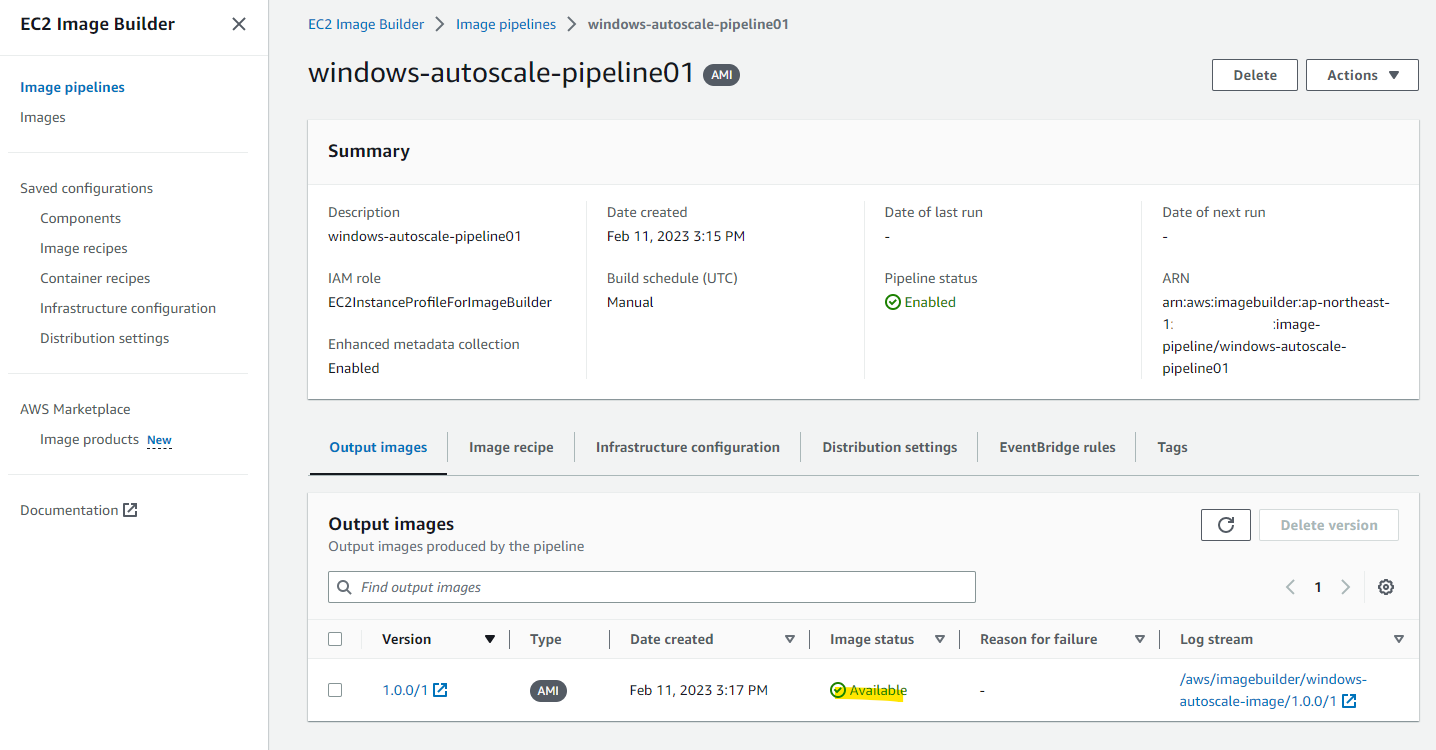
Build が開始しました。

一定時間後、Build が完了します。(20分くらいかかるかも?)
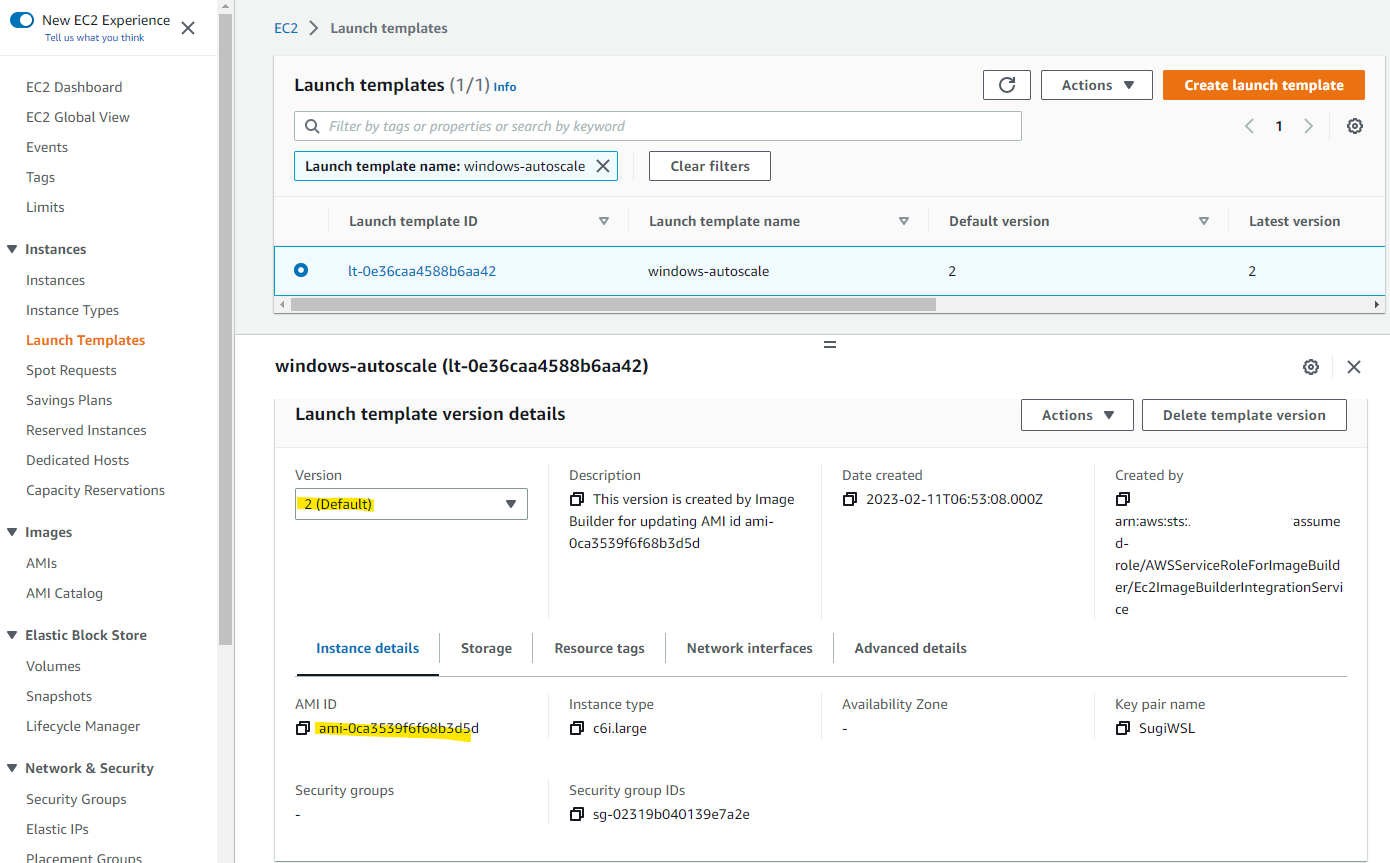
Launch Template の実行前の状態が次の状態でしたが
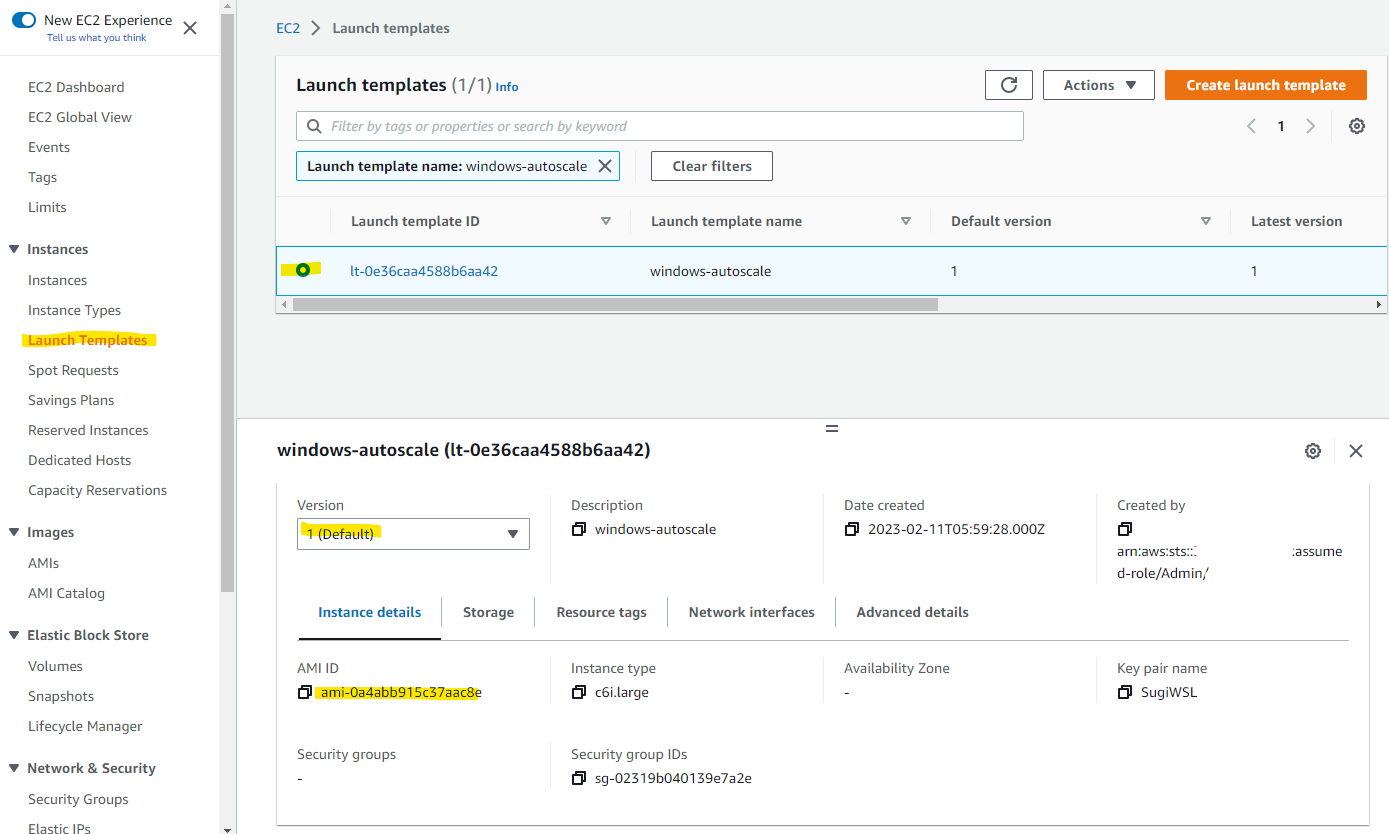
EC2 Image Builder の実行によって、自動的に Launch Template の AMI が更新されました。すごい。
CodeCommit
ASP.NET のコードを管理するために、CodeCommit を利用します。GitHub など、他のサポートしているモノでも大丈夫です。
CodeCommit Repository
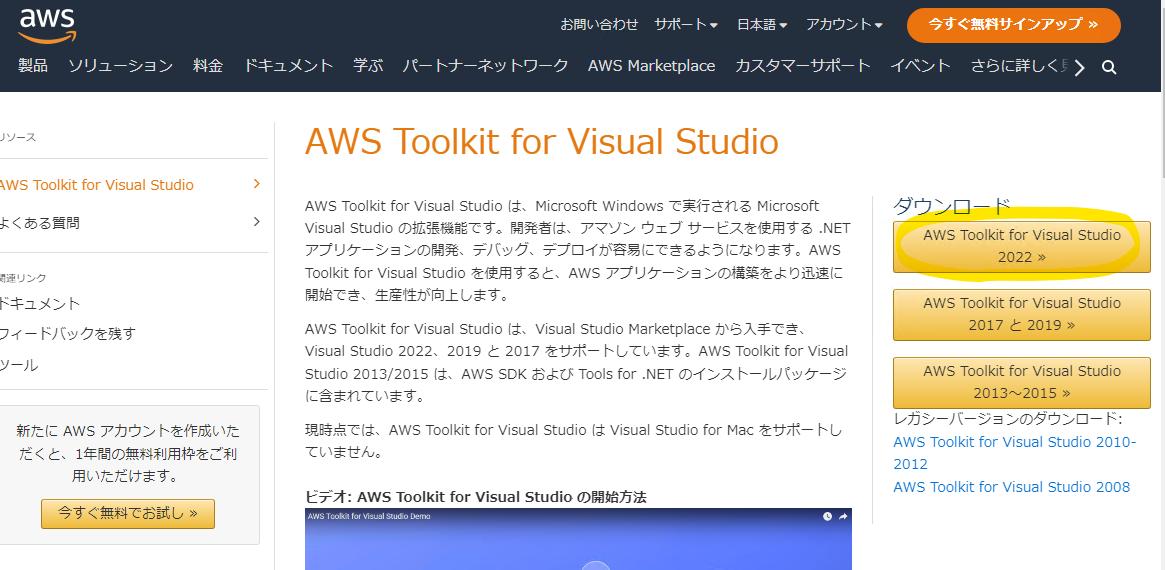
今回の記事では、Visual Studio で AWS.NET のサンプルプログラムを作成します。Visual Studio から CodeCommit を利用するために、AWS Toolkit for Visual Studio をインストールします。
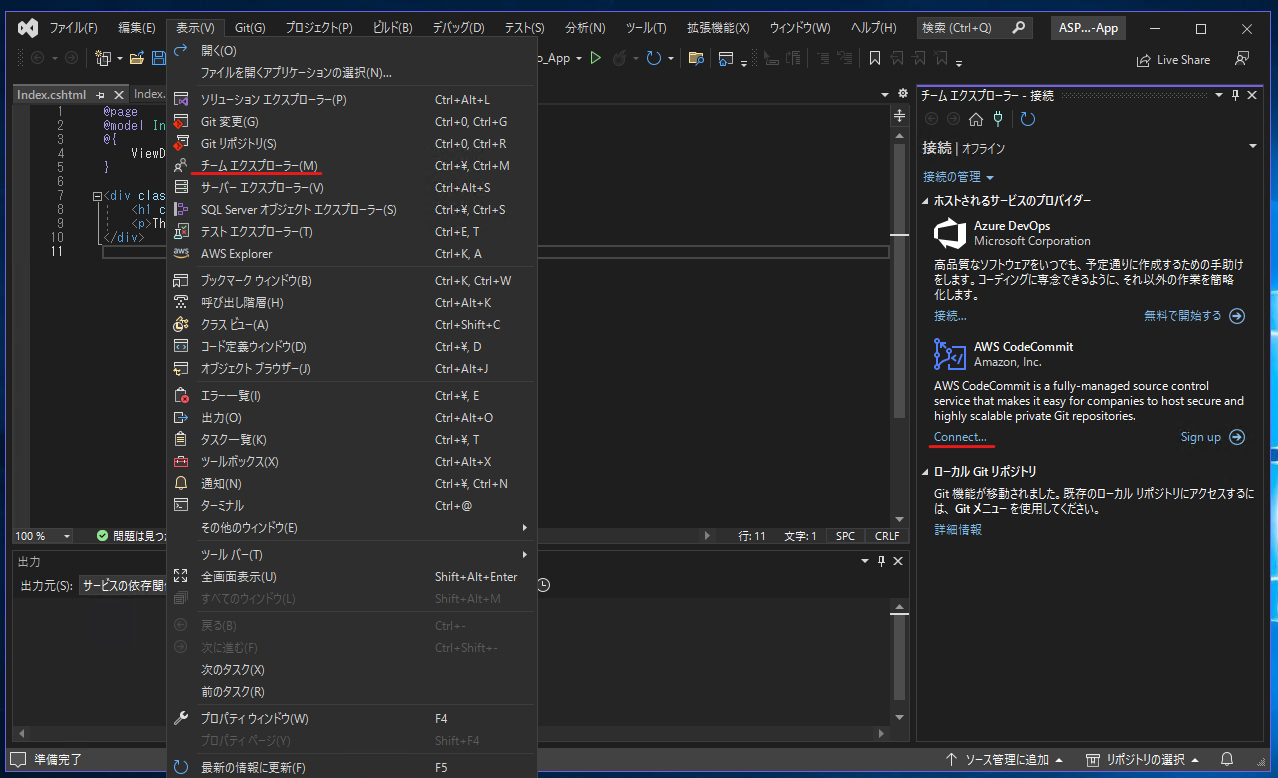
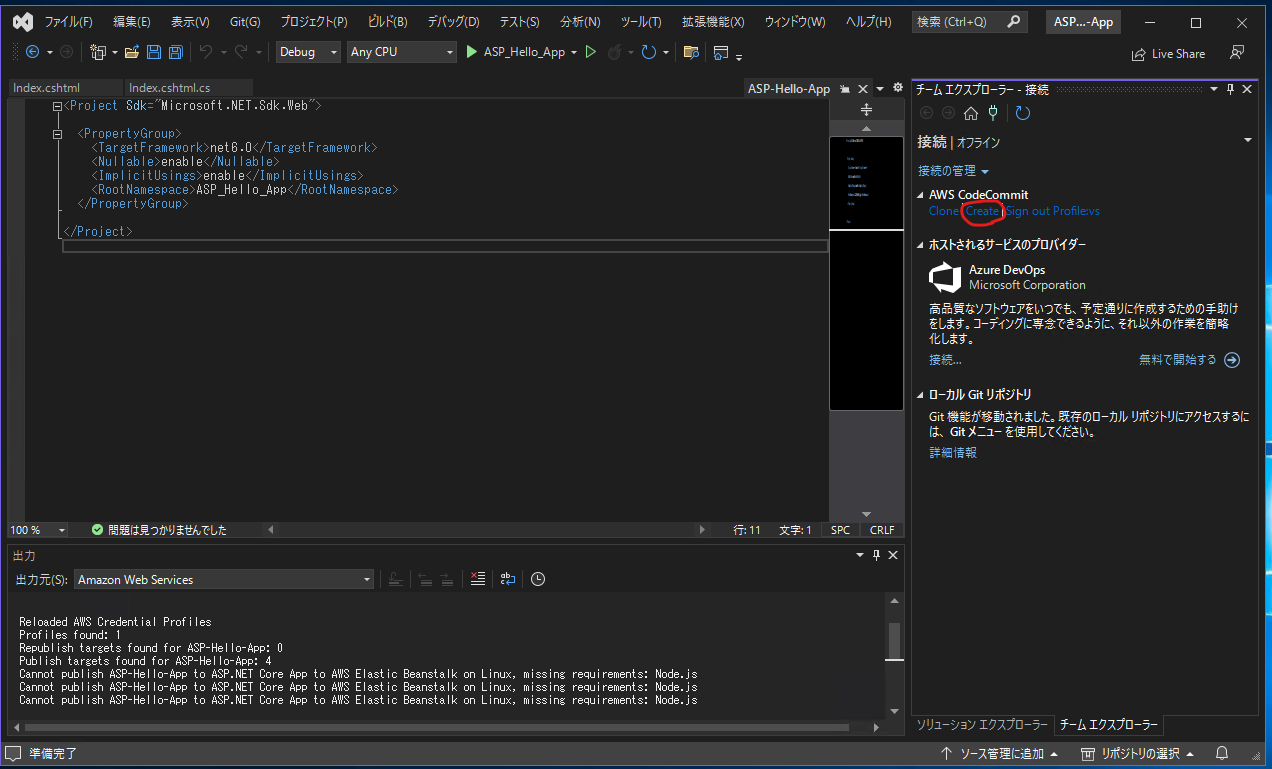
Visual Studio でチームエクスプローラ―を開き、CodeCommit に Connect を押します。
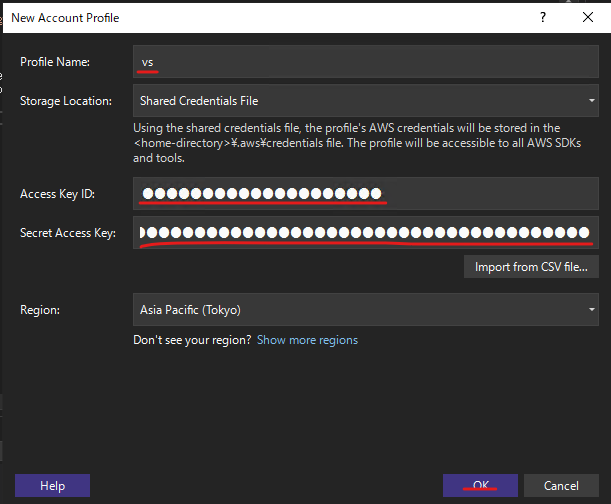
プロファイル名や、Access Key ID 等を指定します。
CodeCommit の Create を押します。
Repository 名を指定して、OK を押します。
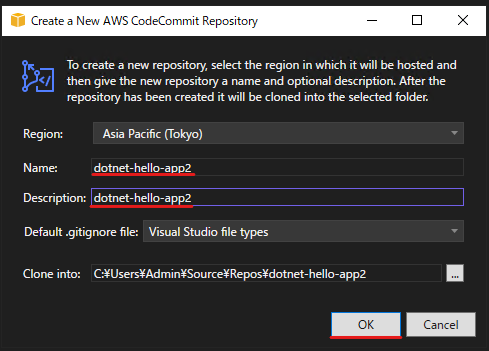
Git Credentials も指定します。

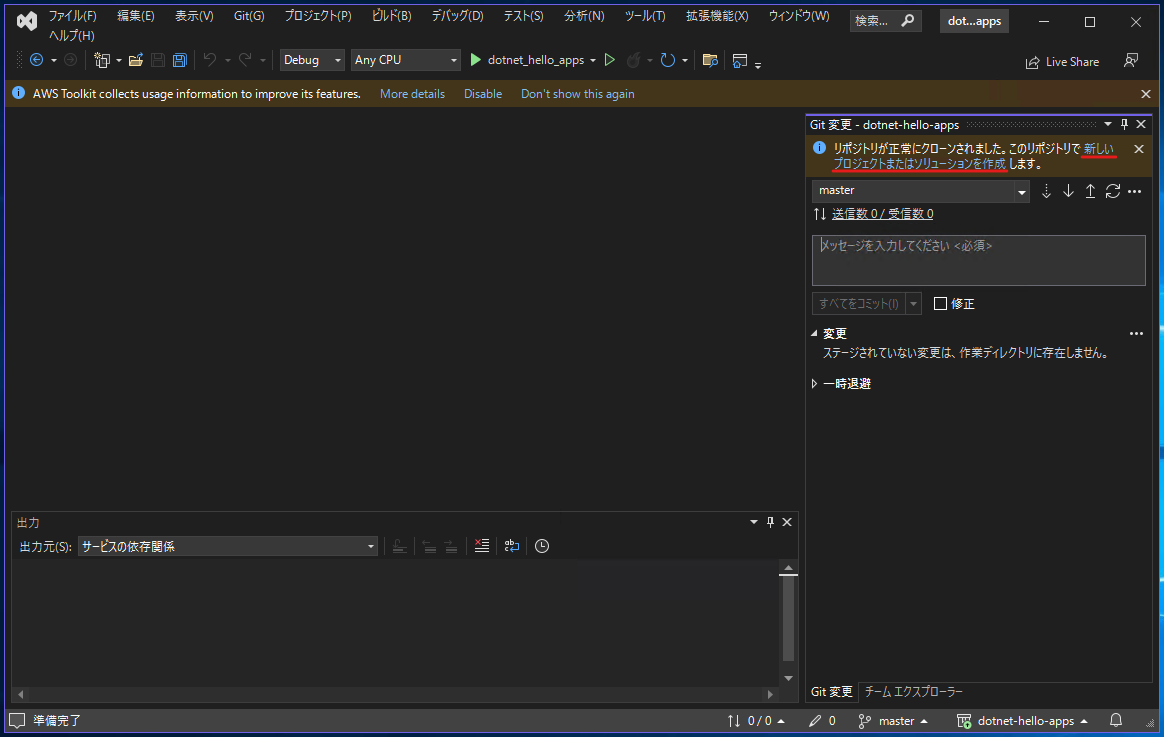
CodeCommit 上で新たな Repository が作成され、Visual Studio にクローンされました。この Project を使って、サンプルプログラムを作成します。
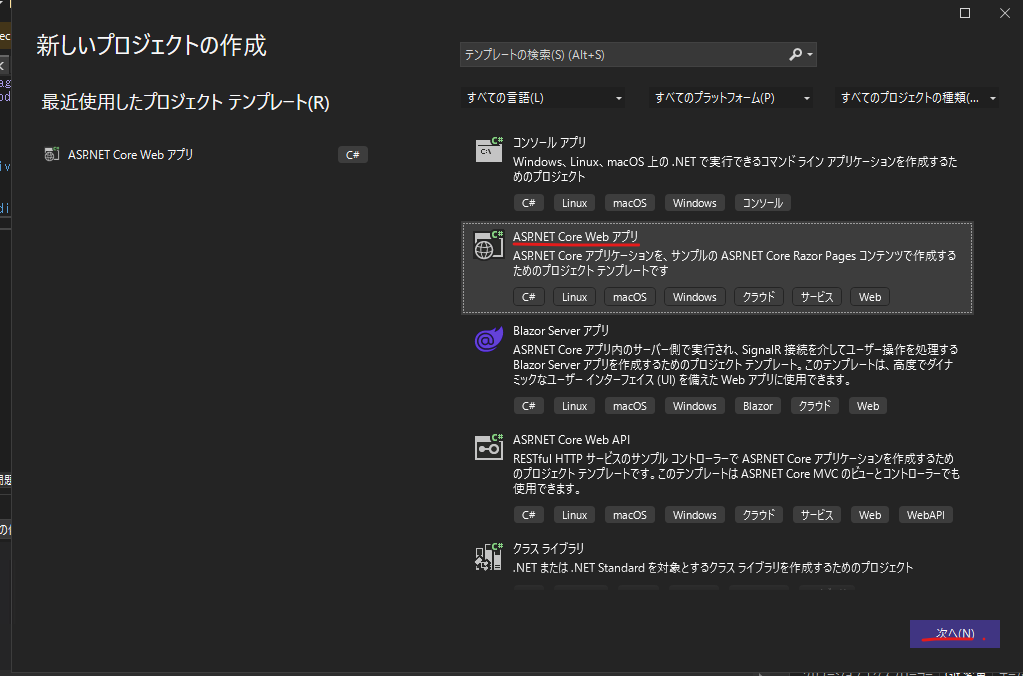
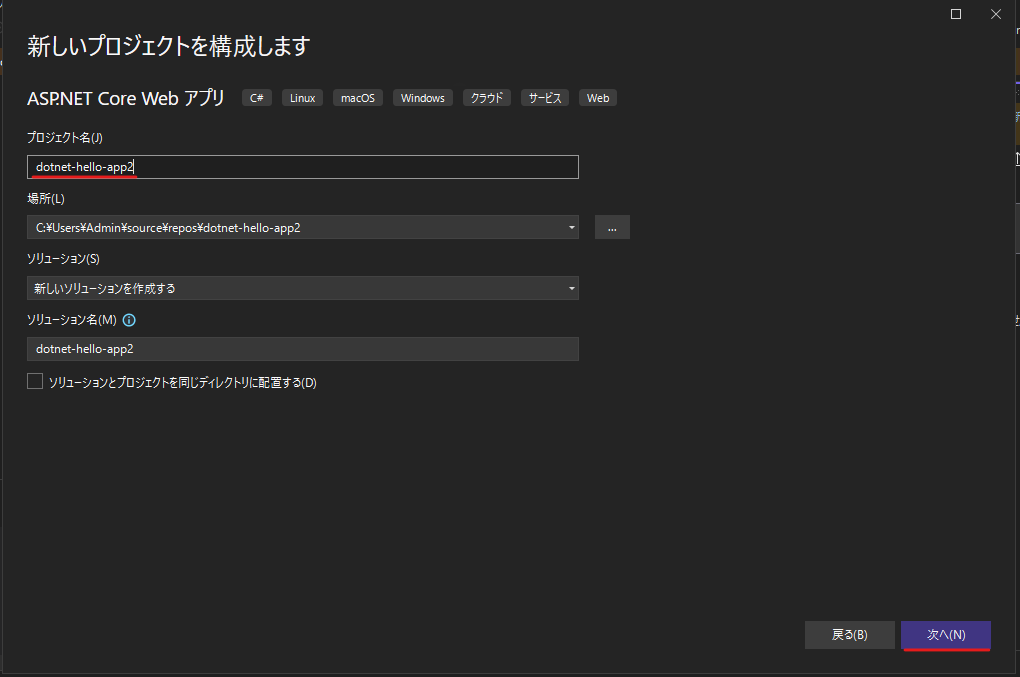
ASP.NET Core Web アプリを指定します。
プロジェクト名を指定して、次へを押します。
作成を押して、サンプルアプリが読み込まれました。
ASP.NET 6 アプリケーション
右側から、index.cshtml を開きます。
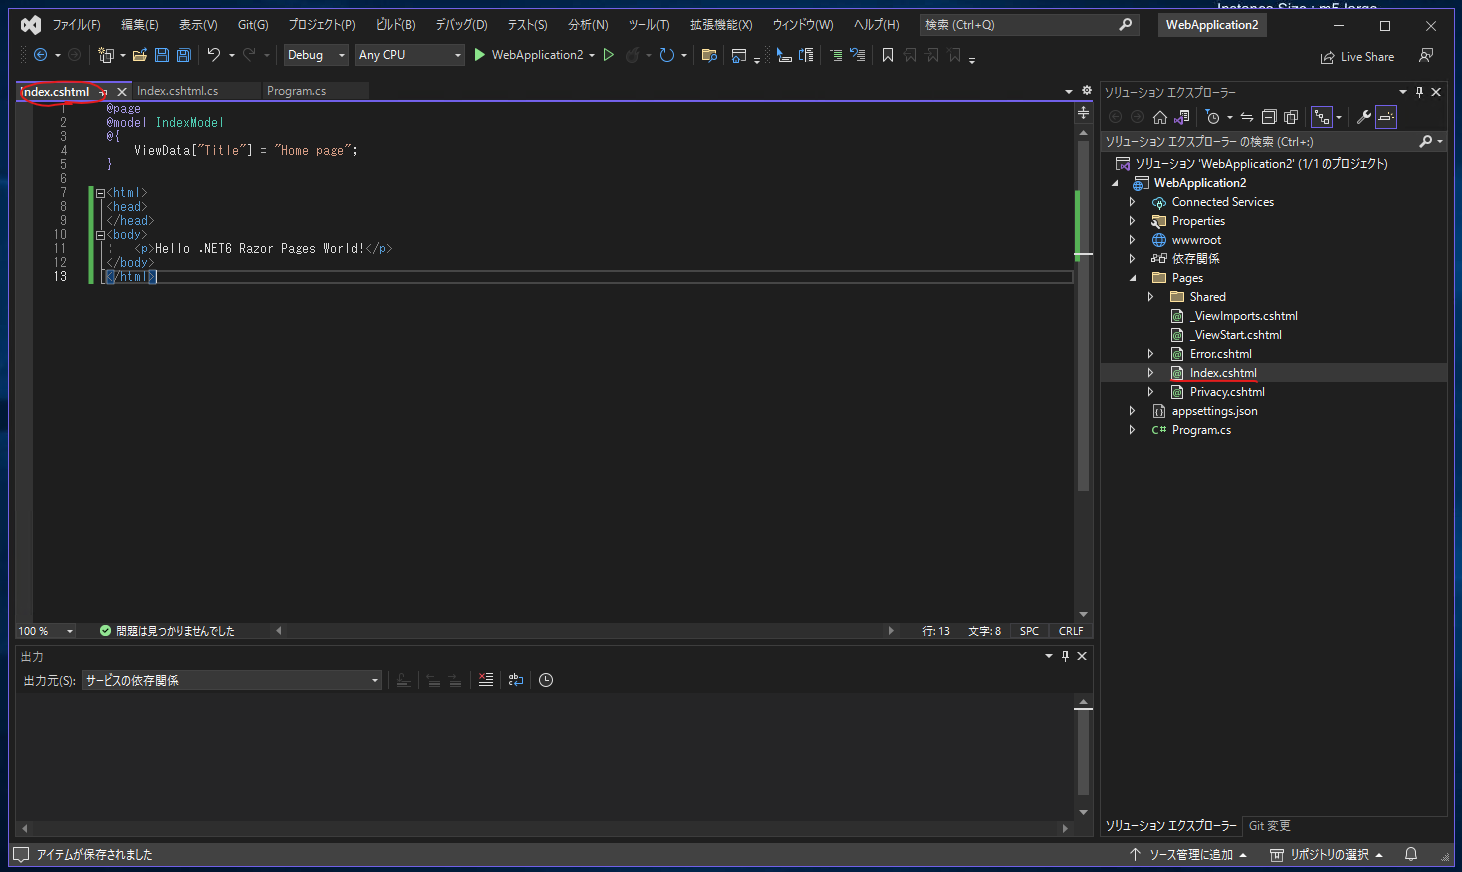
見た目を変更するために、次ように変更します。
@page
@model IndexModel
@{
    ViewData["Title"] = "Home page";
}

<div class="text-center">
    <h1 class="display-4">Welcome</h1>
    <p>This is ASP.NET Sample App!</p>
</div>
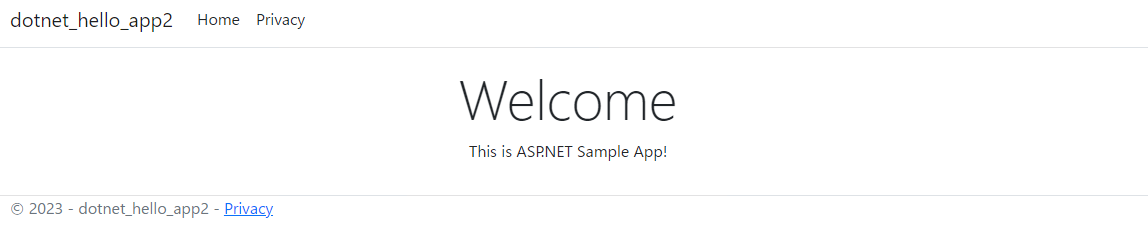
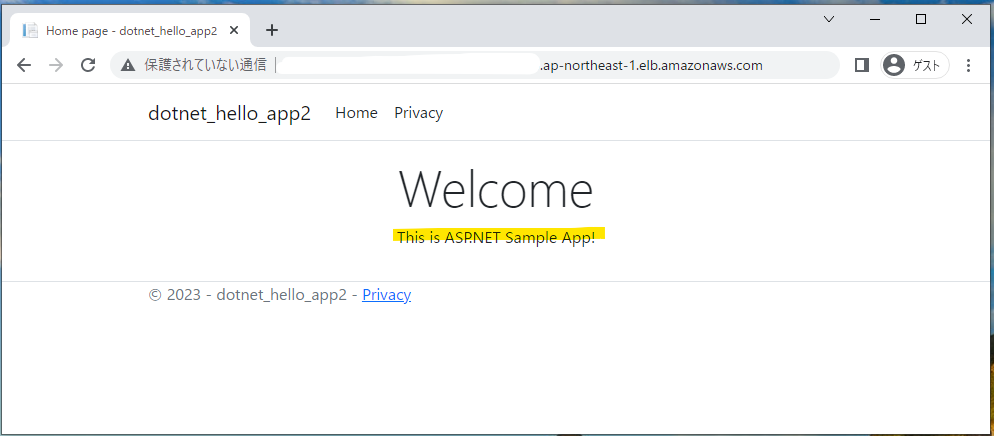
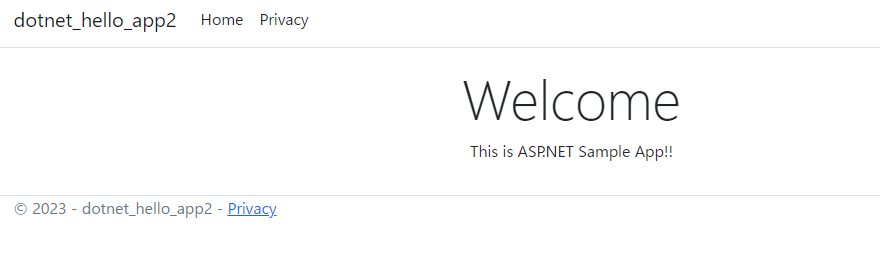
Visual Studio 上で実行してみます。
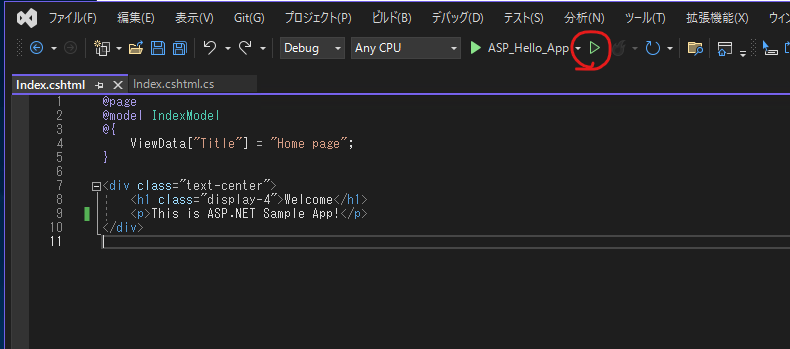
Localhost でひらかれ、無事にサンプルアプリが動くことがわかります。
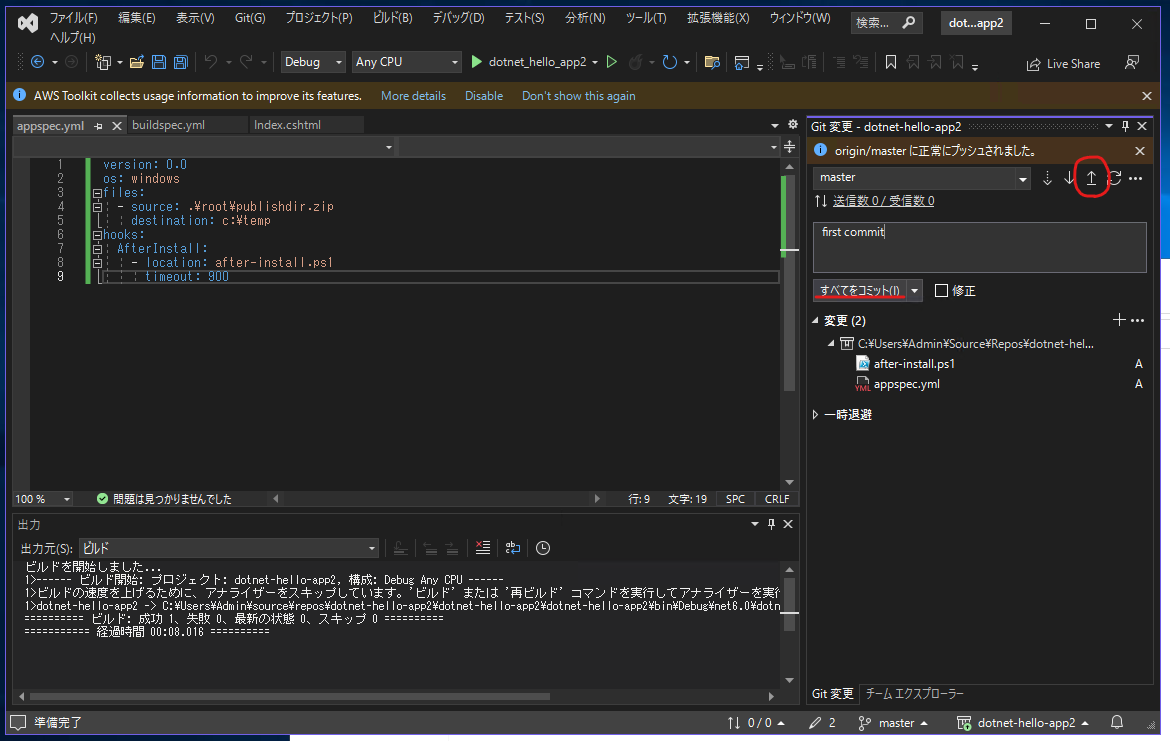
Push
動くことがわかったので、CodeCommit に Push をします。
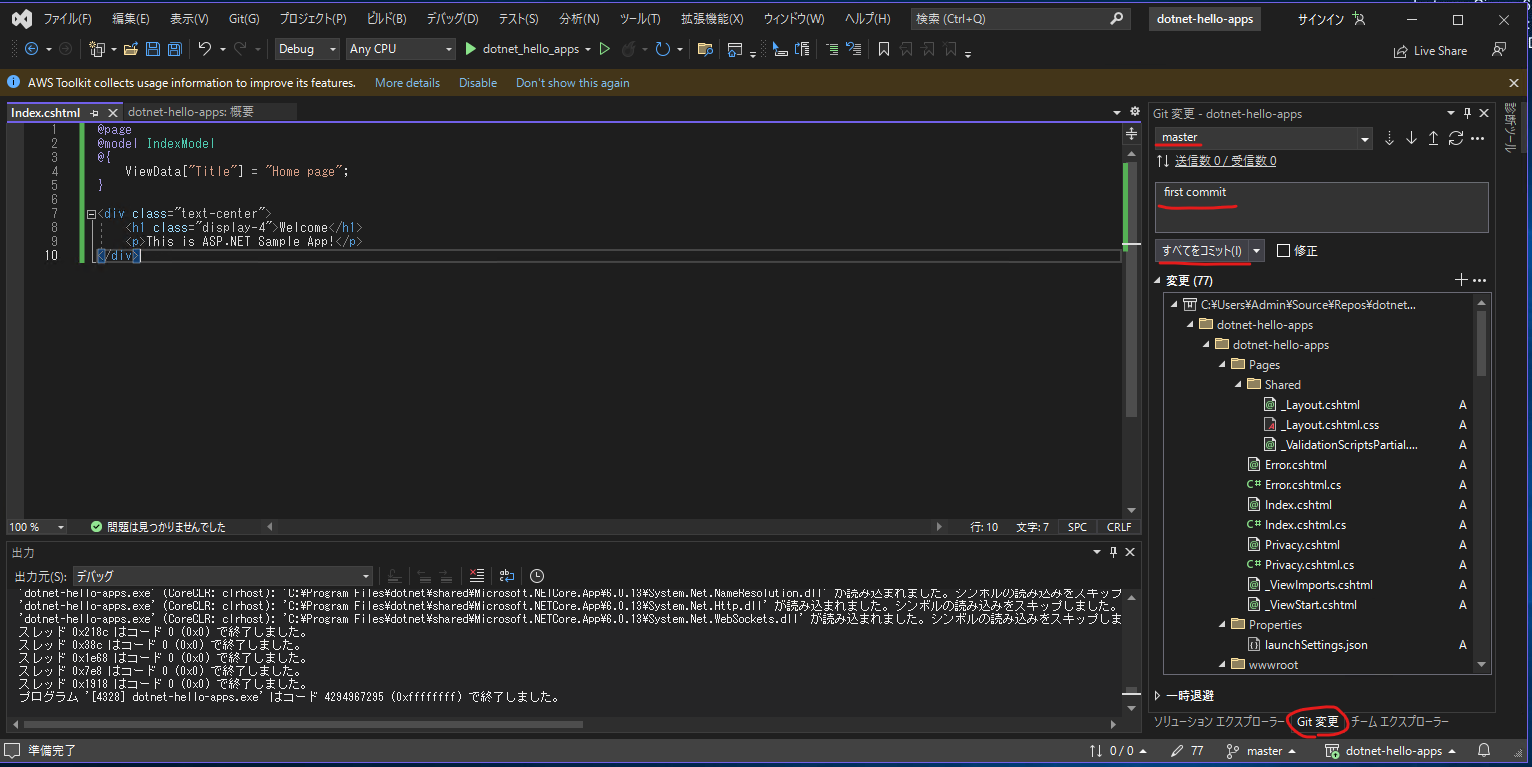
Push を押します。
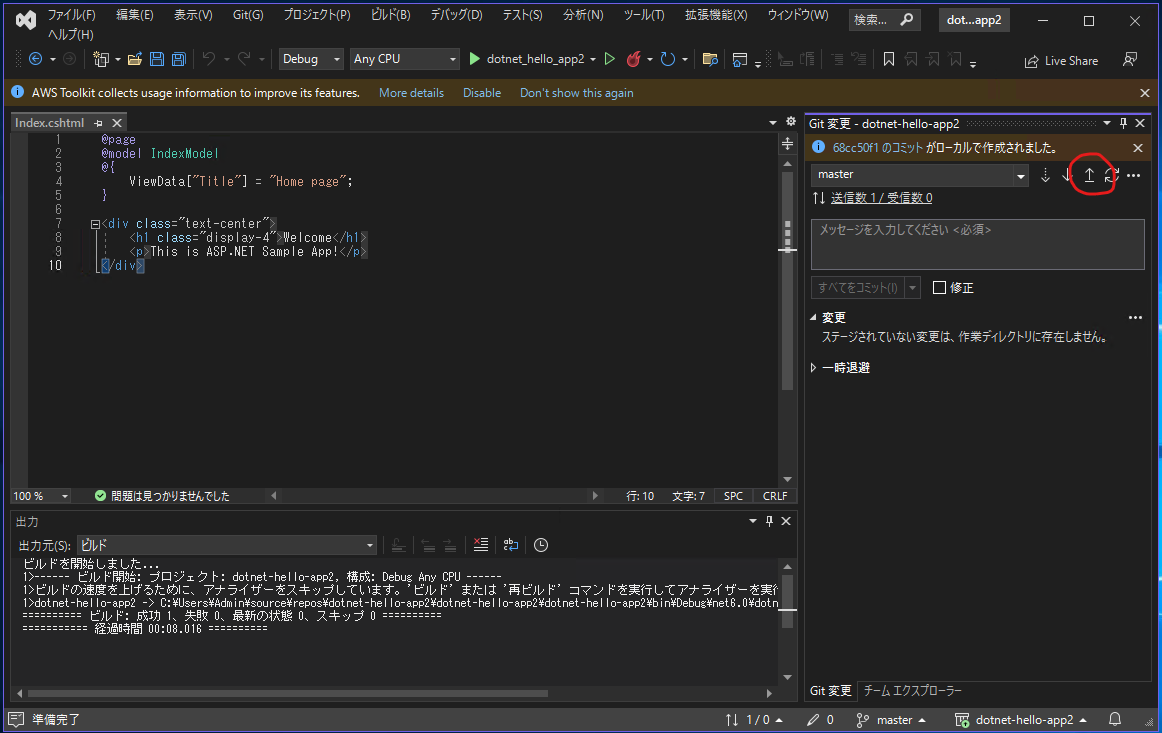
無事に、Code Commit に Push されました。

Auto Scaling Group の作成
Auto Scaling Group を作成します。
名前と、Launch Template を指定します。
windows-autoscale-group
VPC や Subnet を指定します。
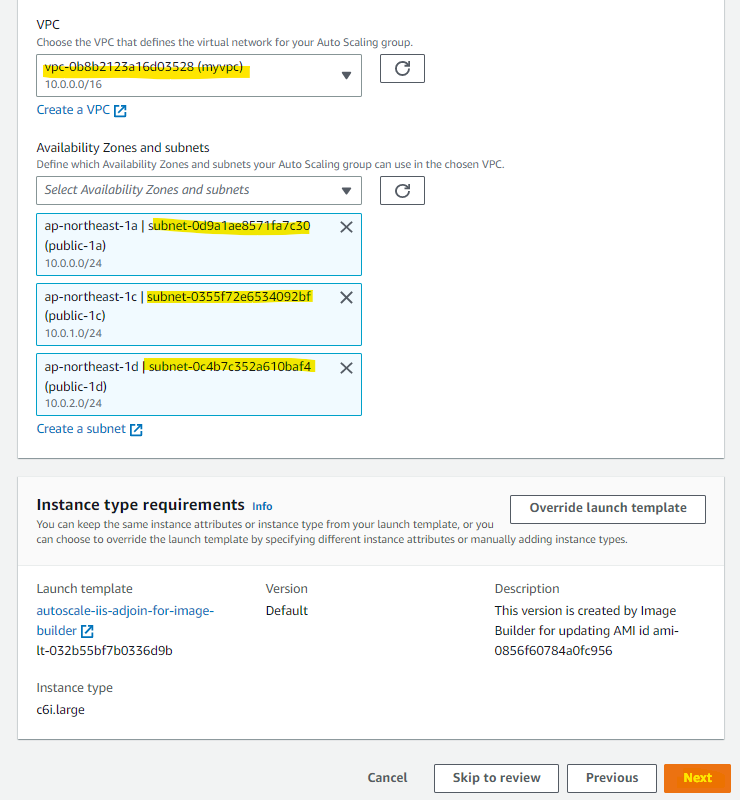
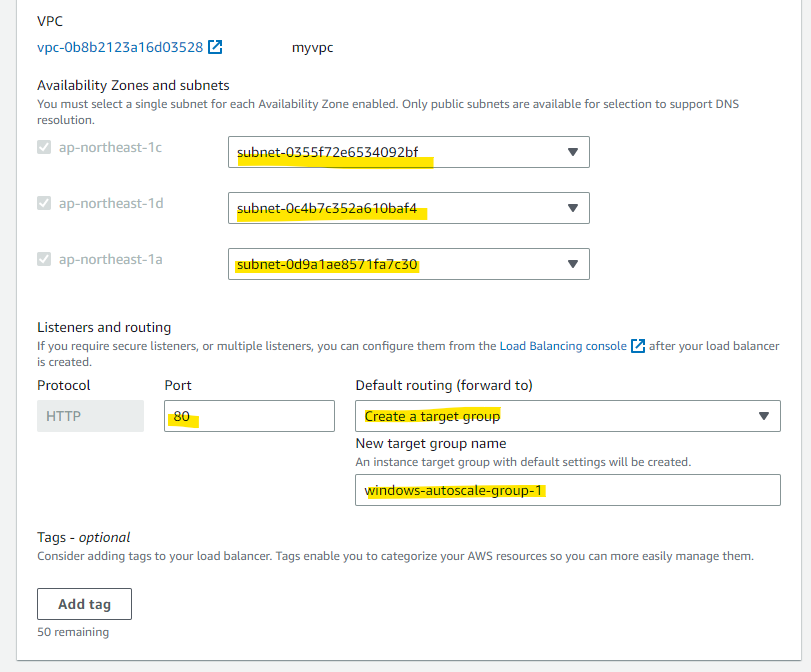
あたらしい LoadBalancer と連携をします。
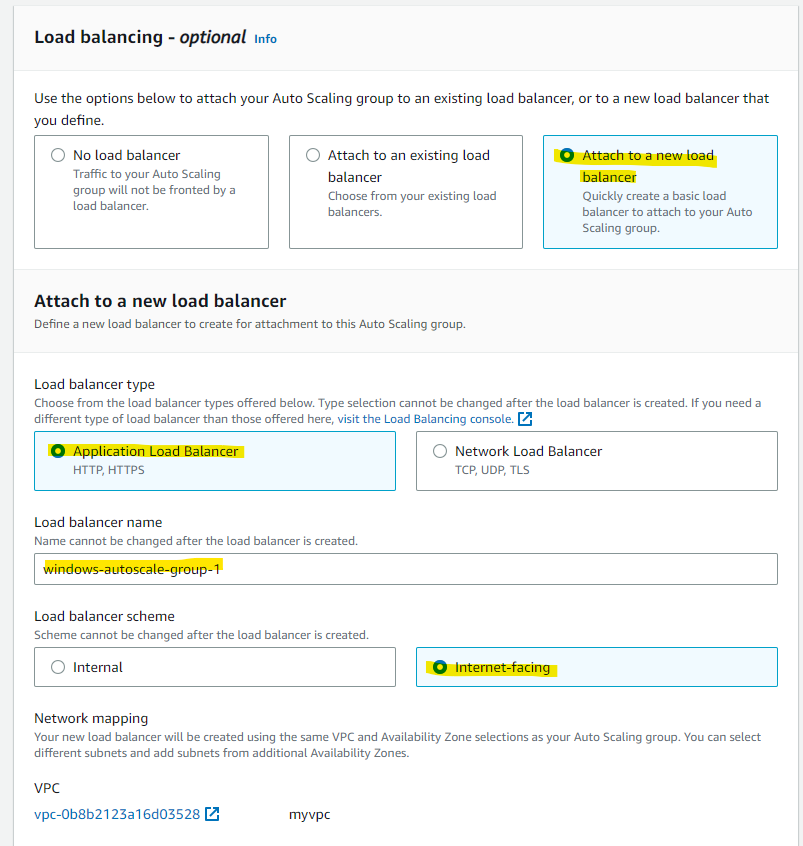
Subnet などを指定します。
Next
Desired Capacity は 2 台でやってみます。
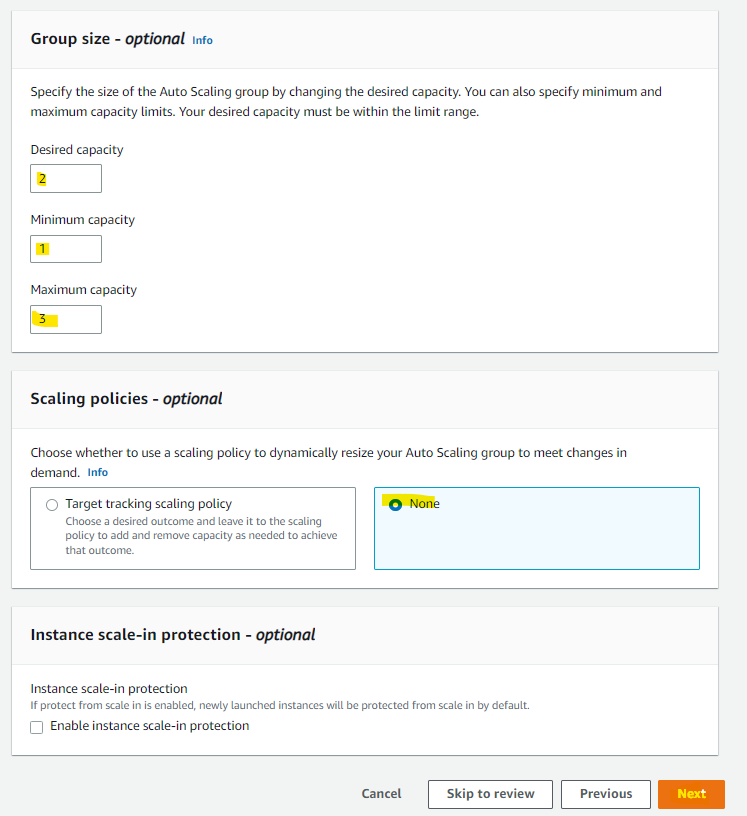
Auto Scaling Group 配下で作成される、EC2 インスタンスの名前の指定をします。
Create を押します。
この時点で、新たに EC2 インスタンスが起動してきます。この時点で次の 2 つが動きます。
- AD の自動参加
- IIS の起動
Deploy Pipeline
次に、CodeCommit で管理している ASP.NET のコードを利用するために、CodeBuild や CodeDeploy, CodePipeline などの設定をしていきます。
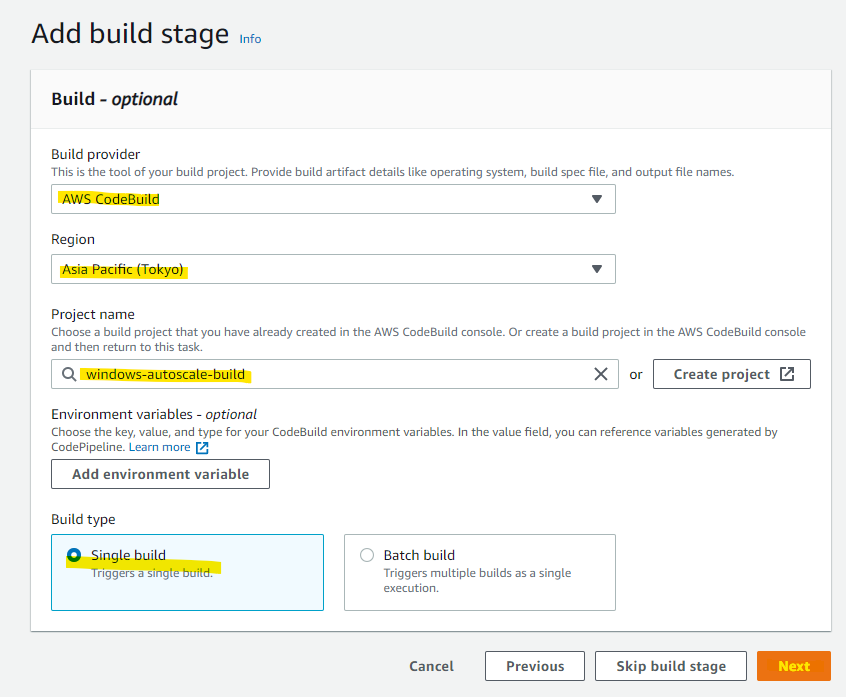
CodeBuild
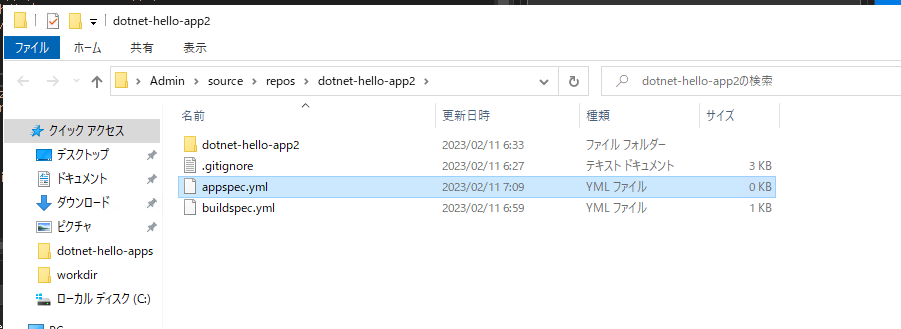
CodeBuild の設定をしていきます。構成図で示したように、CodeBuild の動作を指定するために、buildspec.yml を作成します。

buildspec.yml を手動で作成します。

buildspec.yml を変更して、以下の設定を行います。
- dotnet core の install
- CodeCommit から送られてきたソースコードを build (
dotnet publish) - build した結果を、
/root/publishdir/**/*で指定して CodeDeploy に送る -
appspec.ymlやbefore-install.ps1も忘れずに指定する
version: 0.2
phases:
  pre_build:
    commands:
      - sudo rpm -Uvh https://packages.microsoft.com/config/centos/7/packages-microsoft-prod.rpm
      - sudo yum install dotnet-sdk-6.0 -y

  build:
    commands:
      - cd ./dotnet-hello-app2/dotnet-hello-app2/
      - mkdir /root/publishdir/
      - dotnet publish -o /root/publishdir/

  post_build:
    commands:
      - codebuild-breakpoint

artifacts:
    files:
      - appspec.yml
      - /root/publishdir/**/*
      - before-install.ps1
Git push を行います。
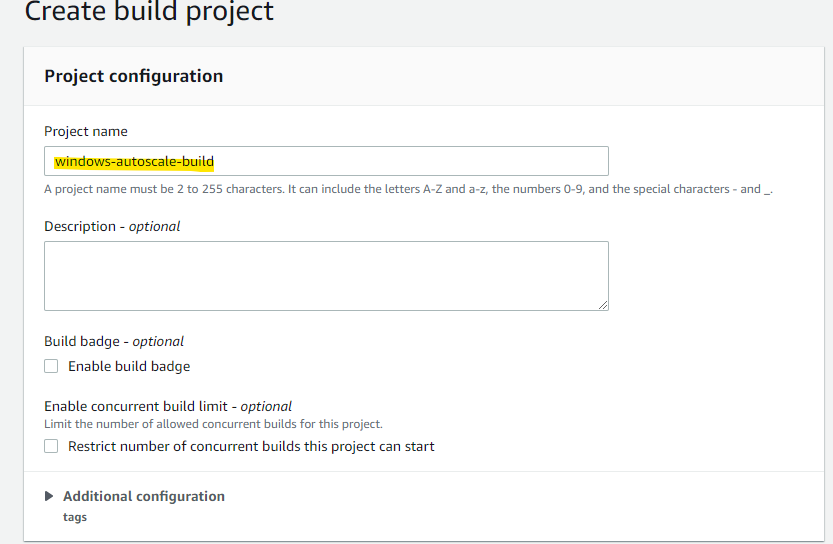
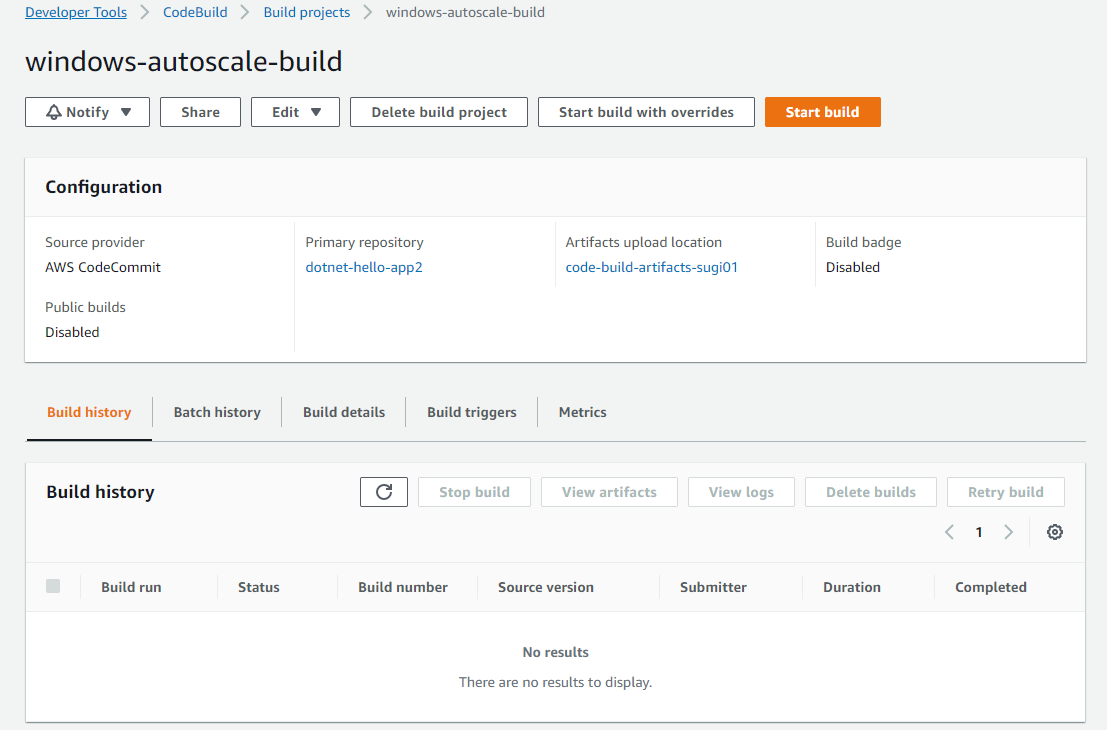
次に、CodeBuild の Build Project を作成します。
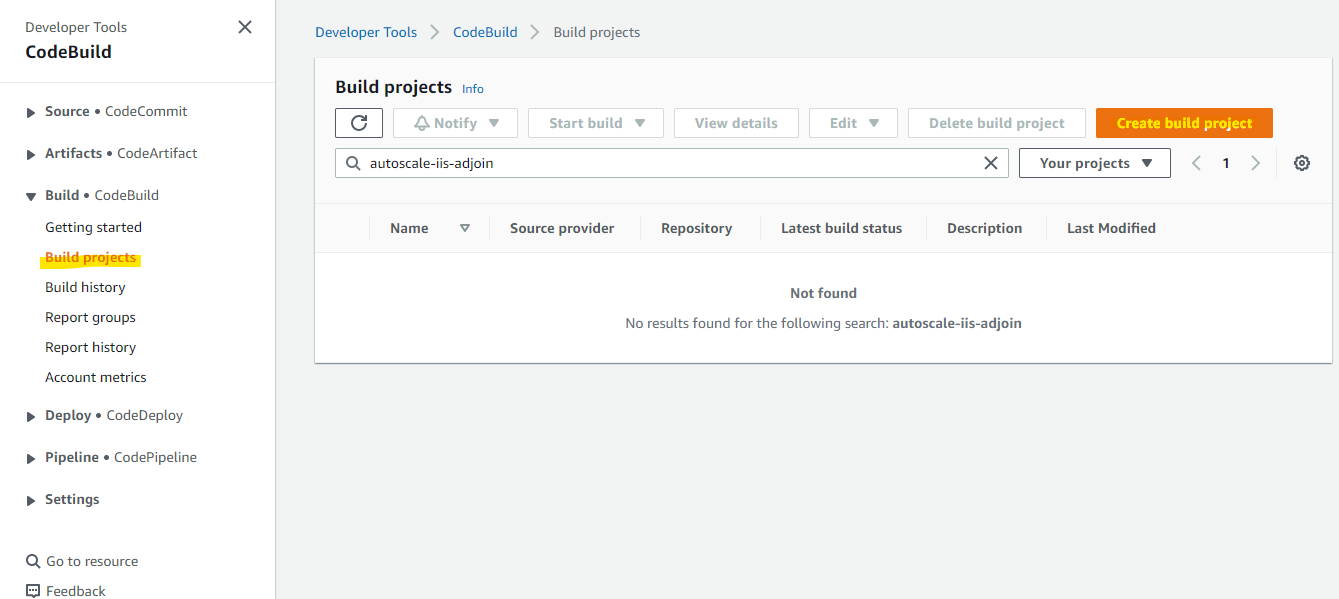
名前を指定します。
windows-autoscale-build
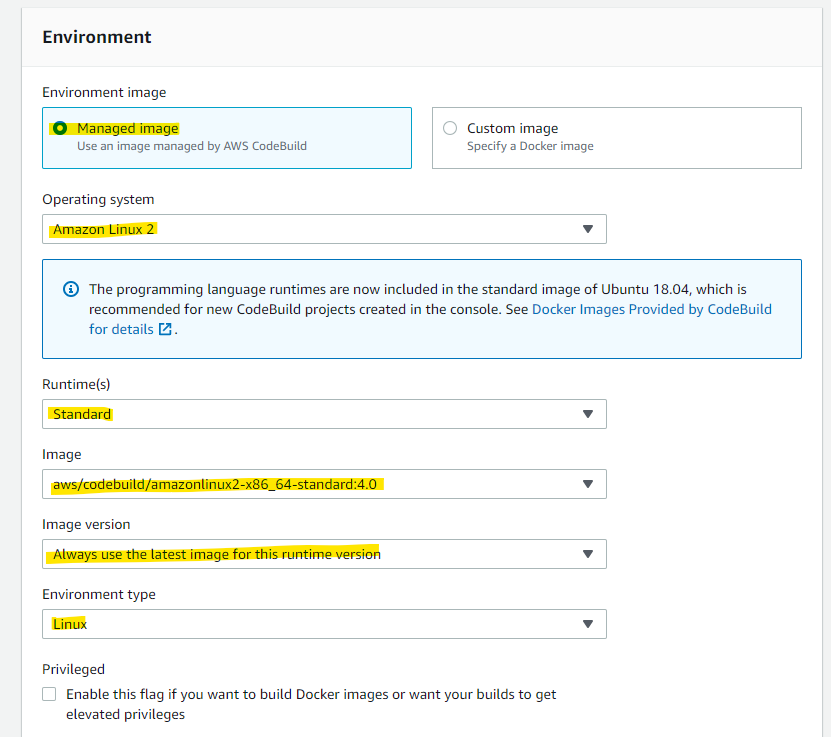
Source Provider で CodeCommit を指定します。Repository も、Visual Studio と連携しているものを指定します。

CodeBuild の実行環境として、Amazon Linux 2 を選択します。ASP.NET は、Linux 上でも Build が可能です。
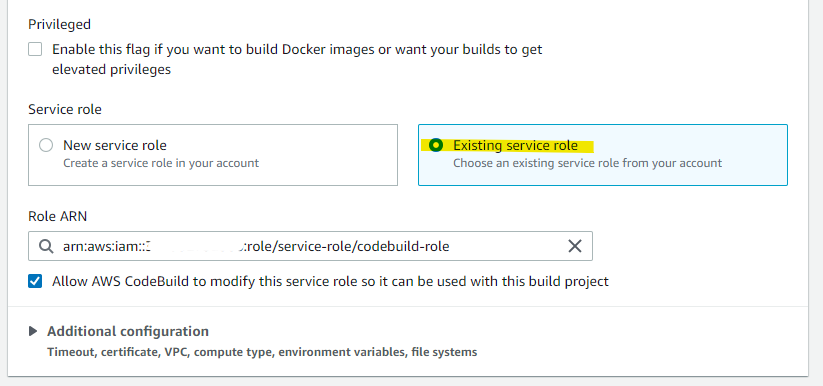
IAM Role を指定します。
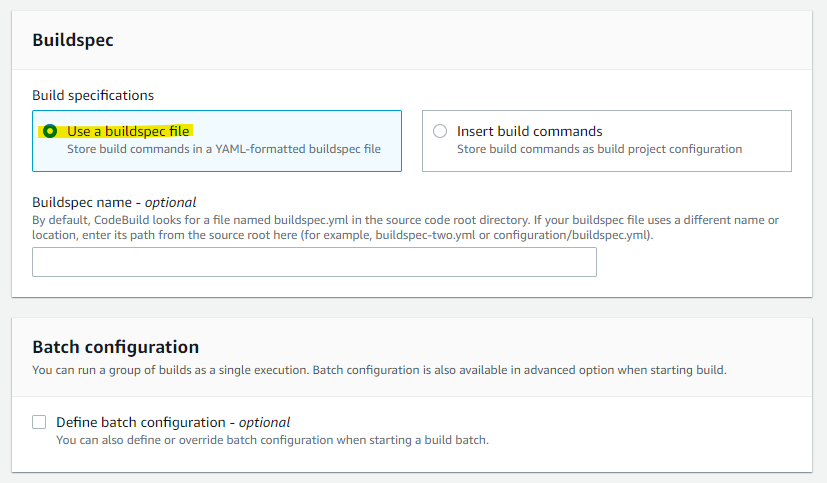
buildspec.yml を利用する旨を指定します。
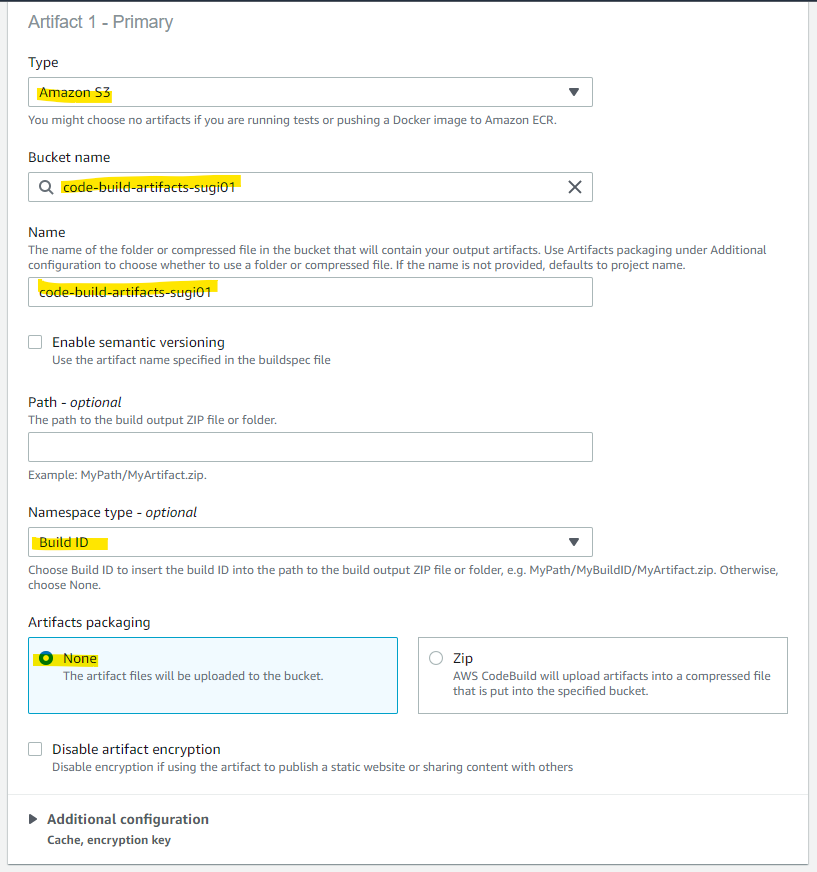
Artifacts の指定をします。適当に、Artifacts 用の S3 を指定しておきます。
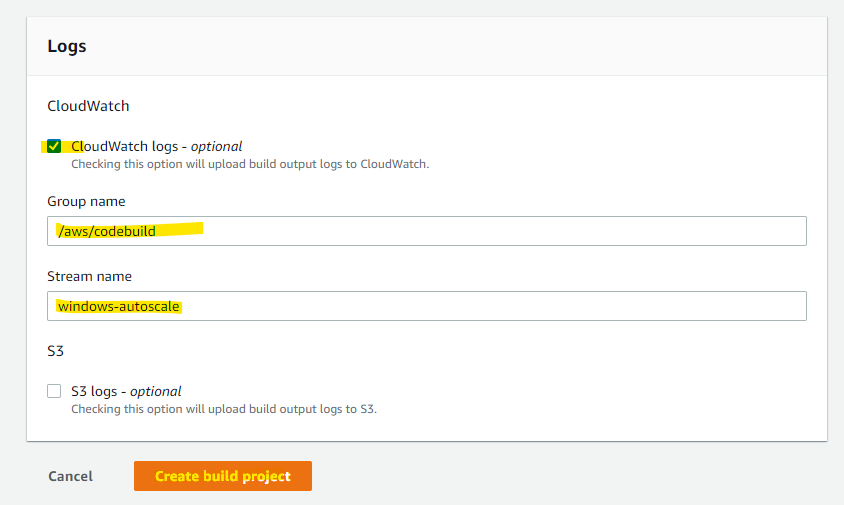
Create を押します。
Build Project が作成されました。
CodeDeploy
次に、CodeDeploy 用の設定をしていきます。CodeBuild 用の appspec.yml を作成します。
appspec.yml を手動で作成します。
appspec.yml を次のように指定します。
- IIS の公開ディレクトリに、ビルド済みのファイル群を配置
version: 0.0
os: windows
files:
  - source: .\root\publishdir\
    destination: C:\inetpub\wwwroot
hooks:
  BeforeInstall:
    - location: before-install.ps1
      timeout: 900
同様に、before-install.ps1 を作成します。(afetr-install.ps1 は作成しなくてよいです)
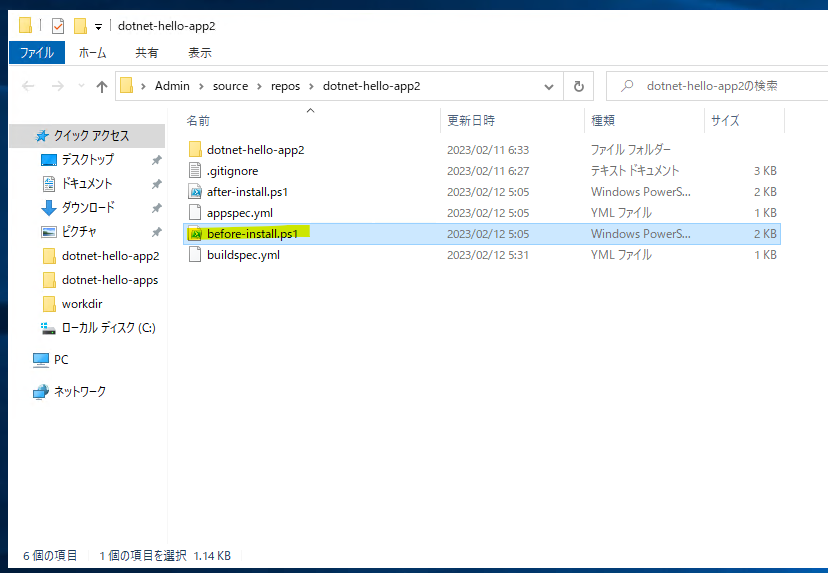
before-install.ps1 の中身を次のように指定します。
-
CodeDeploy は、デフォルトで 32 bit 版の Powershell を実行する。Powershell の作りによっては、64 bit で実行が必要となる。今回の記事では、64 bit でしか動かないコードとなっており、64 bit 版を呼びだす指定をしている
-
IIS の仮想ディレクトリ (Virtual Directory) を指定している。これは、FSx for Windows File Server で公開している画像を指定している。
-
仮想ディレクトリ (Virtual Directory) に接続するためのユーザーをハードコードしている。本来であれば、Secret Manager など外部で保管するのが良い
if ($PSHOME -like "*SysWOW64*")
{
  Write-Warning "Restarting this script under 64-bit Windows PowerShell."
  & (Join-Path ($PSHOME -replace "SysWOW64", "SysNative") powershell.exe) -File `
    (Join-Path $PSScriptRoot $MyInvocation.MyCommand) @args

  Exit $LastExitCode
}

Import-Module WebAdministration
New-WebVirtualDirectory -Site "Default Web Site" -Name assets -PhysicalPath "\\amznfsx15yznriq.cloud.sugi.local\share\wwwroot\assets"
Set-WebConfigurationProperty -pspath 'MACHINE/WEBROOT/APPHOST' -filter "system.applicationHost/sites/site[@name='Default Web Site']/application[@path='/']/virtualDirectory[@path='/assets']" -name "userName" -value "cloud.sugi.local\Admin"
Set-WebConfigurationProperty -pspath 'MACHINE/WEBROOT/APPHOST' -filter "system.applicationHost/sites/site[@name='Default Web Site']/application[@path='/']/virtualDirectory[@path='/assets']" -name "password" -value "secret your password"
Set-WebConfigurationProperty -pspath 'MACHINE/WEBROOT/APPHOST' -filter "system.applicationHost/sites/site[@name='Default Web Site']/application[@path='/']/virtualDirectory[@path='/assets']" -name "logonMethod" -value "ClearText"
exit 0
Git Push をします。
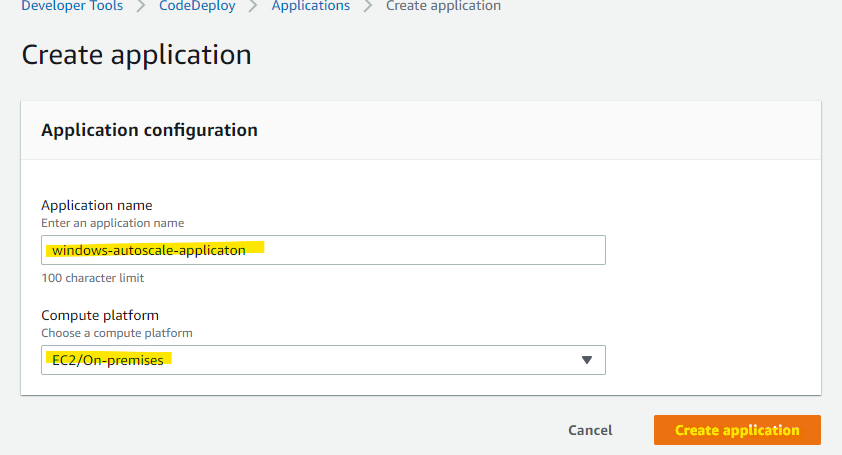
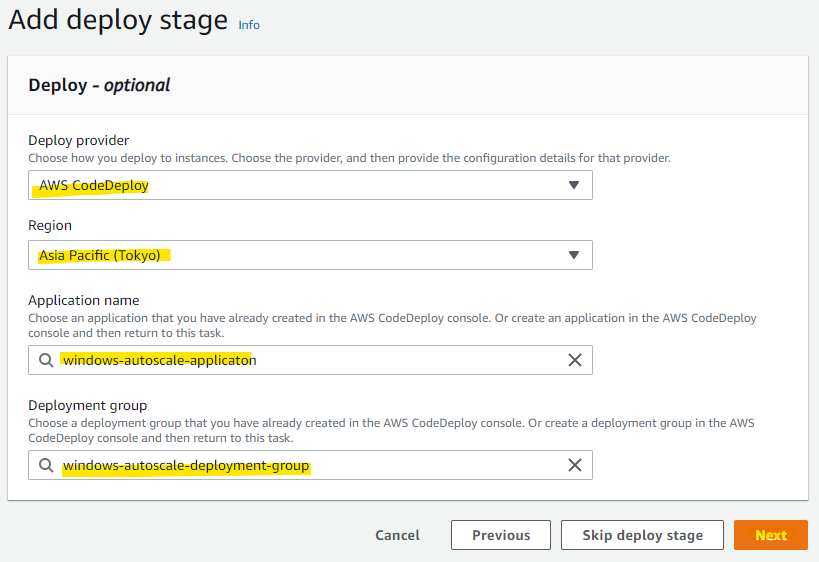
CodeDeploy の Application を指定します。
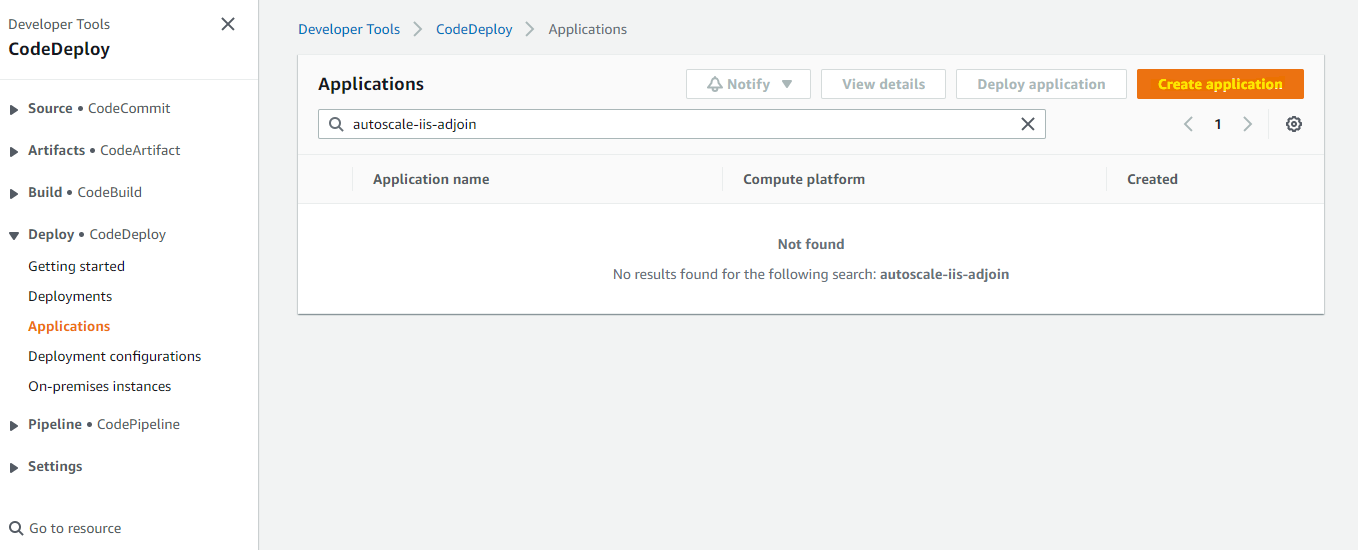
名前を指定します。
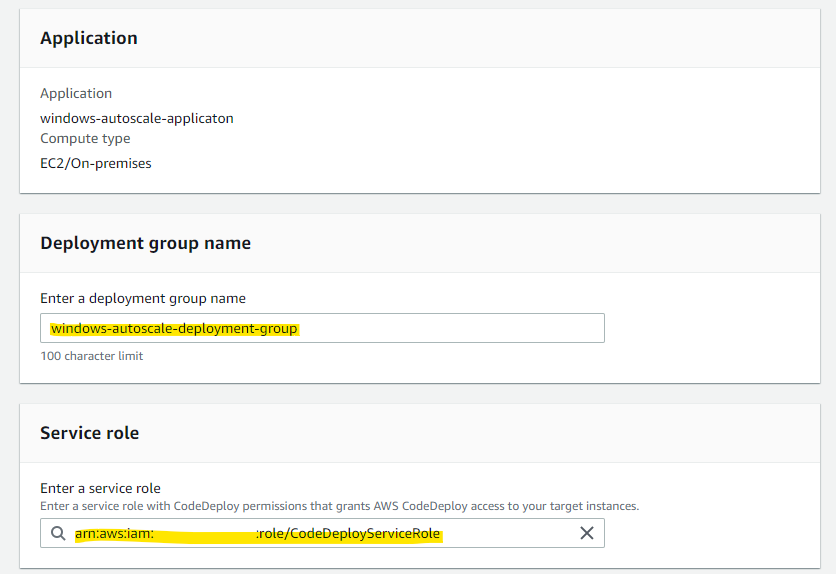
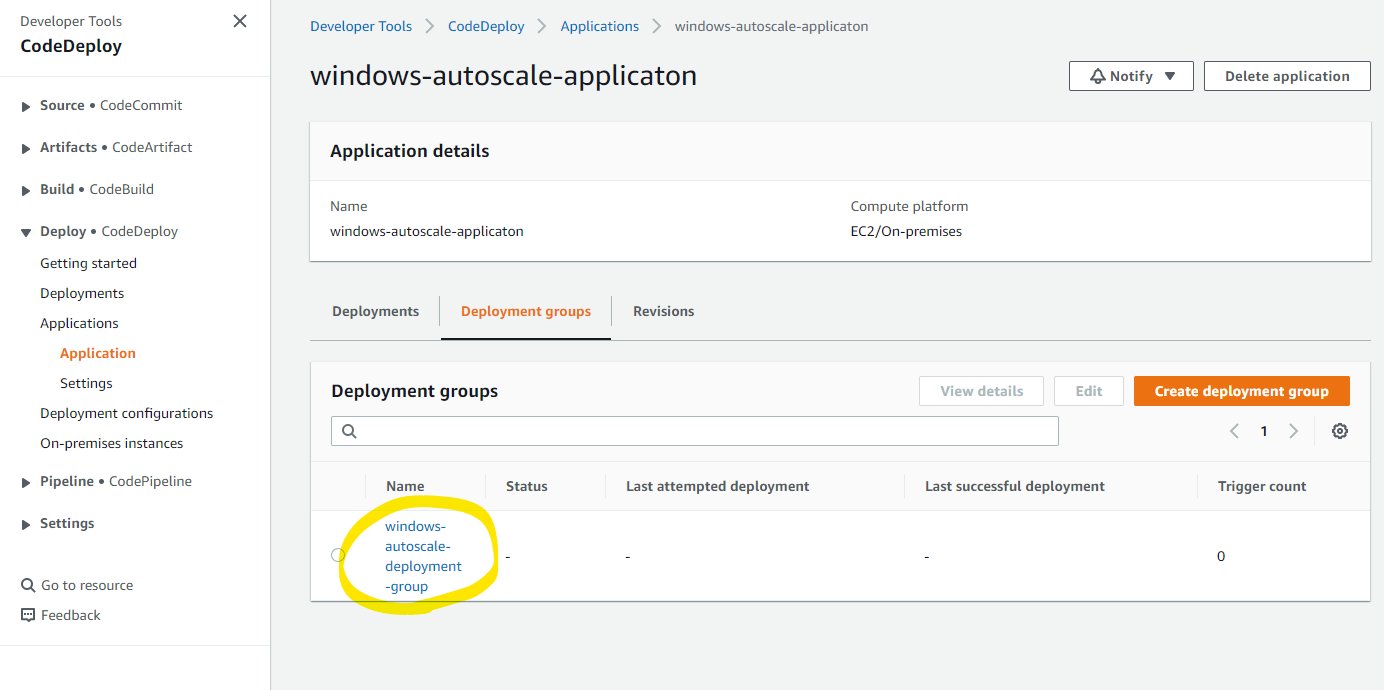
windows-autoscale-applicaton
Deployment Group も作成します。
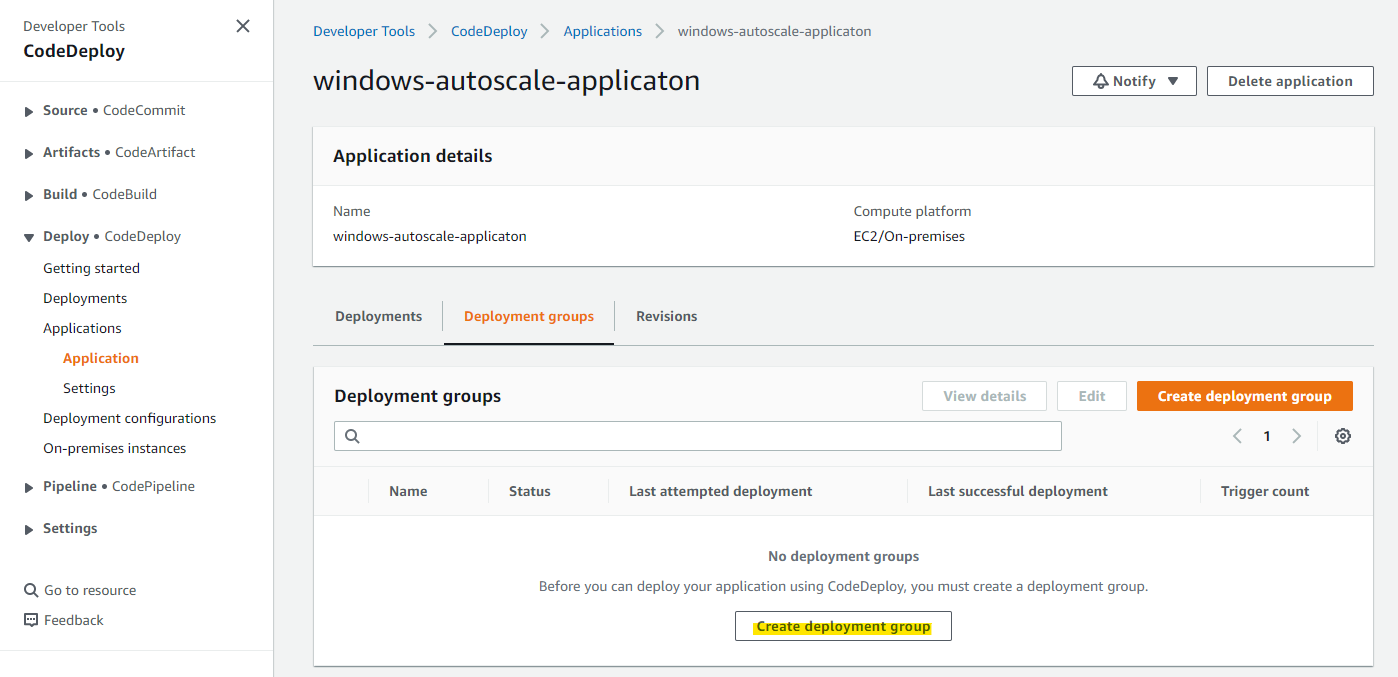
名前を指定します。
windows-autoscale-deployment-group
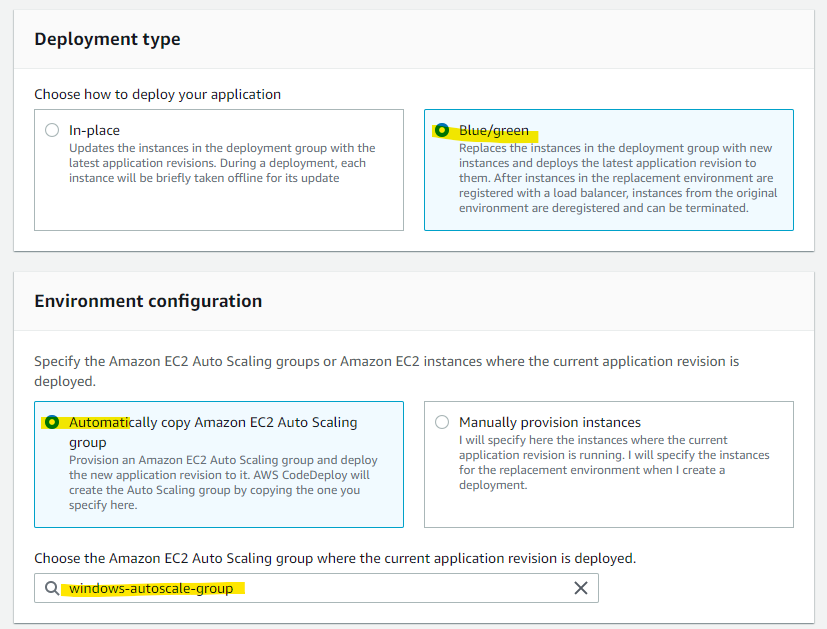
デプロイ方法を Blue/Green を指定し、デプロイ対象の Auto Scaling Group を指定します。
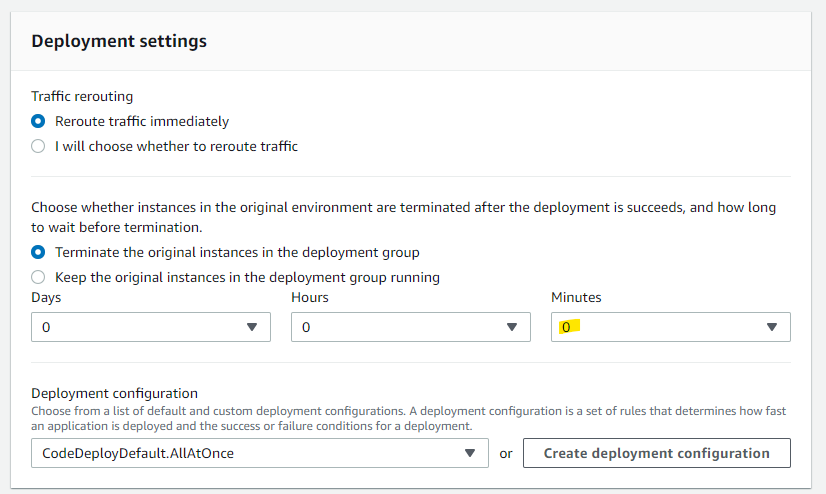
この手順では動作確認がしたいため、Blue 環境 (古い環境) をすぐ削除する設定をします。実際の本番環境ではロールバックが簡単に出来るように、一定時間保持する設定も可能です。
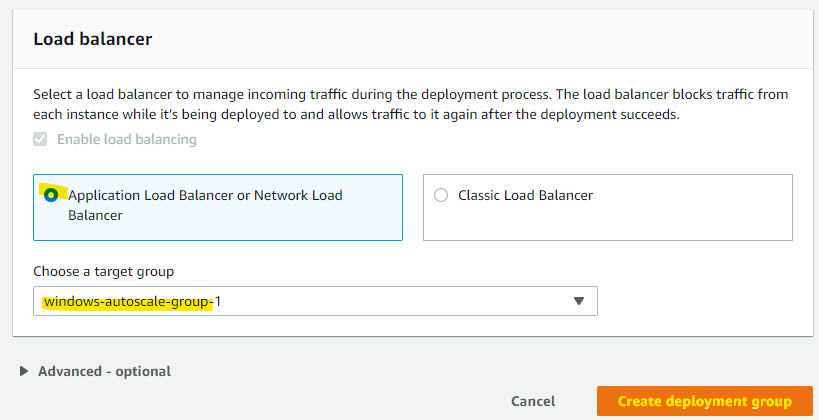
ロードバランサーも指定します。
作成されました。
CodePipeline
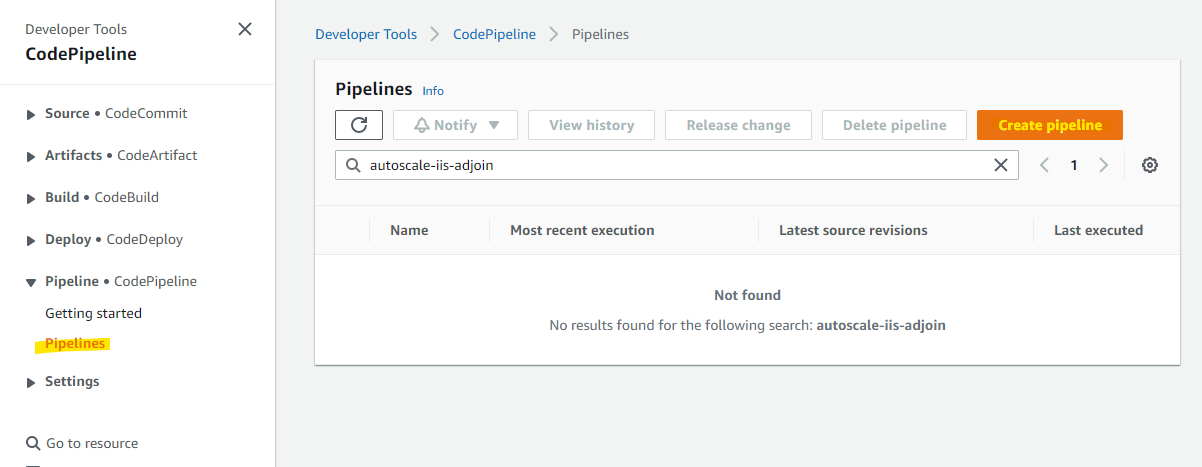
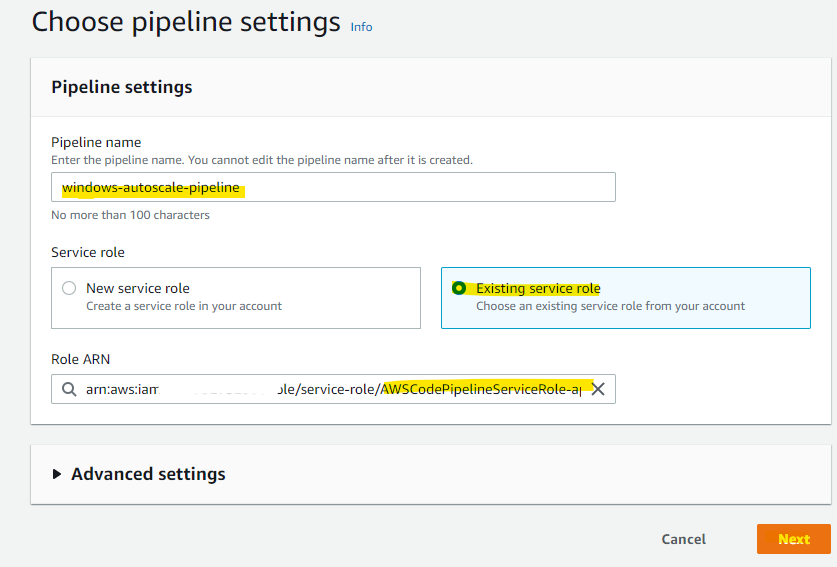
CodePipeline を作成します。
IAM Role を指定します。
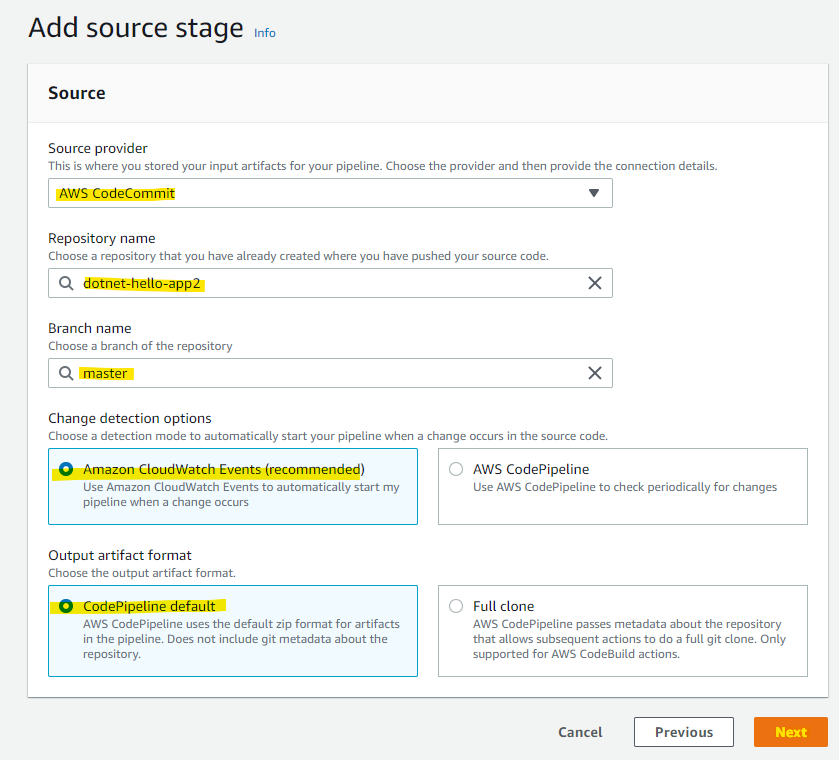
連携する CodeCommit の Repository を指定します。
作成した CodeBuild を指定します
作成した CodeBuild を指定します。
Create を押します。
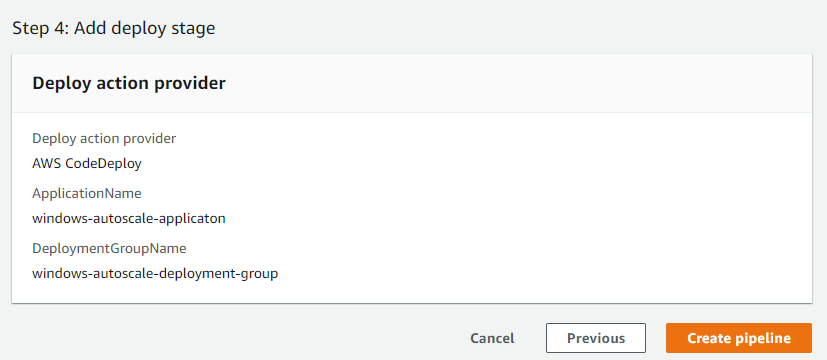
CodePipeline が定義され、自動的に Deploy が走ります。
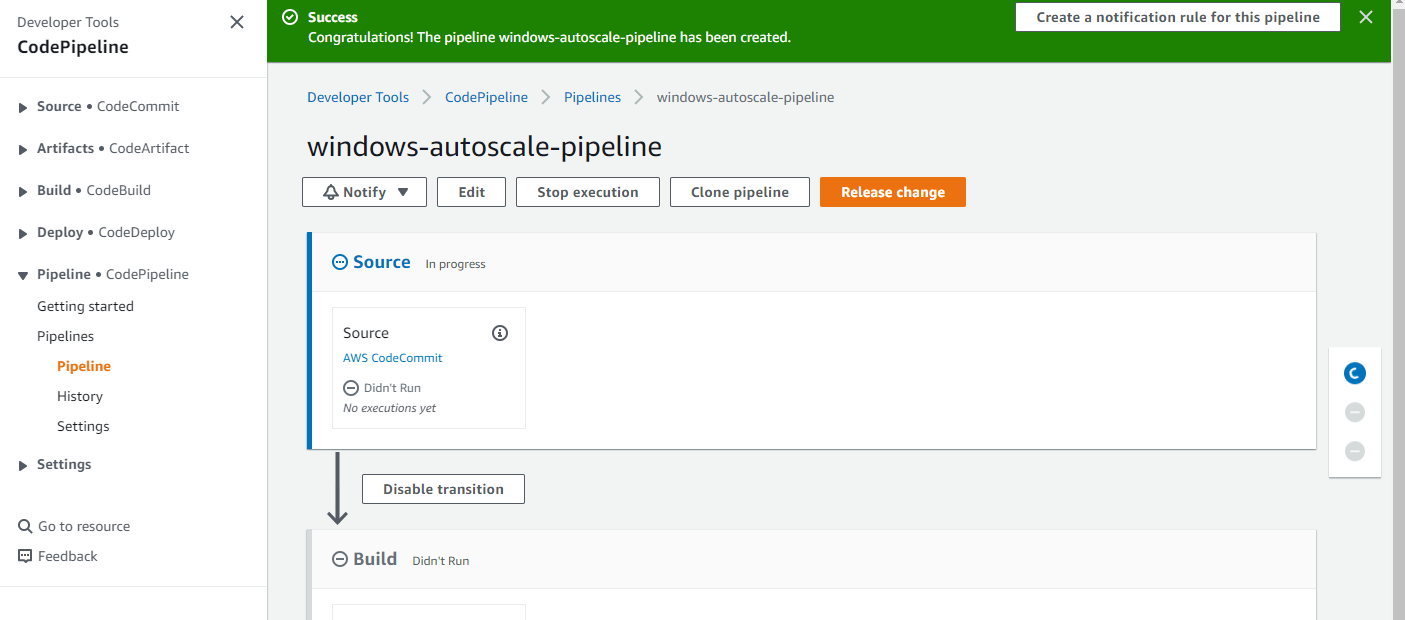
設定が問題なければ、一定時間後に Deploy が完了します。

確認
Web アクセス
ALB のホスト名にアクセスすると、ALB 配下で稼働しているアプリケーションにアクセスができます。
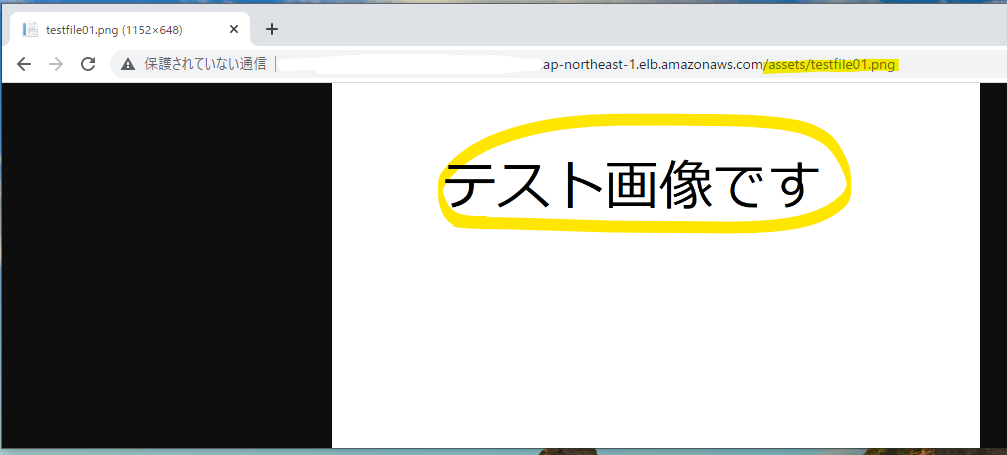
また、IIS の仮想ディレクトリで指定した FSx for Windows File Server 上の画像も参照できることが確認できます。
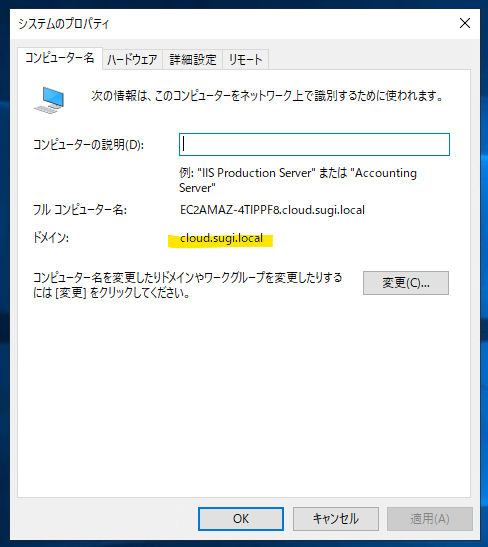
AD 参加
自動的に Active Directory に参加していることがわかります
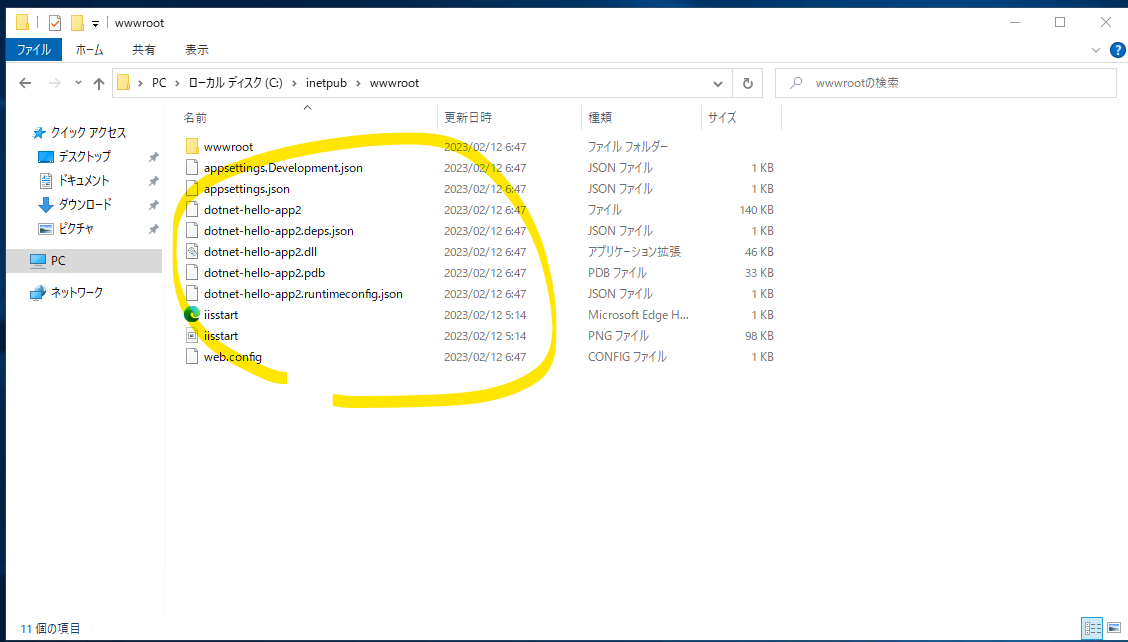
Windows Server の IIS 設定・FSx for Windows File Server
IIS の公開ディレクトリに、ASP.NET のプログラムが自動配置されている
IIS では、仮想ディレクトリが自動的に設定され、FSx for Windows File Server を参照している。
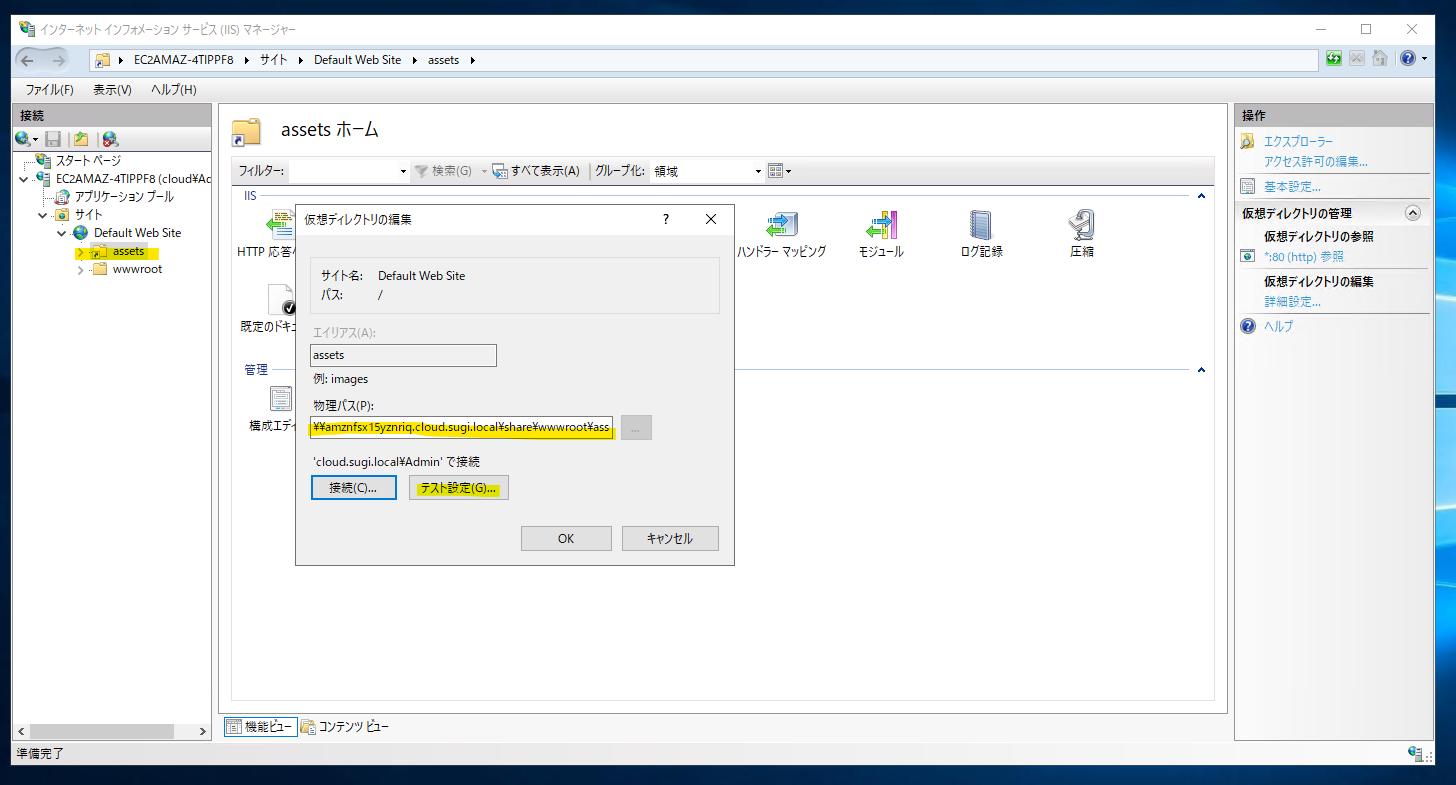
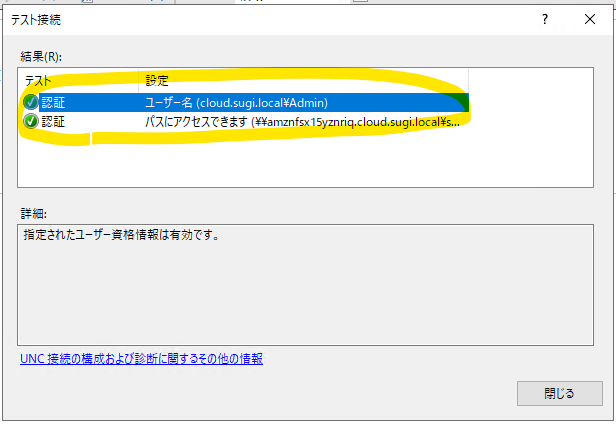
ユーザーを指定した接続が成功している
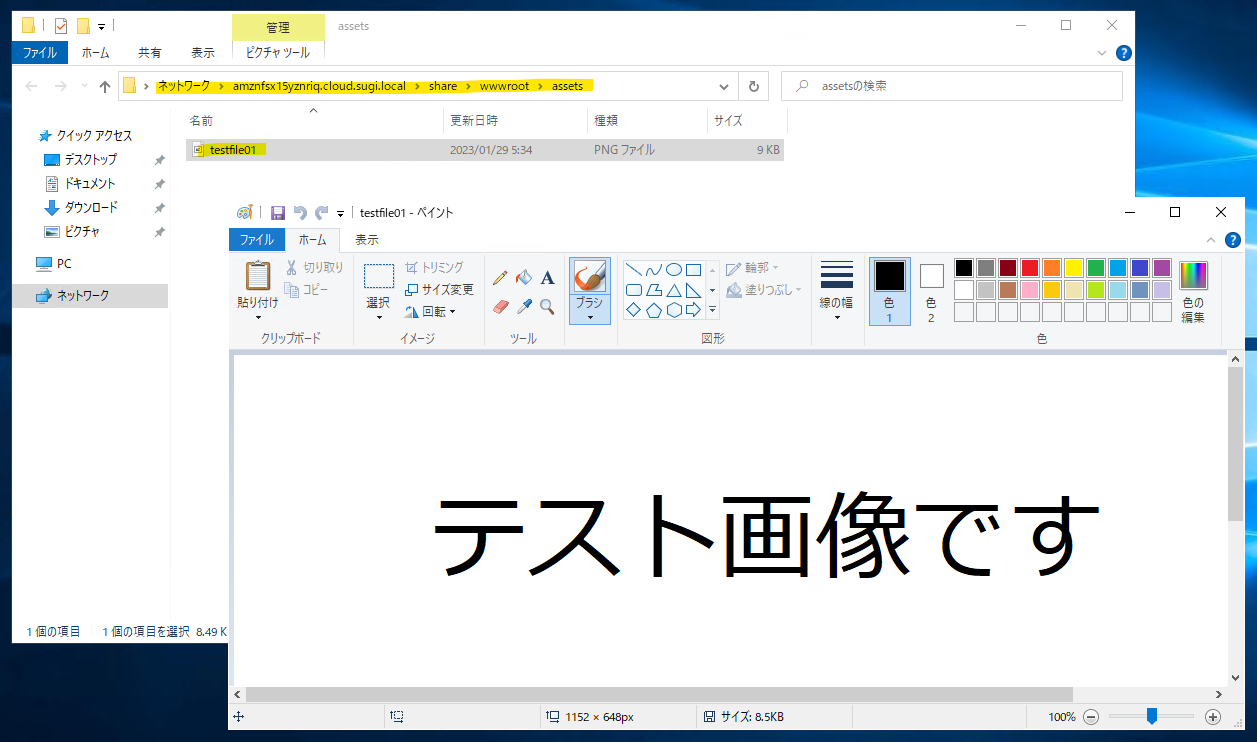
実際に、FSx for Windows File Server を開くと、テスト画像が格納されている。
スケール変更
Desired Capacity が 2 になっているのを、Edit で 3 に変更します
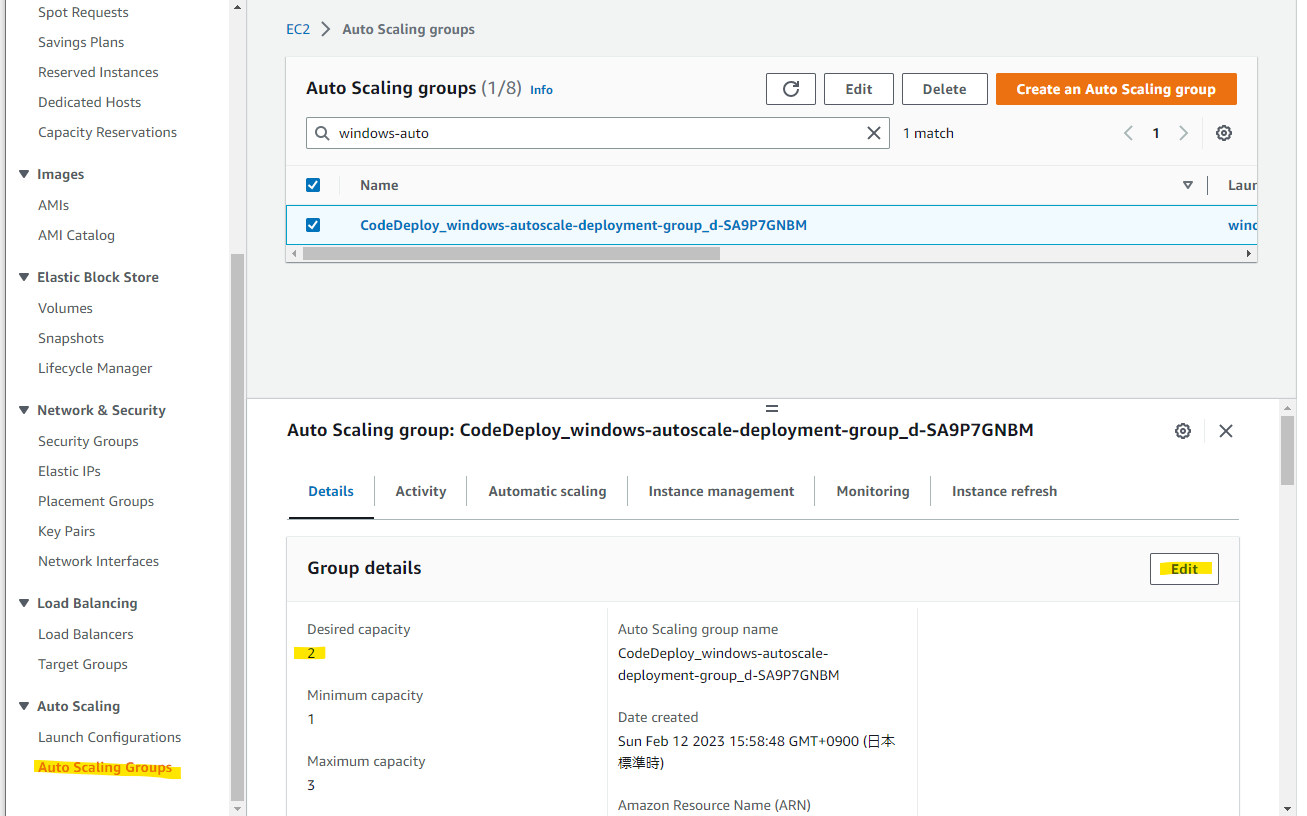
3 に変更
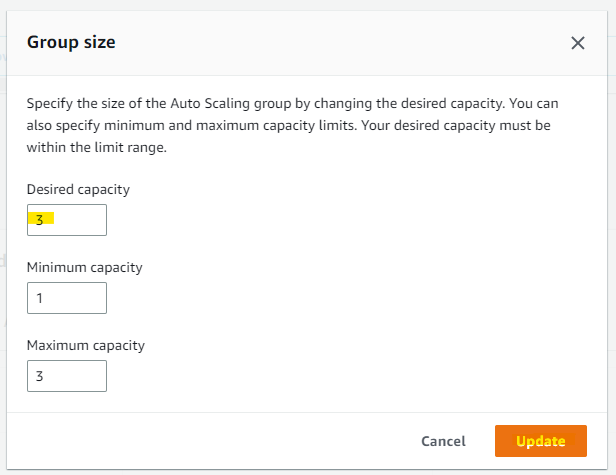
新たなインスタンスが立ち上がり、自動的に CodeDeploy と連携して最新のアプリが起動した
検証を通じてわかったこと
-
Launch Template には、Directory Join のための機能が無いため、user data を使って SSM Document を実行し、Active Directory に参加する構成が選択できる
-
CodeBuild は、breakpoint で一時停止が可能。これでデバッグ作業が快適に進む。
-
User data を初回実行するときは、「Administrator」アカウントで実行される。2 回目以降に起動させた場合、「nt authority\system」アカウントで実行される
-
Systems Manager の RunCommands は、「nt authority\system」アカウントで実行される
-
CodeDeploy の RunCommands は、「nt authority\system」アカウントで実行される
-
CodeDeploy で PowerShell を実行するときには、32bt, 64bit の違いに気を付ける必要がある。デフォルトは 32 bit が呼び出されるため、場合によっては 64 bit に呼び出し直しが必要。コマンドレットを利用していると、32 bit では動作しないことが起こりえる。
- この記事の PowerShell スクリプトは、64 bit じゃないとうごかなかった
- https://docs.aws.amazon.com/codedeploy/latest/userguide/troubleshooting-deployments.html#troubleshooting-deployments-powershell
-
「nt authority\system」で、Invoke-Restmethod が利用できない問題がある
- 対処方法としては、「-UseBasicParsing」の利用などが説明されている
- https://dimitri.janczak.net/2022/03/01/invoke-webrequest-under-the-system-account/
- また、Powershell7 の利用も検討できるかもしれない (未検証)
- https://news.mynavi.jp/article/win10tips-492/
-
CodeDeploy の実行ログは以下のディレクトリに格納されている
-
C:\ProgramData\Amazon\CodeDeploy\
-
-
今回の記事では触れなかったが、Windows Server で全ユーザープロファイルに対して、ドライブマウントをさせるコマンドがある。
-
net useコマンドでは、実行したユーザーしか反映されない - その代わり、
New-SmbGlobalMappingコマンドを利用することで、全ユーザーへマウントが可能 - https://medium.com/@bberkayilmaz/mounting-aws-fsx-with-autoscaling-in-terraform-eee3d115d49c
- https://hacknote.jp/archives/20787/
-
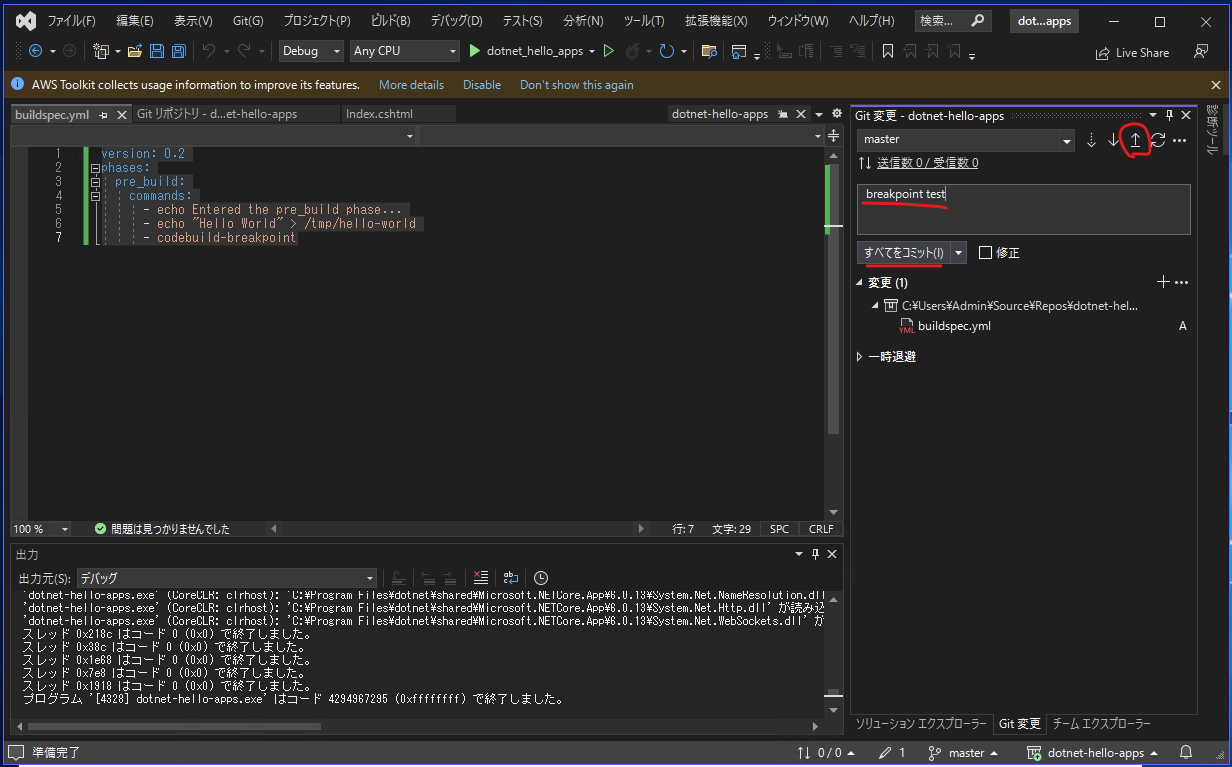
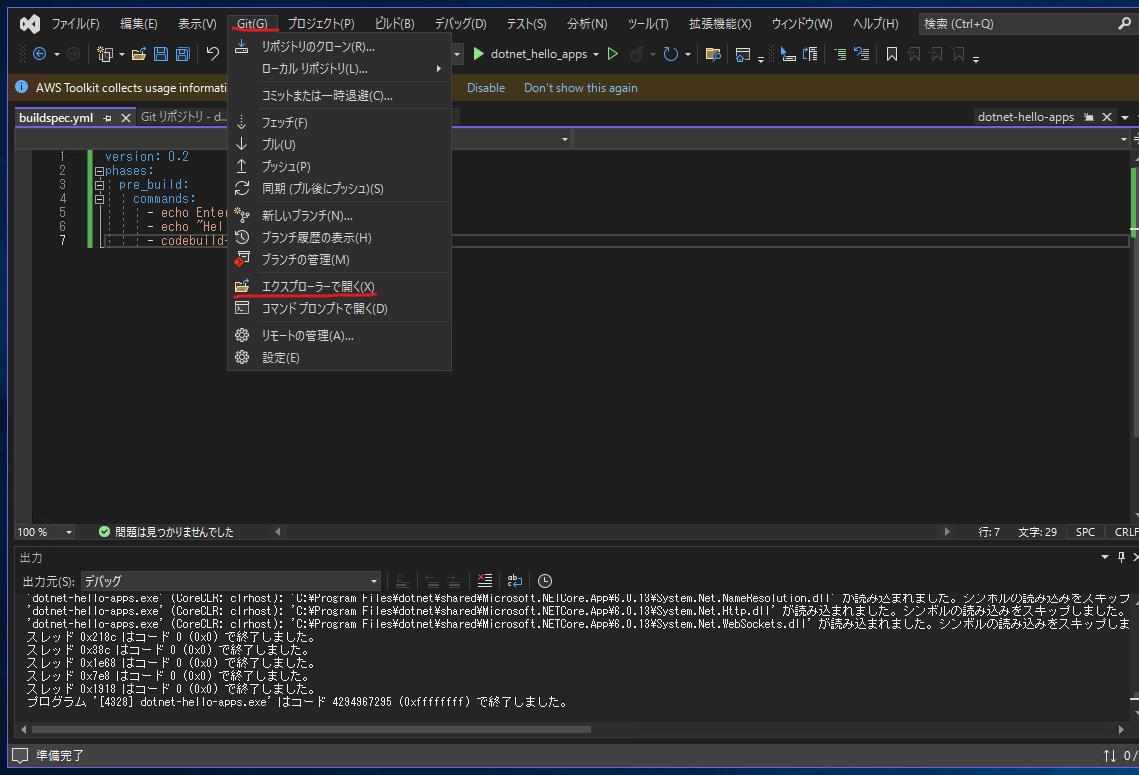
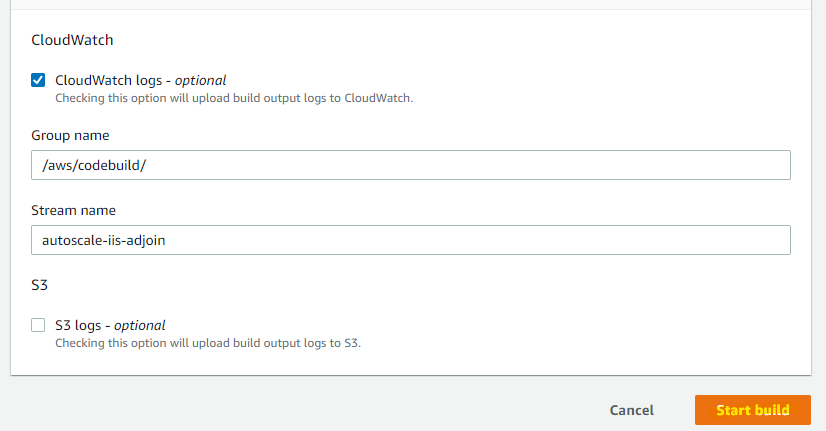
付録 : CodeBuild で Breakpoint
version: 0.2
phases:
  pre_build:
    commands:
      - echo Entered the pre_build phase...
      - echo "Hello World" > /tmp/hello-world
      - codebuild-breakpoint
実行
Advanced
チェック
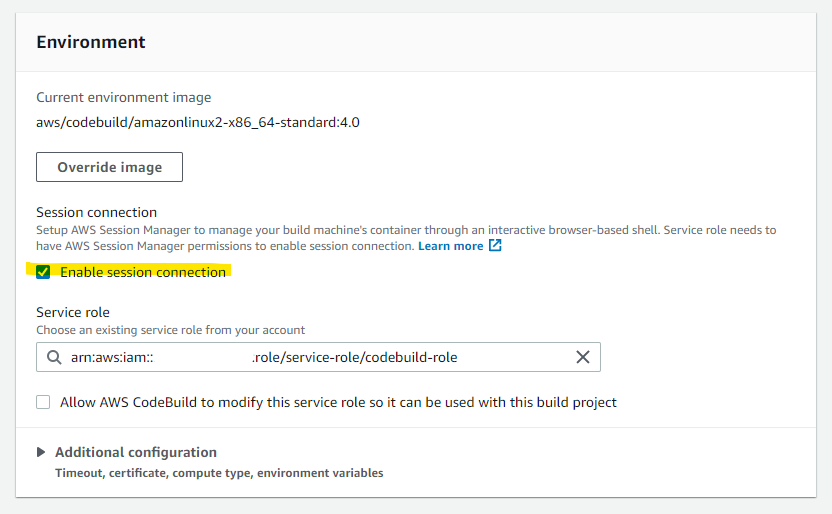
Start
開始され、Break point で止まる
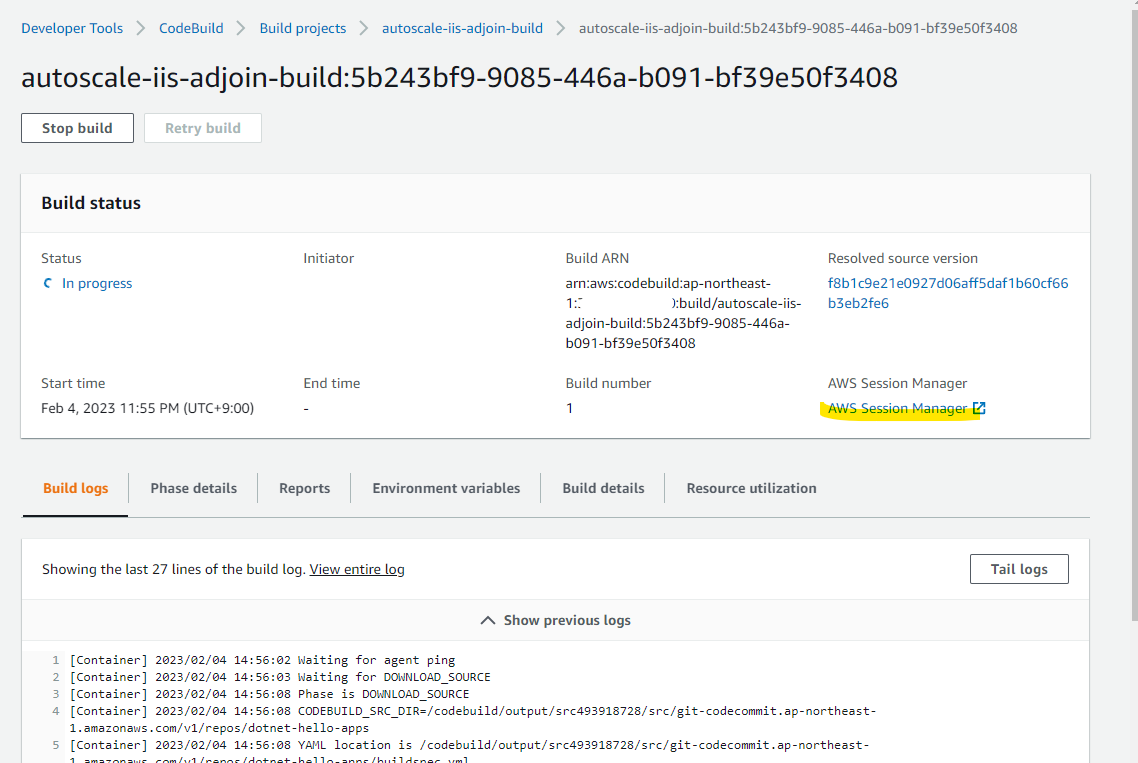
普通にリモートアクセスできる。

参考 URL