はじめに
API Gateway には、AWS Service の Integrate 機能があります。例えば、フロントエンドから API Gateway を通じて SQS にデータを格納した場合、API Gateway → Lambda → SQS という構成が考えられます。この構成でも問題はないのですが、よりシンプルに API Gateway → SQS といった形で直接 SQS にデータを格納できます。シンプルなアーキテクチャにすることで、より堅牢で安定したサービス提供に貢献できるメリットがあります。
今回の記事では、直接 API Gateway → SQS へデータを格納する構築手順を確認してみましょう。
IAM Role の作成
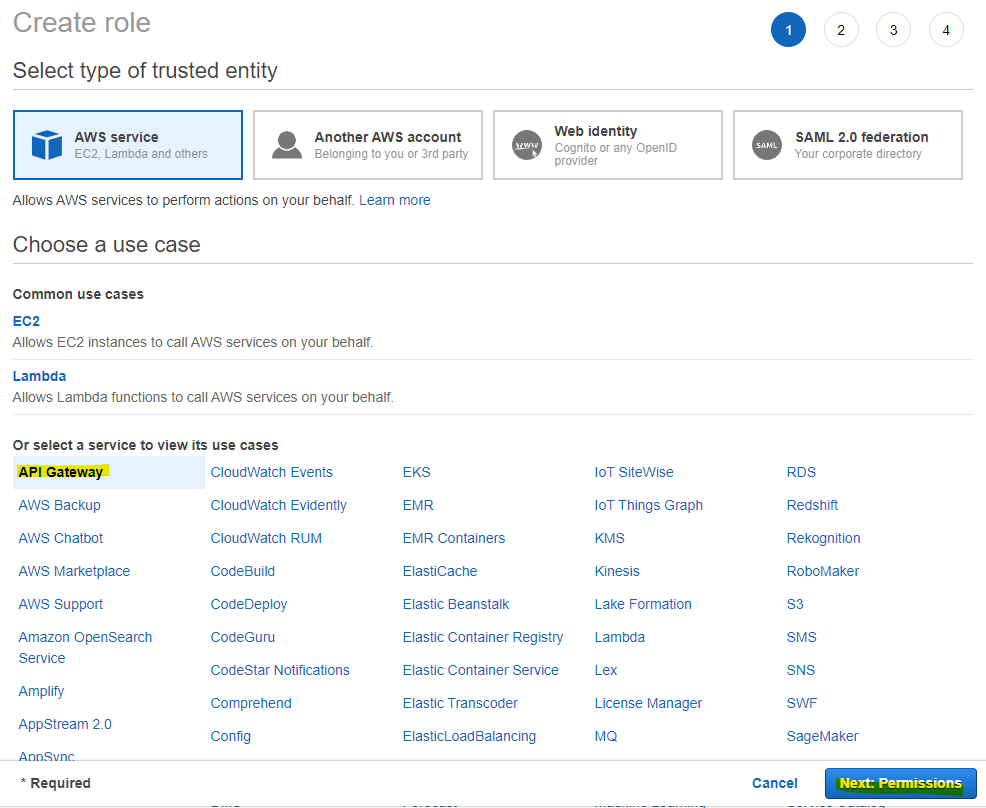
まず、API Gateway に設定する IAM Role を作成していきます。IAM Role の作成画面で API Gateway を選択します。
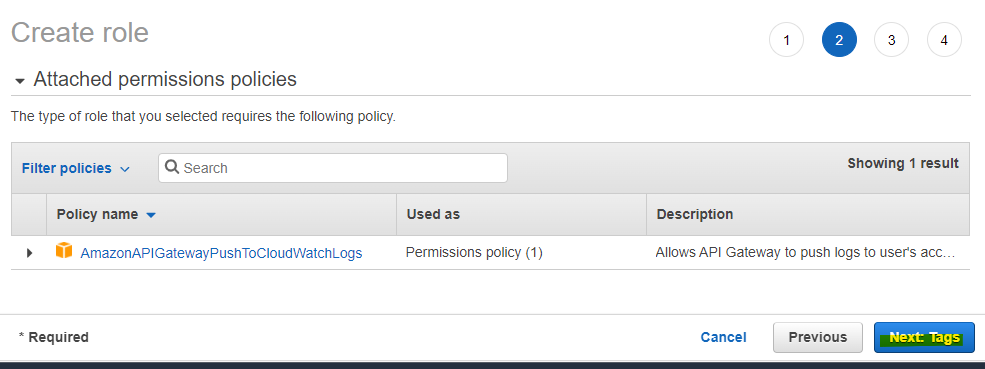
そのまま Next を押します。
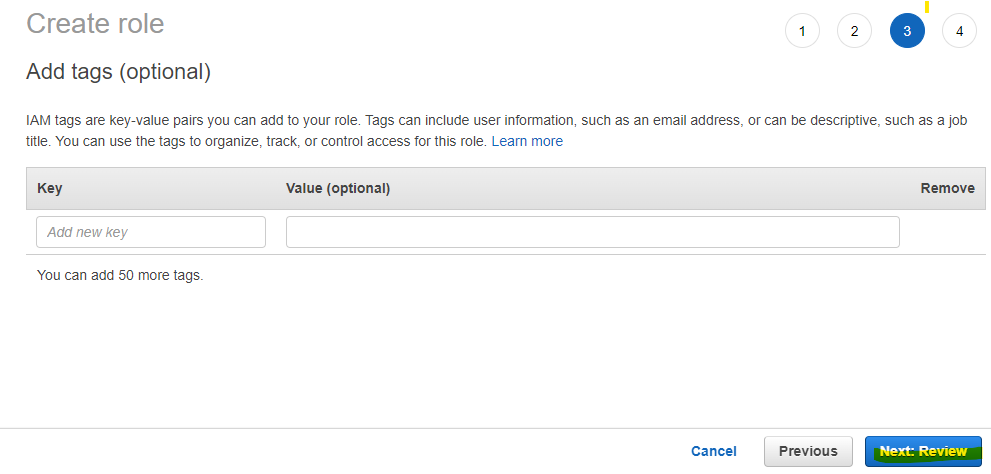
また Next を押します。
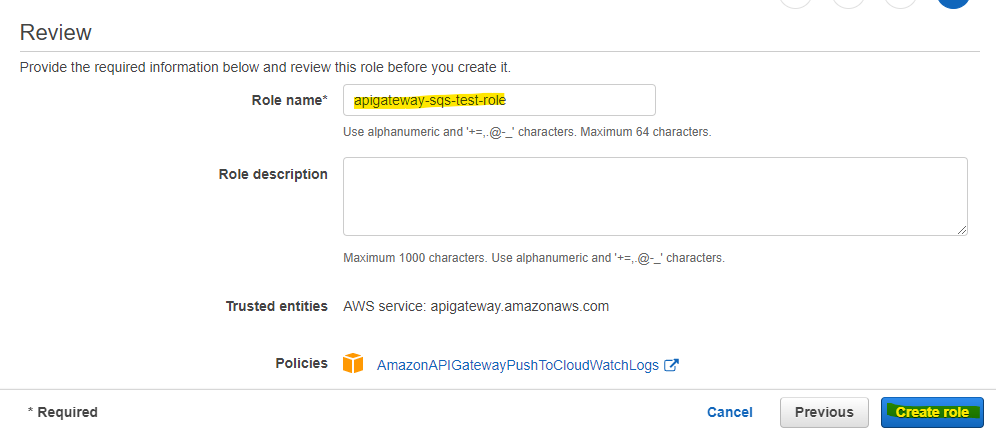
Role Name を入力して Create Role を押します。
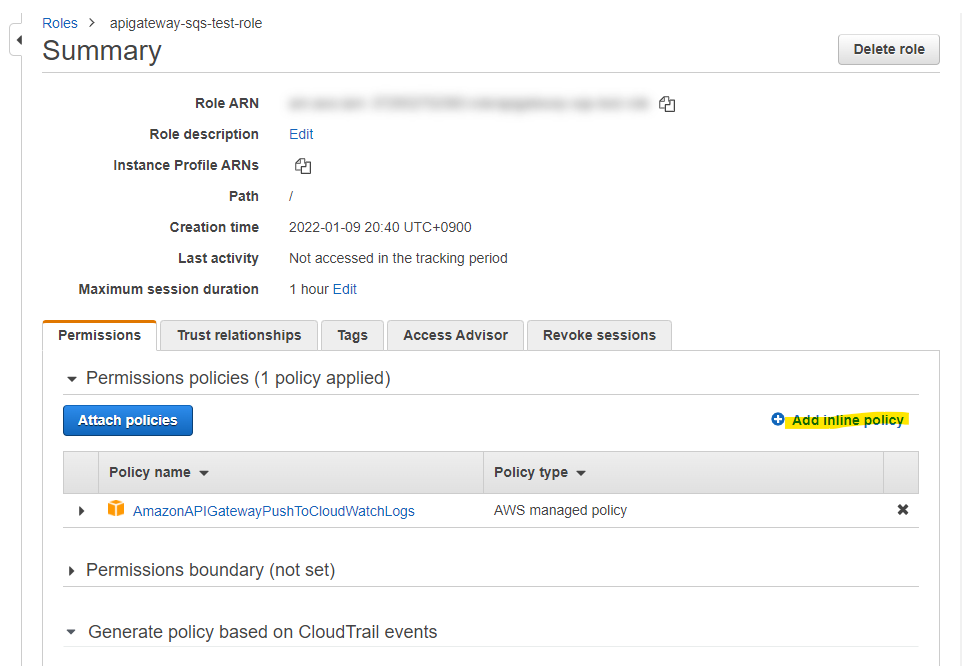
Add inline policy を押します。
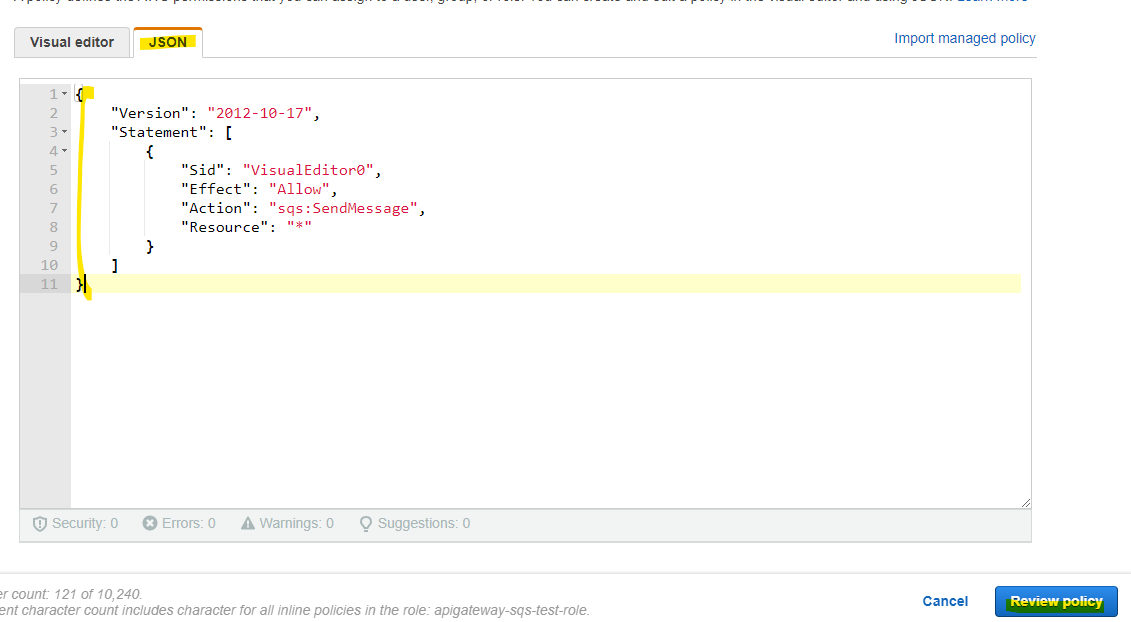
入力するポリシーは次のものを入れます。SQS へ SendMessage を出来るようにします。
{
    "Version": "2012-10-17",
    "Statement": [
        {
            "Sid": "VisualEditor0",
            "Effect": "Allow",
            "Action": "sqs:SendMessage",
            "Resource": "*"
        }
    ]
}
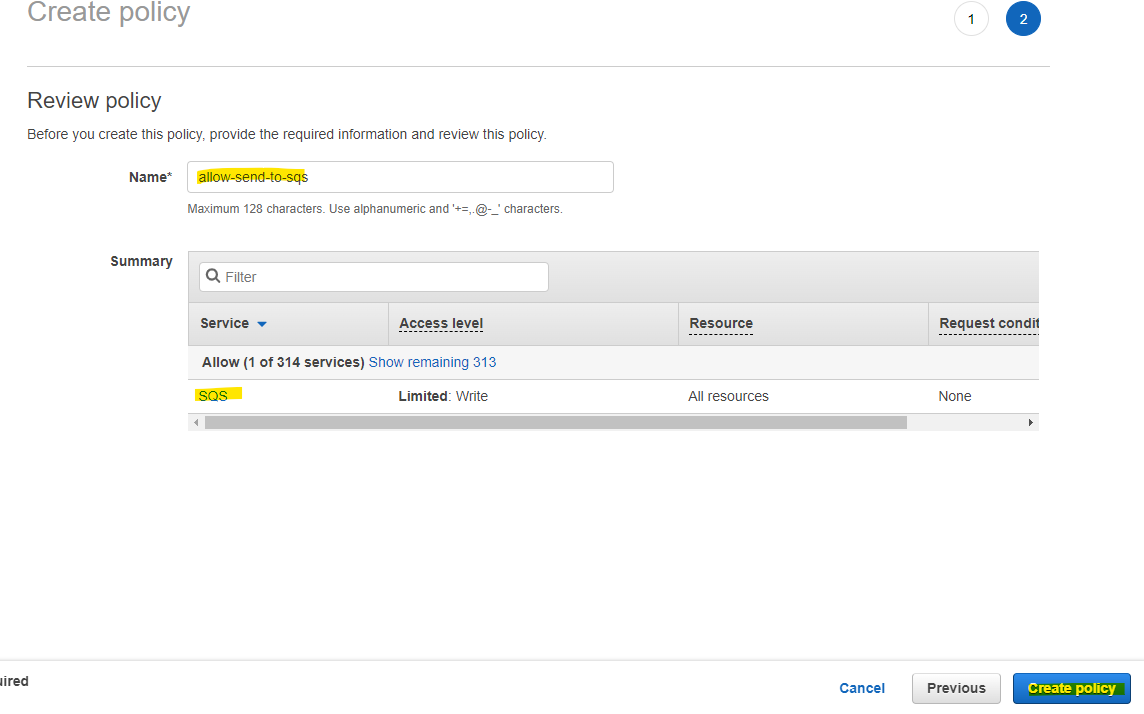
Create を押して、IAM Role を作成します。
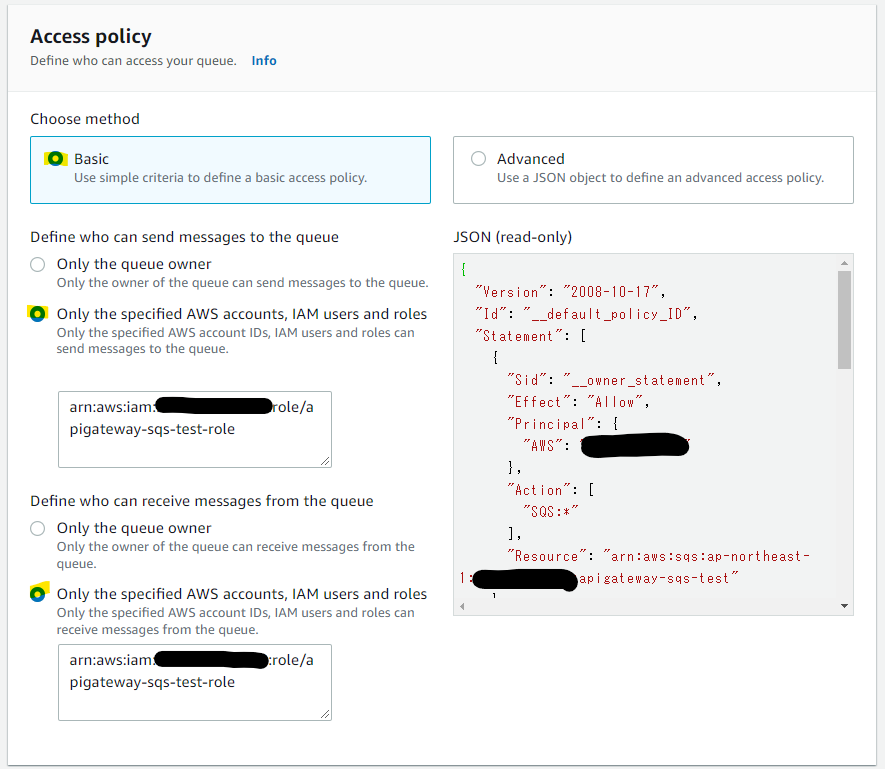
作成した IAM Role ARN は後ほど使うので、メモっておきます。
arn:aws:iam::xxxxxxxxxxxx:role/apigateway-sqs-test-role
SQS キューの作成
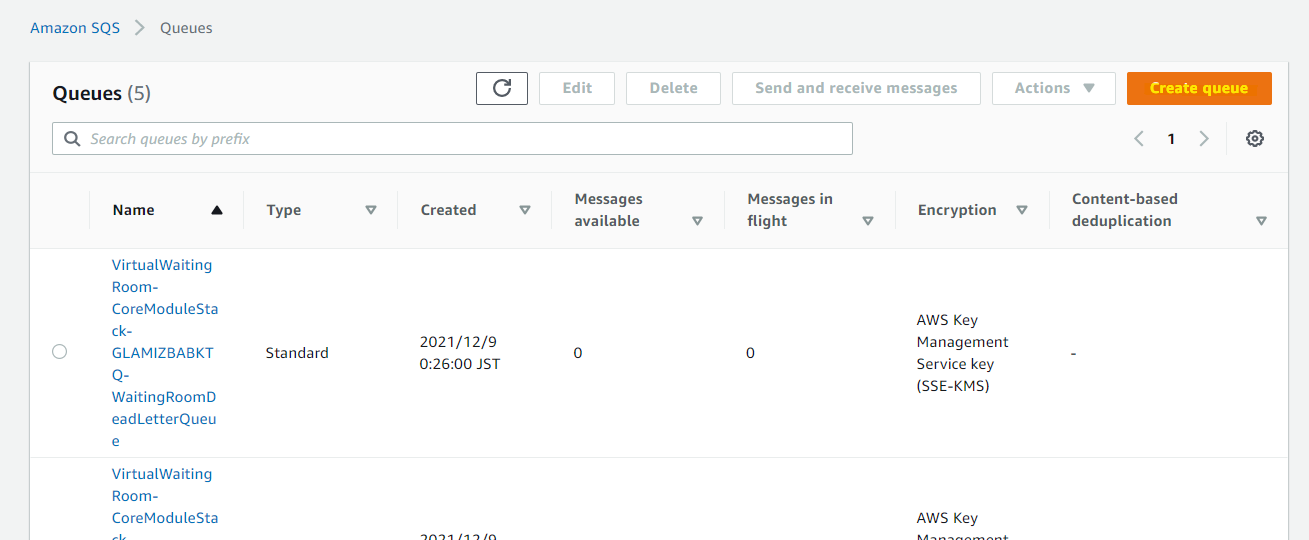
次に SQS キューを作成します。
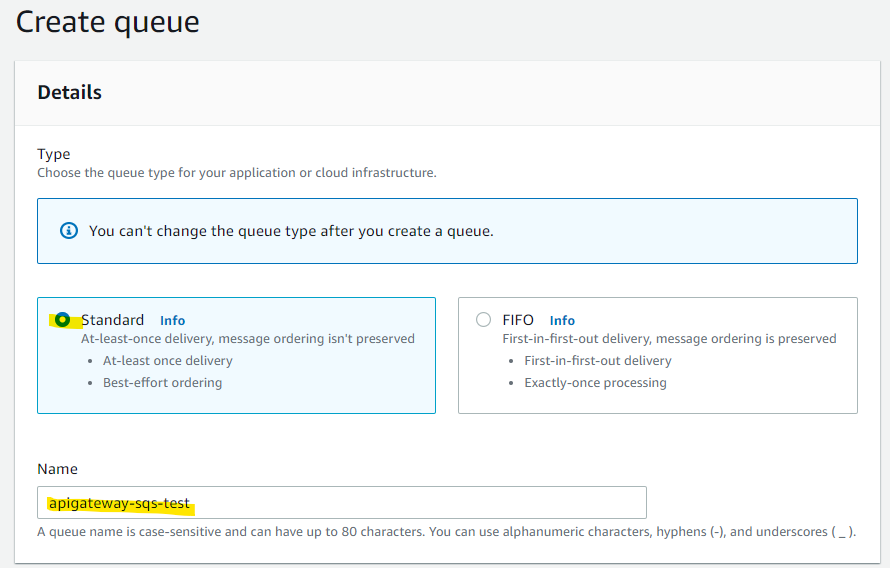
パラメータを入力
- type : standard
- 名前
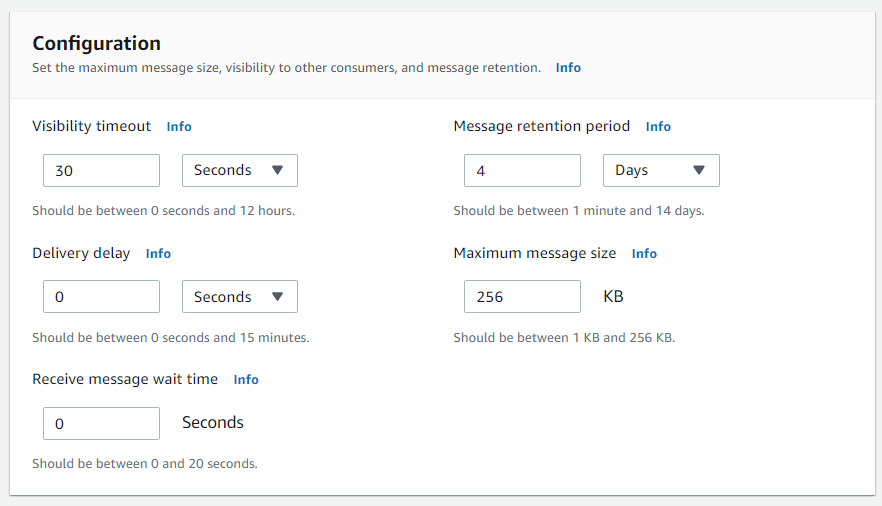
Default のまま
作成した IAM Role を指定して、API Gateway からこの Queue にデータを格納できるように指定
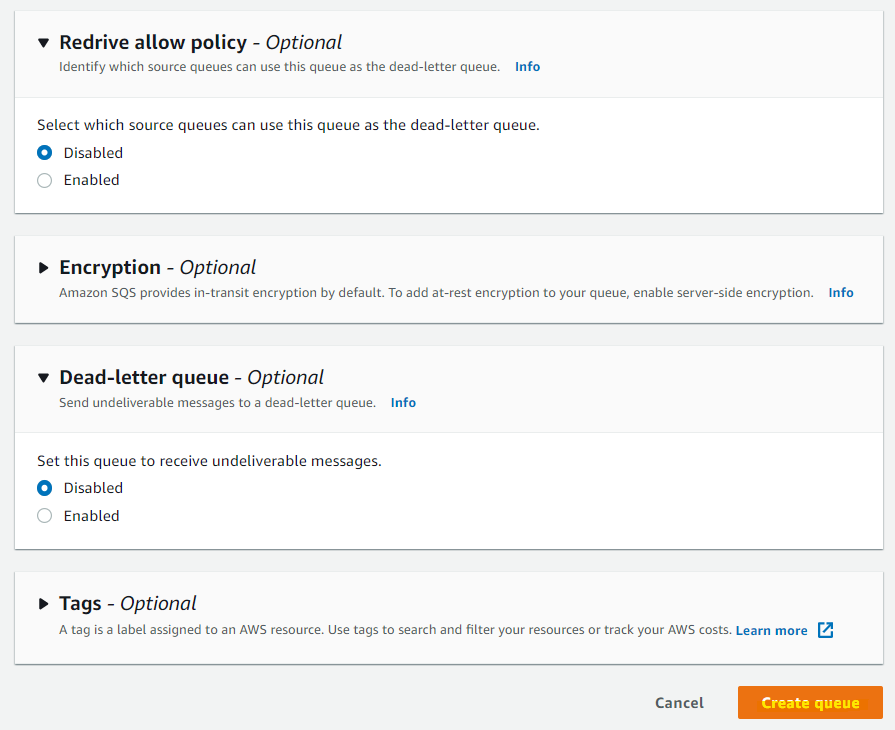
そのほかは Default のまま Create を押します。
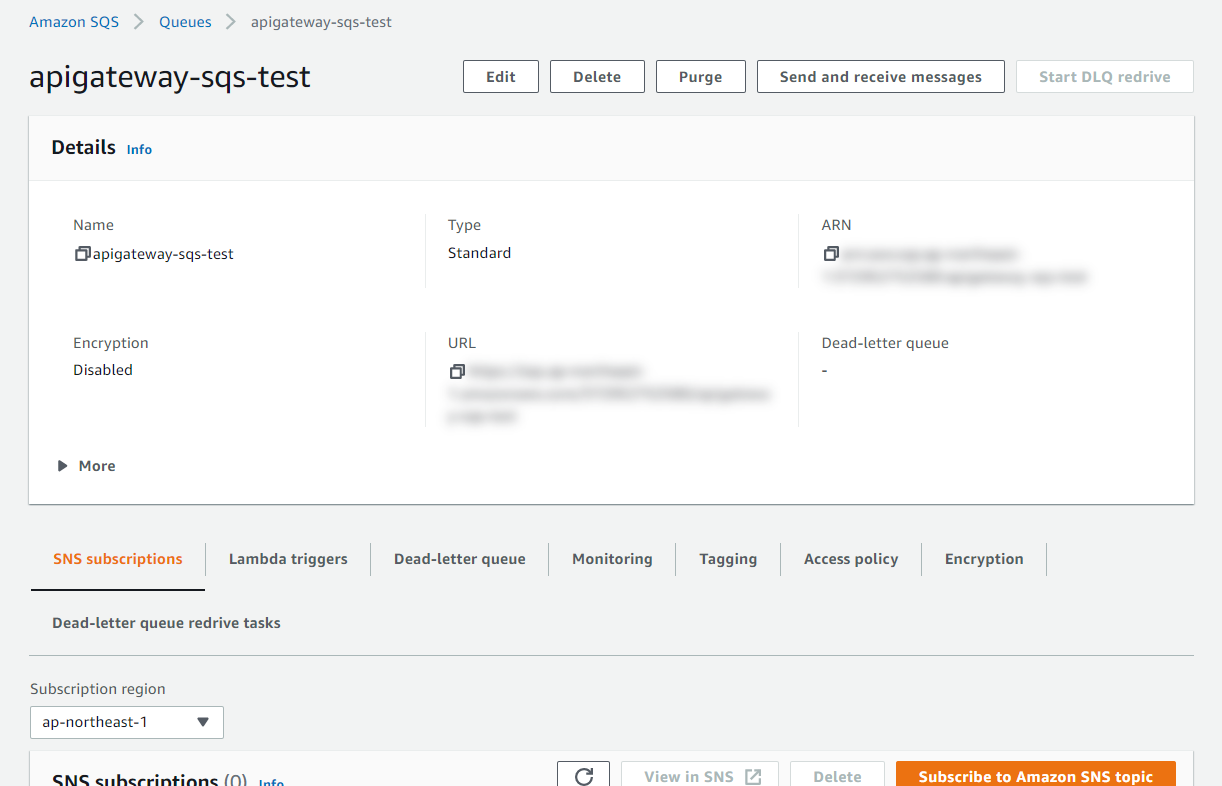
SQS キューが作成されました。
API Gateway の作成
API Gateway を作成していきます。
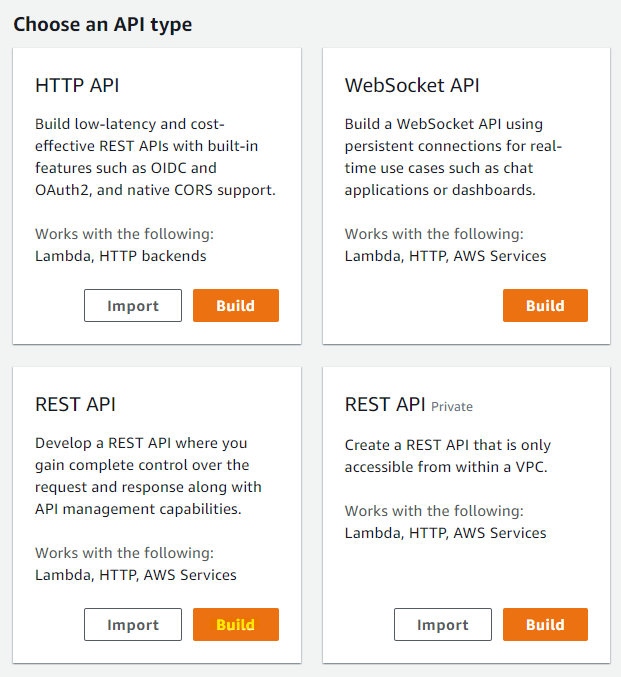
REST API を選びます。
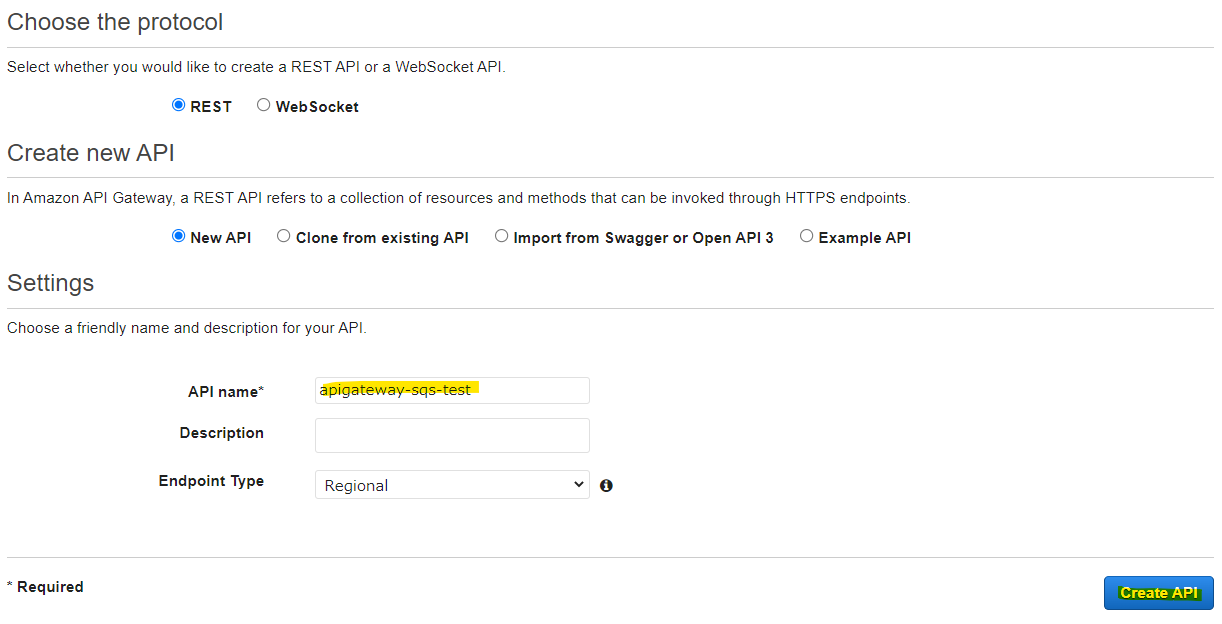
API Gateway の名前を入れます。
apigateway-sqs-test
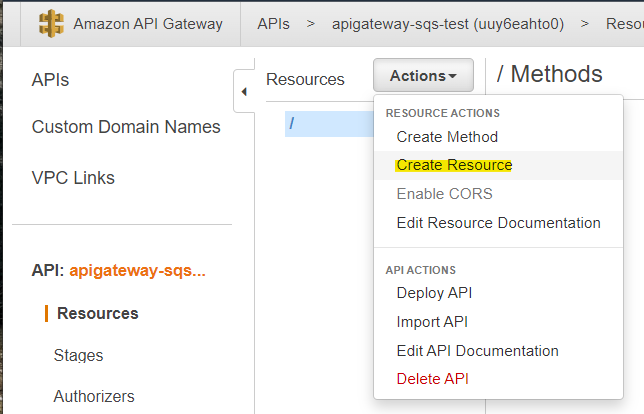
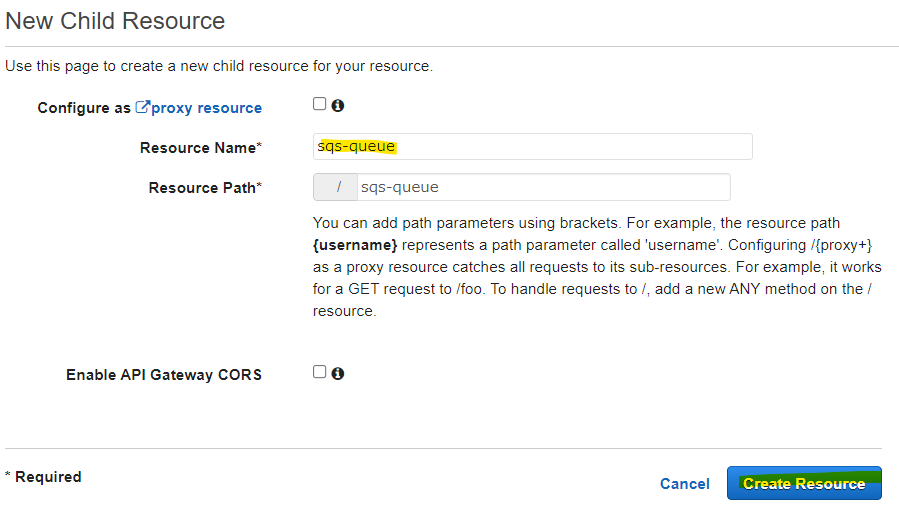
API Gateway の編集画面で、 Create Resource を押します。
適当な名前で Create を押します。
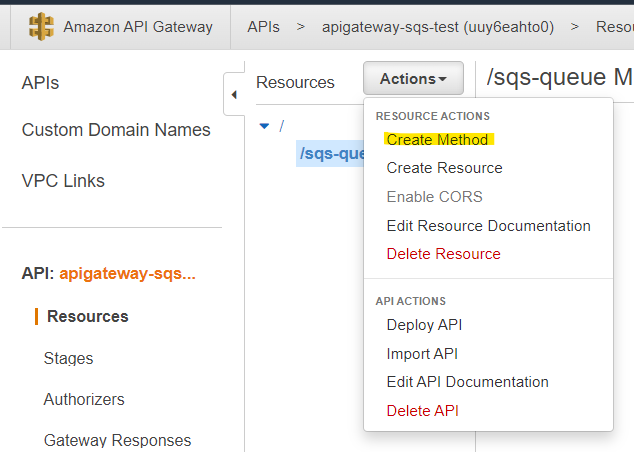
作成したリソースに対して、Create Method を押します。
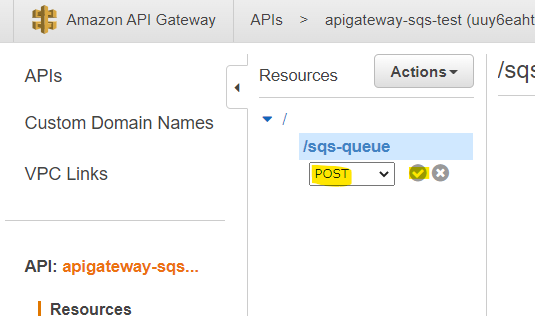
今回は POST を選択します。
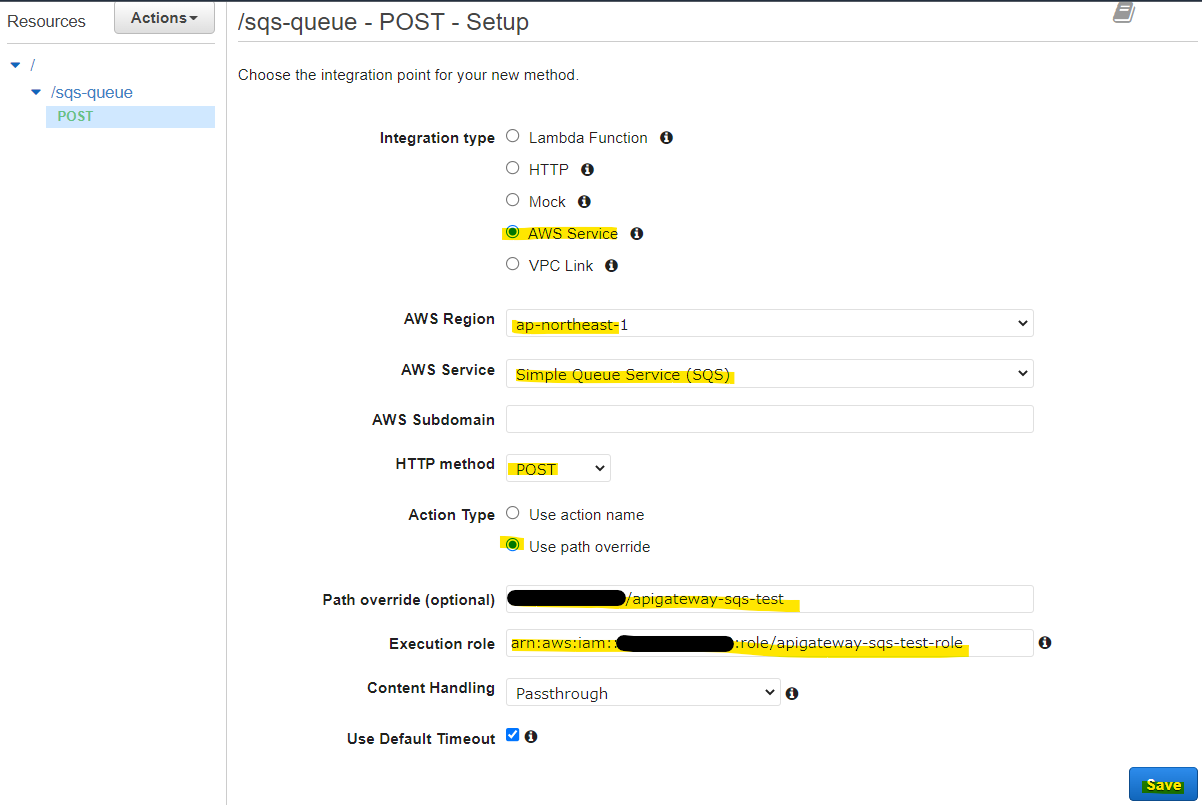
パラメータを入れます。
- Integration Type : AWS Service を選ぶ
- AWS Service : SQS を選択
- Path override : [AWSアカウントID/SQSキューの名前] を入力
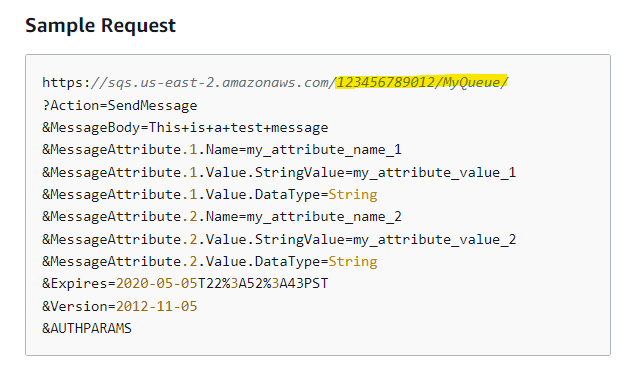
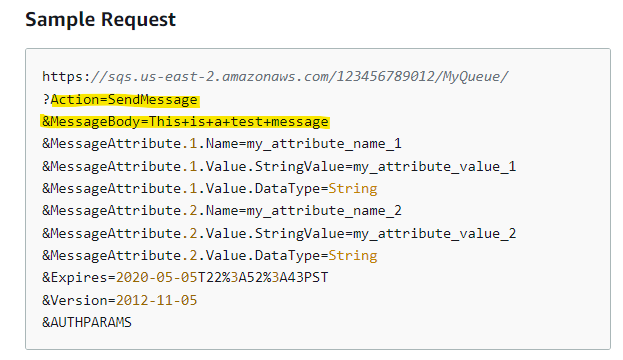
Path Override に何を入力するべきか調べる方法を説明します。今回の記事は、SQS にデータを格納する SendMessage API を使っていくため、次の APO Reference Document を参照します。
https://docs.aws.amazon.com/ja_jp/AWSSimpleQueueService/latest/APIReference/API_SendMessage.html#API_SendMessage_Examples
この Document に、SendMessage を実行するSample が書かれています。この Sample の中に、123456789012/MyQueue と記載されていますが、この部分を Path Override で入力しています。SQS の場合は今回の記事の内容で問題ないですが、他のサービスの場合は、そのサービスに合わせた文字列を入力する必要があるので、適宜調べていきましょう。
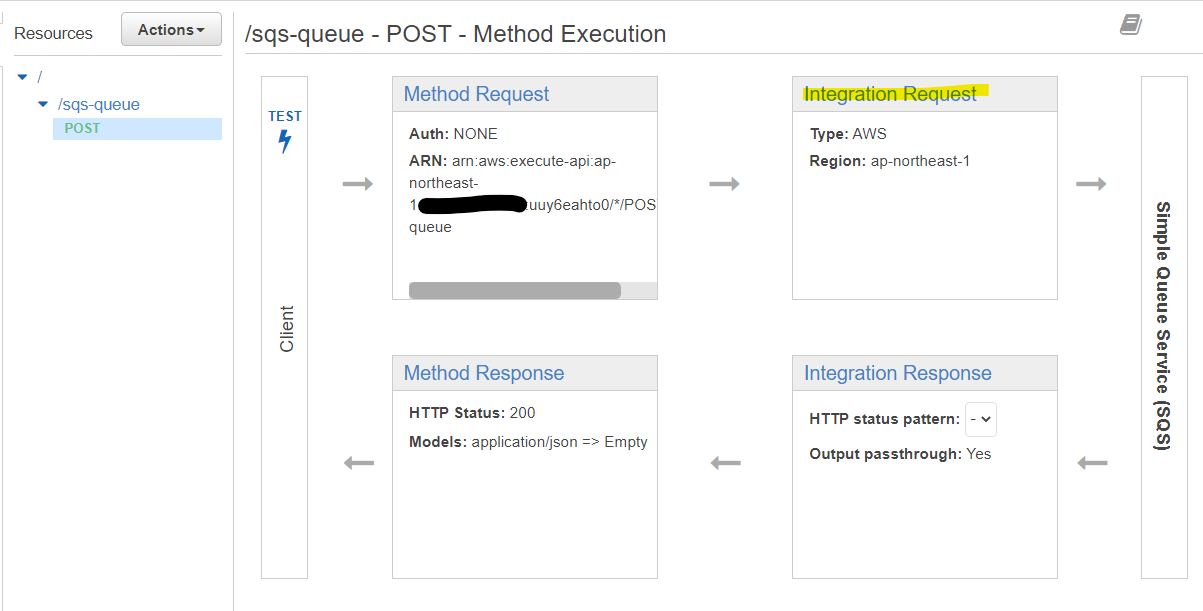
設定後、 Integration Request を選びます。
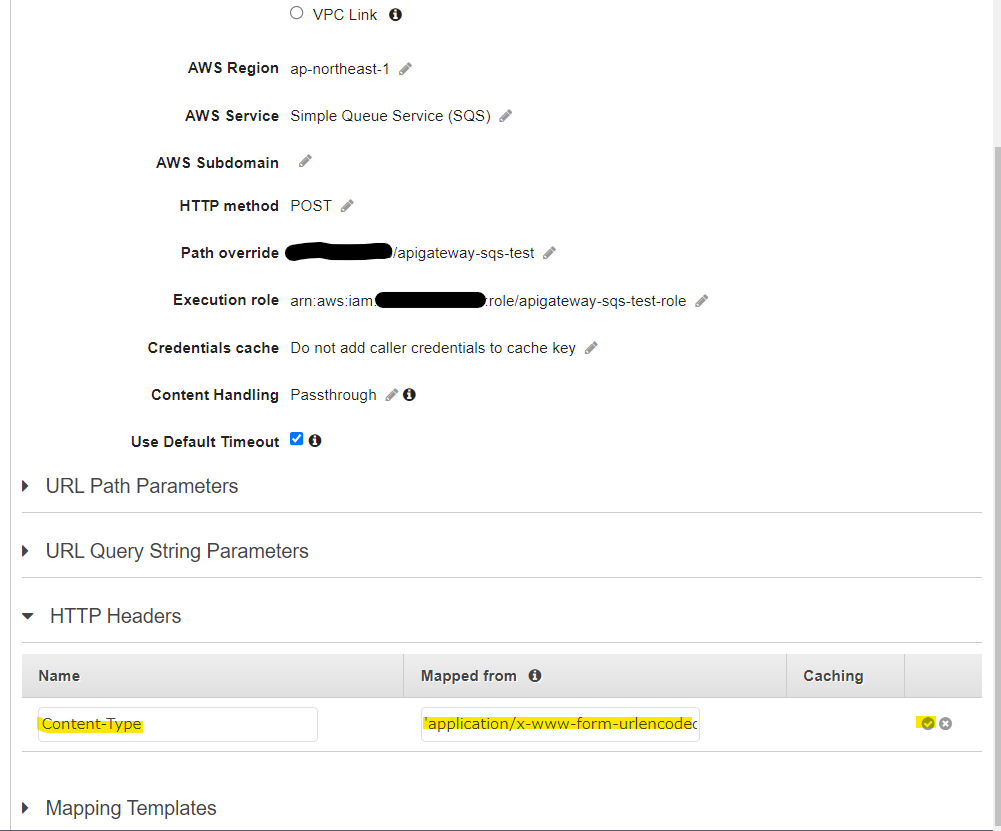
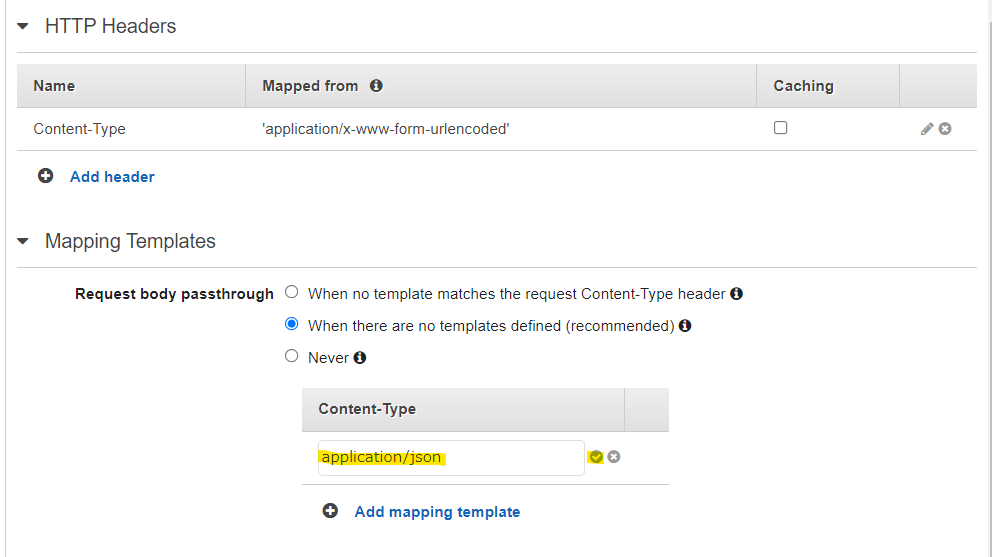
HTTP Headers に次のパラメータを入れます。
Content-Type
'application/x-www-form-urlencoded'
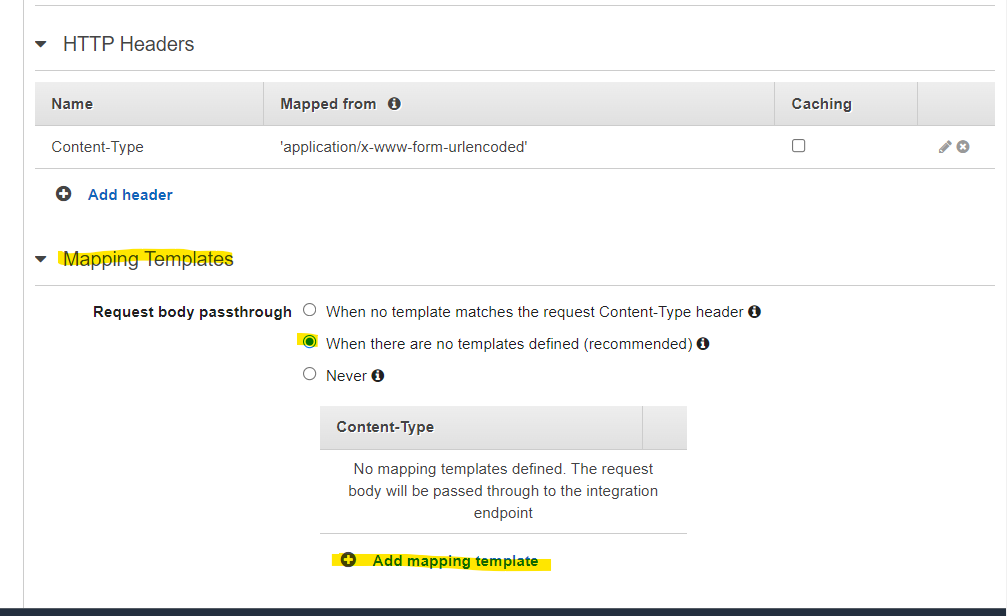
Mapping Templates の add を押します。
application/json を入れます。
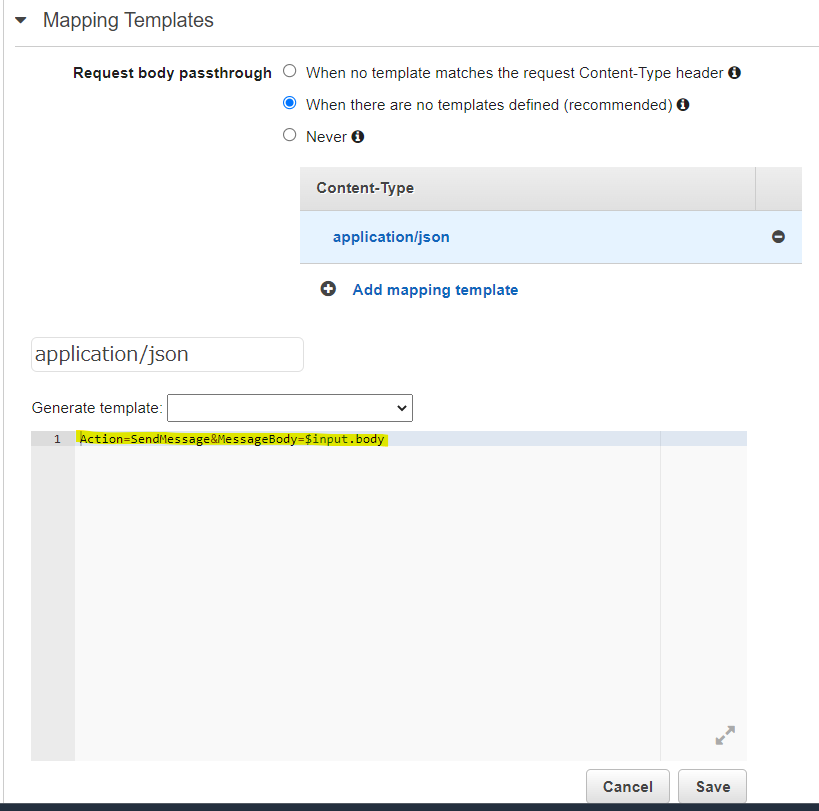
Mapping Template の値に、次の文字列を入れます。
- Action : SQS で
sendMessageの API を使う - MessageBody :
$input.bodyを指定。API Gateway に渡された Body を、そのまま SQS に格納する
Action=SendMessage&MessageBody=$input.body
この Mapping Template に入力する文字列ですが、該当する API の Document を見ながら組み立てることが出来ます。
https://docs.aws.amazon.com/ja_jp/AWSSimpleQueueService/latest/APIReference/API_SendMessage.html
この Document に Sample があり、URL クエリーパラメータが載っています。この中に、Action=SendMessage だとか、MessageBody=this+is と書かれています。この部分を Mapping Template として文字列を組み立てていきます。
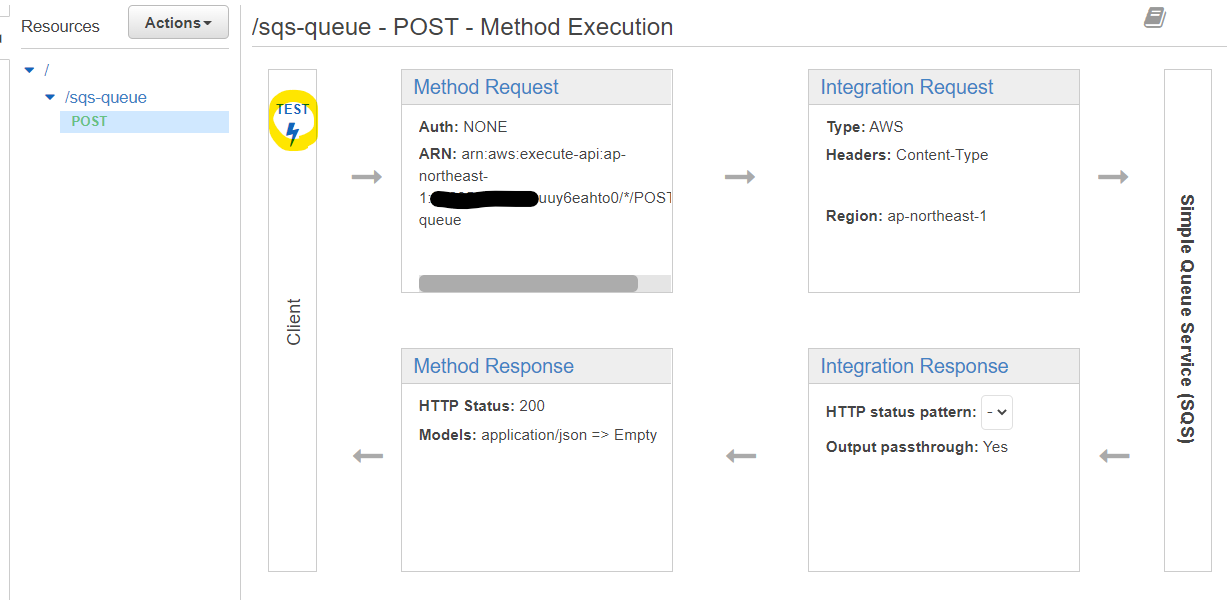
API Gateway で TEST
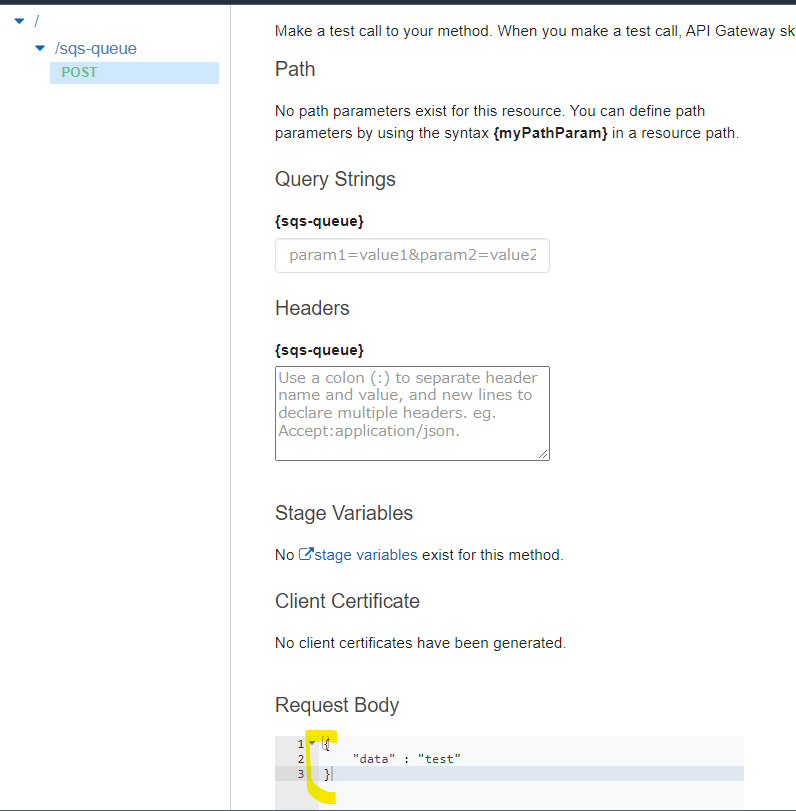
ここまで設定すると、TEST が出来ます。TEST をクリックします。
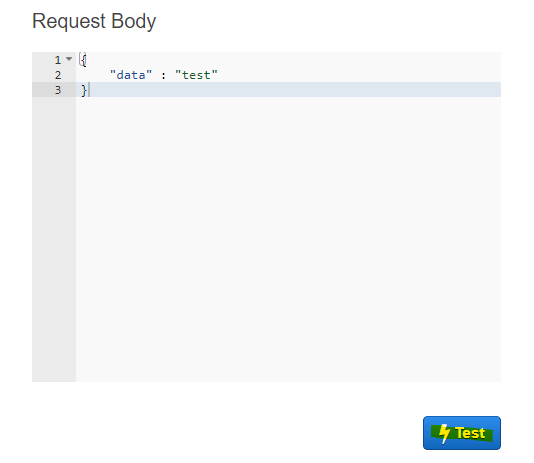
Request Body に次の文字列を入れます。ここに入れた文字列が SQS に格納されます。
{
	"data" : "test"
}
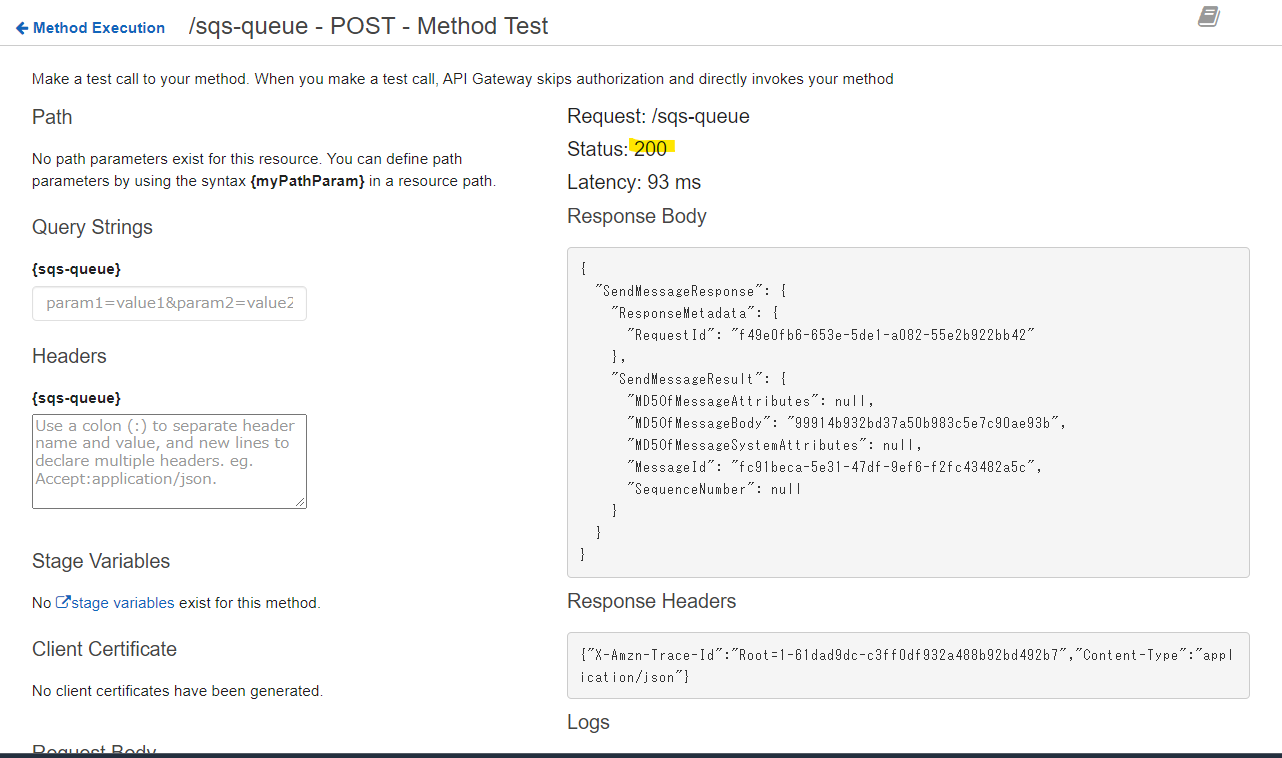
Test を押して、実際に SQS にデータを格納します。
Response が 200 になります。
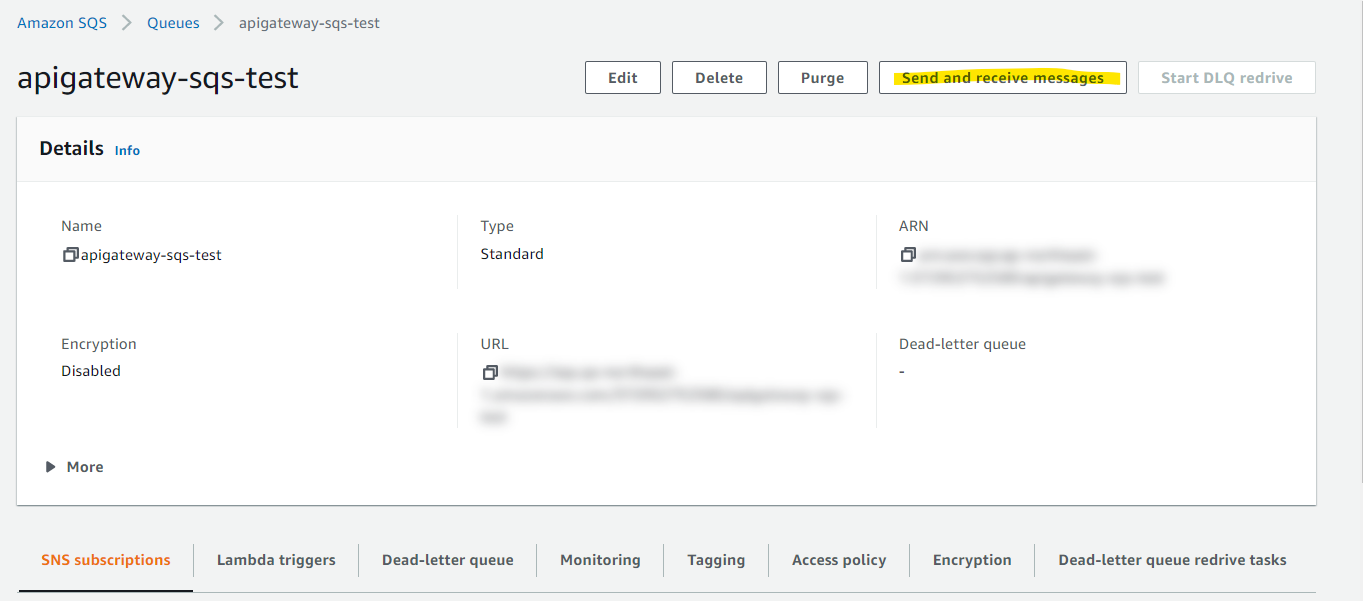
SQS側でデータを確認していきましょう。SQS キューの画面で Send and receive messages を押します。
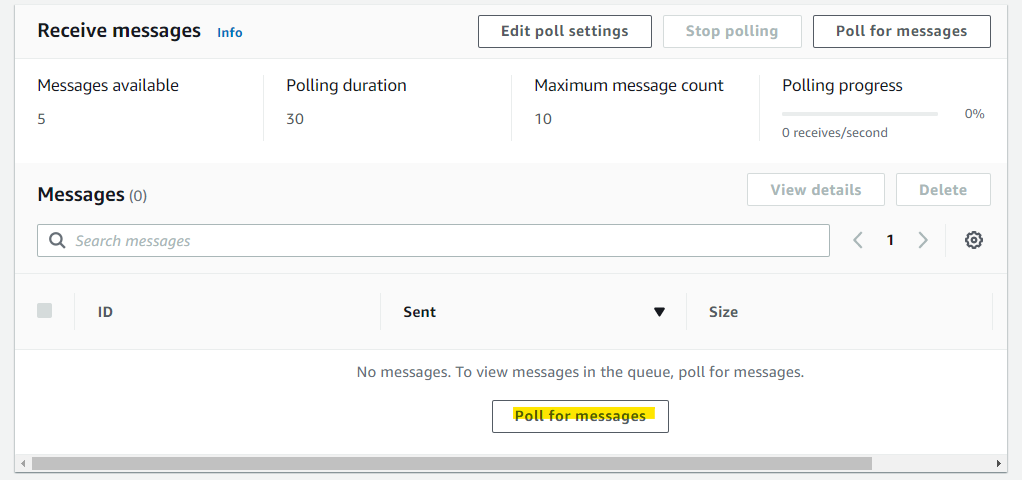
Poll for messages を押して、SQS 上のメッセージを受信します。
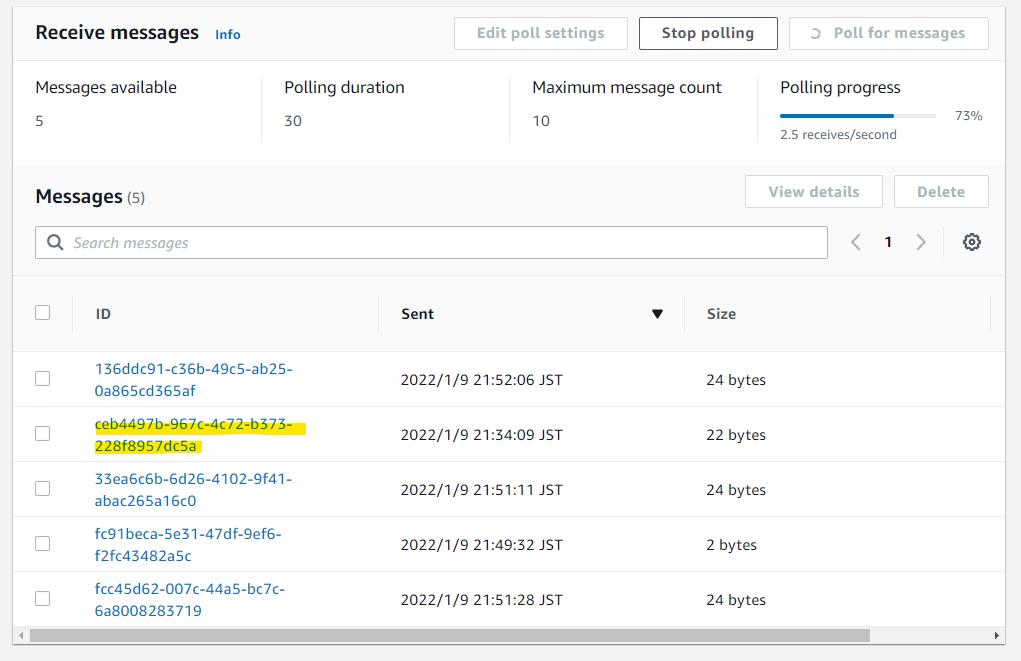
画像はいくつかのメッセージが表示されていますが、複数回 TEST しているためです。どれか適当に選びます。
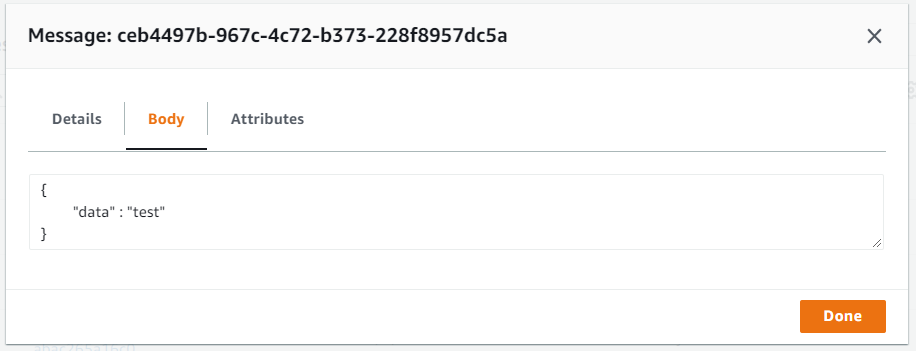
Body に、テストで入力した文字列が表示されていることが確認できます。
API Gateway Deploy
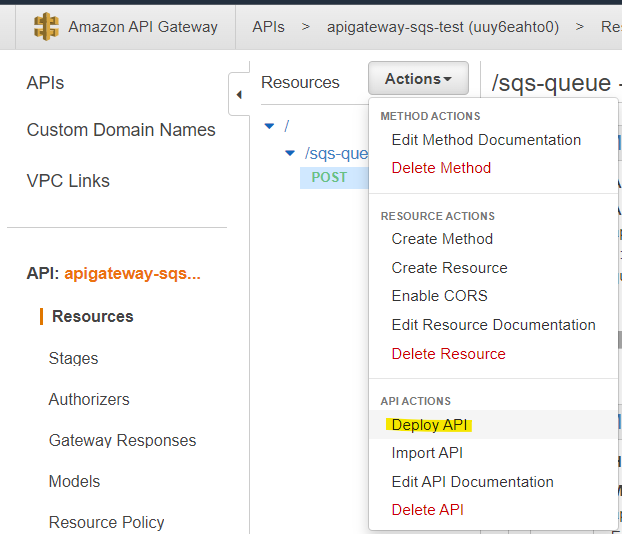
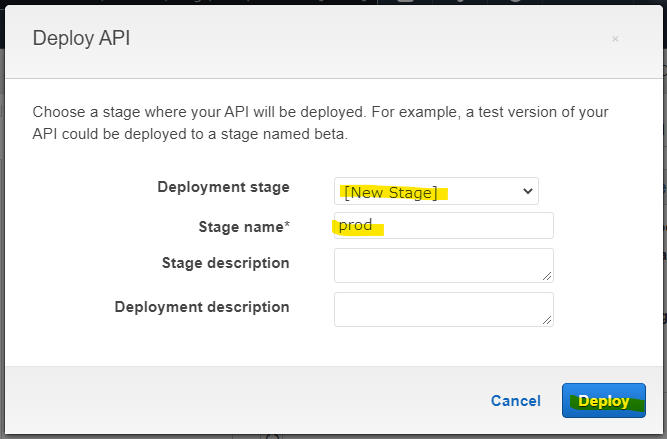
API Gateway で Deploy API を押して、実行できるようにしていきます。
適当に名前を入れて Deploy を押します。
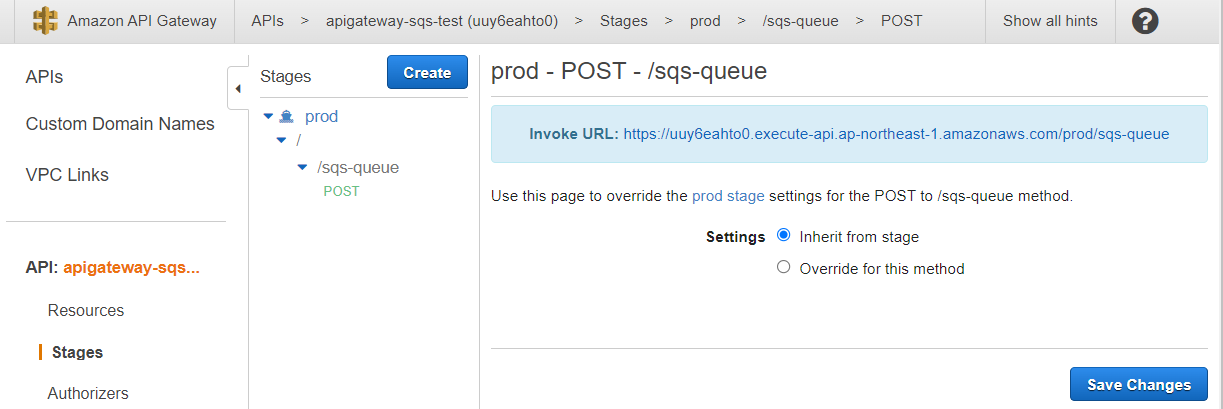
Deploy 完了です。Invoke URL が生成されています。
curl で TEST
これで外部から REST API 経由で SQS にデータを格納できるようになりました。今回は、curl コマンドでやっていきます。
curl -s -H 'Content-Type:application/json' \
-X POST \
https://uuy6eahto0.execute-api.ap-northeast-1.amazonaws.com/prod/sqs-queue \
-d '{"test1":"data1", "test2":"data2"}'
実行例
> curl -s -H 'Content-Type:application/json' \
      -X POST \
      https://uuy6eahto0.execute-api.ap-northeast-1.amazonaws.com/prod/sqs-queue \
      -d '{"test1":"data1", "test2":"data2"}' | jq .
{
  "SendMessageResponse": {
    "ResponseMetadata": {
      "RequestId": "4d17bbed-9166-5b96-adf1-e1b94eb7c5e4"
    },
    "SendMessageResult": {
      "MD5OfMessageAttributes": null,
      "MD5OfMessageBody": "58fdfbfc48f868b6b9c50b3e8aa09894",
      "MD5OfMessageSystemAttributes": null,
      "MessageId": "c21a633e-d8dc-4b0e-9f33-7b2b2d7595f9",
      "SequenceNumber": null
    }
  }
}
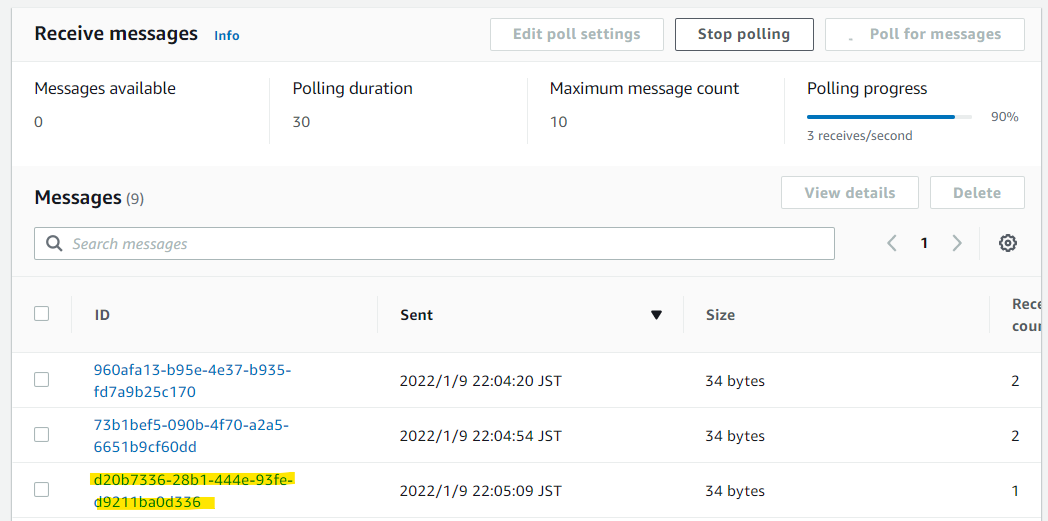
実行した結果を SQS 上でも確認できます。
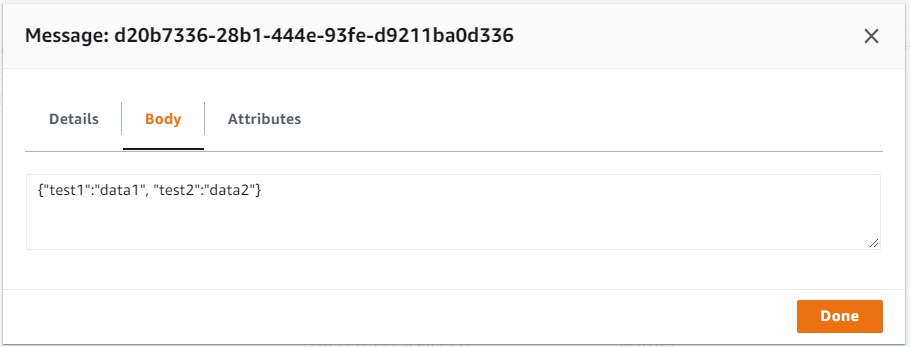
curl で与えた body が確認できました。
検証を通じてわかったこと
- API Gateway で AWS Service Integrate をした時に、どういった API を呼びだすのか指定するのが、Mapping Template
- Mapping Template の指定は、各サービスの API Reference を参照しながら埋めていくのがわかりやすい
参考URL
