どんなものができる?
Collection ViewのCustom Cellを作ることができるようになれば、Spotifyの上の方のこういう部品を作れるようになります!

この記事ではこれの再現を通してCustom Collection Viewの作り方を解説します!
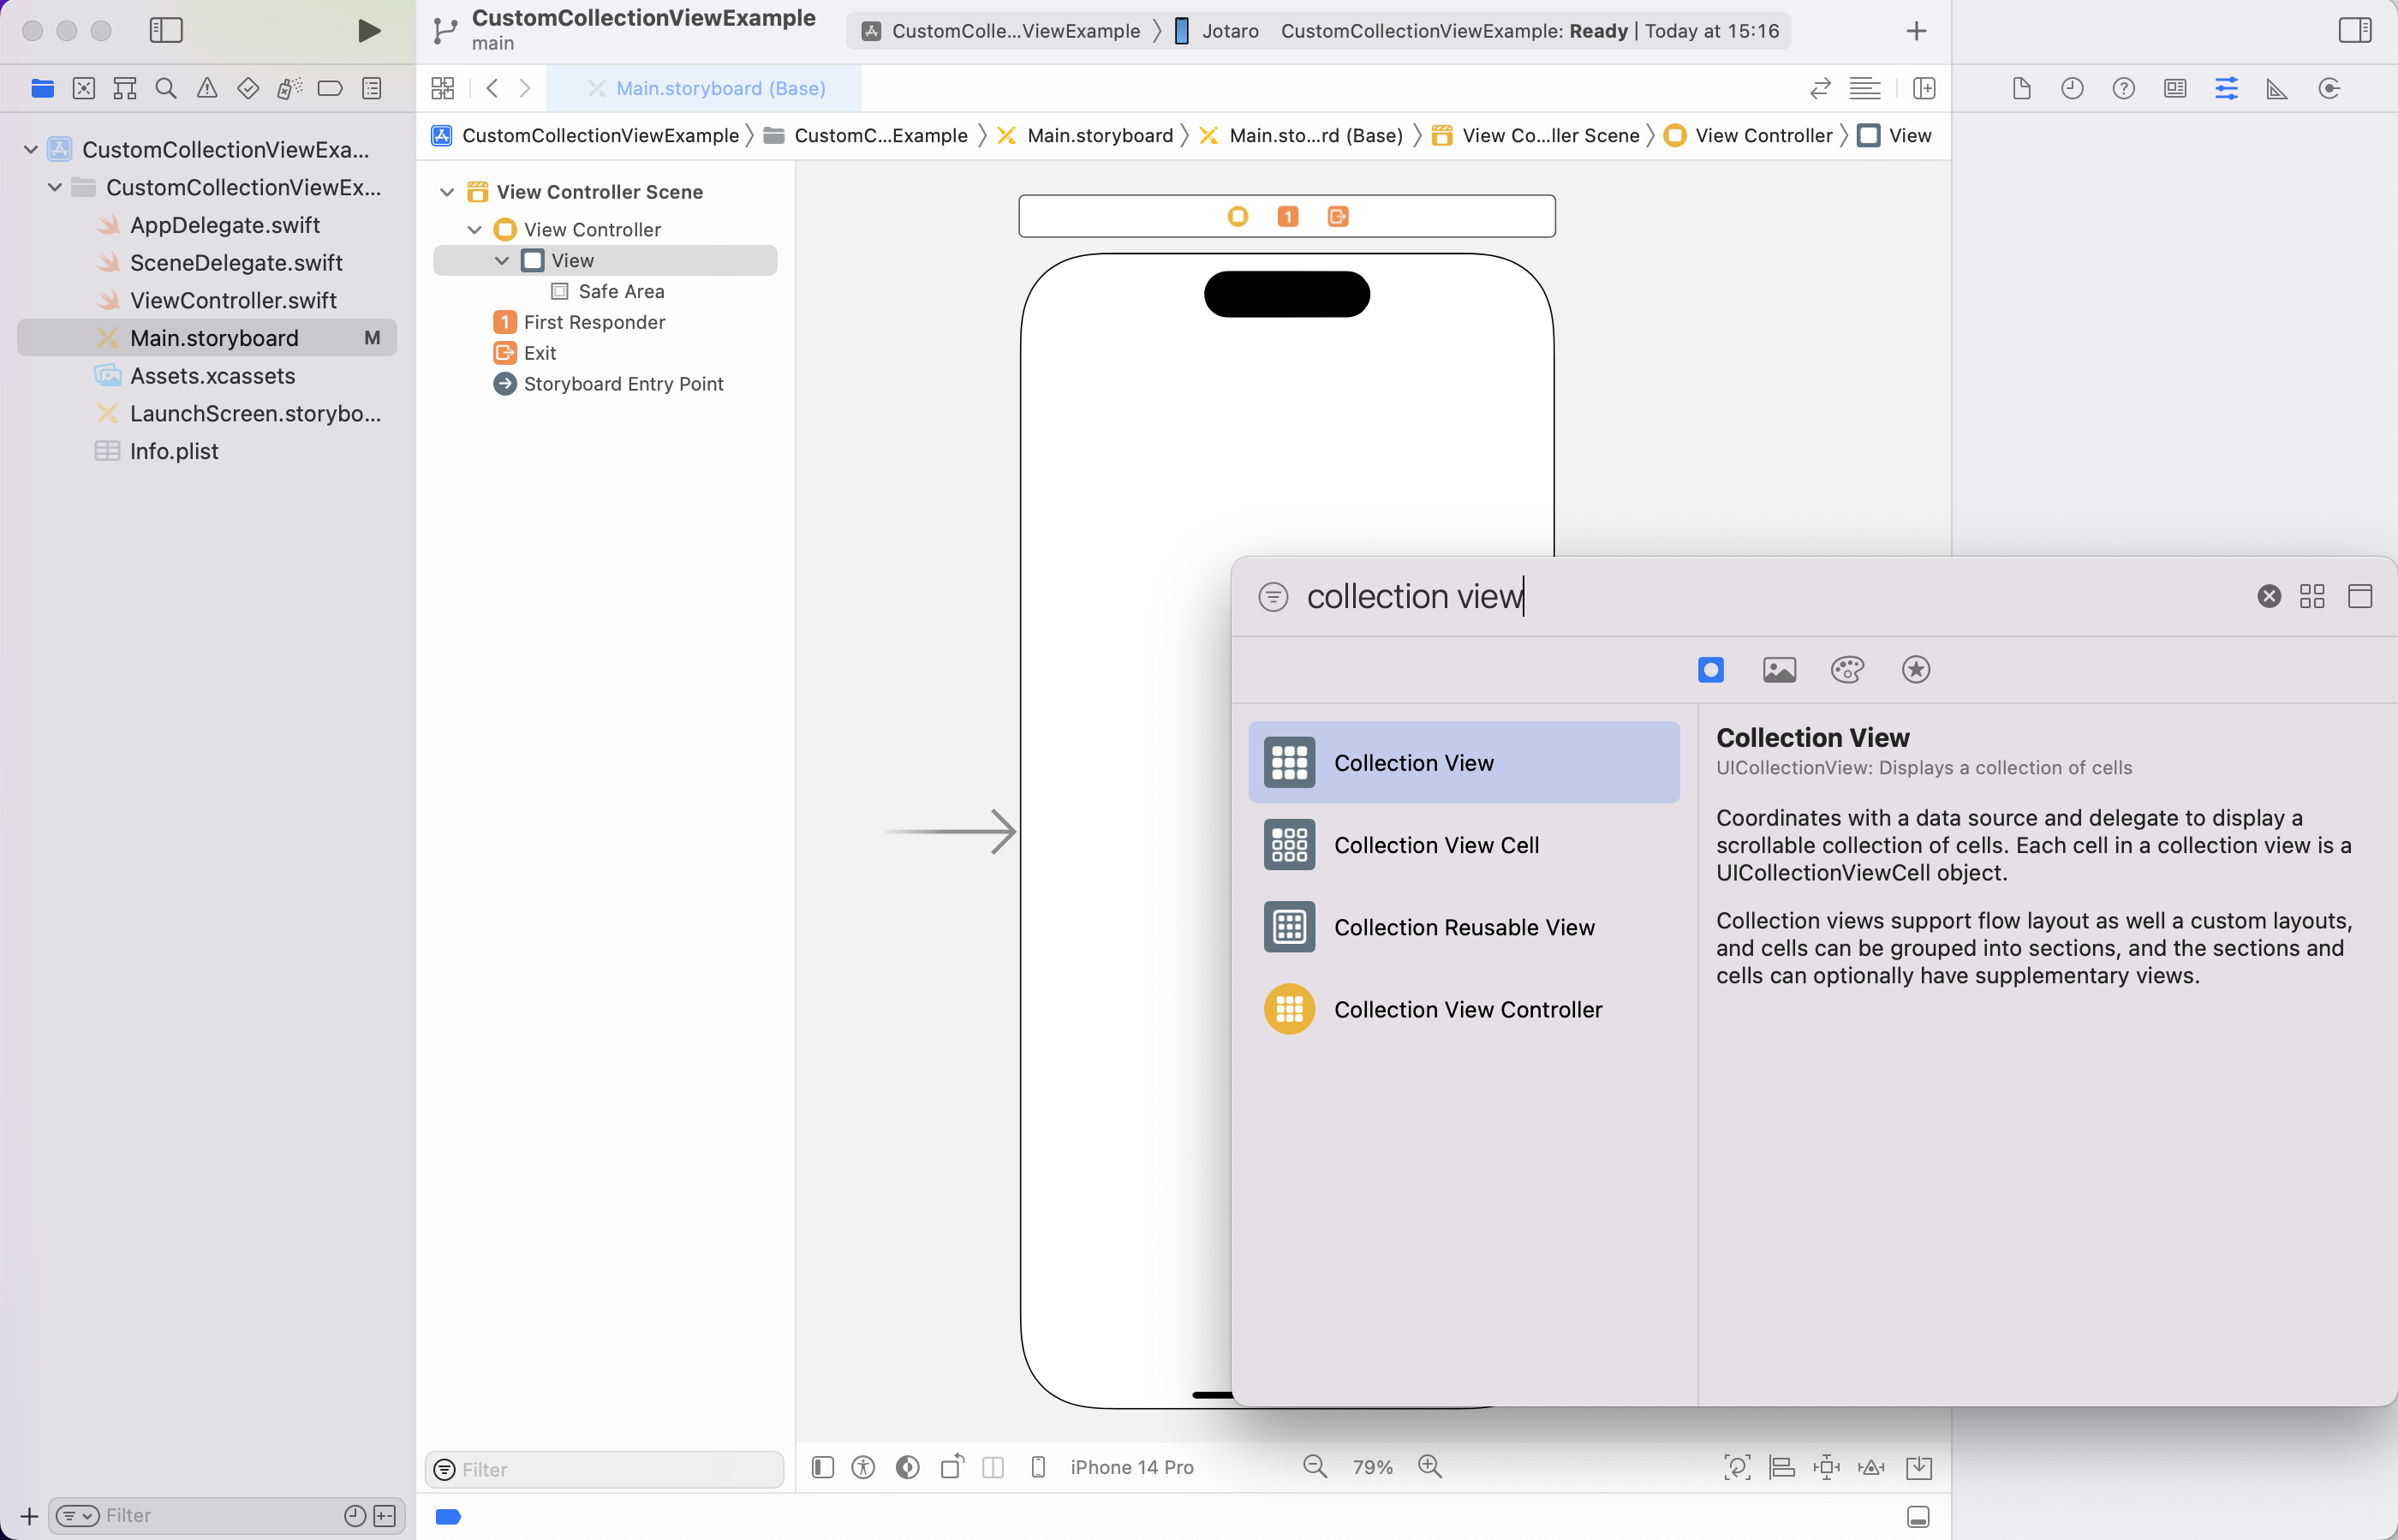
1. StoryboardにColleciton Viewを配置する
Collection ViewをStoryboard上に配置し、
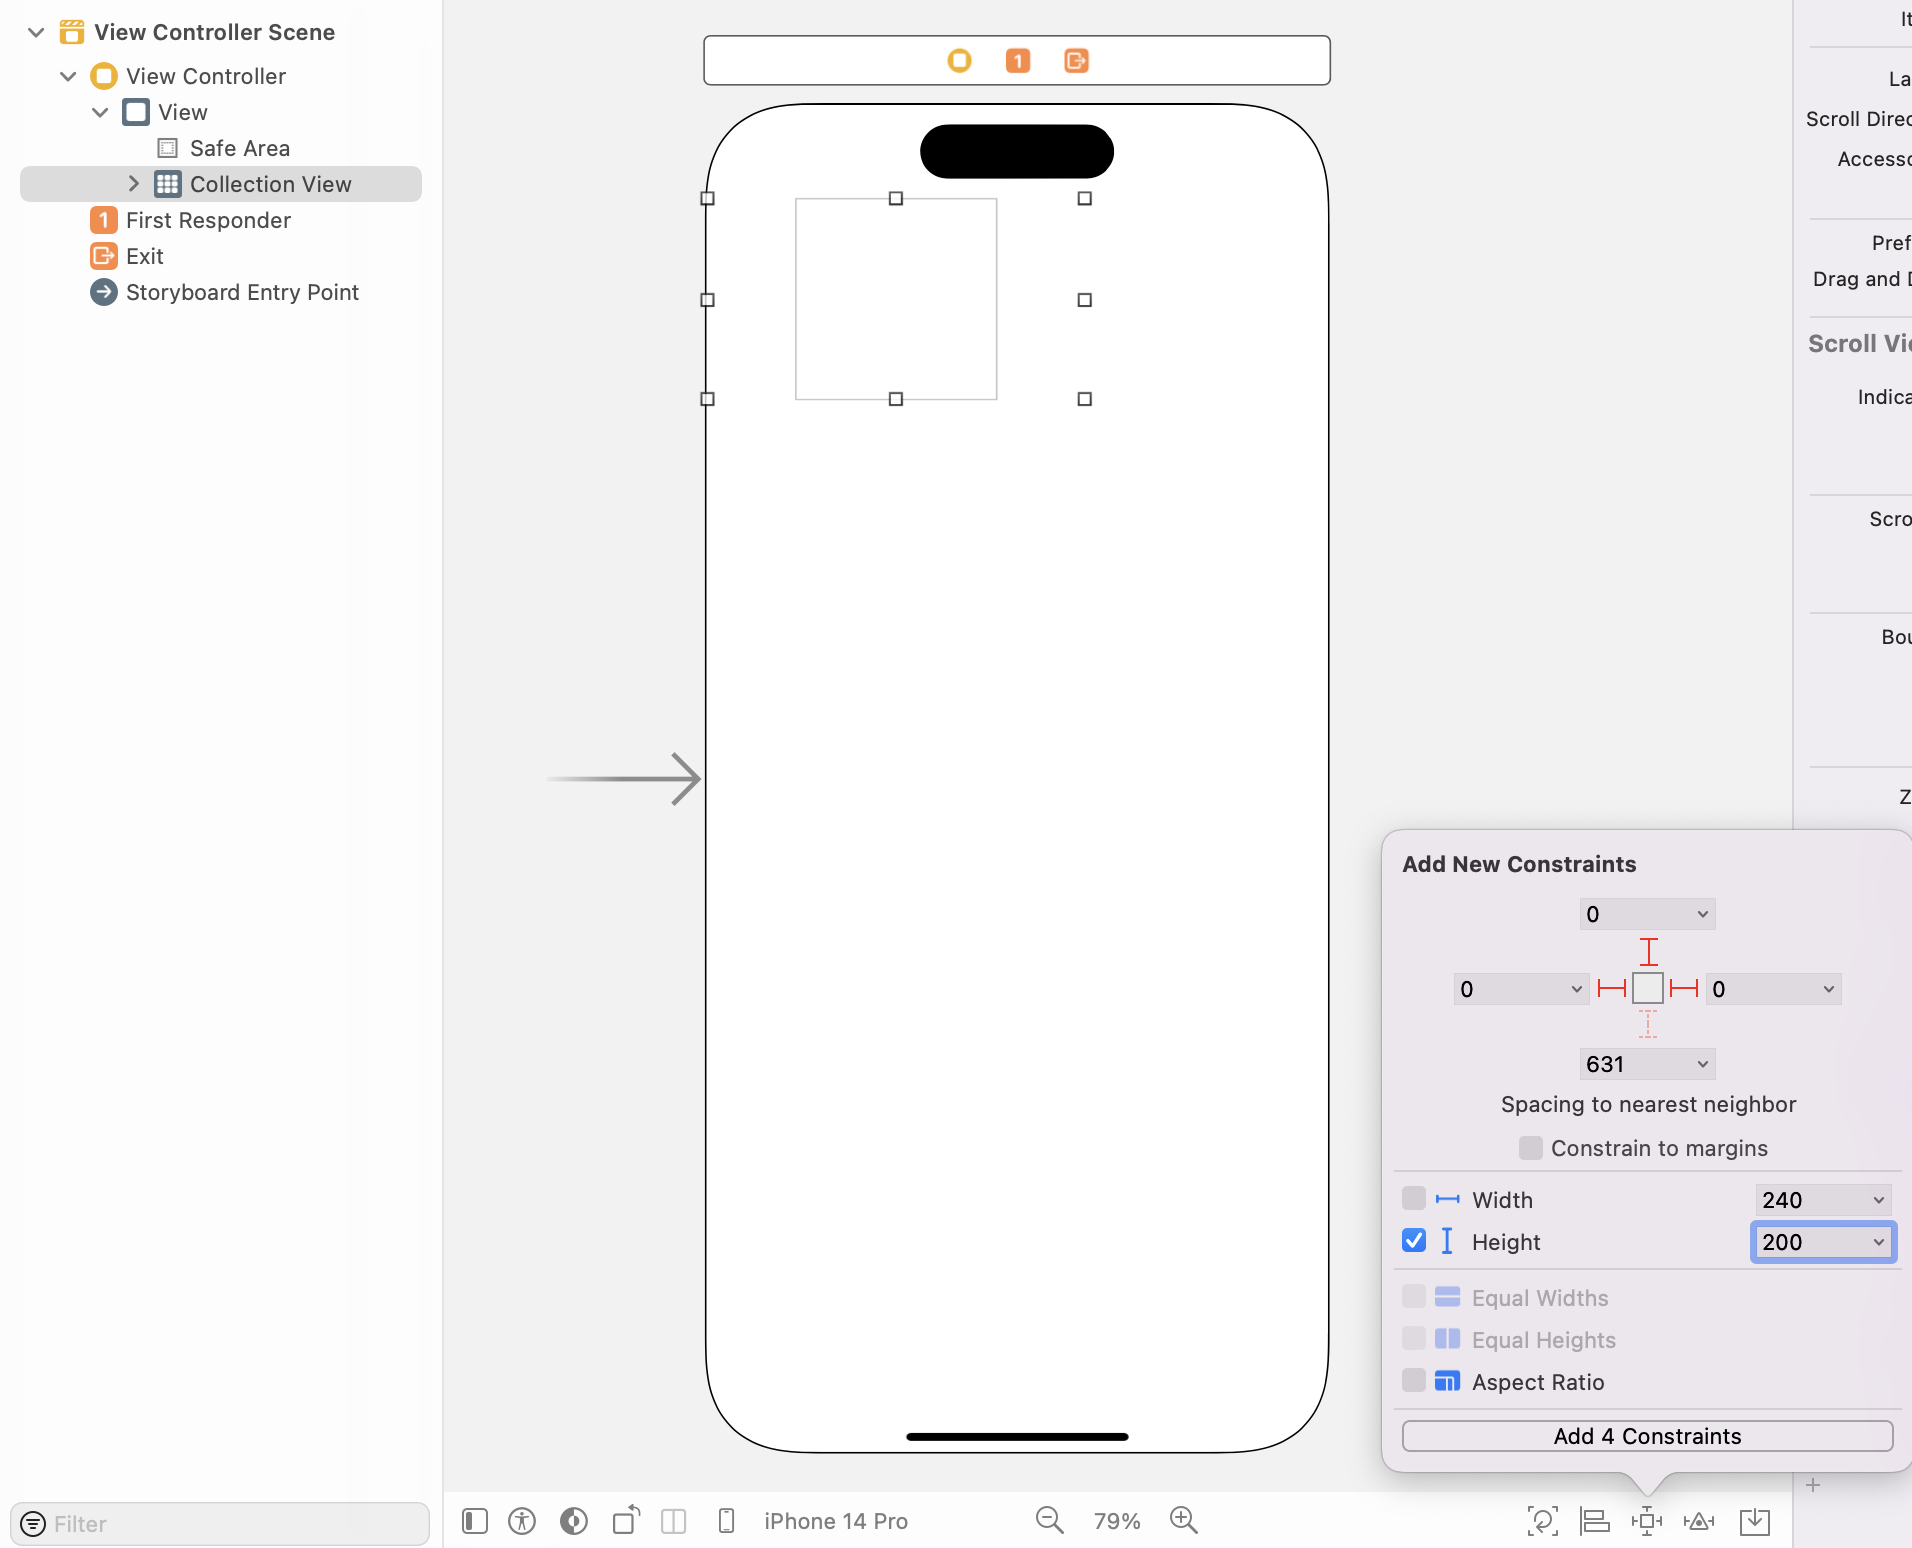
制約をつけます
今回は上と左右にSafeAreaに対する制約をつけて、高さを設定しました
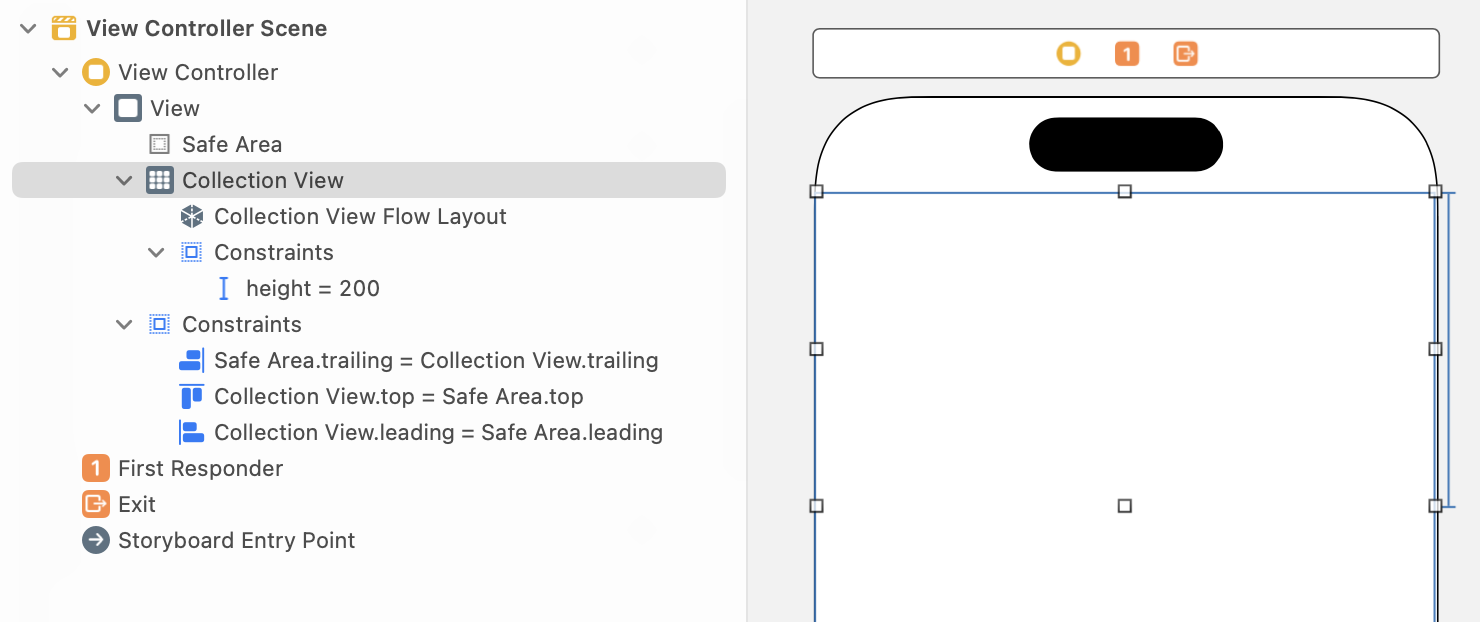
今回はCustom Collection View Cellを自分で作るので、元々おいてあるCollection ViewCellを選択し、削除しましょう
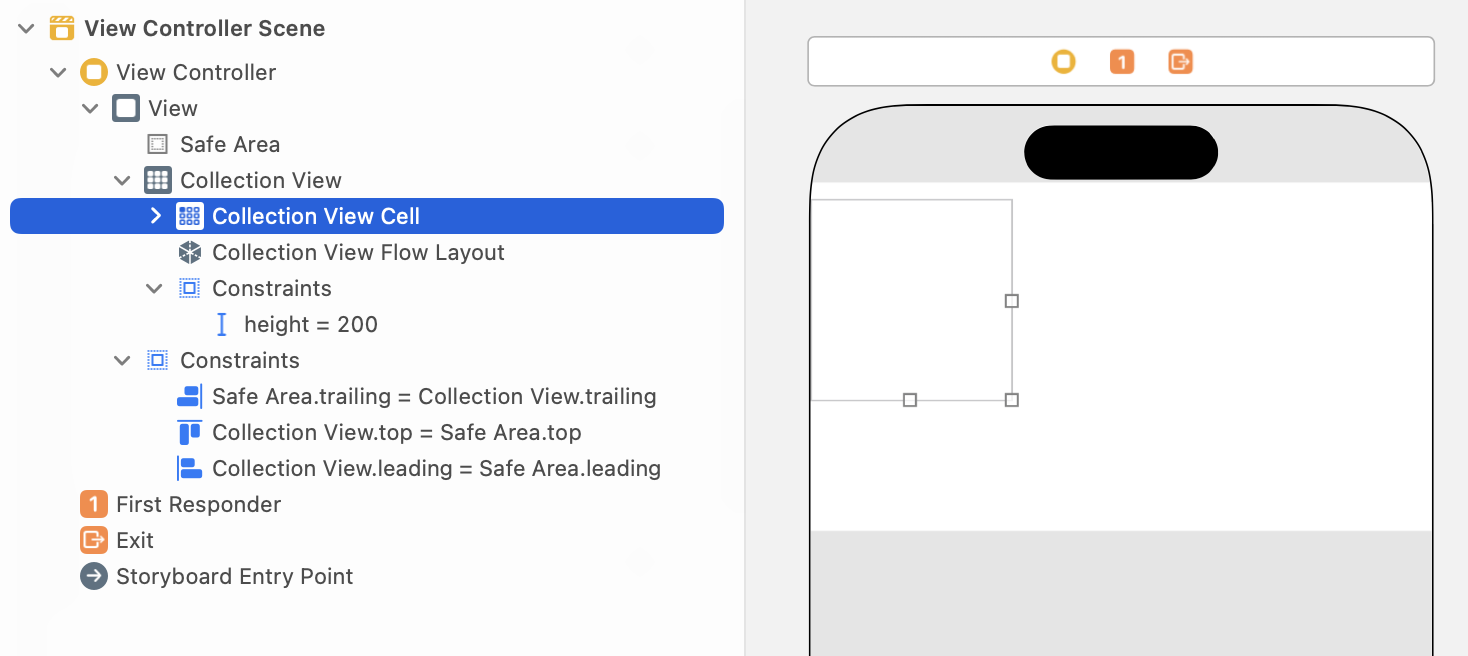
こんな感じになっていればOK
2. Custom Cell用のファイルを作成
メニューバーの File > New > File...を押して、
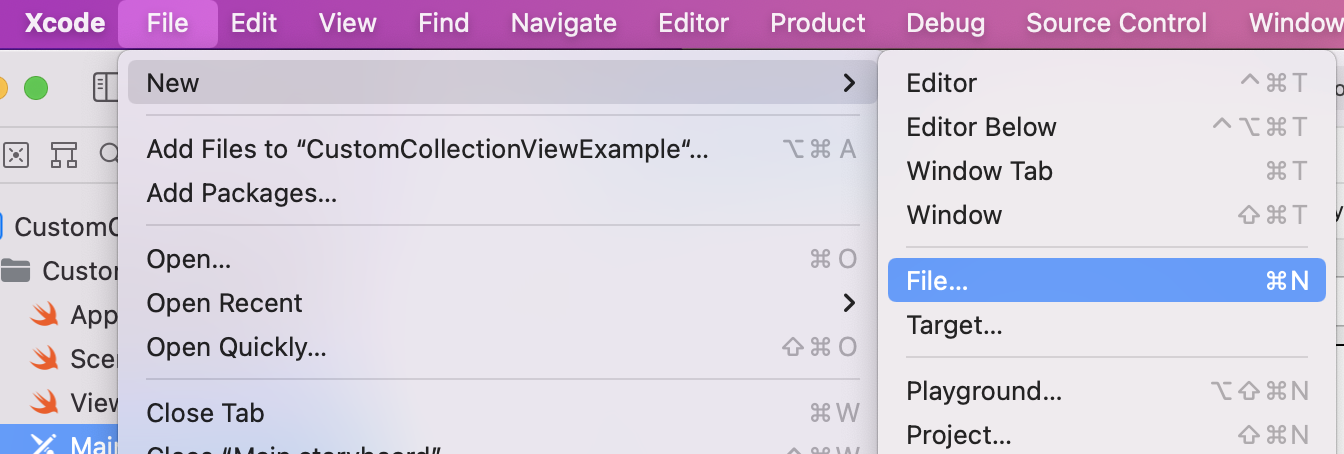
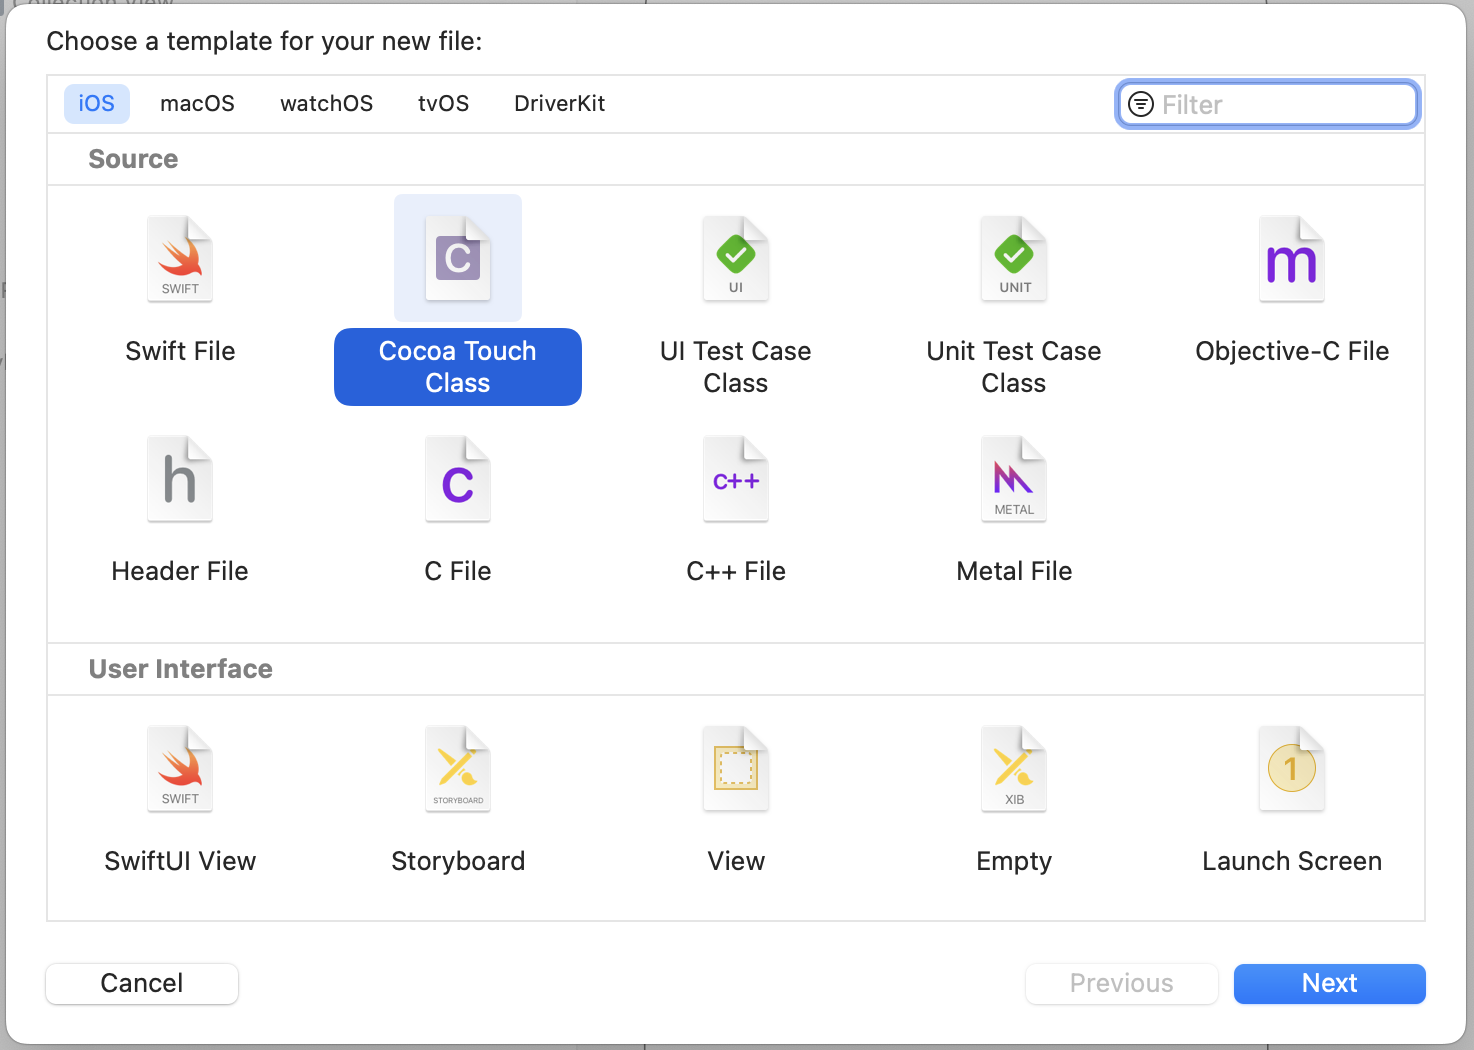
Cocoa Touch Classを選択して「Next」
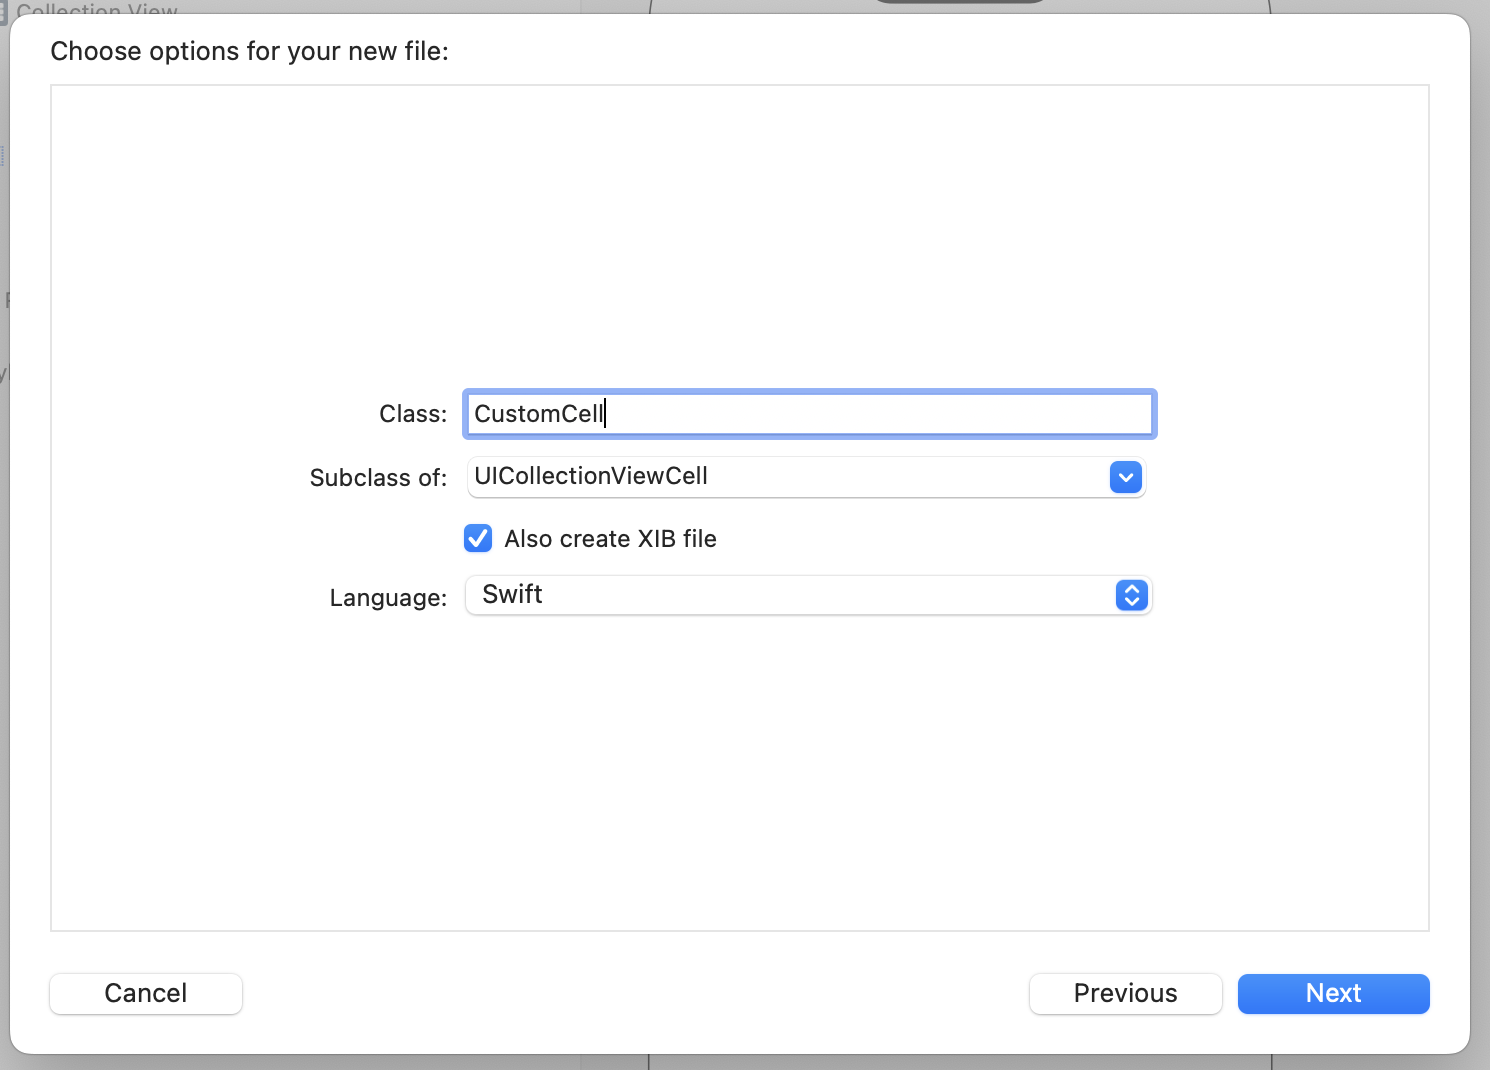
Subclass of: を、「UICollectionViewCell」にして、
Class: にわかりやすい名前を入力します
今回はCustomCellという名前に設定しました
Also create XIB fileにチェックを付けて、「Next」
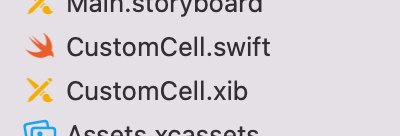
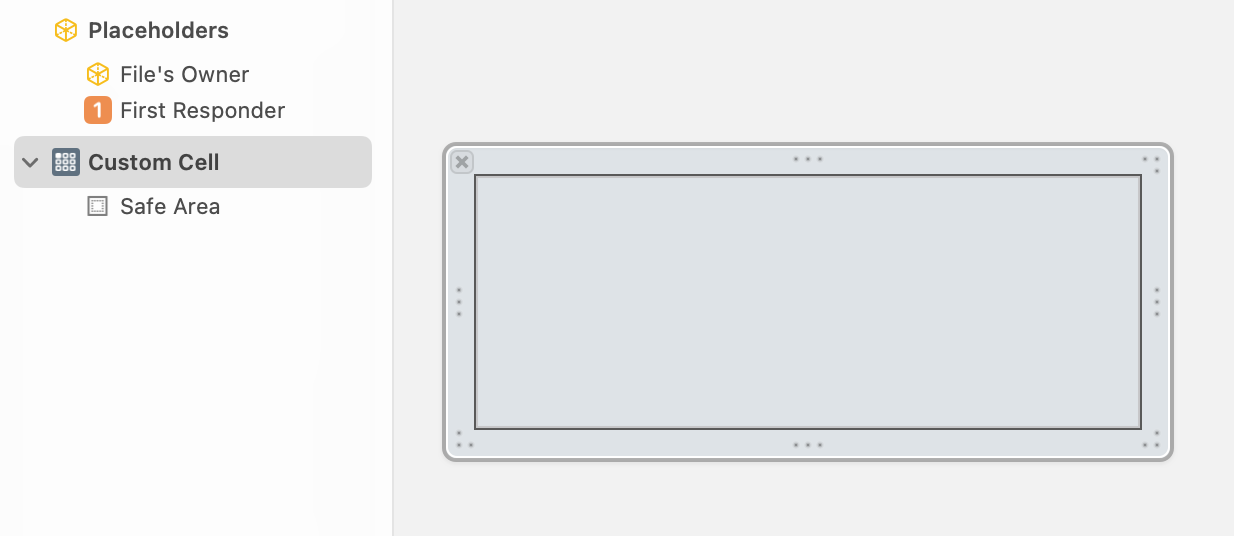
すると、CustomCell.swiftと、CustomCell.xibというファイルができるはずです
3. Custom Cellの見た目を設定する
CustomCell.xibを開きます
デフォルトだとCellの大きさが小さすぎて開発しづらいので、

テキトーに広げます
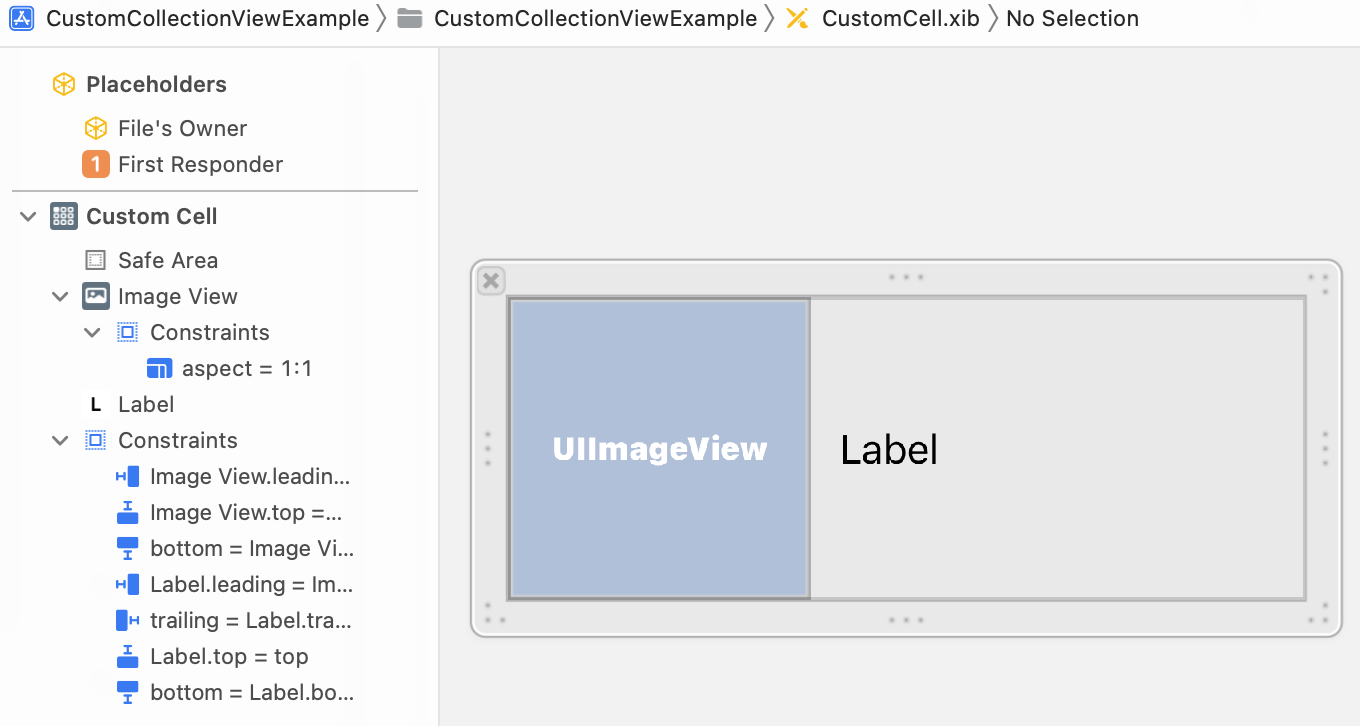
SpotifyのCellを観察してみると、
左側にアスペクト比1:1の画像、
右側に改行可能なラベル
が配置されてることがわかります
(ミセスまじで好き、、この記事もミセス聴きながら書いてました笑)
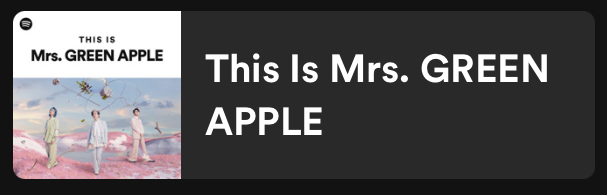
Image Viewを
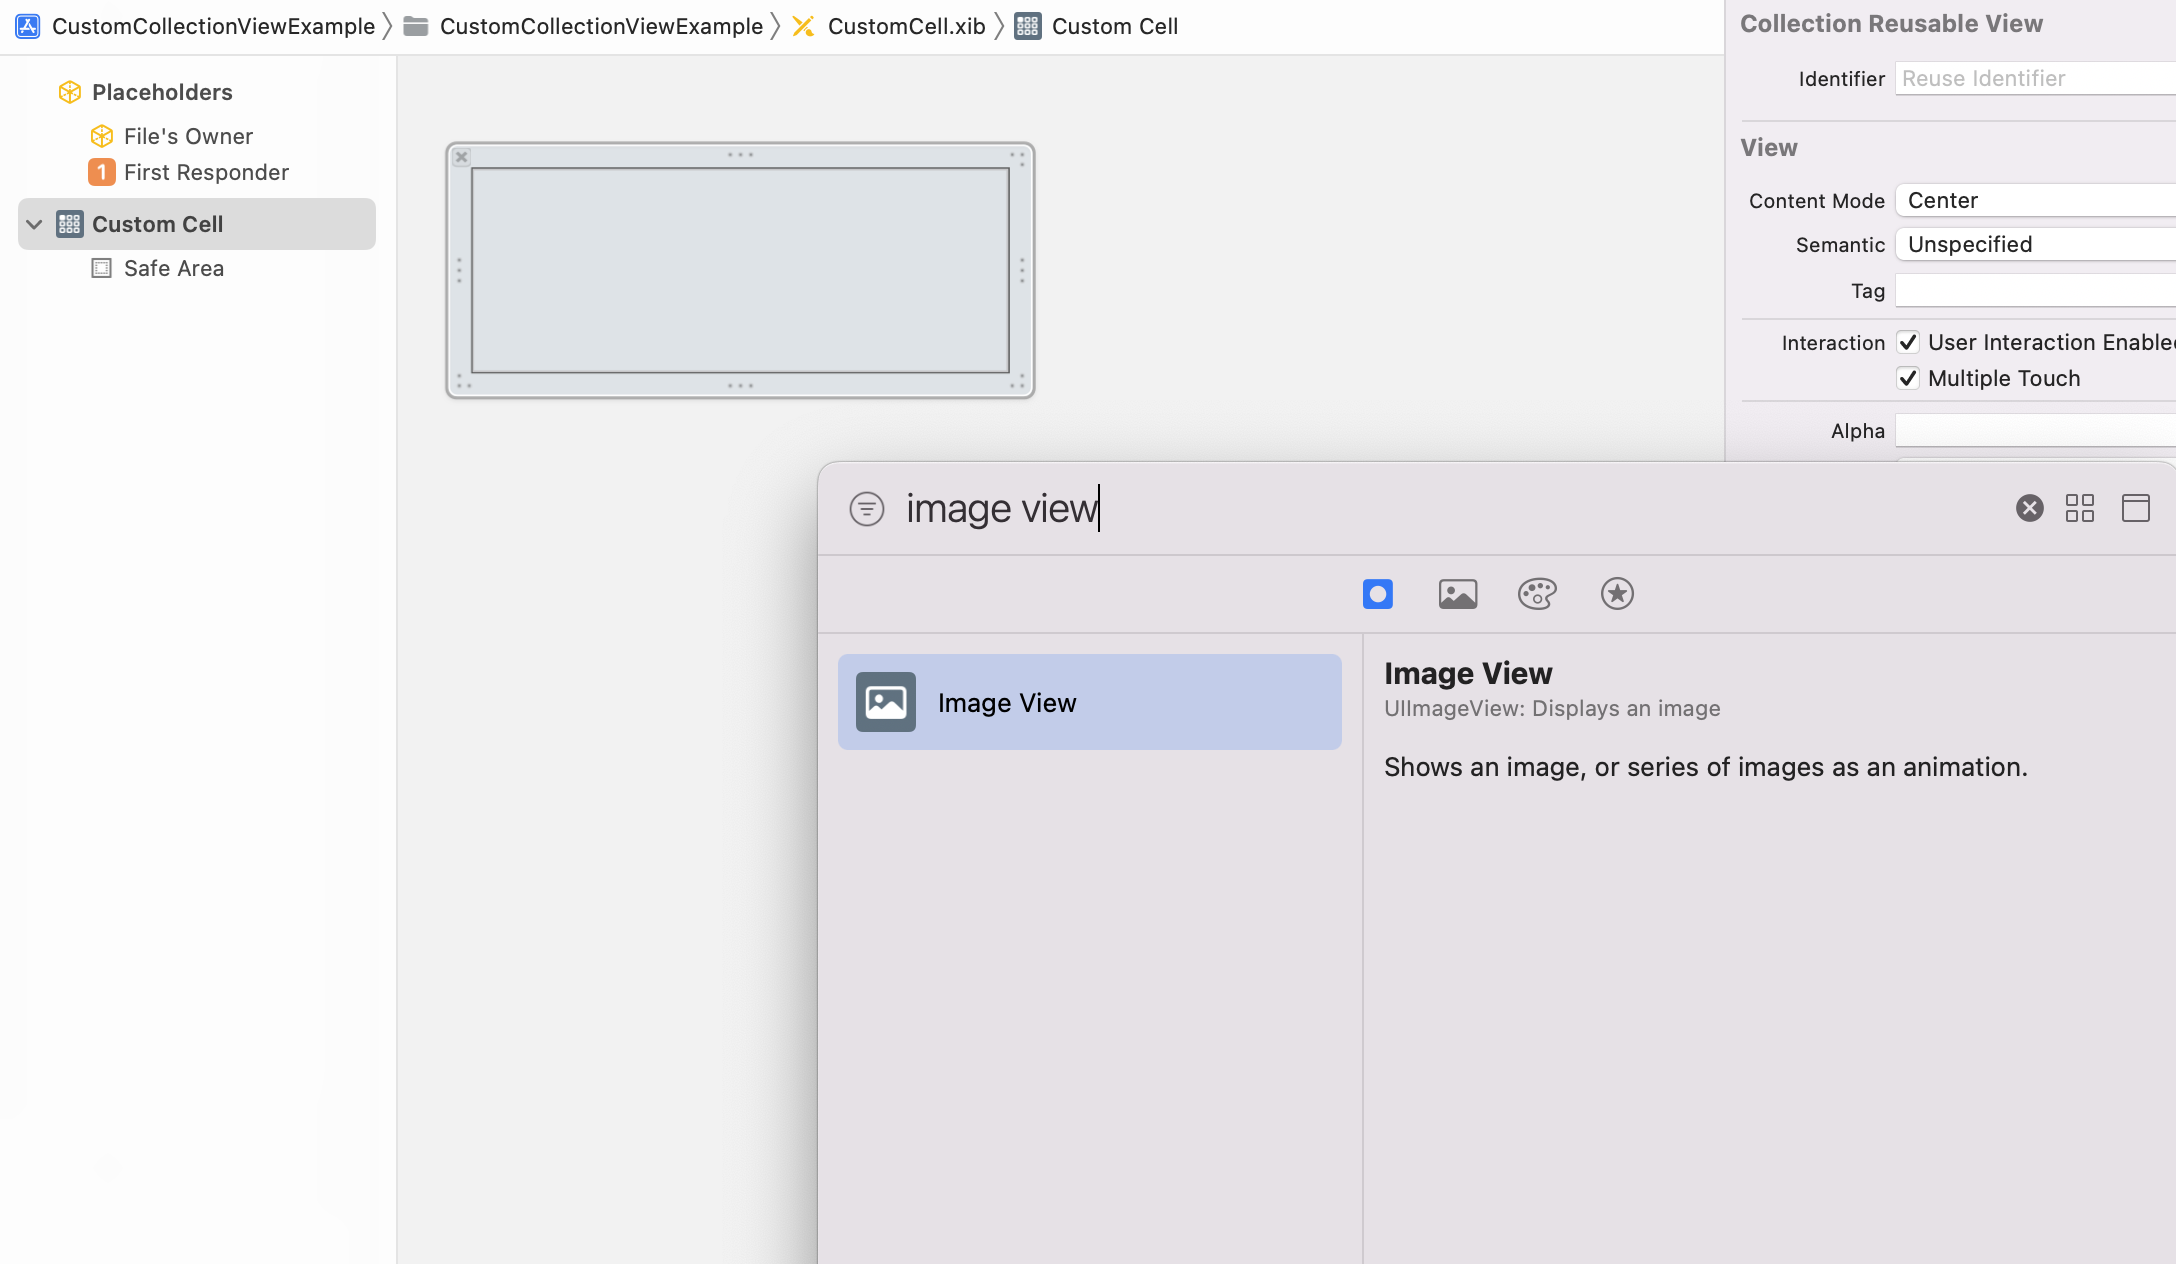
Cellの上に配置し、
上下、左に距離の制約をつけ、
アスペクト比の制約をつけます
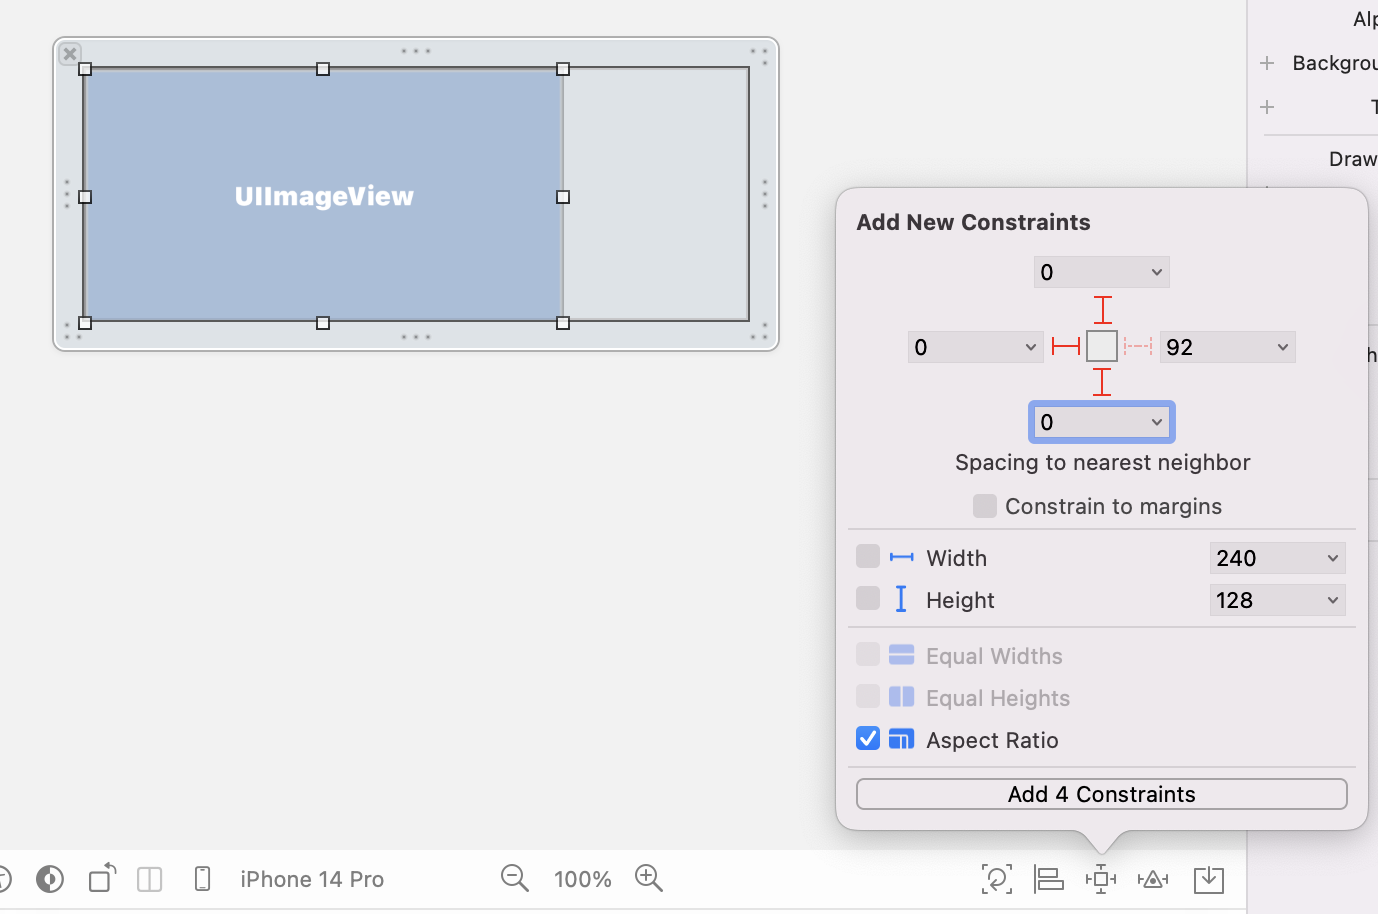
アスペクト比を1:1に設定し、
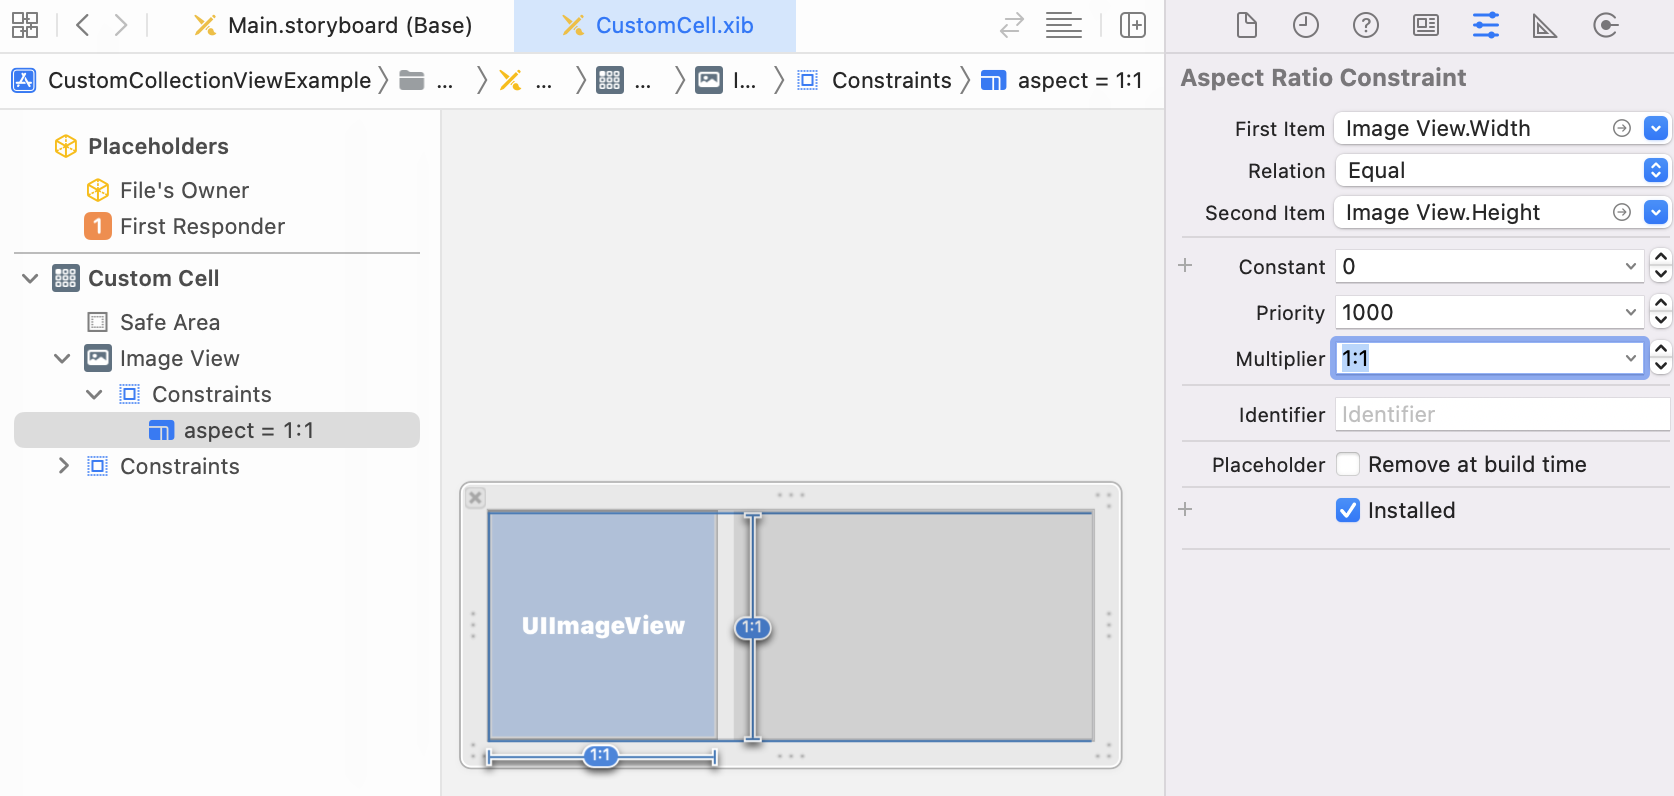
これでImage Viewの配置は完了です
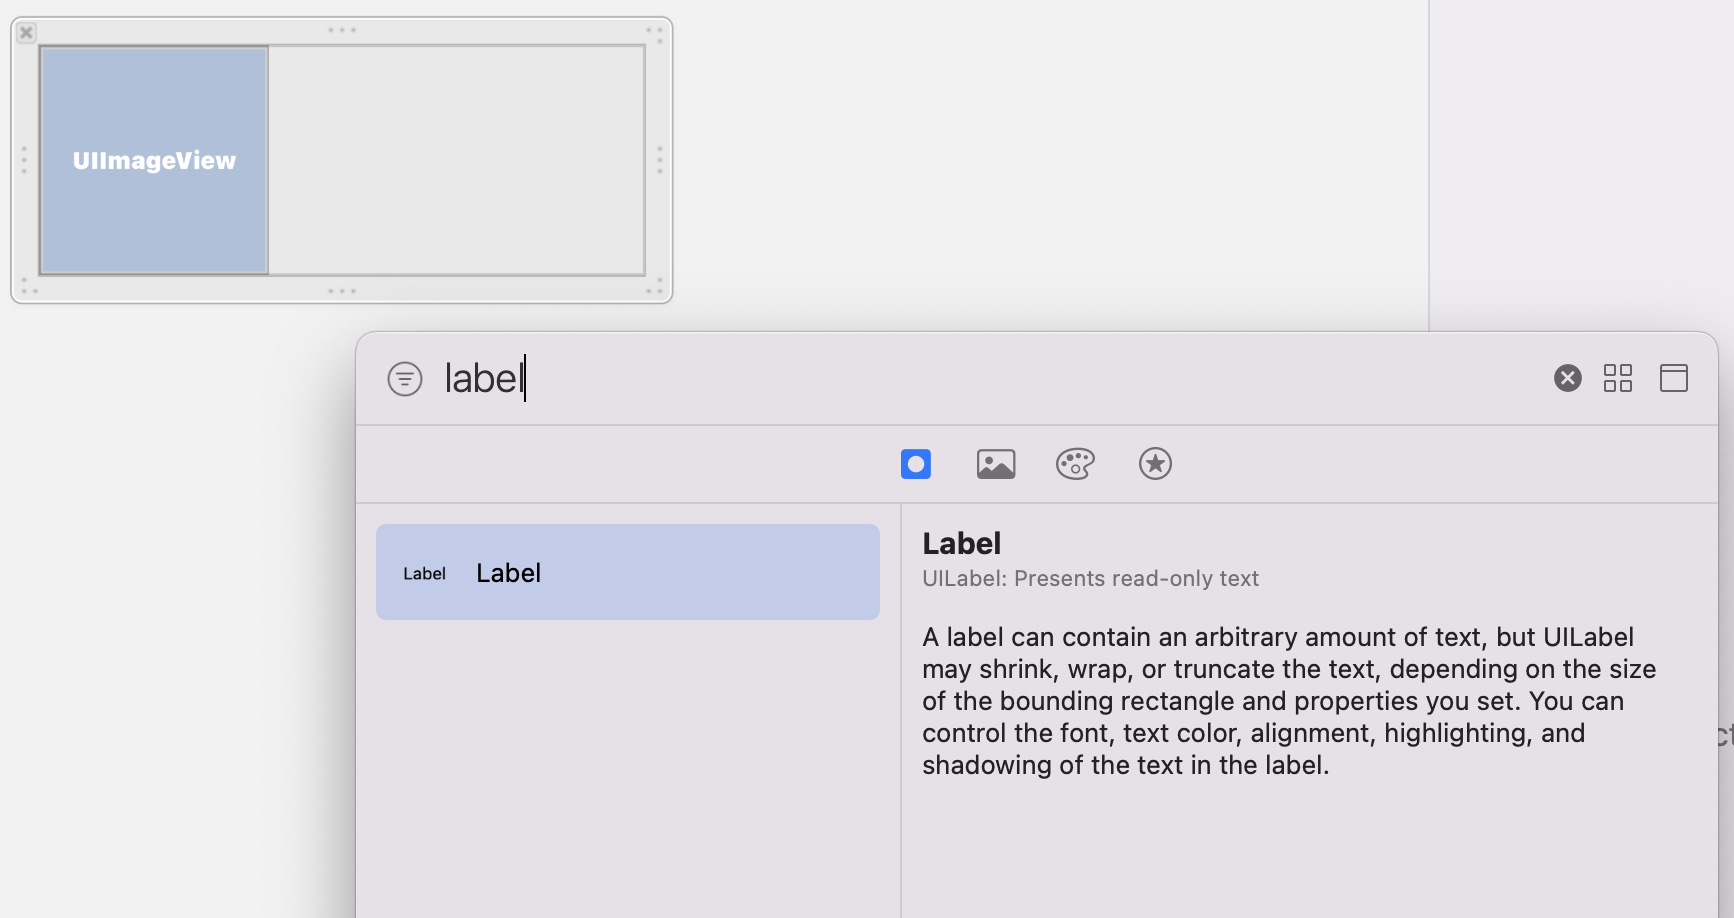
同じようにLabelも配置し
上下左右に制約をつけ
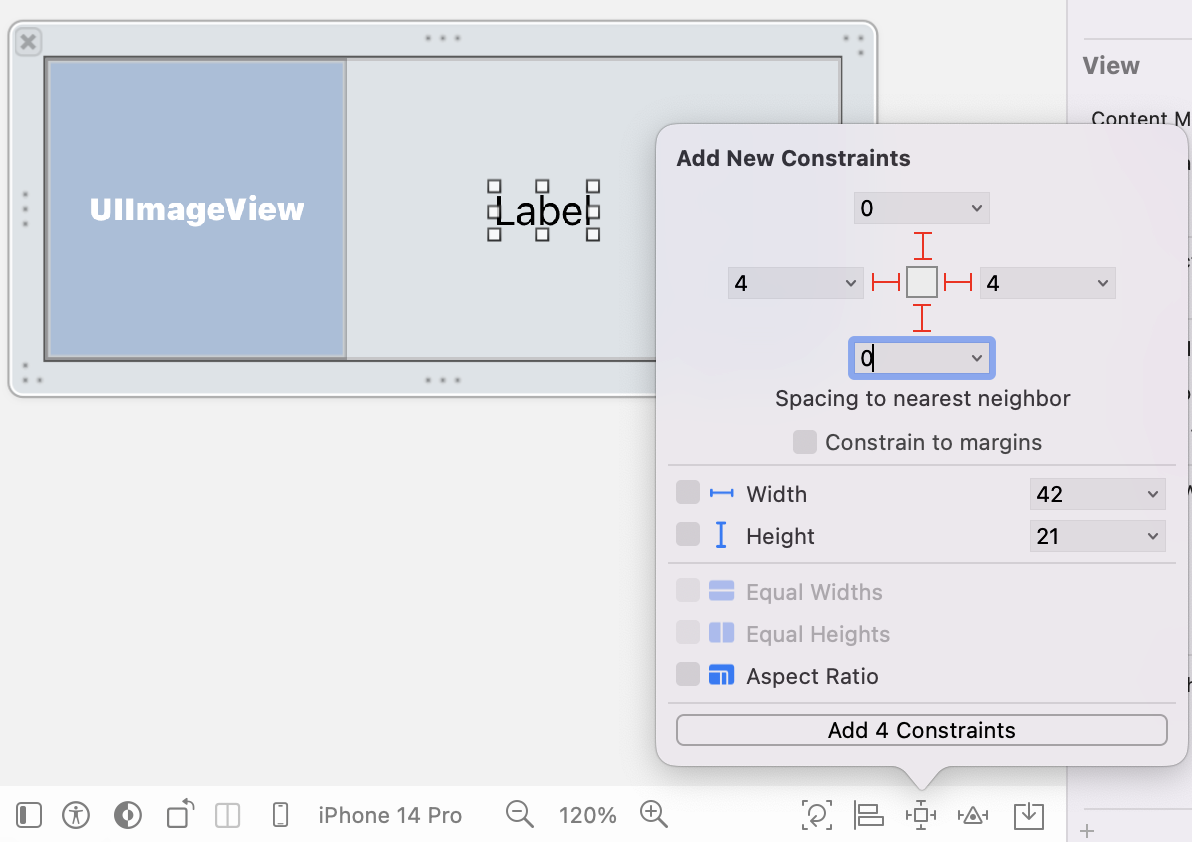
改行可能にするためにLinesを0に設定します
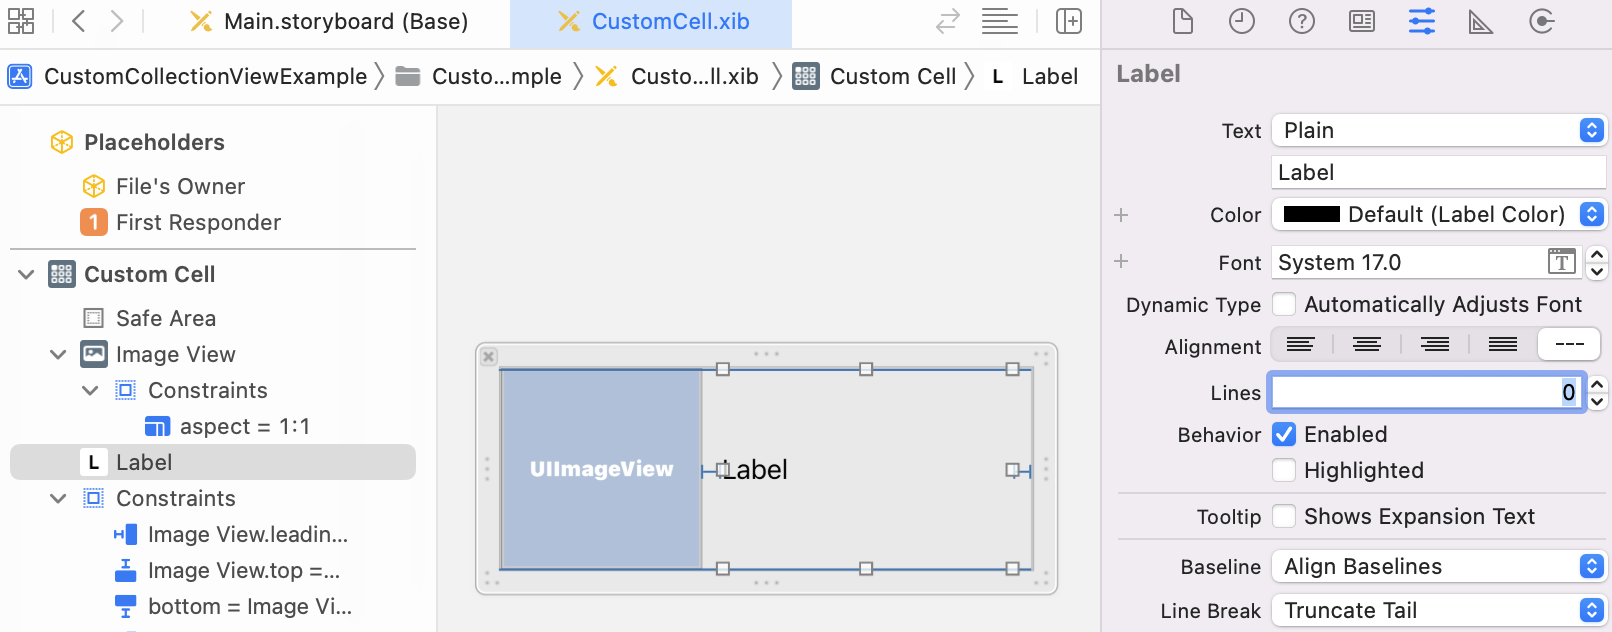
これでCustomViewの見た目の設定が完了しました
4. Custom Cell Classを実装する
import UIKit

class CustomCell: UICollectionViewCell {
    @IBOutlet weak var label: UILabel!
    @IBOutlet weak var imageView: UIImageView!

    override func awakeFromNib() {
        super.awakeFromNib()

    }

    override func prepareForReuse() {
        super.prepareForReuse()

        label.text = ""
        imageView.image = UIImage()
    }

    func setupCell(imageName: String, labelText: String) {
        label.text = labelText
        imageView.image = UIImage(named: imageName)
    }

}
やってること:
-
@IBOutletでUI部品の宣言をしています -
awakeFromNib()は、xibファイルが初めて読み込まれるときに1度だけ呼ばれるメソッドです
ViewControllerでいうところのviewDidLoadが近いと思います
今回は特に何も書いていません -
prepareForReuse()は、xibが再利用されるときに呼ばれるメソッドです
再利用については、こちらの記事がわかりやすいので読んでみてください。
主に初期化を行います -
最後に、
setupCell()はCellをセットアップするためのメソッドです
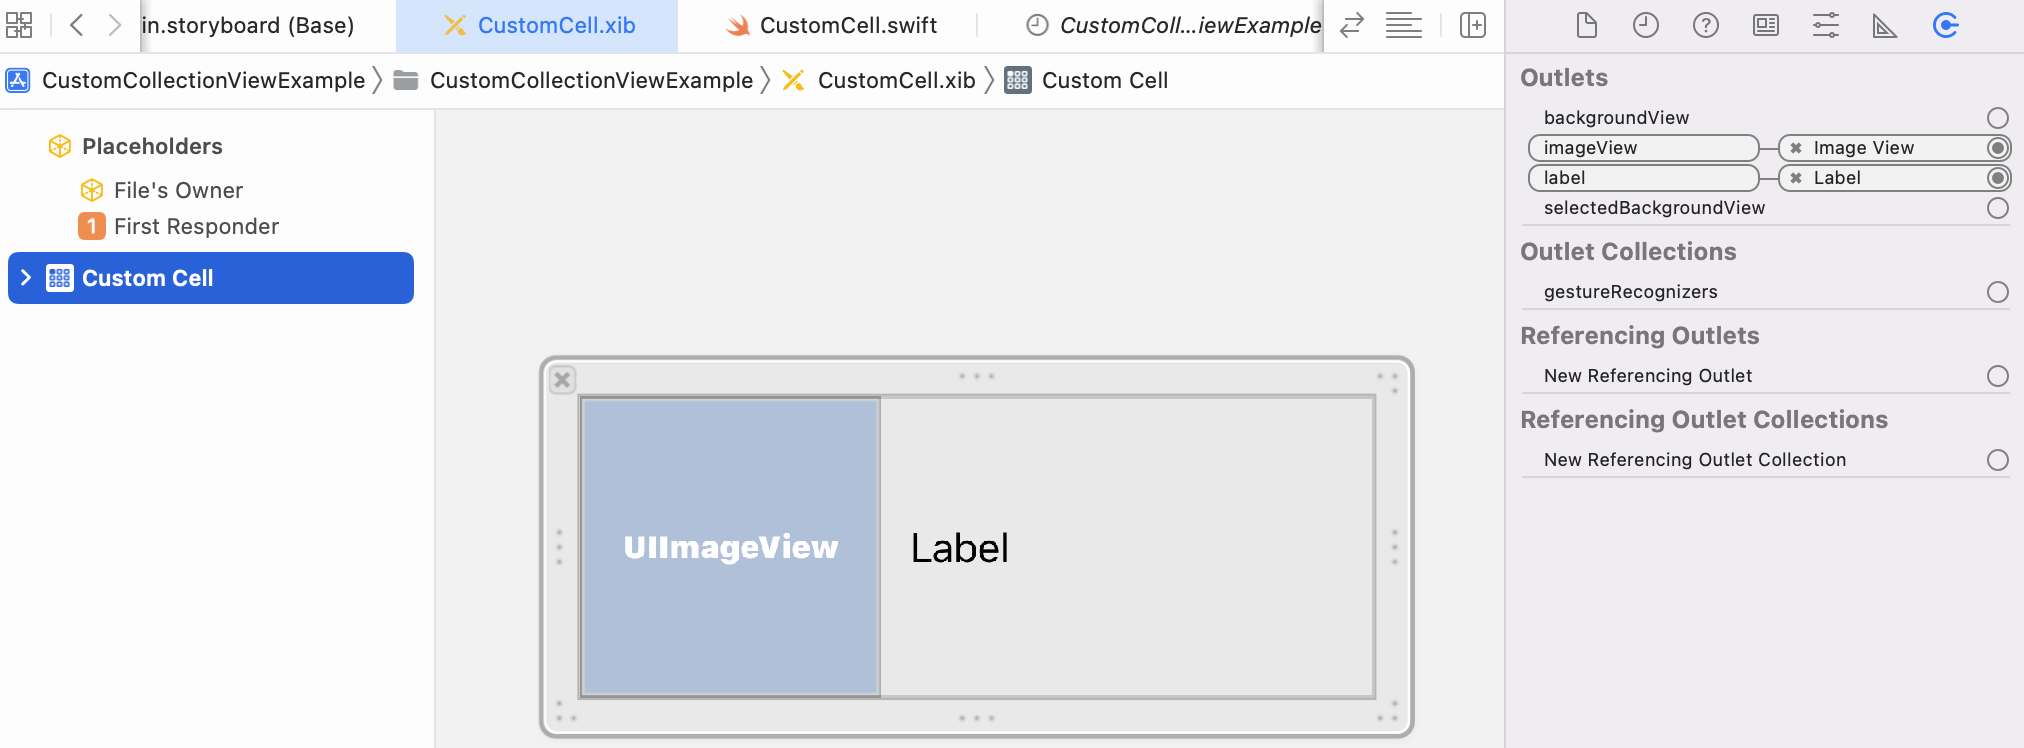
ここまで書けたら、CustomCell.xibを開いて、関連づけをしましょう
5. ViewControllerを実装する
最後に、CustomCellを呼び出す側の実装です
import UIKit

class ViewController: UIViewController, UICollectionViewDataSource {
    @IBOutlet var collectionView: UICollectionView!

    let playlists = [
        ["green_apple", "青りんごさん"],
        ["karaoke_kids", "子供に人気"],
        ["karaoke_otoshiyori", "お年寄りに人気"],
        ["musician", "今人気のミュージシャン"],
        ["official_hige", "公式髭男爵"]
    ]

    override func viewDidLoad() {
        super.viewDidLoad()

        collectionView.dataSource = self
        collectionView.register(UINib(nibName: "CustomCell", bundle: nil), forCellWithReuseIdentifier: "CustomCell")

        let layout = UICollectionViewFlowLayout()
        layout.itemSize = CGSize(width: collectionView.frame.width / 2 - 20 , height: 46)
        layout.sectionInset = UIEdgeInsets(top: 0, left: 12, bottom: 0, right: 12)
        collectionView.collectionViewLayout = layout
    }

    func collectionView(_ collectionView: UICollectionView, numberOfItemsInSection section: Int) -> Int {
        playlists.count
    }

    func collectionView(_ collectionView: UICollectionView, cellForItemAt indexPath: IndexPath) -> UICollectionViewCell {
        let cell = collectionView.dequeueReusableCell(withReuseIdentifier: "CustomCell", for: indexPath)

        if let cell = cell as? CustomCell {
            cell.setupCell(imageName: playlists[indexPath.row][0], labelText: playlists[indexPath.row][1])
        }

        return cell
    }

}
主要な部分をそれぞれ解説していきます
まずViewDidLoad内のこれ
collectionView.dataSource = self
Collection ViewにはdataSourceというものがあって、こいつは、Collection View内のデータを管理するProtocolです。
Collection ViewをこのViewControllerで使うということを設定するために、dataSourceをselfに設定しています。
次はこの部分
collectionView.register(UINib(nibName: "CustomCell", bundle: nil), forCellWithReuseIdentifier: "CustomCell")
Collection Viewで使用するセルをregister(_:forCellWithReuseIdentifier:)メソッドで登録しています。
第一引数にはUINibオブジェクトを渡します。
UINibのイニシャライザに渡しているCustomCellという文字列は、セルのXIBファイル名と一致させます。
第二引数のforCellWithReuseIdentifierには、セルの再利用識別子というものを指定します。
ここの文字列は任意ですが、ここではCustomCellを指定します。
let layout = UICollectionViewFlowLayout()
layout.itemSize = CGSize(width: collectionView.frame.width / 2 - 20 , height: 46)
layout.sectionInset = UIEdgeInsets(top: 0, left: 12, bottom: 0, right: 12)
collectionView.collectionViewLayout = layout
ここではCollection View Cellの大きさや隙間の大きさなどを設定しています。
func collectionView(_ collectionView: UICollectionView, numberOfItemsInSection section: Int) -> Int {
    playlists.count
}
このメソッドには、Collection View Cellを何個表示するのかを返します。
func collectionView(_ collectionView: UICollectionView, cellForItemAt indexPath: IndexPath) -> UICollectionViewCell {
    let cell = collectionView.dequeueReusableCell(withReuseIdentifier: "CustomCell", for: indexPath)

    if let cell = cell as? CustomCell {
        cell.setupCell(imageName: playlists[indexPath.row][0], labelText: playlists[indexPath.row][1])
    }

    return cell
}
この部分では、dequeueReusableCellでCustom Cellをとってきて、
Custom CellのsetupCellメソッドを呼び、cellを設定しています。
コードを書けたら、StoryBoardに移動し、collectionViewを関連付けしましょう。
6. 完成
色や大きさを微調整すれば
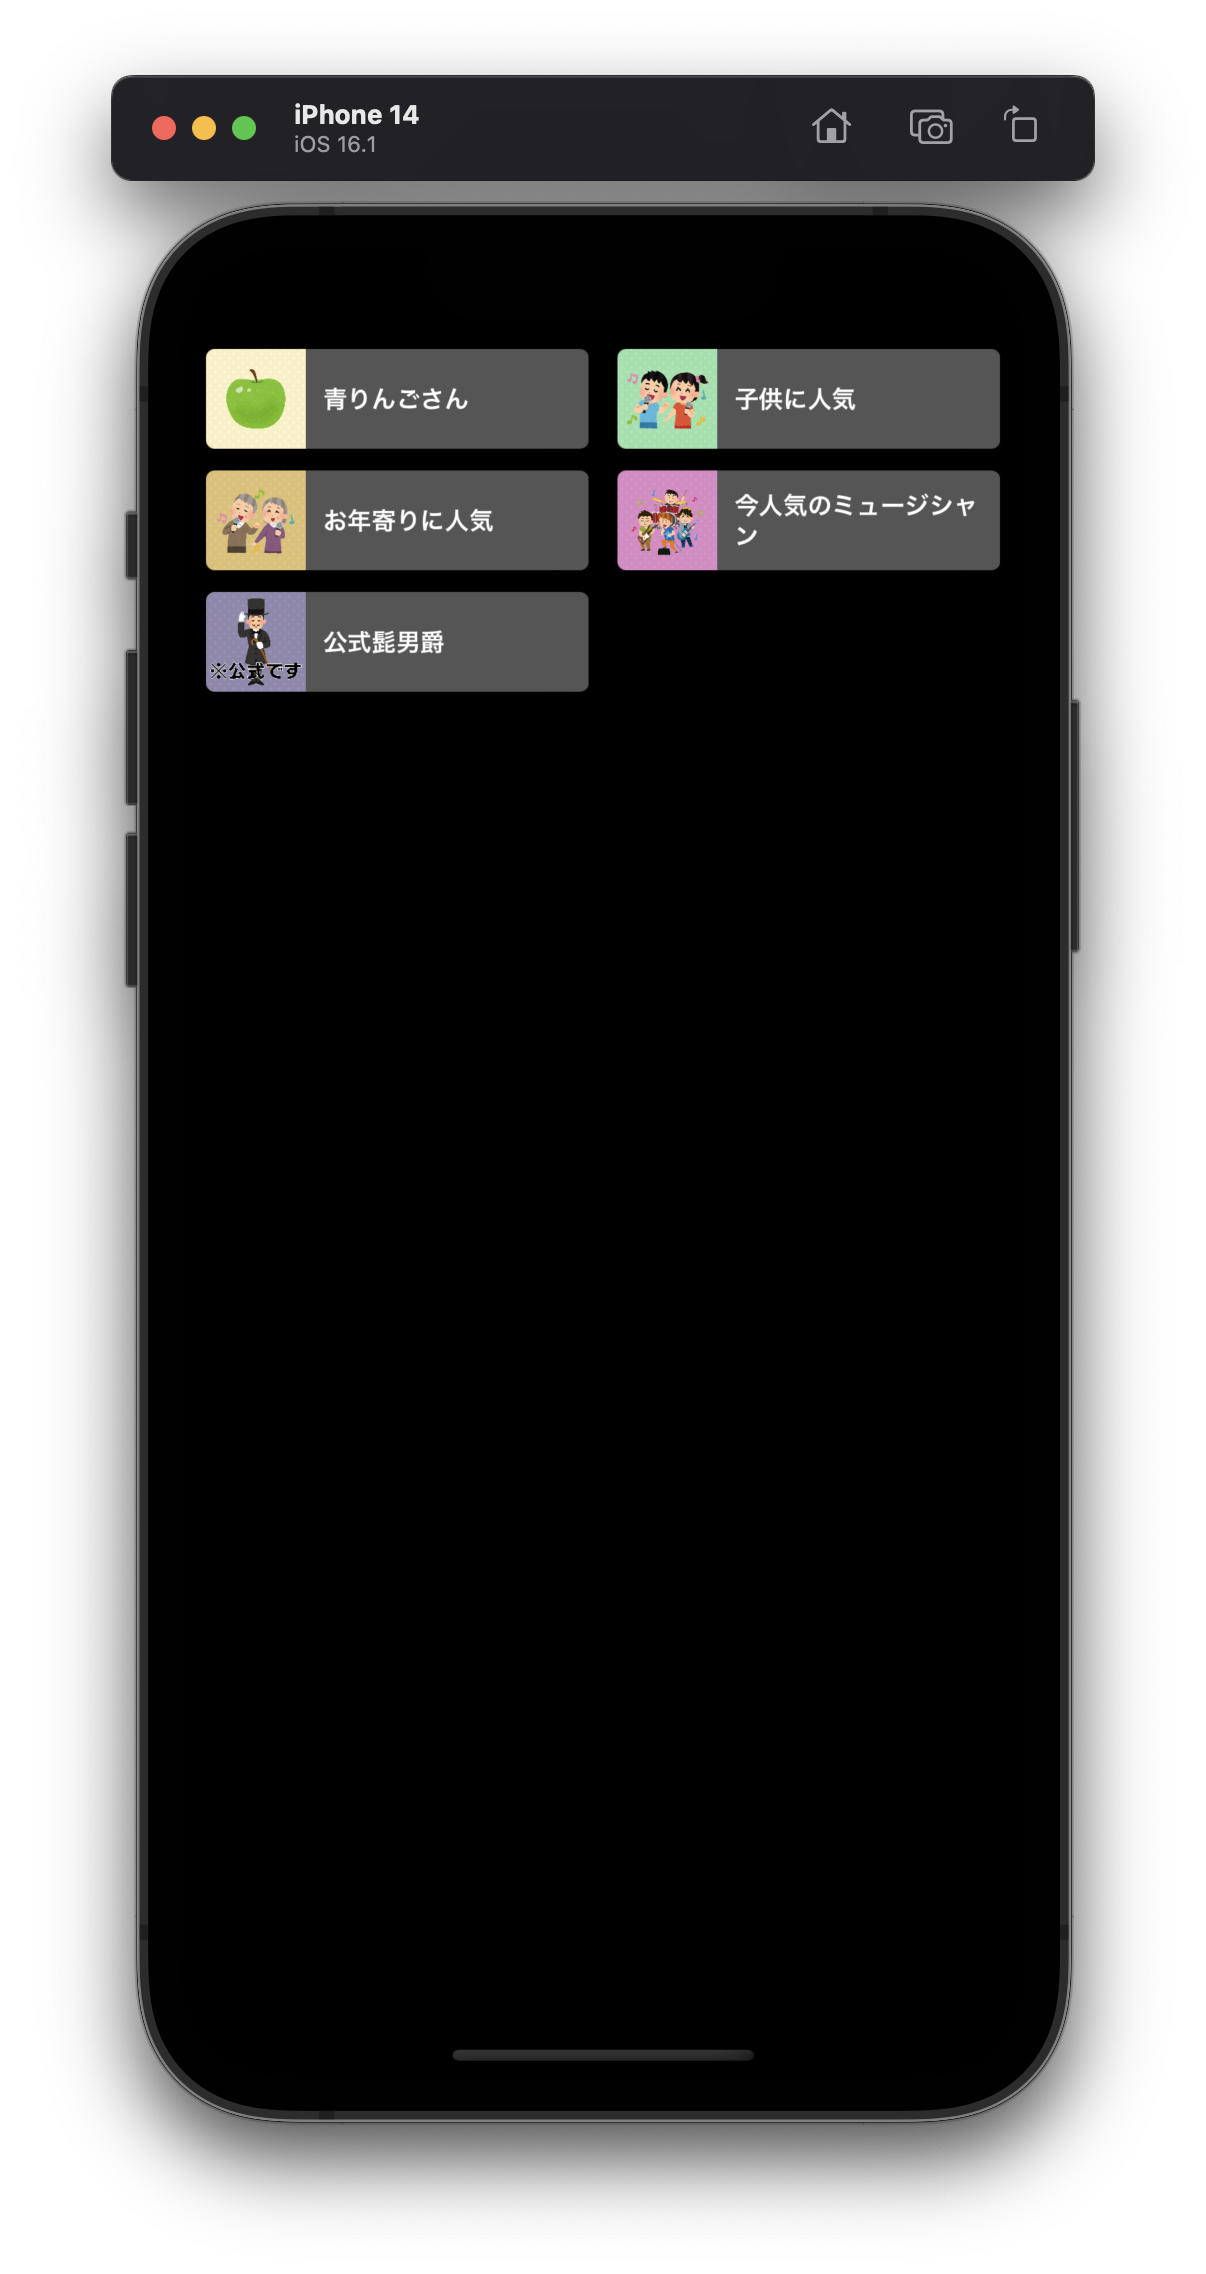
こんな感じにできましたー!
今回のソースコードは↓ここにあります
参考