FirebaseUI Authを使って最低限のログイン機能を実装します。
今回はGoogleログインとAppleログインの2つを実装します。
Firebaseのプロジェクトは作成できている前提です。
1. XcodeにFirebase Authenticationを追加する
今回はcocoapodsでFirebaseを導入します。
podfileに以下を追加し、
  pod 'Firebase/Analytics'
  pod 'FirebaseUI'
pod installします。
2. Firebaseのプロジェクト上でAuthenationを有効にする
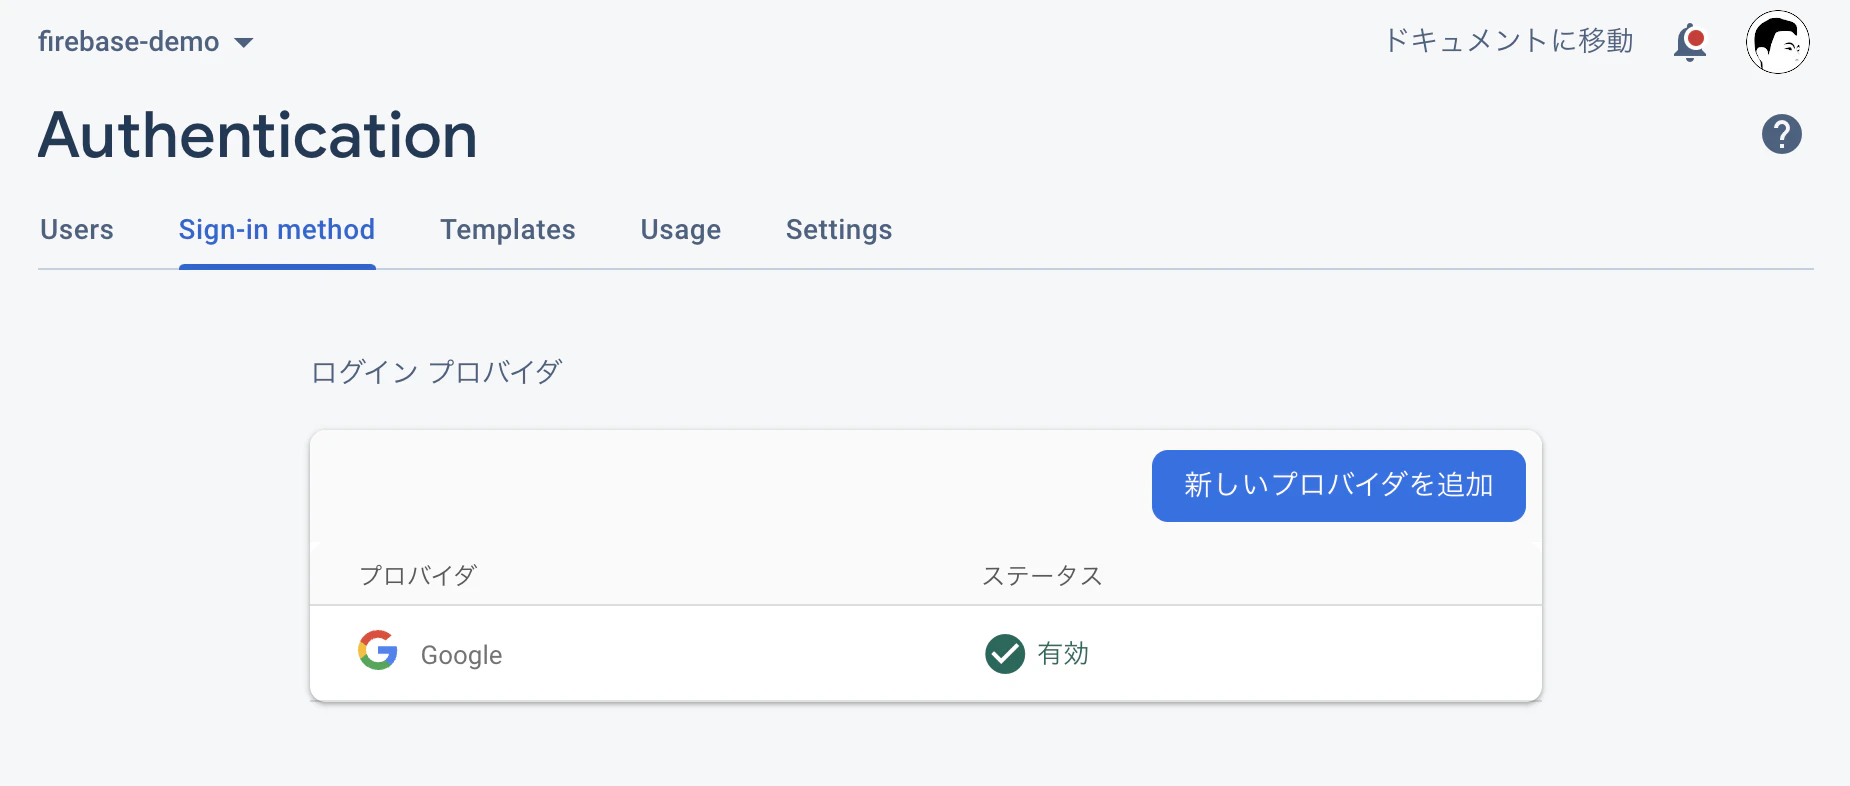
左側のタブからAuthenationを探し、始めるを押します
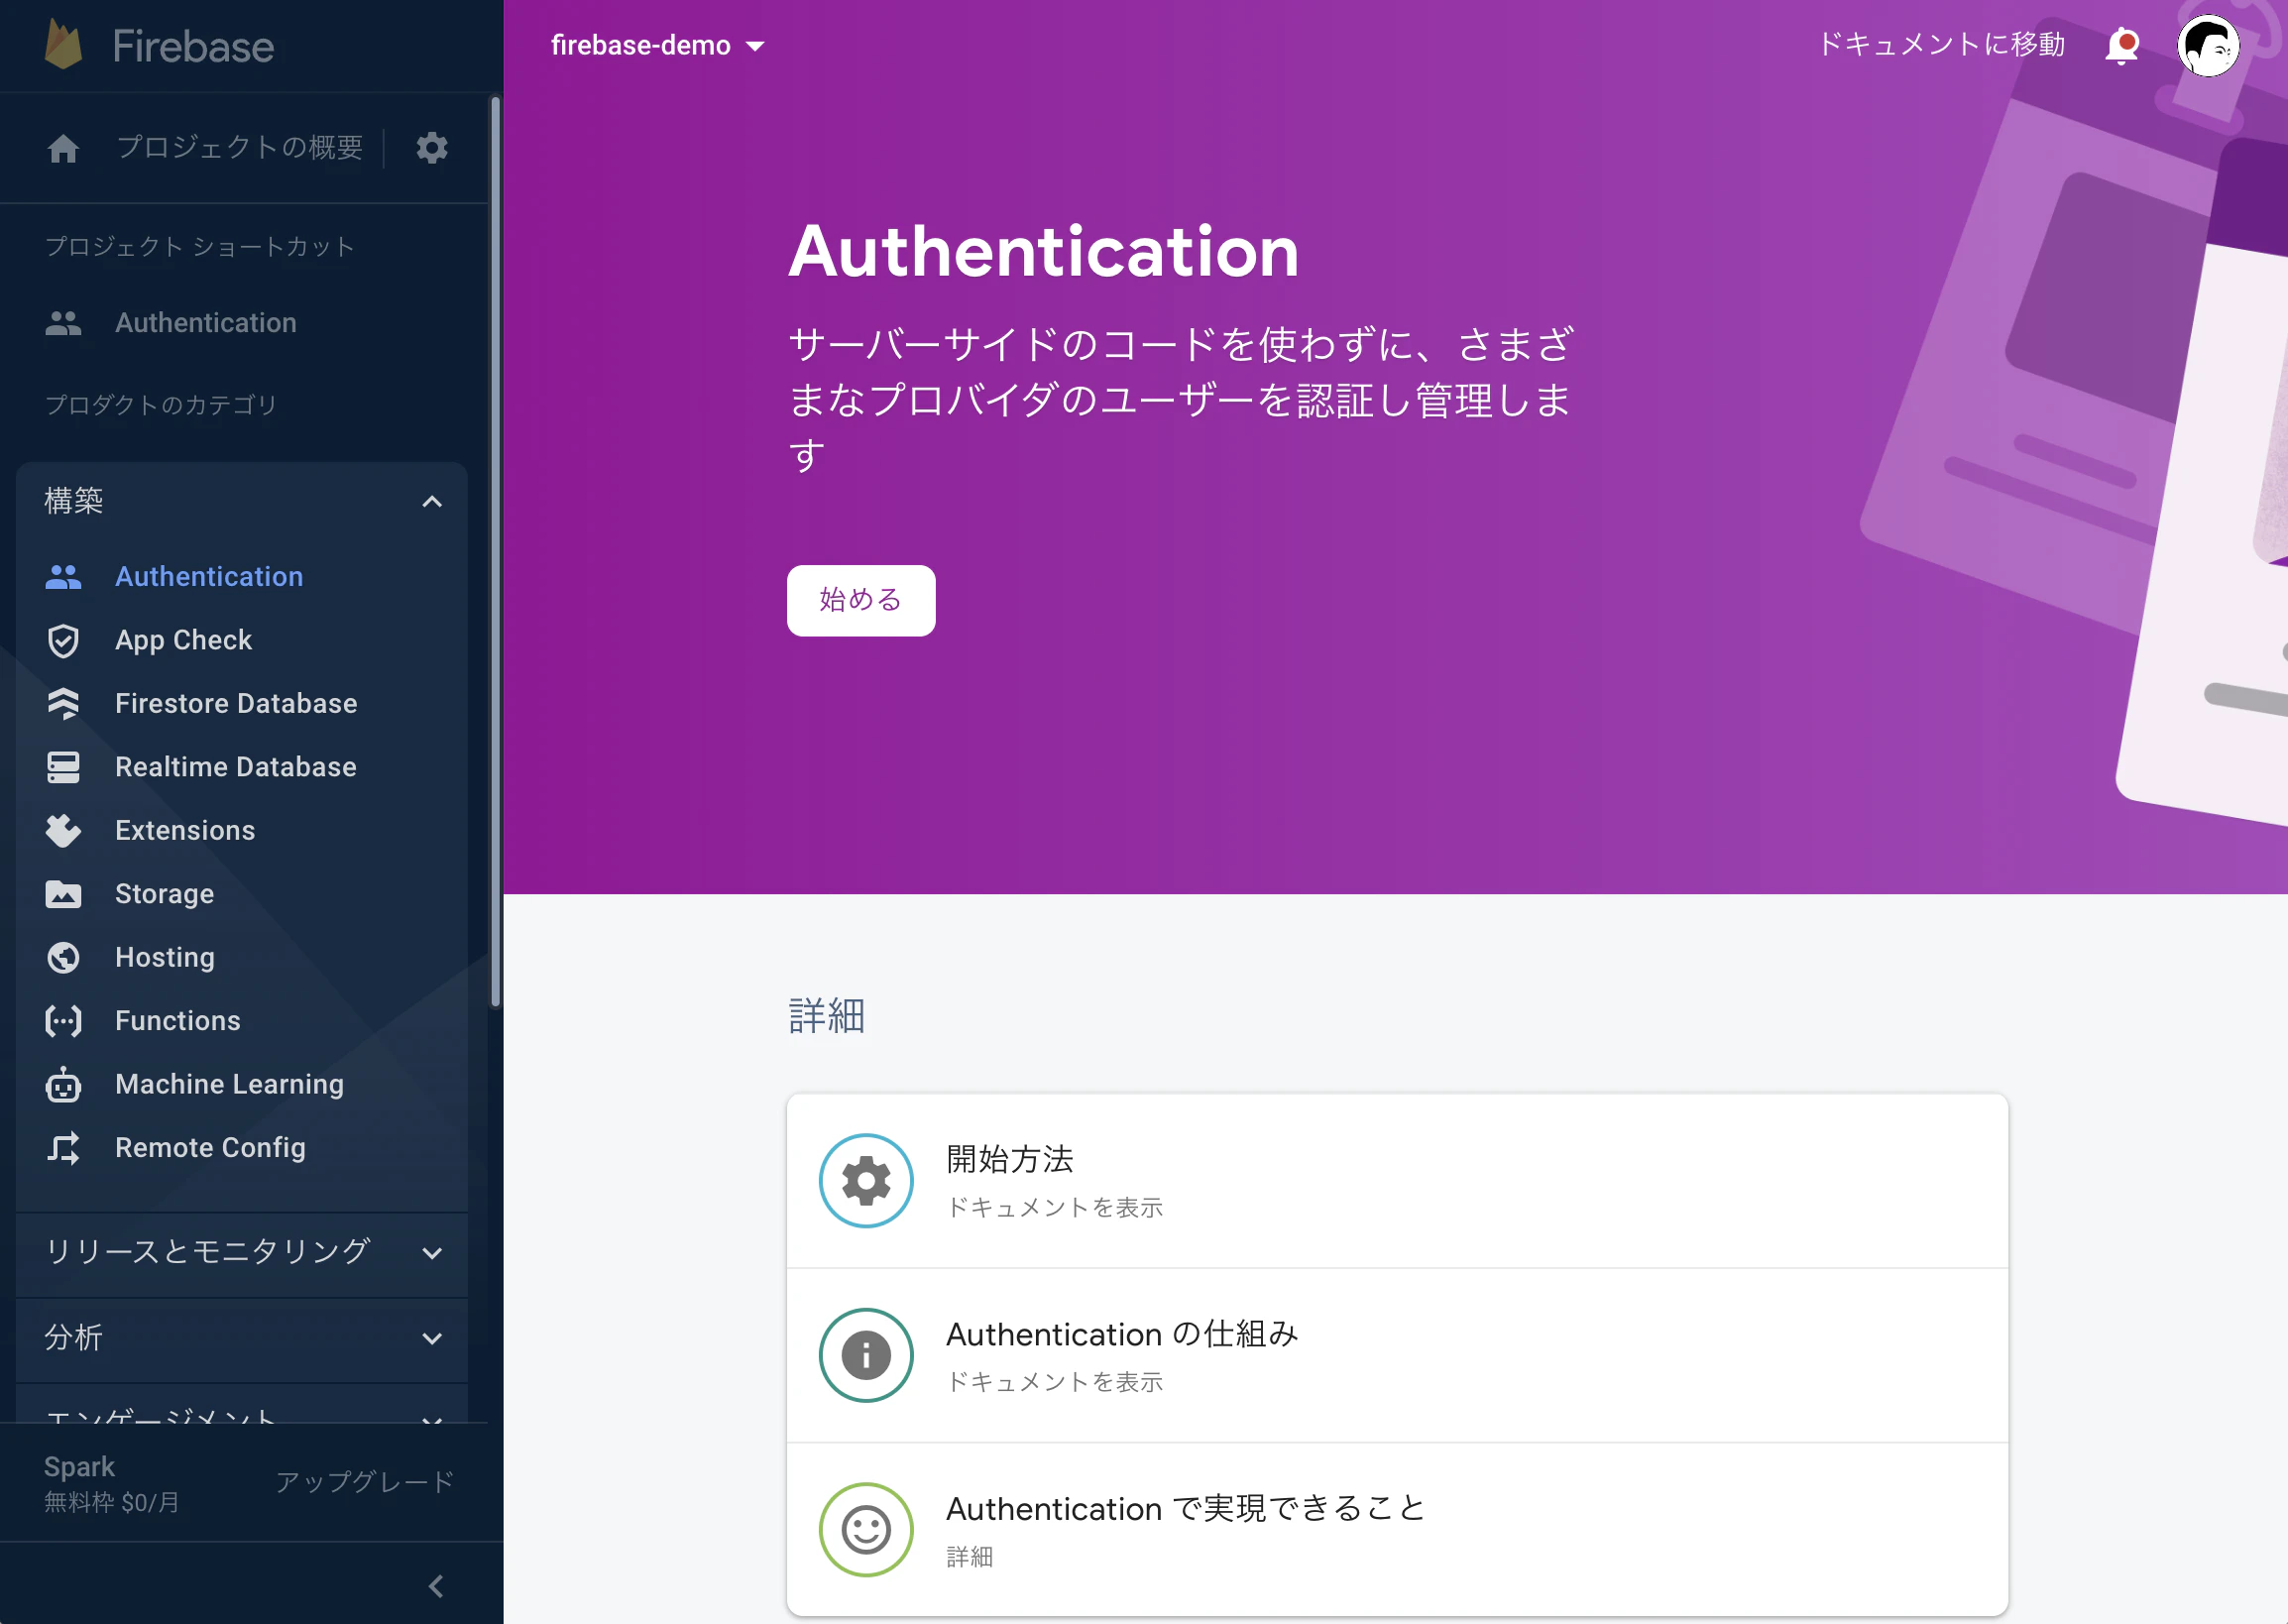
このような画面になるはずです
今回はGoogleとAppleの認証を行うので、
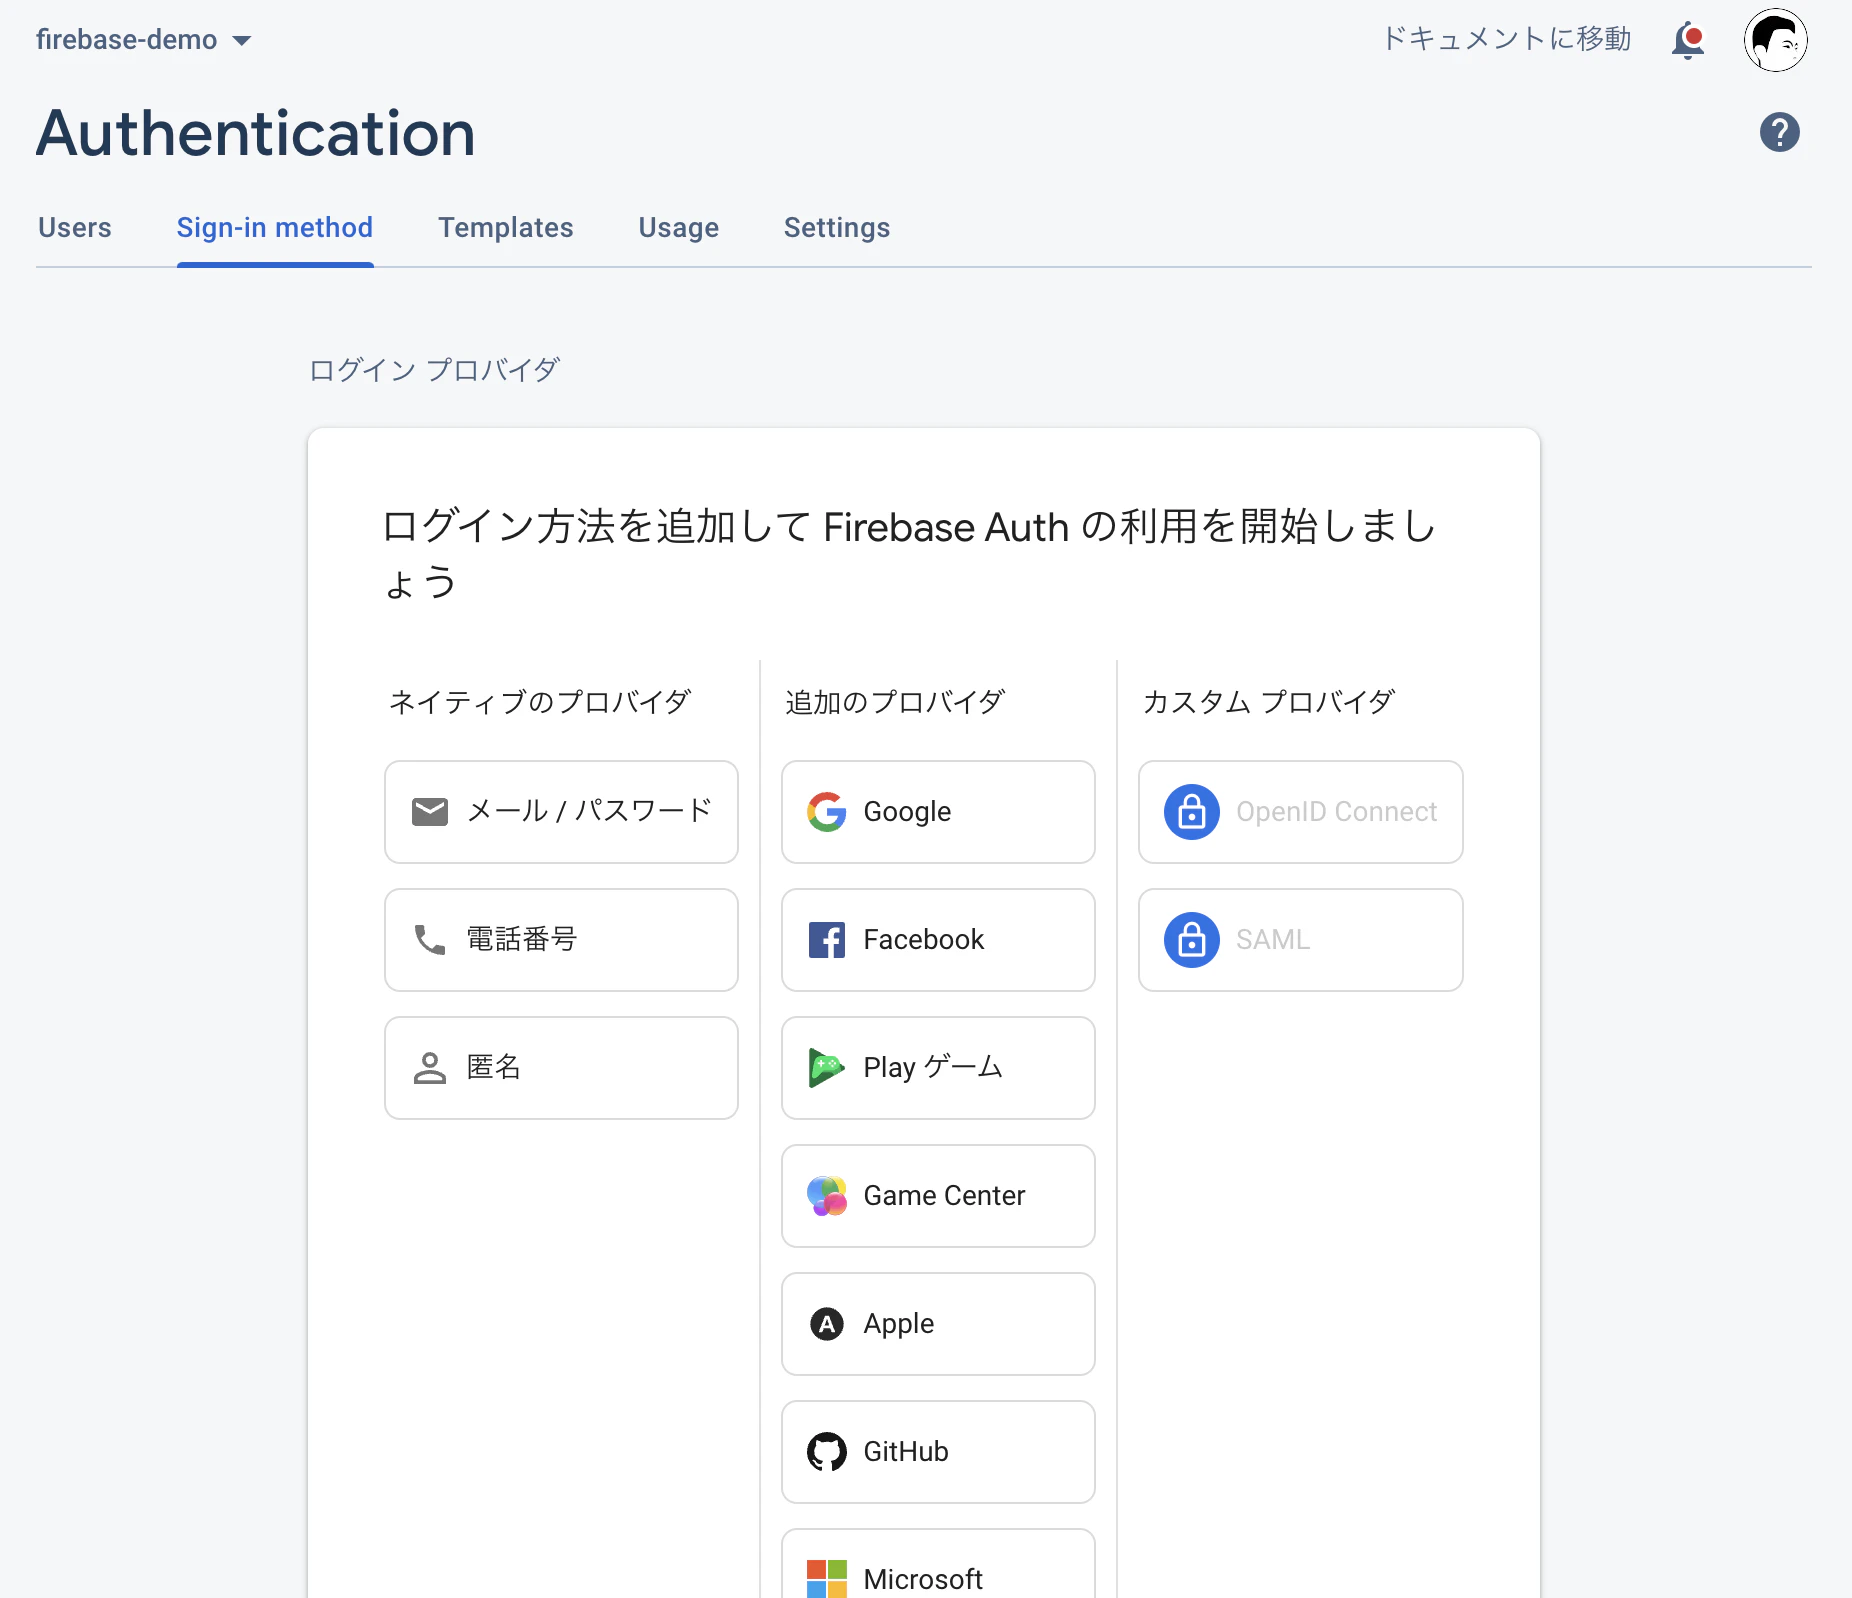
2-1. Googleを有効にする
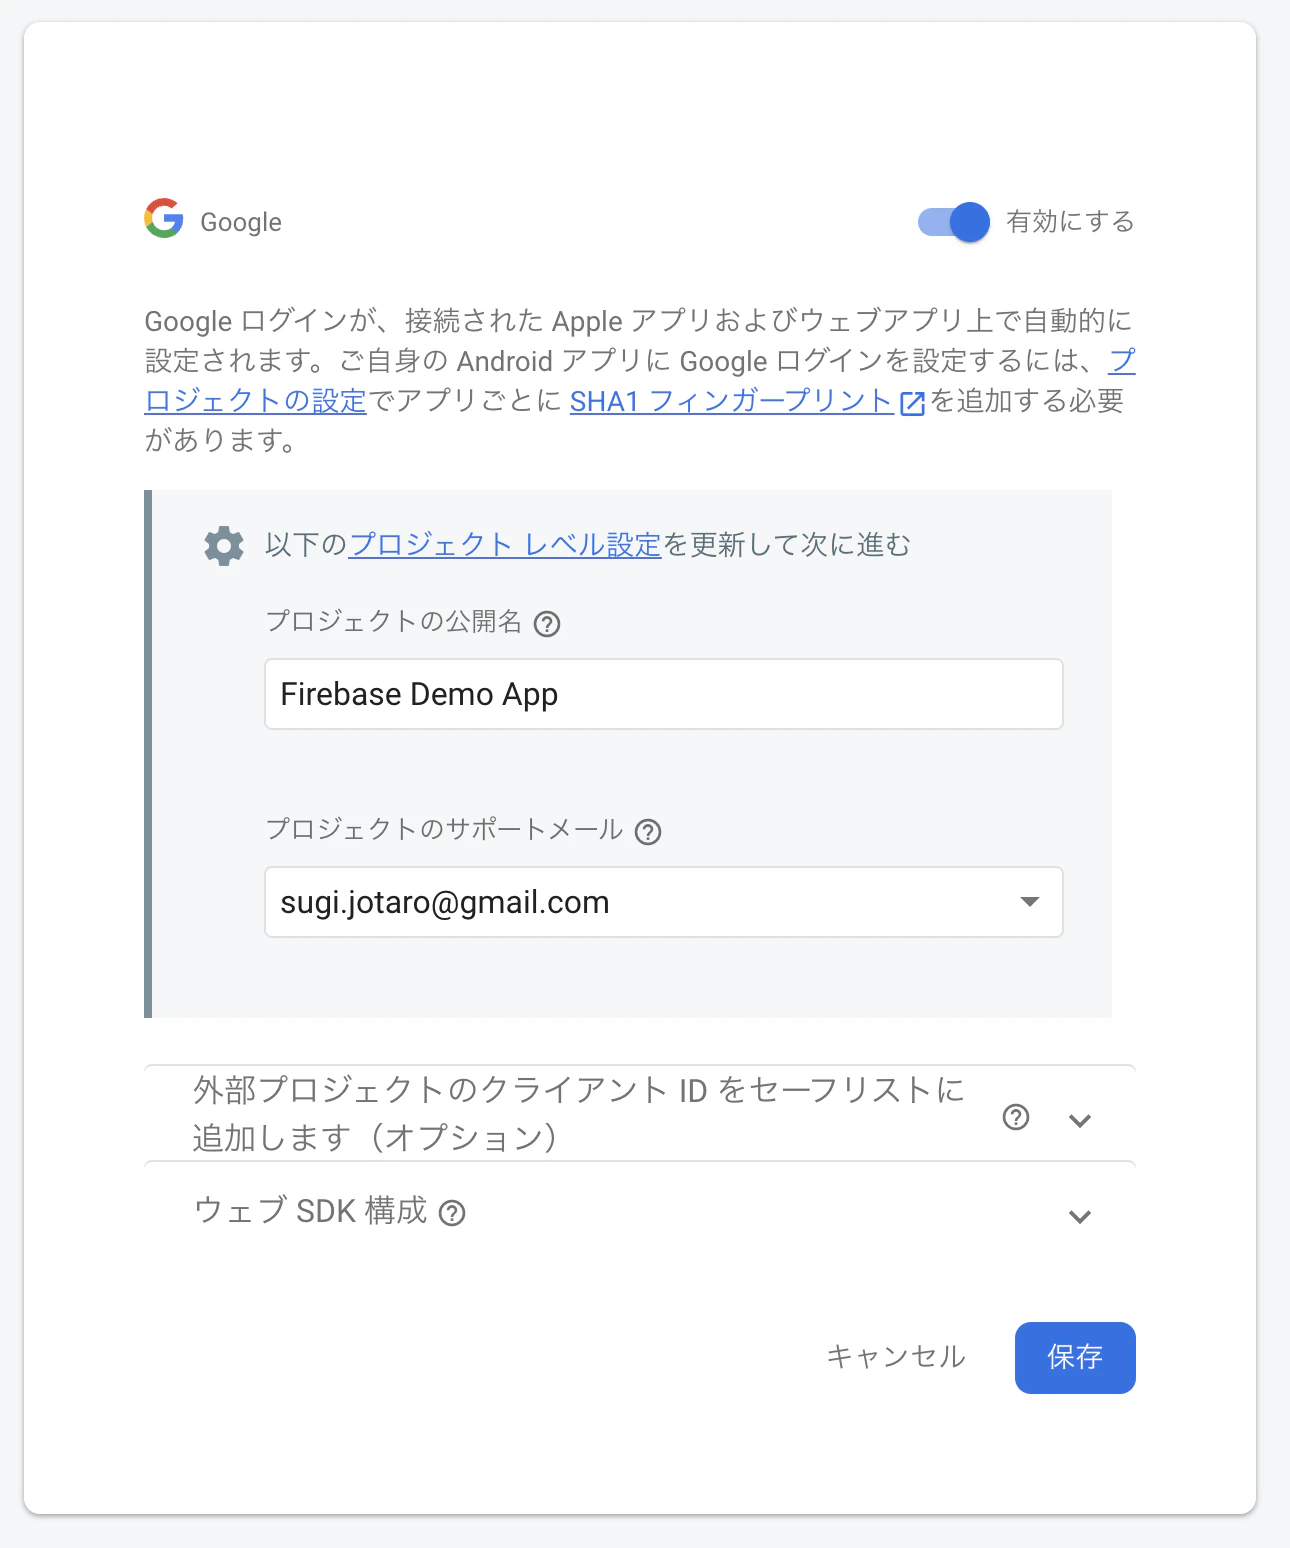
Googleを押し、
有効にするのチェックをオンにします
公開名とサポートメールを入力し、保存を押します
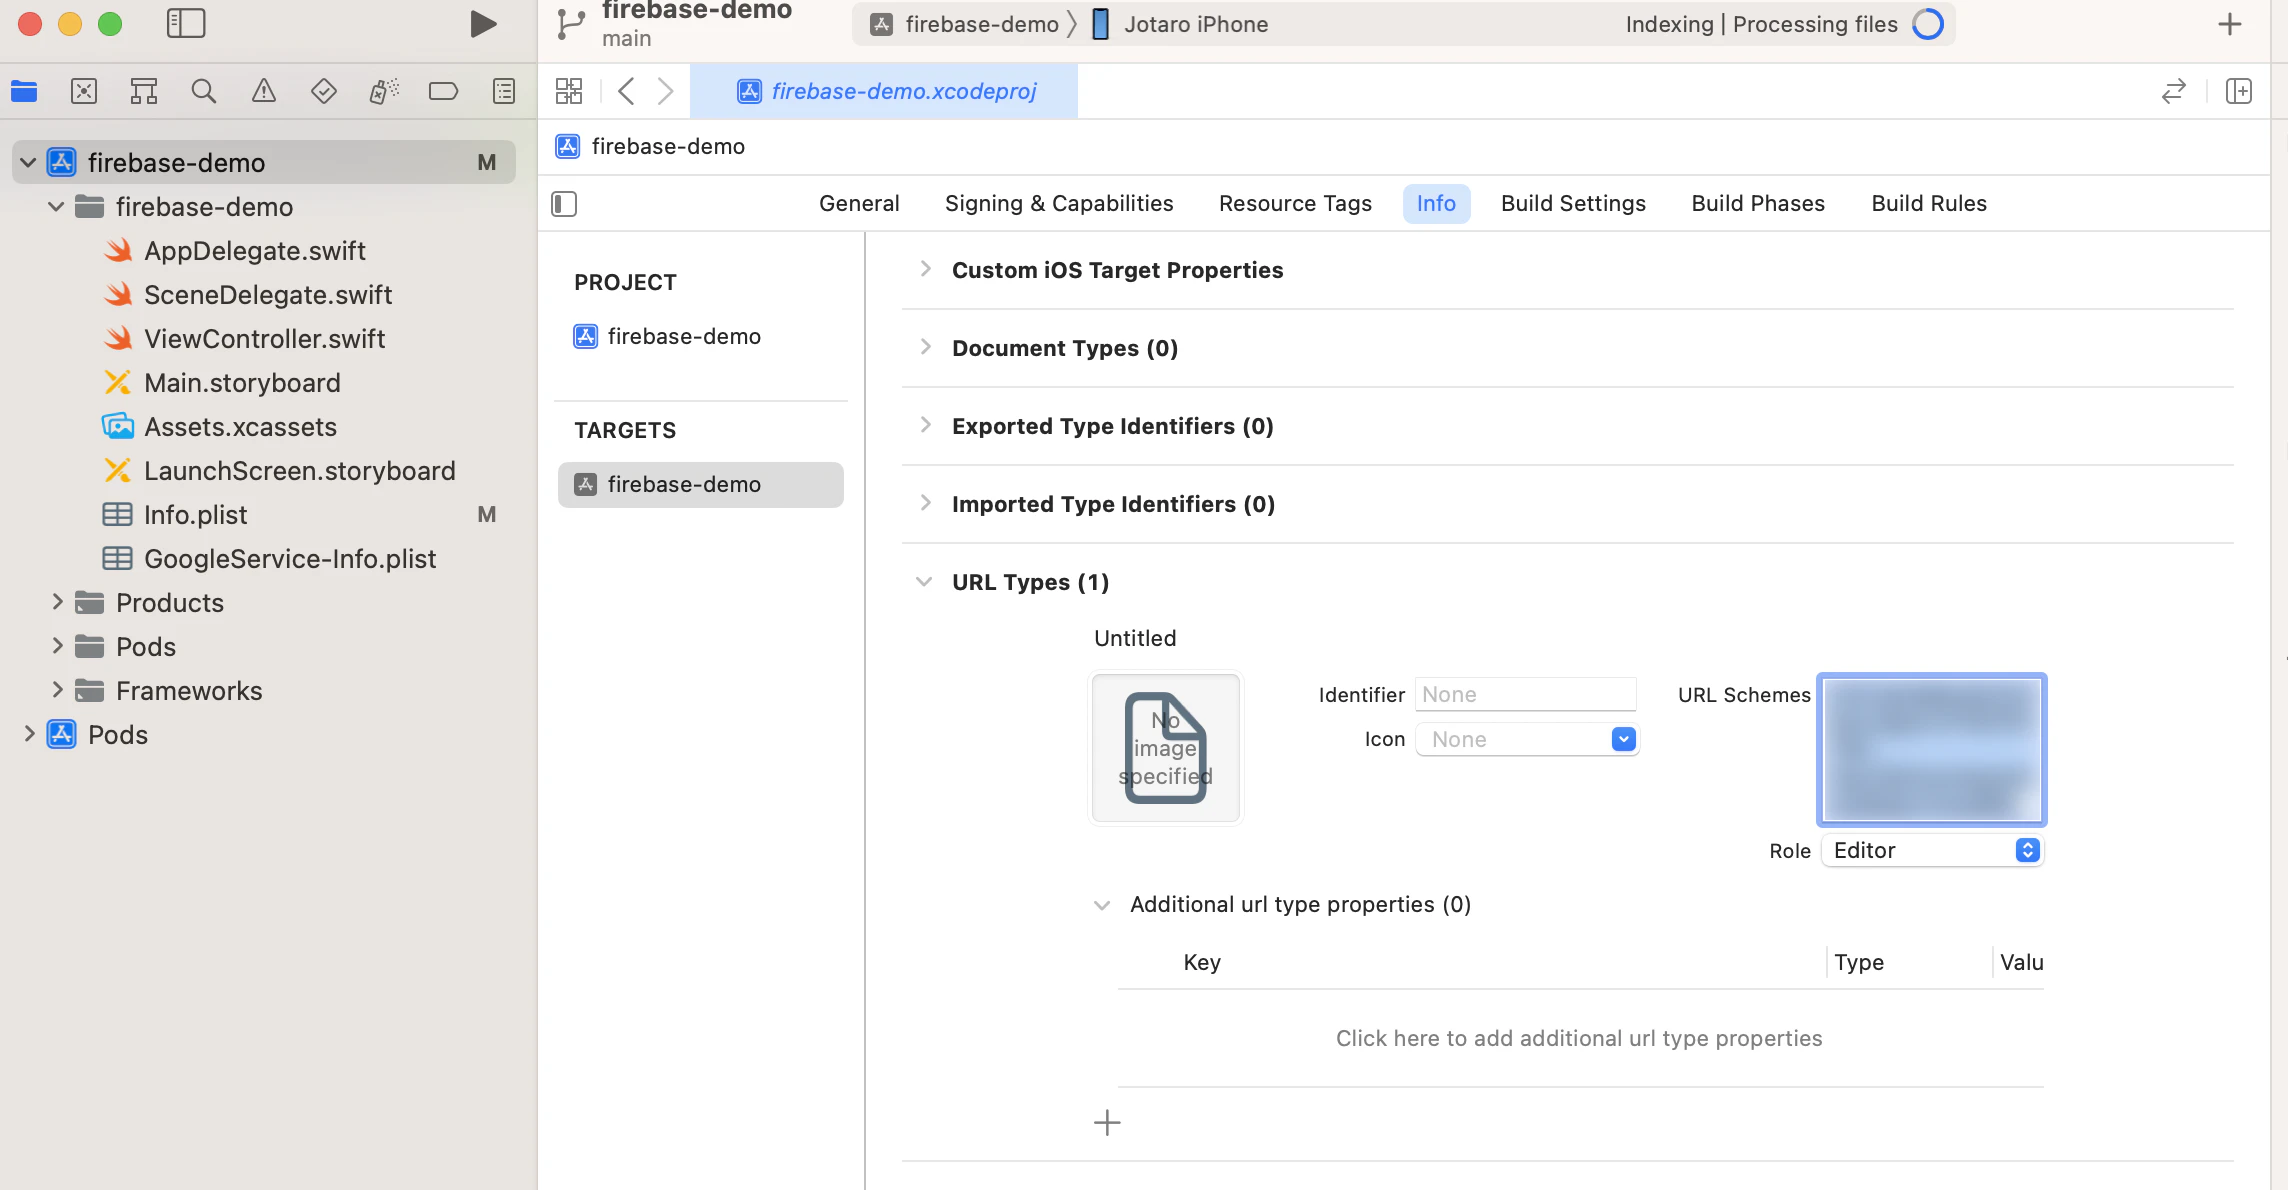
次に、GoogleSercvice-Info.plistを開き、REVERSED_CLIENT_IDの内容をコピーし、
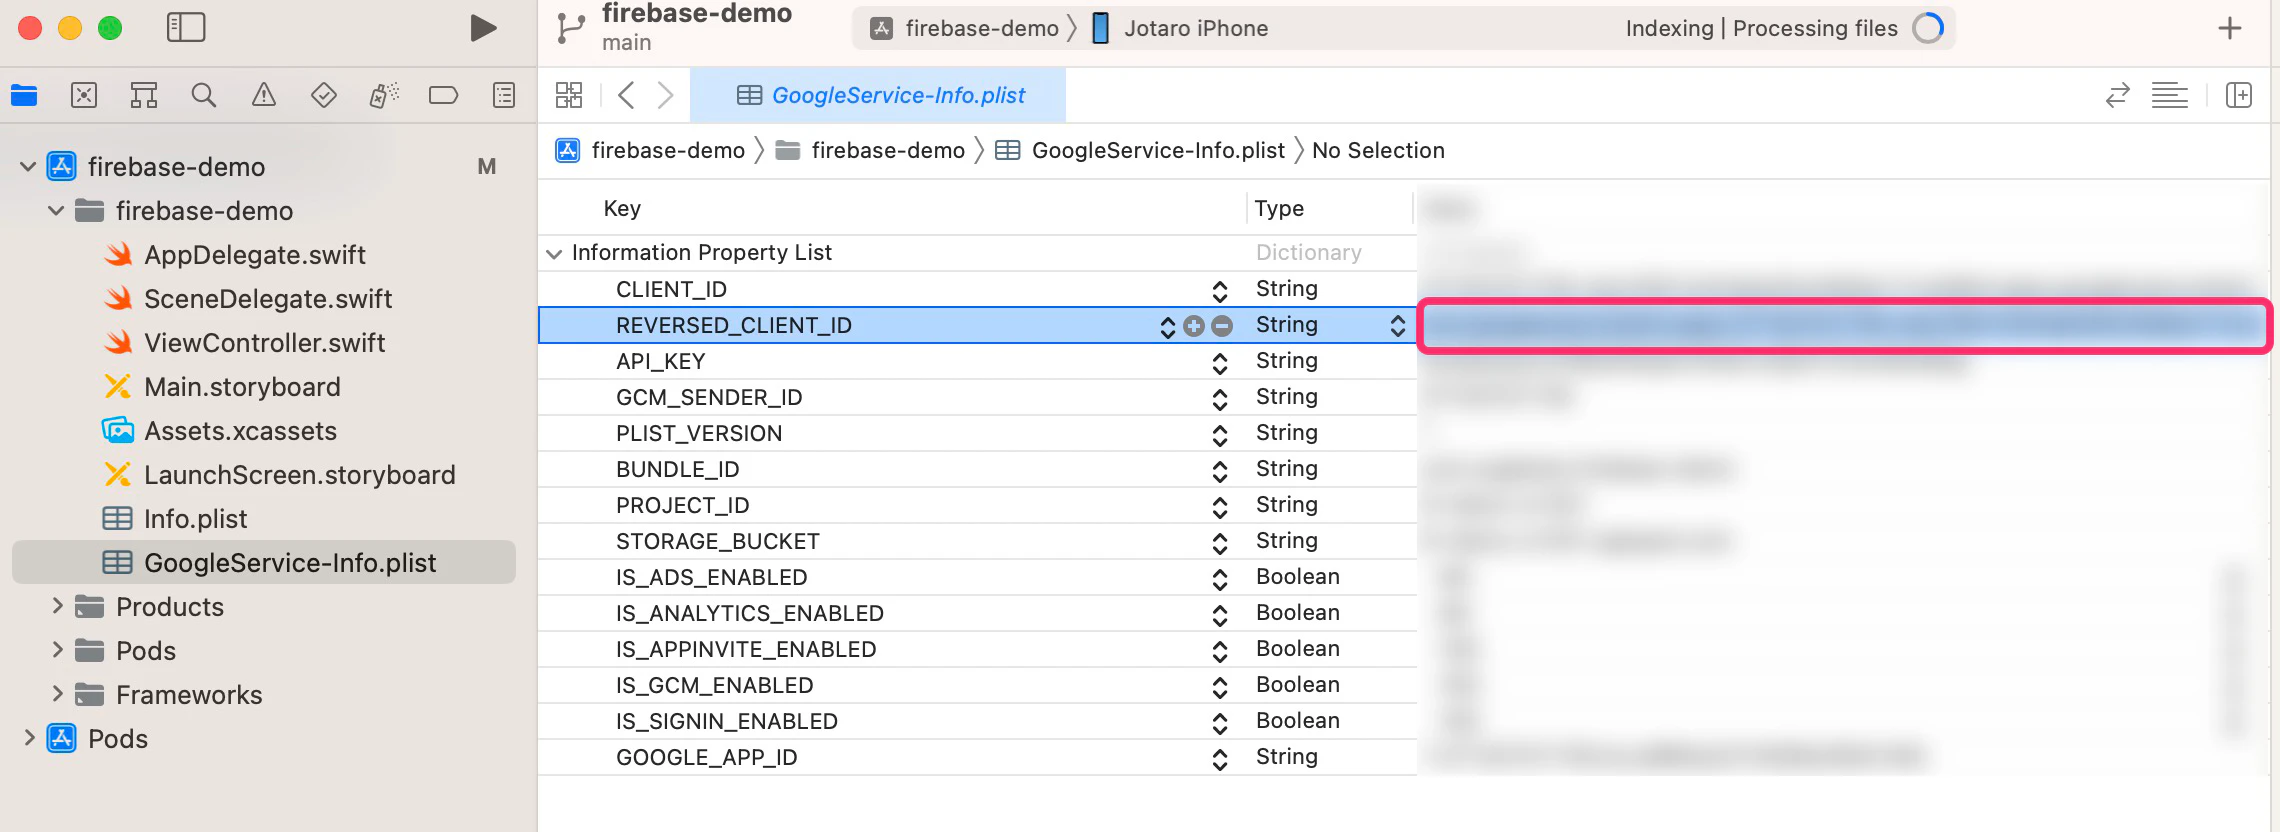
Info内のURL Types内のURL Schemesにペーストします
2-2. Appleを有効にする
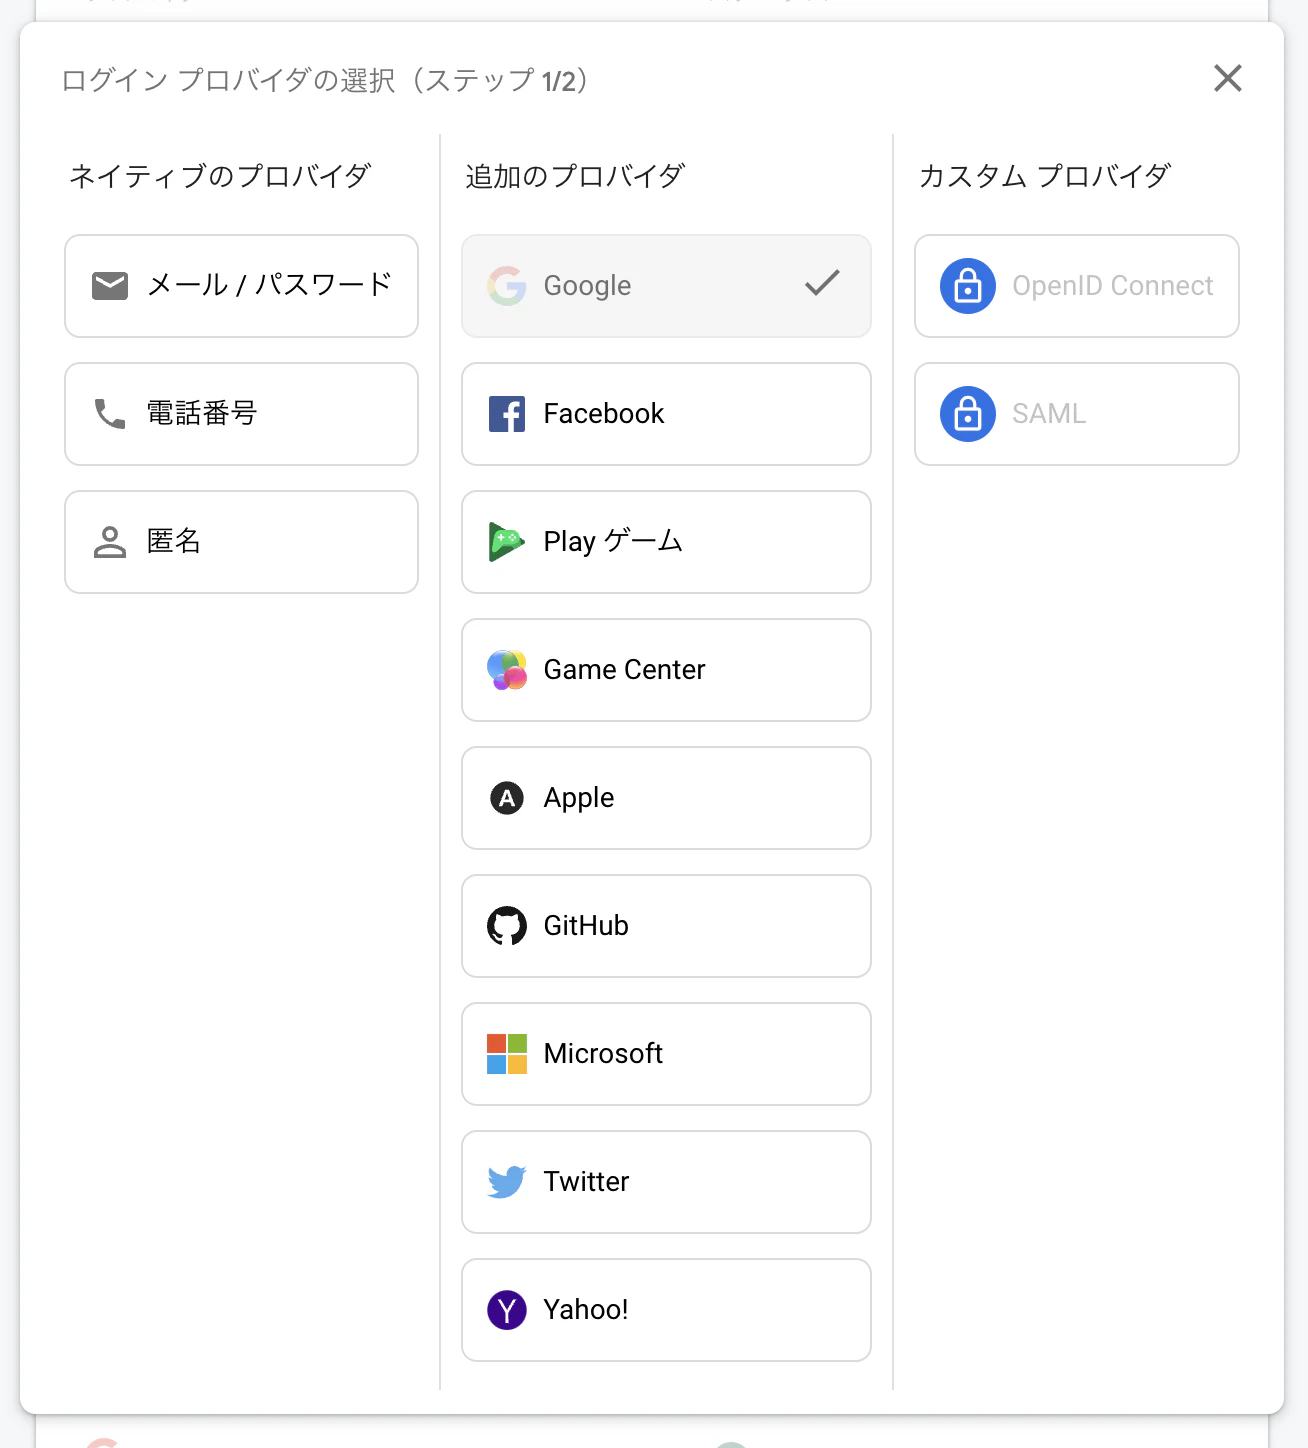
新しいプロバイダを追加を押し、
Appleを選択します
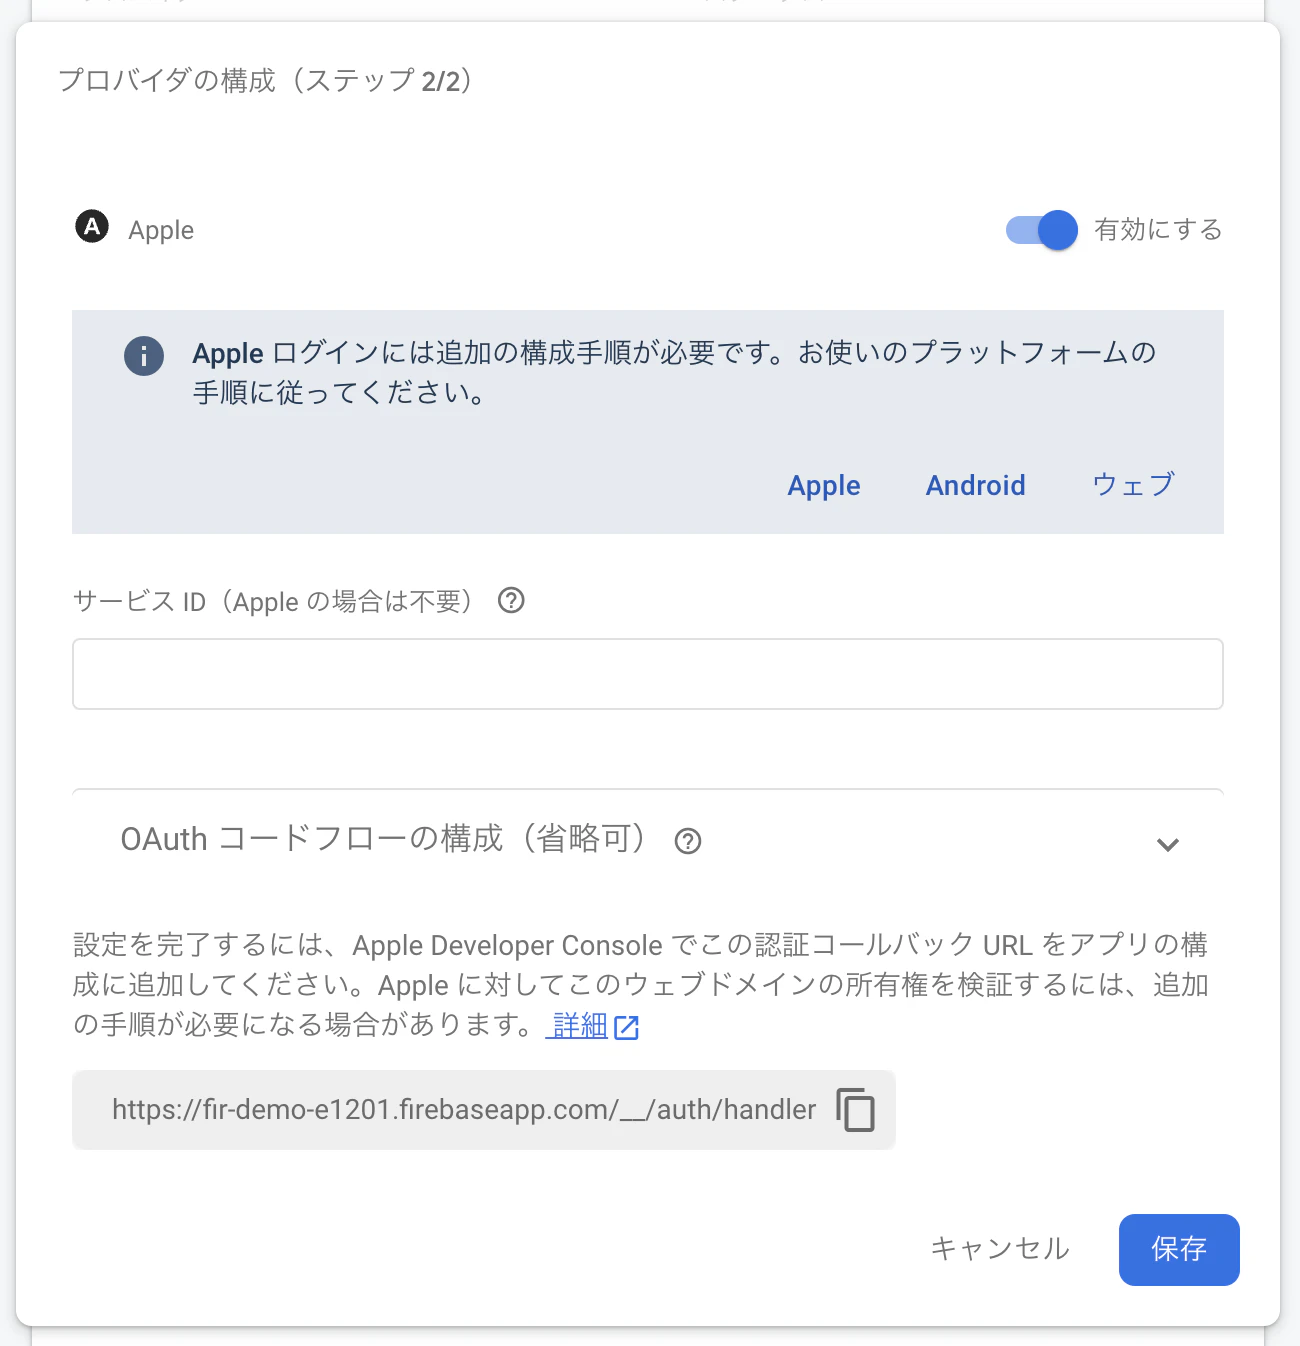
有効にするのチェックをオンにし、保存を押します
Signing & Capabilitiesで+ Capabilityを選択し、
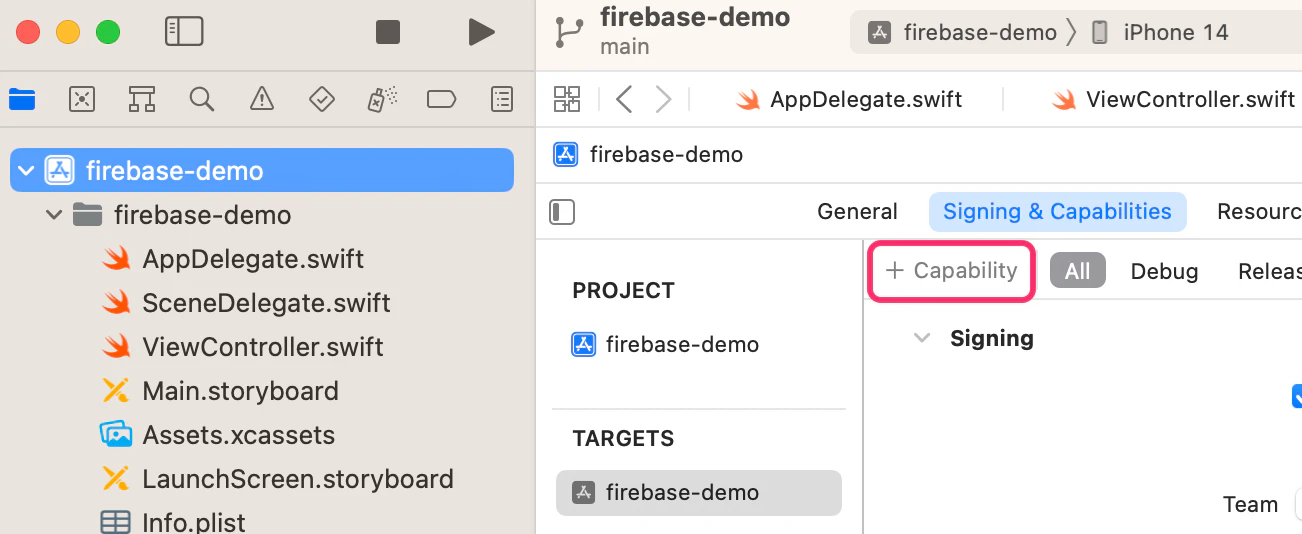
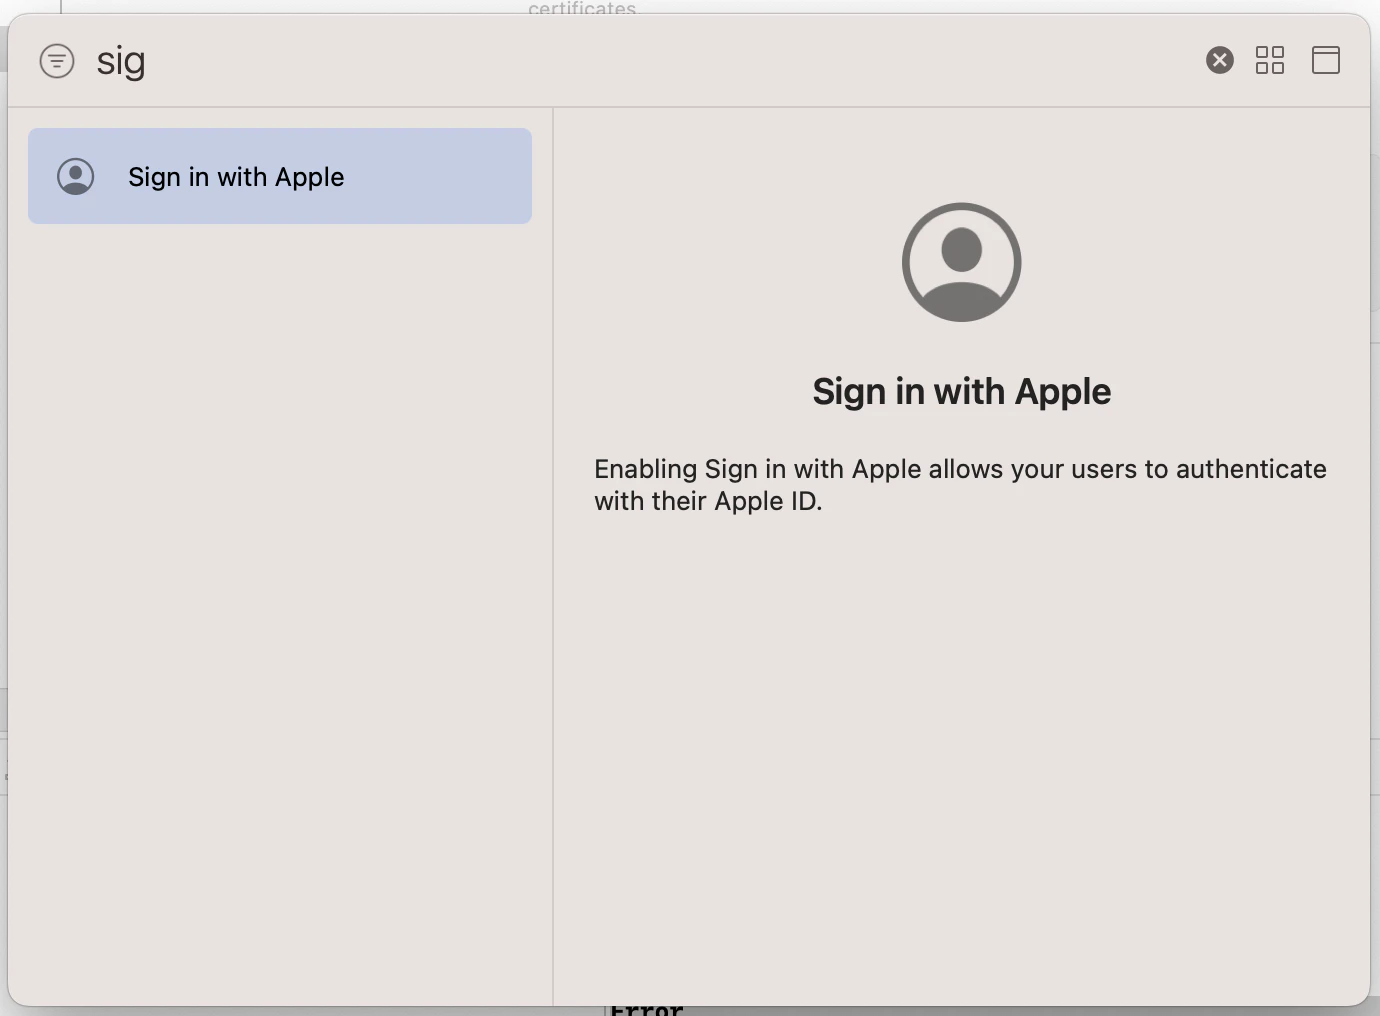
Sign in with Appleをドラッグ&ドロップして追加します
(リリースするときに必要)
Appleの開発者サイトのCertificates, Identifiers & Profilesページを開き、アプリのSign In with Appleを有効にします。
3. Xcodeで設定する
AppDelegate.swift
import UIKit
+ import FirebaseCore
+ import FirebaseAuthUI

@main
class AppDelegate: UIResponder, UIApplicationDelegate {

    func application(_ application: UIApplication, didFinishLaunchingWithOptions launchOptions: [UIApplication.LaunchOptionsKey: Any]?) -> Bool {
+         FirebaseApp.configure()
        return true
    }
ログイン実装する画面 (ViewController.swift)
import UIKit
+ import FirebaseAuthUI
+ import FirebaseOAuthUI
+ import FirebaseGoogleAuthUI

+ class ViewController: UIViewController, FUIAuthDelegate {

+     let authUI = FUIAuth.defaultAuthUI()!

    override func viewDidLoad() {
        super.viewDidLoad()

+         let providers: [FUIAuthProvider] = [
+             FUIGoogleAuth(authUI: authUI),
+             FUIOAuth.appleAuthProvider()
+         ]
+         self.authUI.delegate = self
+         self.authUI.providers = providers
    }

+     @IBAction func LoginButtonTapped(){
+         let authViewController = self.authUI.authViewController()
+         self.present(authViewController, animated: true, completion: nil)
+     }

+     public func authUI(_ authUI: FUIAuth, didSignInWith user: User?, error: Error?){
+         if error == nil {
+             print("成功")
+         } else {
+             print(error!)
+         }
+     }

}
これでできます!お疲れ!
参考