UI Kitten が気になっていたので試してみました
UI Kittenとは?
UI Kittenは、Eva Design Systemの仕様に基づいたカスタマイズ可能なReact Native UIライブラリで、30以上のUIコンポーネント、2つのビジュアルテーマ、その他のサポートモジュールを搭載しています。
Eva Design Systemとは?
Eva Design Systemとは、Akveo社が公開しているUX/UIデザインです。
雰囲気はデモで見ることができます。
Github: eva-design/eva
Quick start tutorials
スタートガイドには、さらから作成する場合と、既存のReactNativeに組み込むパターンの2通りが用意されてますが、ここでは既存に組み込むパターンをやってみます。
(とはいえ、プロジェクト作成からやるので、さらから作成するとほぼ変わりません。)
react-nativeの新プロジェクトを作成
公式にそって以下のコマンドで作成します。
npx react-native init MyTestApp
無事に作成できたらiosシミュレーターで起動してみます。
npx react-native run-ios
起動できたらOK
UI Kitten
チュートリアル - 1 Getting Started
UI Kittenのインストール
以下のコマンドでインストール
yarn add @ui-kitten/components @eva-design/eva react-native-svg
※もし、Expoを使っている場合にはexpo install react-native-svg@9.13.6を行う必要があるようです。
podのインストール
cd ios
pod install
起動
変更を適用するには、バンドルラーを再起動する必要があります。との事なので以下で起動します。
npx react-native run-ios -- --reset-cache
App.jsの変更
さっそくUI Kittenを使ってみます。
App.jsを以下に変更します。
import React from 'react';
import * as eva from '@eva-design/eva';
import { ApplicationProvider, Layout, Text } from '@ui-kitten/components';

const HomeScreen = () => (
  <Layout style={{flex: 1, justifyContent: 'center', alignItems: 'center'}}>
    <Text category='h1'>HOME</Text>
  </Layout>
);

export default () => (
  <ApplicationProvider {...eva} theme={eva.light}>
    <HomeScreen />
  </ApplicationProvider>
);
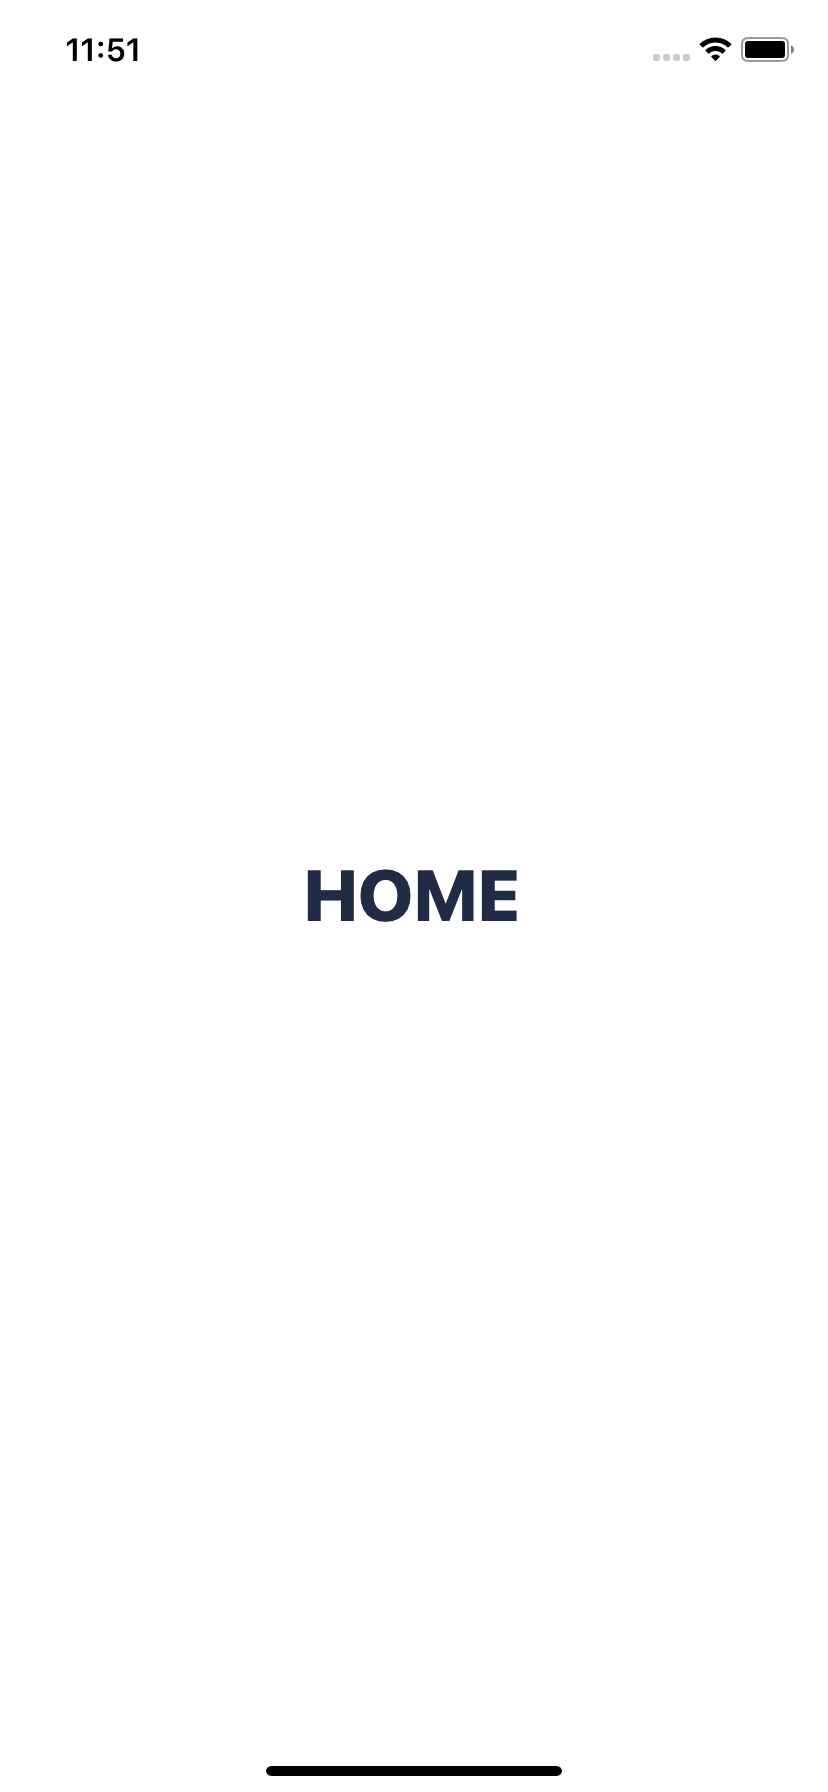
あっさりとしたUIですが、ui-kittenの画面に変わりました。
チュートリアル - 02 Branding
この章では、カスタムテーマを作成する方法、フォントを適用する方法、Eva内でテーマ変数がどのように使用されるかについての説明を行います。(デザイナーがいる場合はオリジナルのSketchファイルを見ると便利かもしれません。)
まずは、深いオレンジ色のテーマを作成してみましょう。
Primary Color
theme.jsonの作成
深いオレンジ色のテーマをEva Designカラージェネレーターで作ってみましょう。
- Primary: #FF6721
- Success: #3DE570
- Info: E0292F9
- Warning: #F9A536
- Danger: #FC5A80

Export -> JSONを選択してテーマのJSONファイルをダウンロードします。
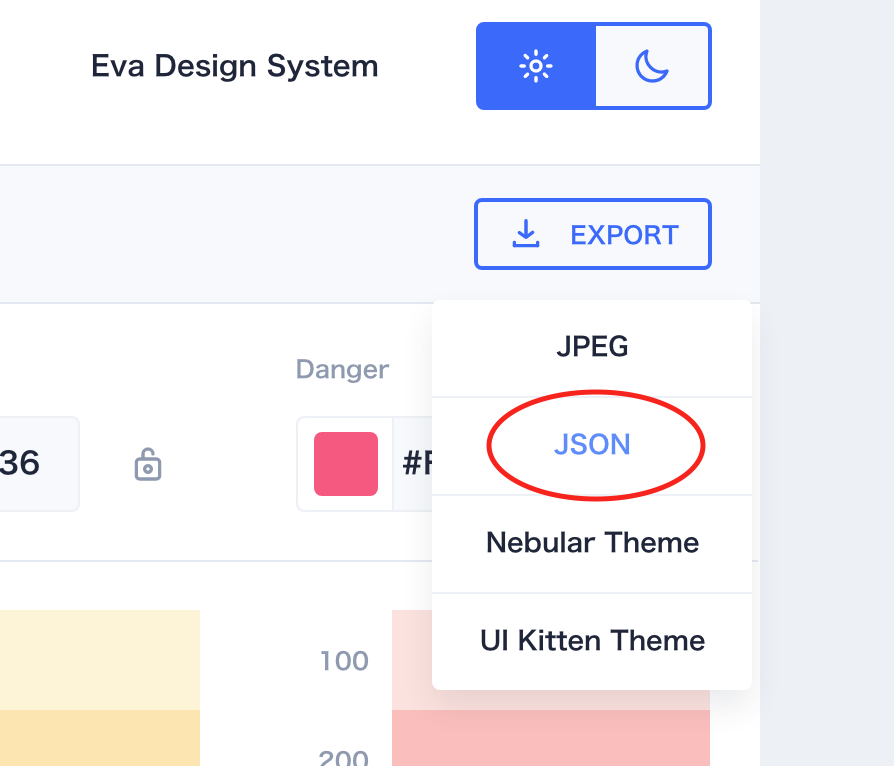
ダウンロードしたファイルはtheme.jsonにリネームしApp.jsと同じ階層に配置します。
テーマの適用
App.jsを以下に変更します。
import React from 'react';
import * as eva from '@eva-design/eva';
import { ApplicationProvider, Layout, Button } from '@ui-kitten/components';
import { default as theme } from './theme.json'; // <-- Import app theme

export default () => (
  <ApplicationProvider {...eva} theme={{ ...eva.light, ...theme }}>
    <Layout style={{ flex: 1, justifyContent: 'center', alignItems: 'center' }}>
      <Button>HOME</Button>
    </Layout>
  </ApplicationProvider>
);
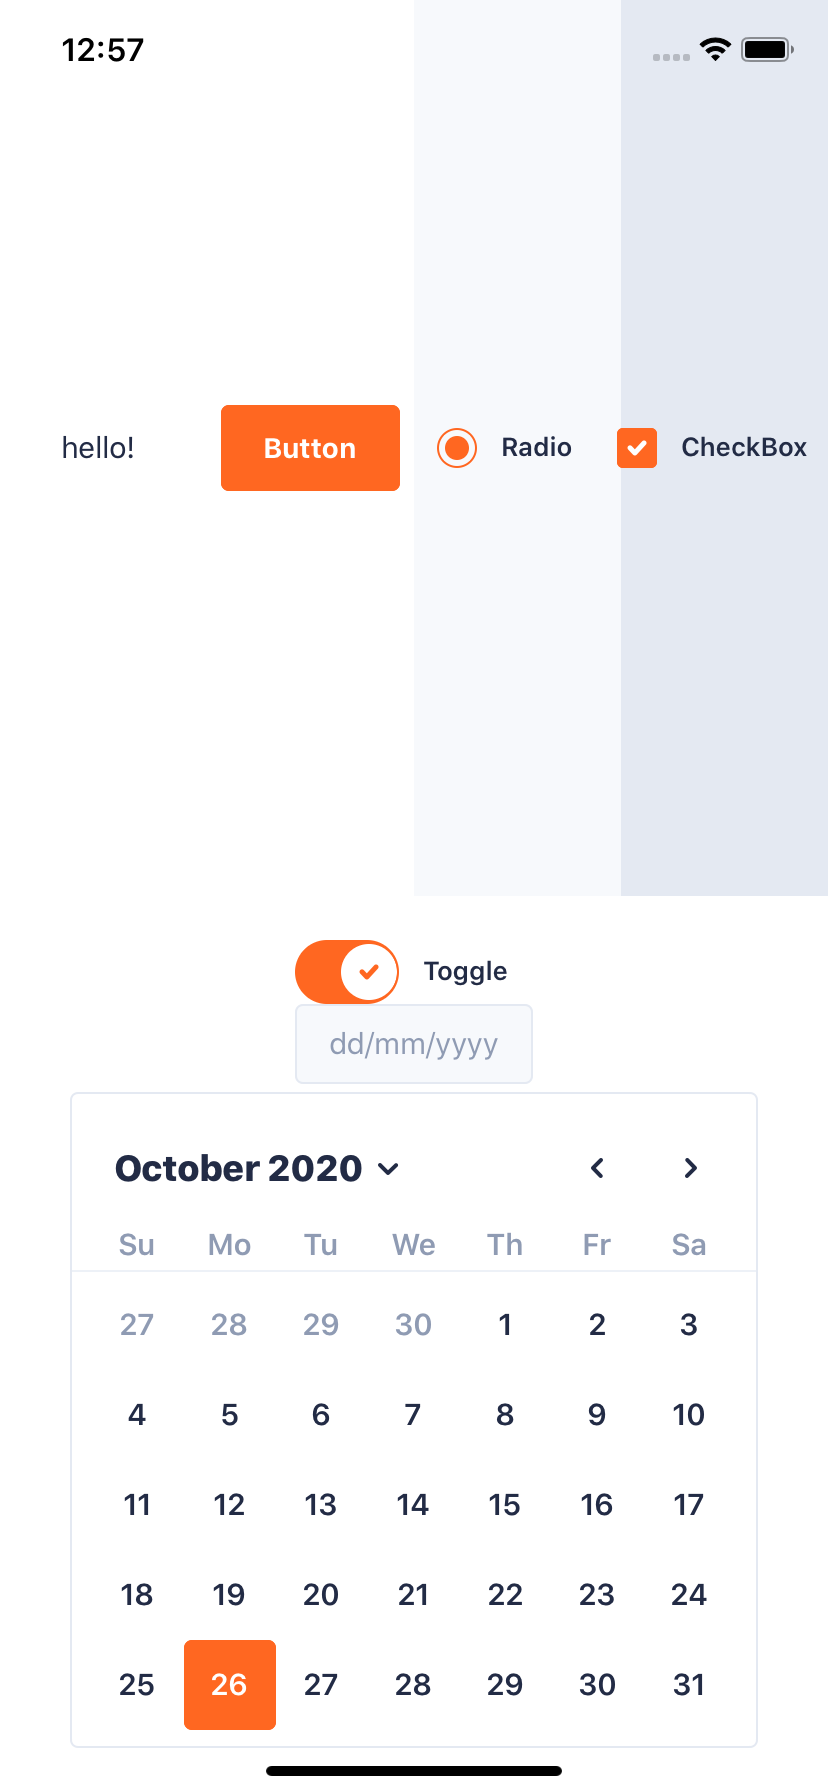
オレンジ色のテーマに変わりました。

ダークモード
比較のためにコントロールを増やしてみます。
import React from 'react';
import * as eva from '@eva-design/eva';
import { ApplicationProvider, Layout, Button } from '@ui-kitten/components';
import { default as theme } from './theme.json'; // <-- Import app theme
import { Radio, Toggle, CheckBox, Datepicker, Calendar, Text } from '@ui-kitten/components';
import { StyleSheet } from 'react-native';

export default () => (
  <ApplicationProvider {...eva} theme={{ ...eva.light, ...theme }}>
    <Layout style={styles.container}>
      <Layout style={styles.layout} level='1'>
        <Text>hello! </Text>
      </Layout>
      <Layout style={styles.layout} level='1'>
        <Button>Button</Button>
      </Layout>
      <Layout style={styles.layout} level='2'>
        <Radio checked>Radio</Radio>
      </Layout>
      <Layout style={styles.layout} level='4'>
        <CheckBox checked>CheckBox</CheckBox>
      </Layout>
    </Layout>
    <Layout style={{ flex: 1, justifyContent: 'center', alignItems: 'center' }}>
      <Toggle checked>Toggle</Toggle>
      <Datepicker />
      <Calendar/>
    </Layout>
  </ApplicationProvider>
);

const styles = StyleSheet.create({
  container: {
    flex: 1,
    flexDirection: 'row',
  },
  layout: {
    flex: 1,
    justifyContent: 'center',
    alignItems: 'center',
  },
});
ダークモードに変更してみます。7行目のtheme={{ ...eva.light を theme={{ ...eva.darkに変更します。
<ApplicationProvider {...eva} theme={{ ...eva.dark, ...theme }}>
ダークモードに変わりました。

背景とボーダー
背景やボーダーはベーシックカラーでコントロールします。
基本色には11種類の濃淡があります。背景を適切に変更するためには、それぞれを設定する必要があります。
下の例のように、それぞれの色をtheme.jsonに追加します。
  "color-basic-100": "#FFFFFF",
  "color-basic-200": "#F5F5F5",
  "color-basic-300": "#F5F5F5",
  "color-basic-400": "#D4D4D4",
  "color-basic-500": "#B3B3B3",
  "color-basic-600": "#808080",
  "color-basic-700": "#4A4A4A",
  "color-basic-800": "#383838",
  "color-basic-900": "#292929",
  "color-basic-1000": "#1F1F1F",
  "color-basic-1100": "#141414",
  "color-basic-transparent-100": "rgba(128, 128, 128, 0.08)",
  "color-basic-transparent-200": "rgba(128, 128, 128, 0.16)",
  "color-basic-transparent-300": "rgba(128, 128, 128, 0.24)",
  "color-basic-transparent-400": "rgba(128, 128, 128, 0.32)",
  "color-basic-transparent-500": "rgba(128, 128, 128, 0.4)",
  "color-basic-transparent-600": "rgba(128, 128, 128, 0.48)",
色合いが変わりました。

Text and Icons
背景と同様に、テキストとアイコンの色は基本シェードで制御されます。暗いテーマでは、テキストの色はシェードの上部(白っぽい色)を使用し、背景の色は下部を使用します。
- text-basic-color はデフォルトのテキスト色としてどこでも使われます。
- text-hint-color プレースホルダー、ラベル、キャプション、字幕、アイコンにデフォルトの状態で使用されます。
- text-disabled-color は、すべてのコントロール内で無効化された状態で使用されます。
変数を theme.json に追加してデフォルト値を上書きすることができます。
theme.jsonに追加します。
"text-basic-color": "$color-basic-600",
これでデフォルトの文字色が変わります。


Configure Navigation
UI Kitten - Configure Navigation
npm install @react-navigation/native
npm install react-native-reanimated react-native-gesture-handler react-native-screens react-native-safe-area-context @react-native-community/masked-view
npm install react-native-screens
npm install rreact-native-safe-area-context
npm install @react-native-community/masked-view
npx pod-install ios
長くなったのでいったんここまで
今回の成果物は以下に置いてます。