uber/react-map-gl: React friendly API wrapper around MapboxGL JS
前段
create-react-appが未導入であればインストールする
npm install -g create-react-app
React ベースアプリ作成
アプリ作成+テスト実行
map-glアプリを作成する
create-react-app map-gl
結果
yarn start
    Starts the development server.

yarn build
    Bundles the app into static files for production.

yarn test
    Starts the test runner.

yarn eject
    Removes this tool and copies build dependencies, configuration files
    and scripts into the app directory. If you do this, you can’t go back!

We suggest that you begin by typing:

cd map-gl
yarn start

Happy hacking!
実行してみる
cd map-gl
yarn start
react-map-gl 導入
react-map-glを入れる
npm install --save react-map-gl
App.jsを変更する
import React, { Component } from 'react';
import ReactMapGL from 'react-map-gl';
import 'mapbox-gl/dist/mapbox-gl.css';

class App extends Component {
  state = {
    viewport: {
      width: 400,
      height: 400,
      latitude: 37.7577,
      longitude: -122.4376,
      zoom: 8
    }
  };

  render() {
    return (
      <div className="App">
        <ReactMapGL
          {...this.state.viewport}
          onViewportChange={(viewport) => this.setState({ viewport })}
        />
      </div>
    );
  }
}

export default App;
実行する
yarn start
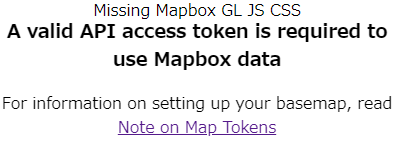
Mapboxのアクセストークンが必用なようです。
Access tokens
トークンの取得
Mapboxのアカウントがあれば以下からトークンの発行・管理ができます。
トークンの使用
説明によると以下の3種類でトークンの適用ができるようです。
- Modify the source directly
- Set the MapboxAccessToken environment variable
- Provide it in the URL, e.g ?access_token=TOKEN
ひとまずここではURLにトークンを付けて実行して実行結果をみてみようと思います。
URLに?access_token=を付加し、その後に取得したトークンをつなげます。
以下のようなイメージになります。
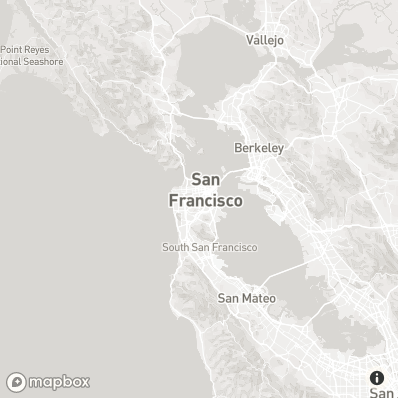
実行するとマップが表示されました。
トークンの秘匿化
とはいえ.envを使ってトークンを隠すことが望ましいと書いてあります。
dotenvのInstall
create-react-appには最初からdotenvが入っているのでインストールは必用ないみたい。
.envファイルをプロジェクトルート直下に作成
ファイルの中身を以下のようにする。
MapboxAccessToken=pk.xxxxxxxxxxxxxxxxxxxxxxxxxxxxxxxxx
ここから下は調査中です。
yarn build
yarn start
Note: You must create custom environment variables beginning with REACT_APP_. Any other variables except NODE_ENV will be ignored to avoid accidentally exposing a private key on the machine that could have the same name. Changing any environment variables will require you to restart the development server if it is running.


