Githubのアクセストークン
CLIからgitを使っていて、認証しようと思った場合の選択肢は以下の2つになります
(以前はIDパスワード認証もありました現在は使えなくなっています)
・SSH
・PAT (Personal Access Token)
上記のうち、SSHは権限設定や期限付き発行ができません。一方で、PATは権限を細かく設定できて期限付き発行がデフォルトであることから環境ごとに権限の異なるトークンを発行できるのがメリットです
作成する
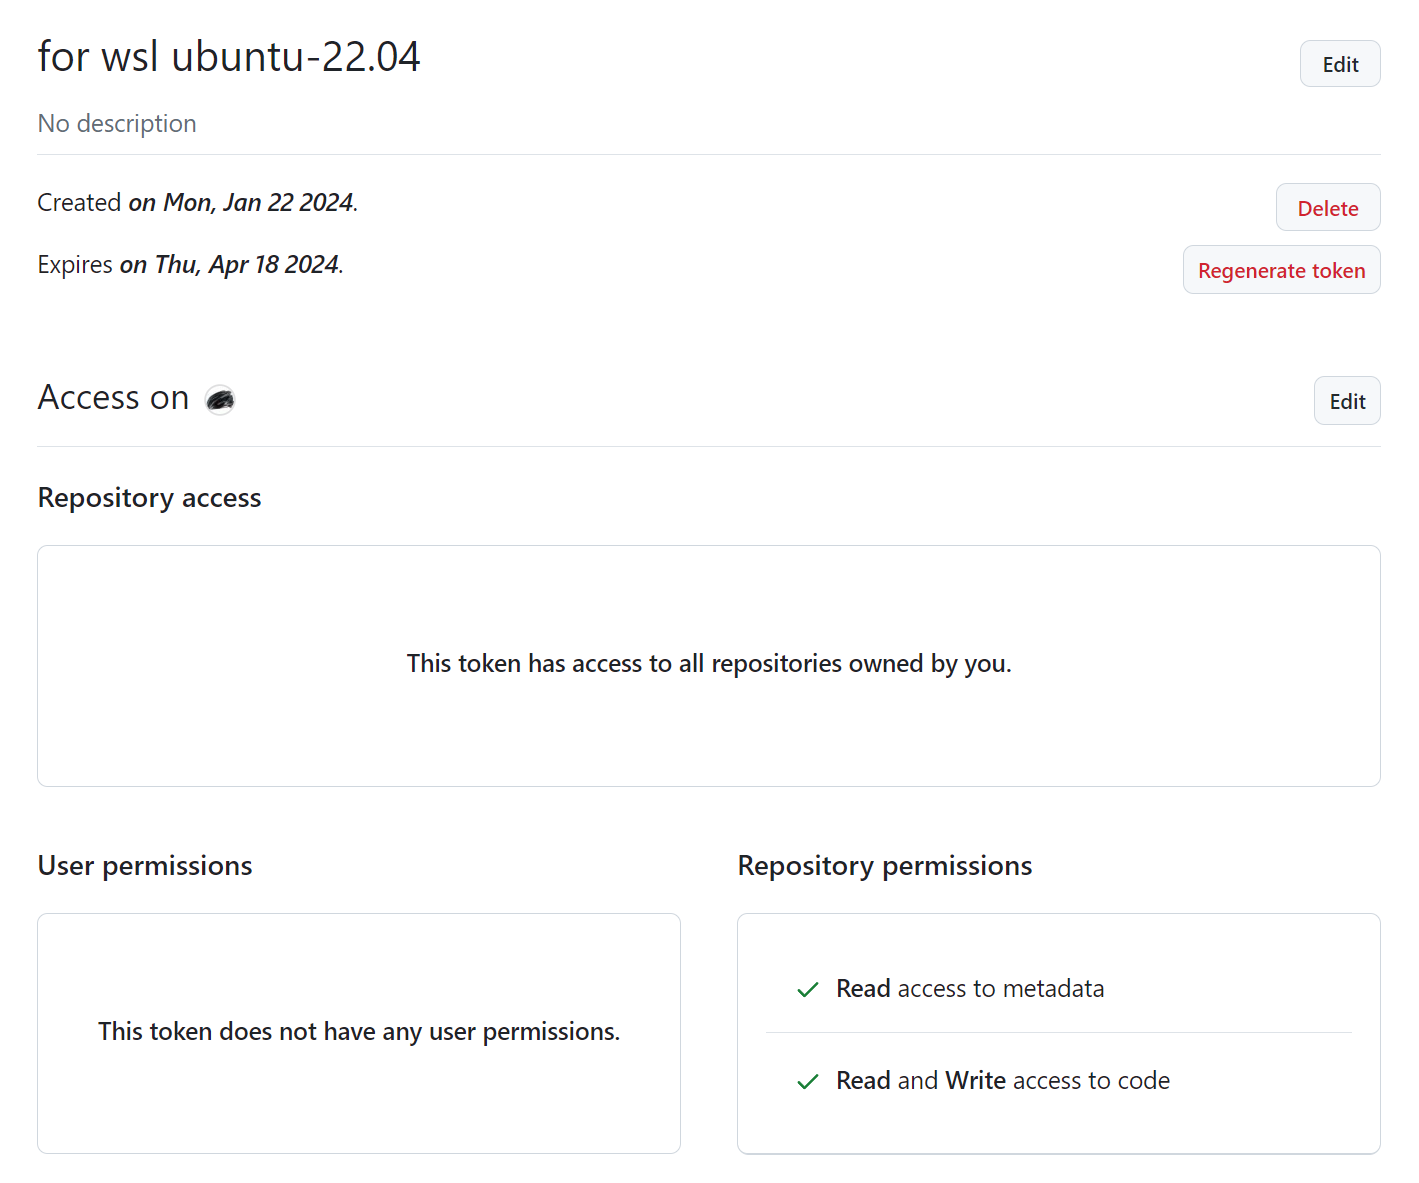
repository permission内のcodeのwrite権限があればpushしたりbranch/mergeしたりできます
使い方
githubにアクセスする際のURLを https://ユーザーネーム:入手したトークン@github.com/ のようにするとアクセストークンを適用できます
自分のアカウントが https://hoge@github.com/ の場合は
https://hoge:ここにアクセストークン@github.com/ になります
環境全体で登録する
.gitconfigでurlの置き換えを設定できるので
以下のように書いてやればurlにアクセストークンを自動で挿入してくれます
--global環境の設定ファイルは以下になります
Linux: ~/.gitconfig
Windows: C:\Users{username}.gitconfig
[url "https://hoge:入手したトークン@github.com/"]
	insteadOf = https://github.com/
.gitconfigを直接操作しても良いですが、git configで登録することもできます
$ git config --global url.https://ユーザーネーム:入手したトークン@github.com/.insteadOf https://github.com/
上記だと.gitconfigに追記されるので、既に登録している場合は場合は以下のように1度消してから登録する必要があります
$ git config --global --unset-all url.https://github.com/.insteadOf
$ git config --global url.https://ユーザーネーム:入手したトークン2@github.com/.insteadOf https://github.com/
リポジトリ単位で登録する
リポジトリ単位の情報はリポジトリフォルダの.gitディレクトリ内のconfigに書いてあるのでORIGINを以下のように編集してやることでアクセストークンが使えます
[remote "origin"]
	url = https://アクセストークン@github.com/ユーザー名/リポジトリ名
	fetch = +refs/heads/*:refs/remotes/origin/*
参考にしたページ