構成
- Webサーバー
- nginx
- WSGIサーバー(APサーバー)
- Gunicorn
- Webアプリケーションフレームワーク
- Django
- ここではWSGIを使用するので、WSGIに準拠していれば他のフレームワークでも良い
- この記事ではDjango固有の設定は発生しない
- Django
- WebサーバーとWSGIサーバーはDockerコンテナで稼働させる
- WebサーバーとWSGIサーバーの通信にはUNIXドメインソケットを使用する
用語の整理
WSGIサーバーとは
- WSGIとはWeb Server Gateway Interfaceのことで、WebサーバーとPythonのAPサーバー間通信のプロトコルのこと
- DjangoやFlask、Bottleなどのフレームワークもこのプロトコルに準拠している
- 上記のWSGIに則ったAPサーバーをWSGIサーバーと呼び、Gunicornはその一種
- gunicorn以外のWSGIサーバーにはuWSGIがある
UNIXドメインソケットとは
- ファイルシステムのパスを通して通信相手を探す通信方法
- そのパスにファイルが作成され、それぞれのプロセスがそのファイルにアクセスする
- 単にファイルを共有しているだけに思えるが、作成されるファイルはソケットファイルと呼ばれる特殊なファイルであり実態はない
- あくまで通信のインターフェース
構築
Gunicorn
- まずはWSGIサーバーを単体で稼働させてみる
プロジェクト作成
- Djangoをインストールする
$ pip install Django==3.0.2
- 作業環境でプロジェクトを作成する
$ django-admin.py startproject django_project .
- ここではdjango_projectという名前でプロジェクトを作成
- treeコマンドで確認すると以下のようになる
$ tree
.
├── django_project
│   ├── __init__.py
│   ├── asgi.py
│   ├── settings.py
│   ├── urls.py
│   └── wsgi.py
├── manage.py
Gunicornコンテナ起動
- Dockerfileを作成
FROM python:3.8.0-alpine

WORKDIR /usr/src/app

ENV PYTHONDONTWRITEBYTECODE 1
ENV PYTHONUNBUFFERED 1

RUN pip install --upgrade pip
COPY ./requirements.txt /usr/src/app/requirements.txt
RUN pip install -r requirements.txt
- requirements.txt は以下の通り
requirements.txt
Django==3.0.2
gunicorn==20.0.4
- ビルドする
$ docker build -t gunicorn:tmp .
- docker-compose.yamlの記載は以下の通り
- 後でnginxの情報も追記する
version: '3.7'

services:
  gunicorn:
    image: gunicorn:tmp
    container_name: gunicorn
    command: python manage.py runserver 0.0.0.0:8000
    volumes:
      - .:/usr/src/app/
    ports:
      - 8000:8000
-
python manage.py runserver 0.0.0.0:8000コマンドでテスト用簡易サーバーが起動される - ここでは稼働確認のため8000番のポートをフォワーディングしている
-
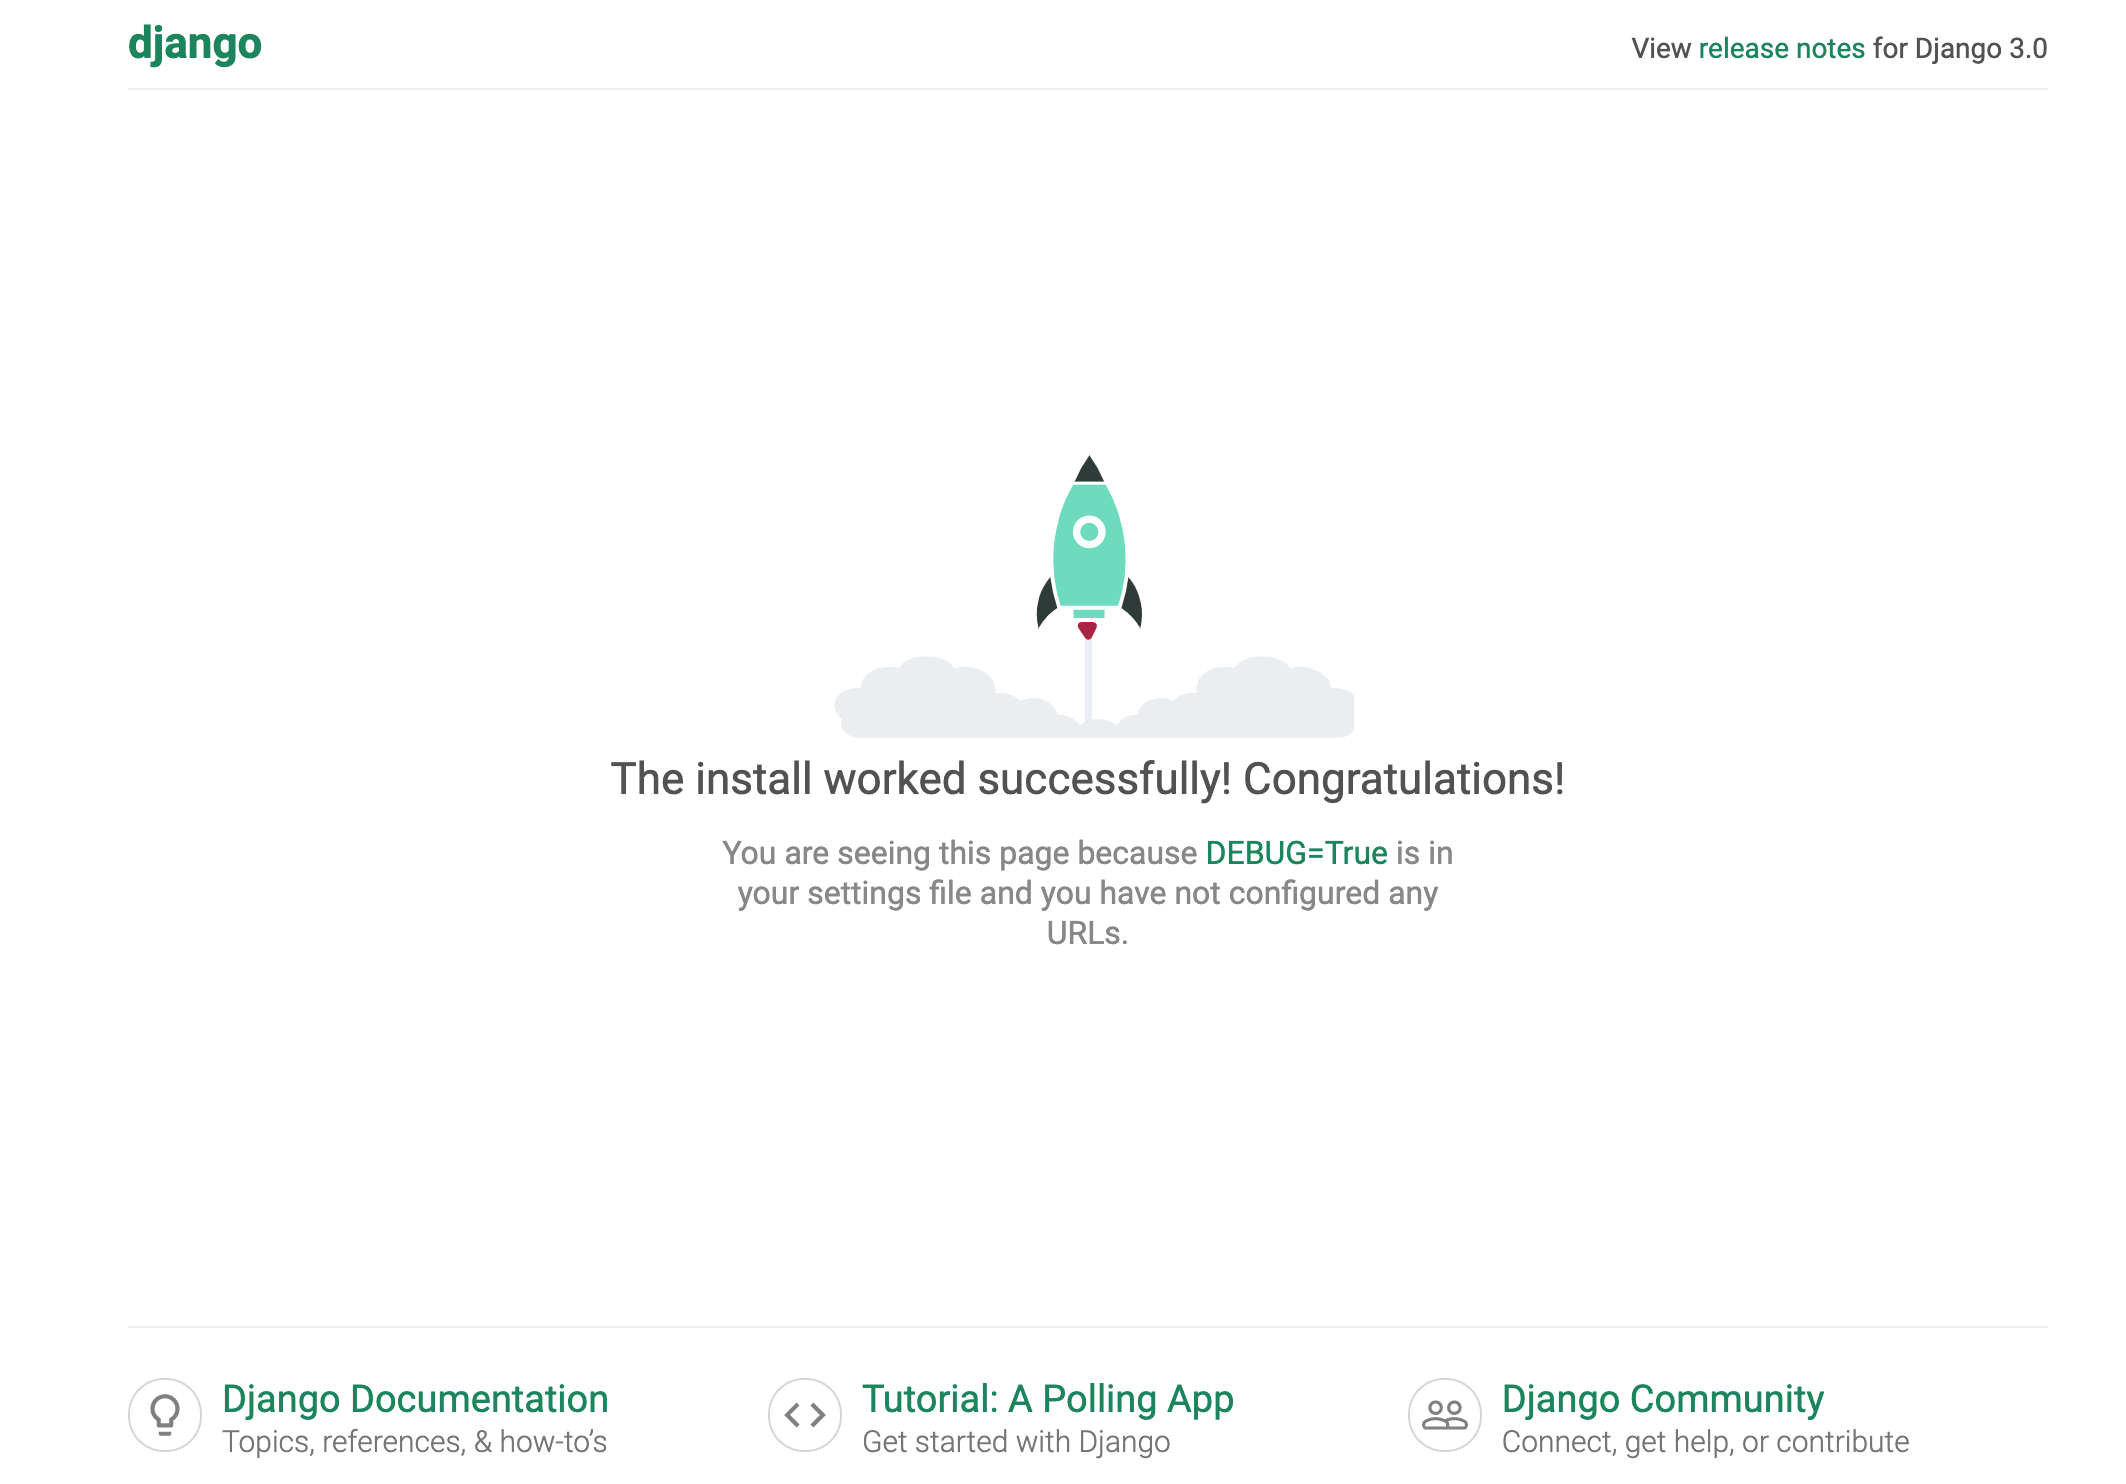
$ docker-compose up -dで起動してlocalhost:8000にアクセスしてDjangoの画面が表示されればOK
NginxでUNIXドメインソケット使用する設定
- 公式のDockerイメージを使用するが、UNIXドメインソケットの設定を記載したconfファイルを作成し起動時にマウントさせる
- gunicorn.confという名前で以下の内容を記載
gunicorn.conf
upstream gunicorn-django {
    server unix:///var/run/gunicorn/gunicorn.sock;
}

server {
    listen 80;
    server_name localhost;

    location / {
        try_files $uri @gunicorn;
    }

    location @gunicorn {
        proxy_pass http://gunicorn-django;
    }
}
-
upstream gunicorn-django{…}の内容がUNIXドメインソケットの設定 - 記載したパスのソケットファイルを介することでgunicornと通信を行う
- つまりgunicorn側からもこのソケットファイルを呼び出す設定が必要になる
- あとはlocationのproxy_passでupstreamで指定したgunicorn-djangoを指定すればよい
- Nginxのdocker-compose.yamlの記載は以下の通り
version: '3.7'

services:
  nginx:
    image: nginx:1.17.7
    container_name: nginx
    ports:
      - "80:80"
    volumes:
      - ./gunicorn.conf:/etc/nginx/conf.d/default.conf
- Nginx内に
/etc/nginx/conf.d/default.confという名前でマウントする - Nginxは/etc/nginx/nginx.confを起動時に読み取り、そのファイル内で
include /etc/nginx/conf.d/*.conf;という記載がされているため、/etc/nginx/conf.d配下に自分で作成したconfファイルをマウントしておけば起動時に一緒に読み込んでくれる
GunicornでUNIXドメインソケット使用する設定
- 先ほどローカルで起動させた状態から多少変更を加える
コンテナの起動コマンド
WSGIの設定
- GunicornがNginxと通信を行えるよう、以下のようなgunicornコマンドを叩く必要がある
$ gunicorn django_project.wsgi
- これは今回django_projectというプロジェクトを作成したときに構築されるdjango_project配下にあるwsgi.pyを読み込む
- ローカルで起動させるときはmanage.pyを起動させたが、WSGIで通信させるときはこのコマンドが必要になる
UNIXドメインソケットの設定
- UNIXドメインソケットで通信させるため、
--bindで起動時ソケットファイルのパスを指定する
$ gunicorn django_project.wsgi --bind=unix:/var/run/gunicorn/gunicorn.sock
- これによりgunicornへのUNIXドメインソケット通信が可能になる
Doickerfile修正
- 上記の内容を基に、DockerfileのCMDを変更
Dockerfile
FROM python:3.8.0-alpine

WORKDIR /usr/src/app

ENV PYTHONDONTWRITEBYTECODE 1
ENV PYTHONUNBUFFERED 1

RUN pip install --upgrade pip
COPY ./requirements.txt /usr/src/app/requirements.txt
RUN pip install -r requirements.txt

RUN mkdir -p /var/run/gunicorn

CMD ["gunicorn", "django_project.wsgi", "--bind=unix:/var/run/gunicorn/gunicorn.sock"]
- 再度ビルドしておく
$ docker build -t gunicorn:latest .
Djangoプロジェクトへアクセスできるホストを指定
- django_project配下に作成されるsetting.py内の
ALLOWED_HOSTS=[]に指定する - 本来なら制限するべきだが、ここでは全てのホストからのアクセスを許可するため
ALLOWED_HOSTS=[*]にしておく - このファイルはwsgi.pyから呼び出されている
UNIXドメインソケット通信でマウントするボリュームを作成
- Nginx、Gunicornでソケットファイルのパスを指定したので、ソケットファイルのボリュームを作成する必要がある
- 今回はDockerで起動させるので、DockerのVolumeを起動時に作成し、2つのコンテナからそのVolumeにマウントを行う
- 最終的なdocker-compose.yamlは以下の通り
docker-compose.yaml
version: '3.7'

services:
  gunicorn:
    image: gunicorn:latest
    container_name: gunicorn
    volumes:
      - .:/usr/src/app/
      - gunicorn:/var/run/gunicorn
  nginx:
    image: nginx:1.17.7
    container_name: nginx
    depends_on:
      - gunicorn
    ports:
      - "80:80"
    volumes:
      - ./gunicorn.conf:/etc/nginx/conf.d/default.conf
      - gunicorn:/var/run/gunicorn
volumes:
  gunicorn:
    driver: local
- gunicornというVolumeを作成し、それぞれのコンテナにマウントする(今回はどちらのコンテナでも
/var/run/gunicornを指定している)
稼働
- 以下のコマンドで起動
$ docker-compose up -d
Starting gunicorn ... done
Starting nginx    ... done
- 起動後に
localhostにアクセスしてみる
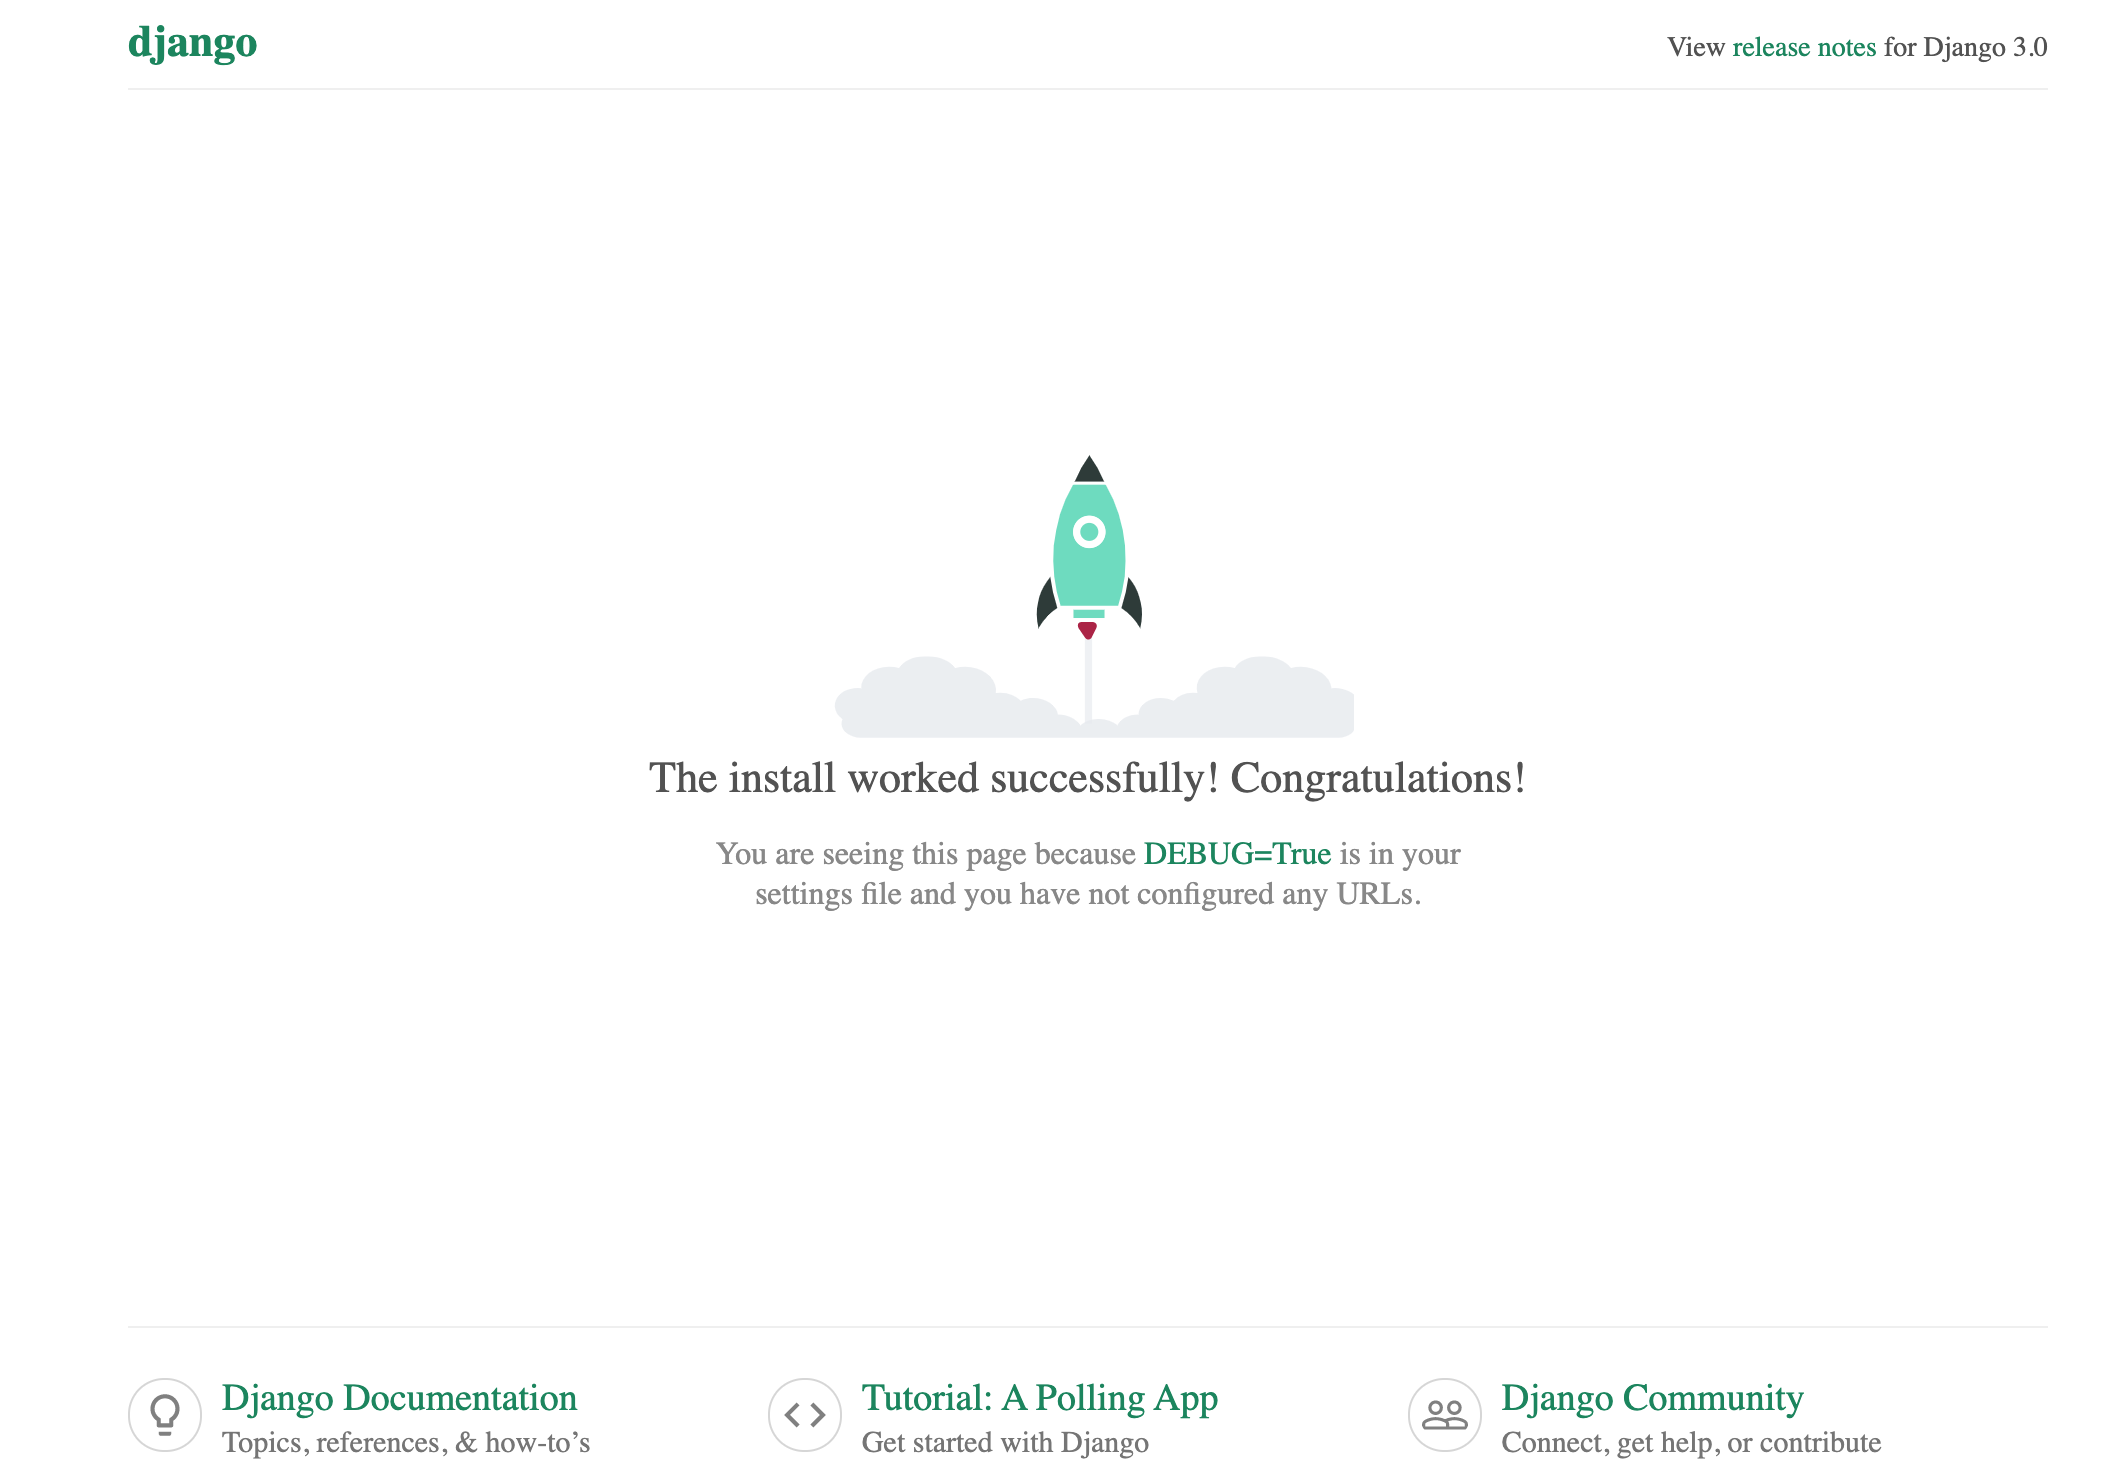
- 画面が表示されればOK
- 最初にGunicornを単体で稼働させたときと表示されている画面は同じだが、今回はnginxを経由して表示されている
ソースコード
- 今回作成したファイル一式はこちら