前回=> vte.cxによるバックエンドを不要にする開発(2.データの登録と取得)
今回はエントリにユーザ定義項目を追加してデータを表示するところまでをやってみましょう。
エントリに独自項目を追加する
前回の記事では、entryのtitleにHelloという文字列を入れるだけでした。
実はtitleはデフォルトで定義されている項目なのでスキーマ定義は必要ありませんでした。
デフォルト項目は基本的にATOMのメタ情報の項目です。それは以下のものがあります。
- author、id、published、updatedなどは自動で値がセットされます
- title、subtitle、summary等はユーザによって自由にセット可能です。
- contentはコンテンツ(リソース本体)の格納場所として使われます。
- linkは別名(alias)やキー(self)として使われます。
- contributorはアクセス権限(ACL)を管理するために使われます。
- rightsは設定情報などで使われます。この項目は暗号化されます。
詳しくは、ドキュメントの方を参照してください。
デフォルト項目以外でユーザが独自の項目を追加したい場合はスキーマ定義が必要になります。
スキーマ定義は、vte.cx管理画面のエントリスキーマ管理タブから行えます。
以下の画面は、userというユーザ定義項目を追加した様子です。
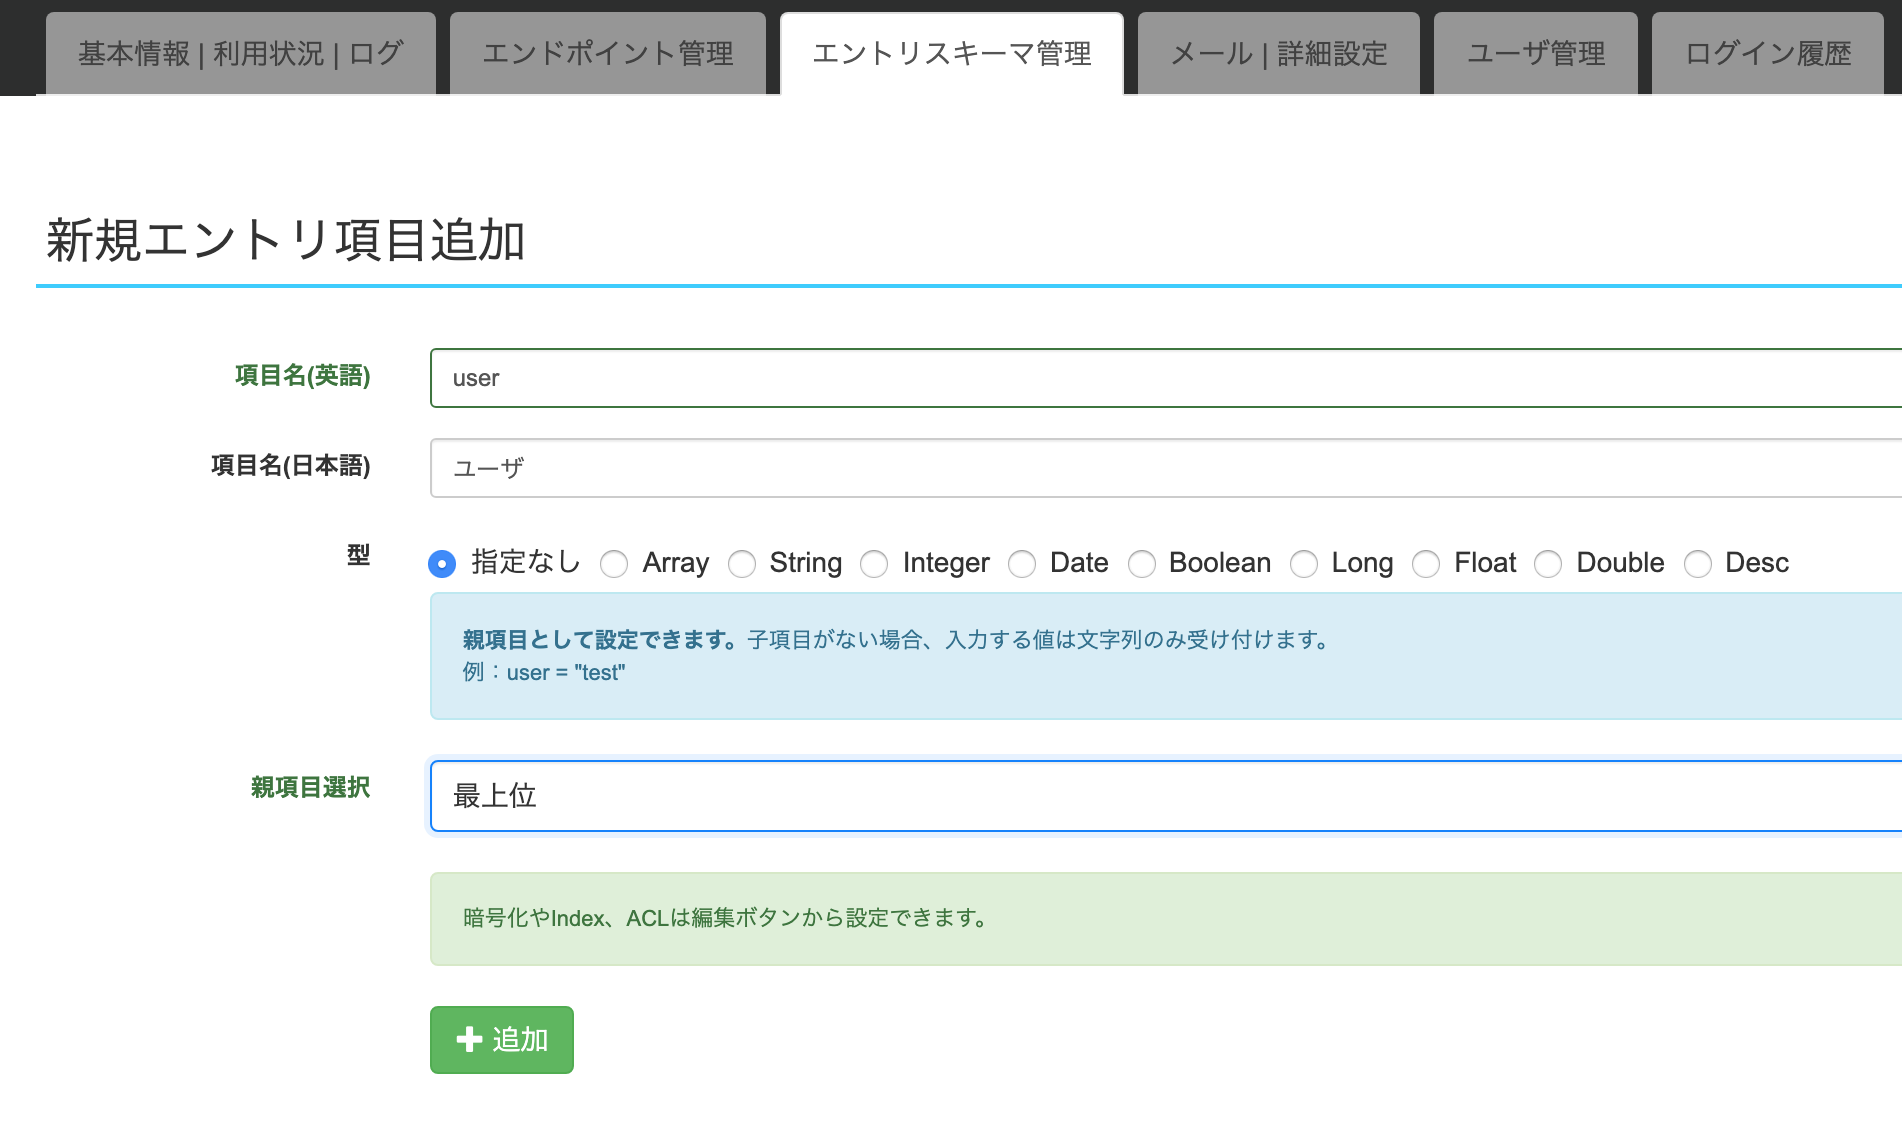
項目名(英語)にuser、日本語名にユーザ、親項目選択に最上位を選択して追加ボタンを押すとuser項目が追加されます。
また、userの子項目である、nameとemailを追加することもできます。
例えば以下のような構造のJSONを登録するためのエントリスキーマを作成してみましょう。
{
   user: {
      name: "bar",
      email: "bar@vte.cx"
   }
}
項目名にname、日本語名に名前、親項目選択にuserを選択して追加ボタンを押します。
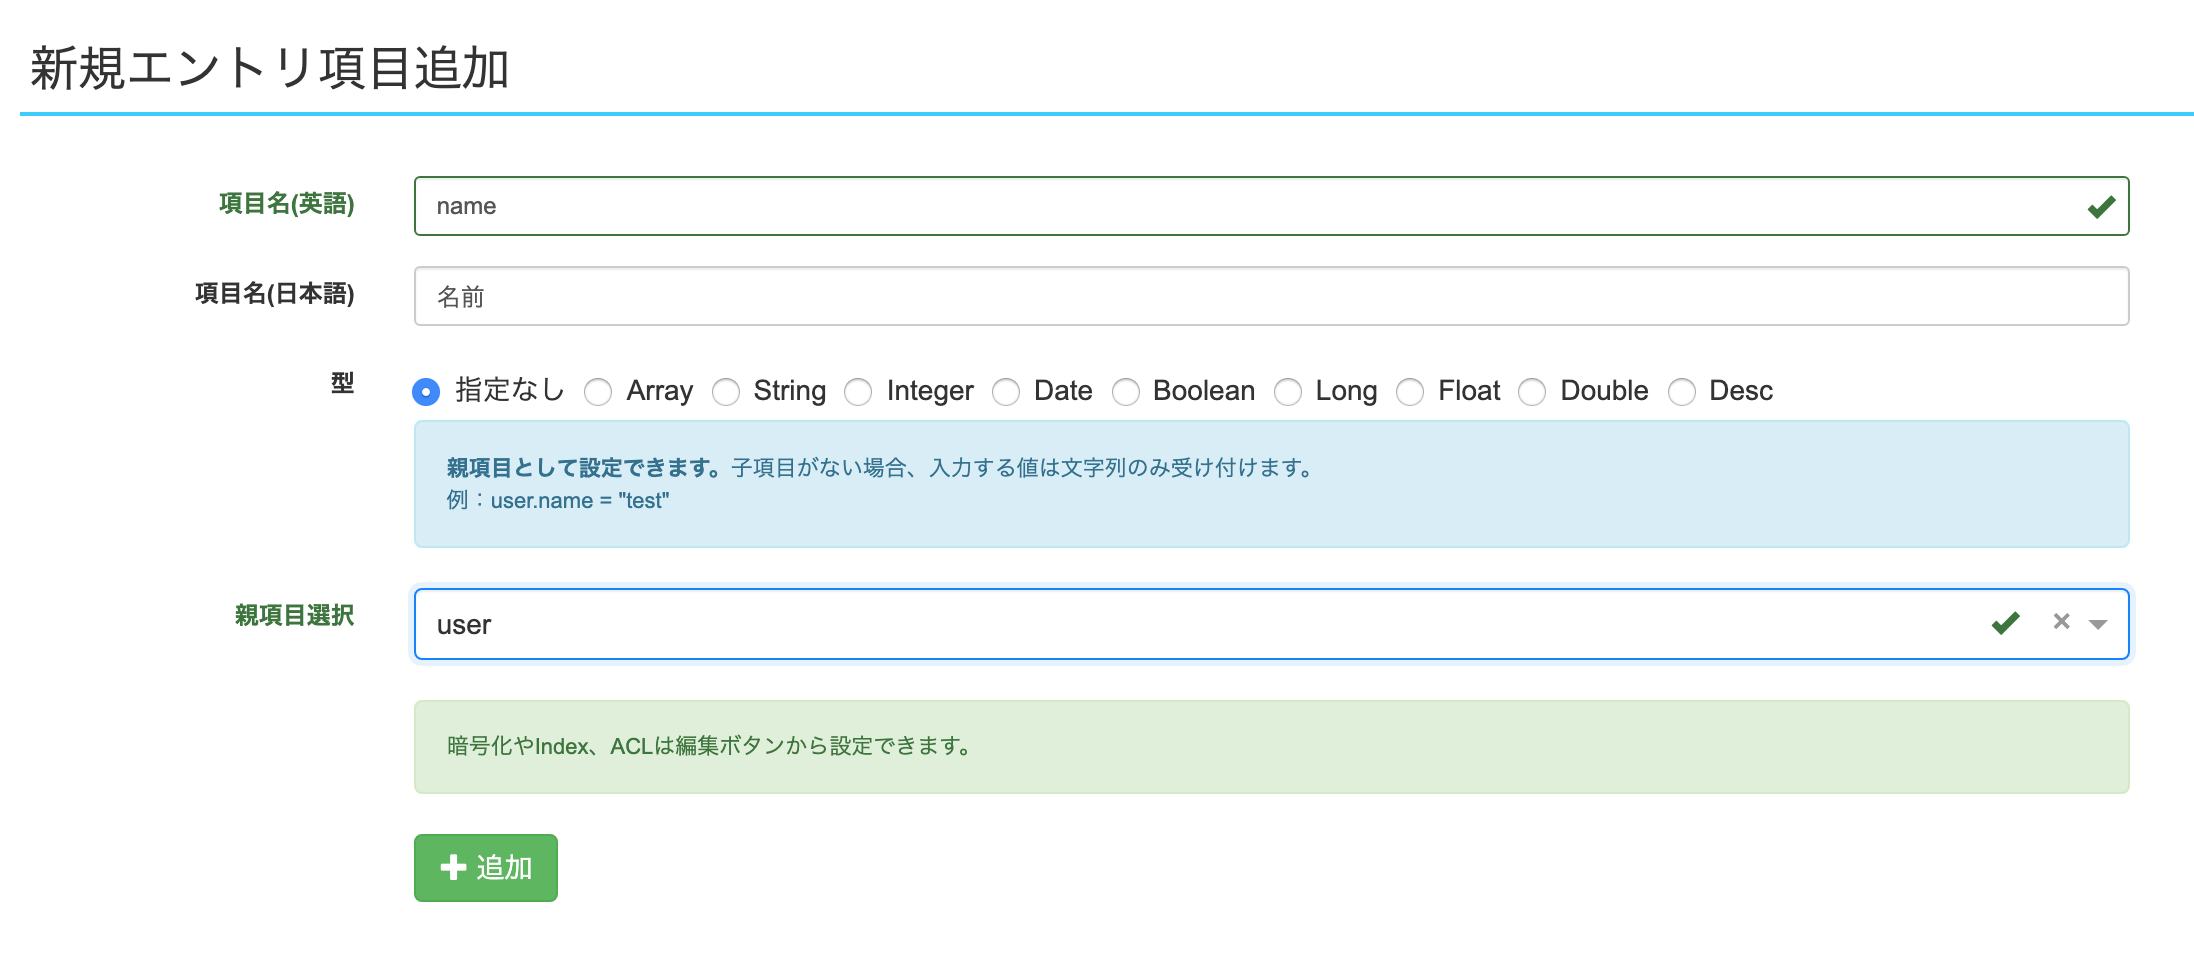
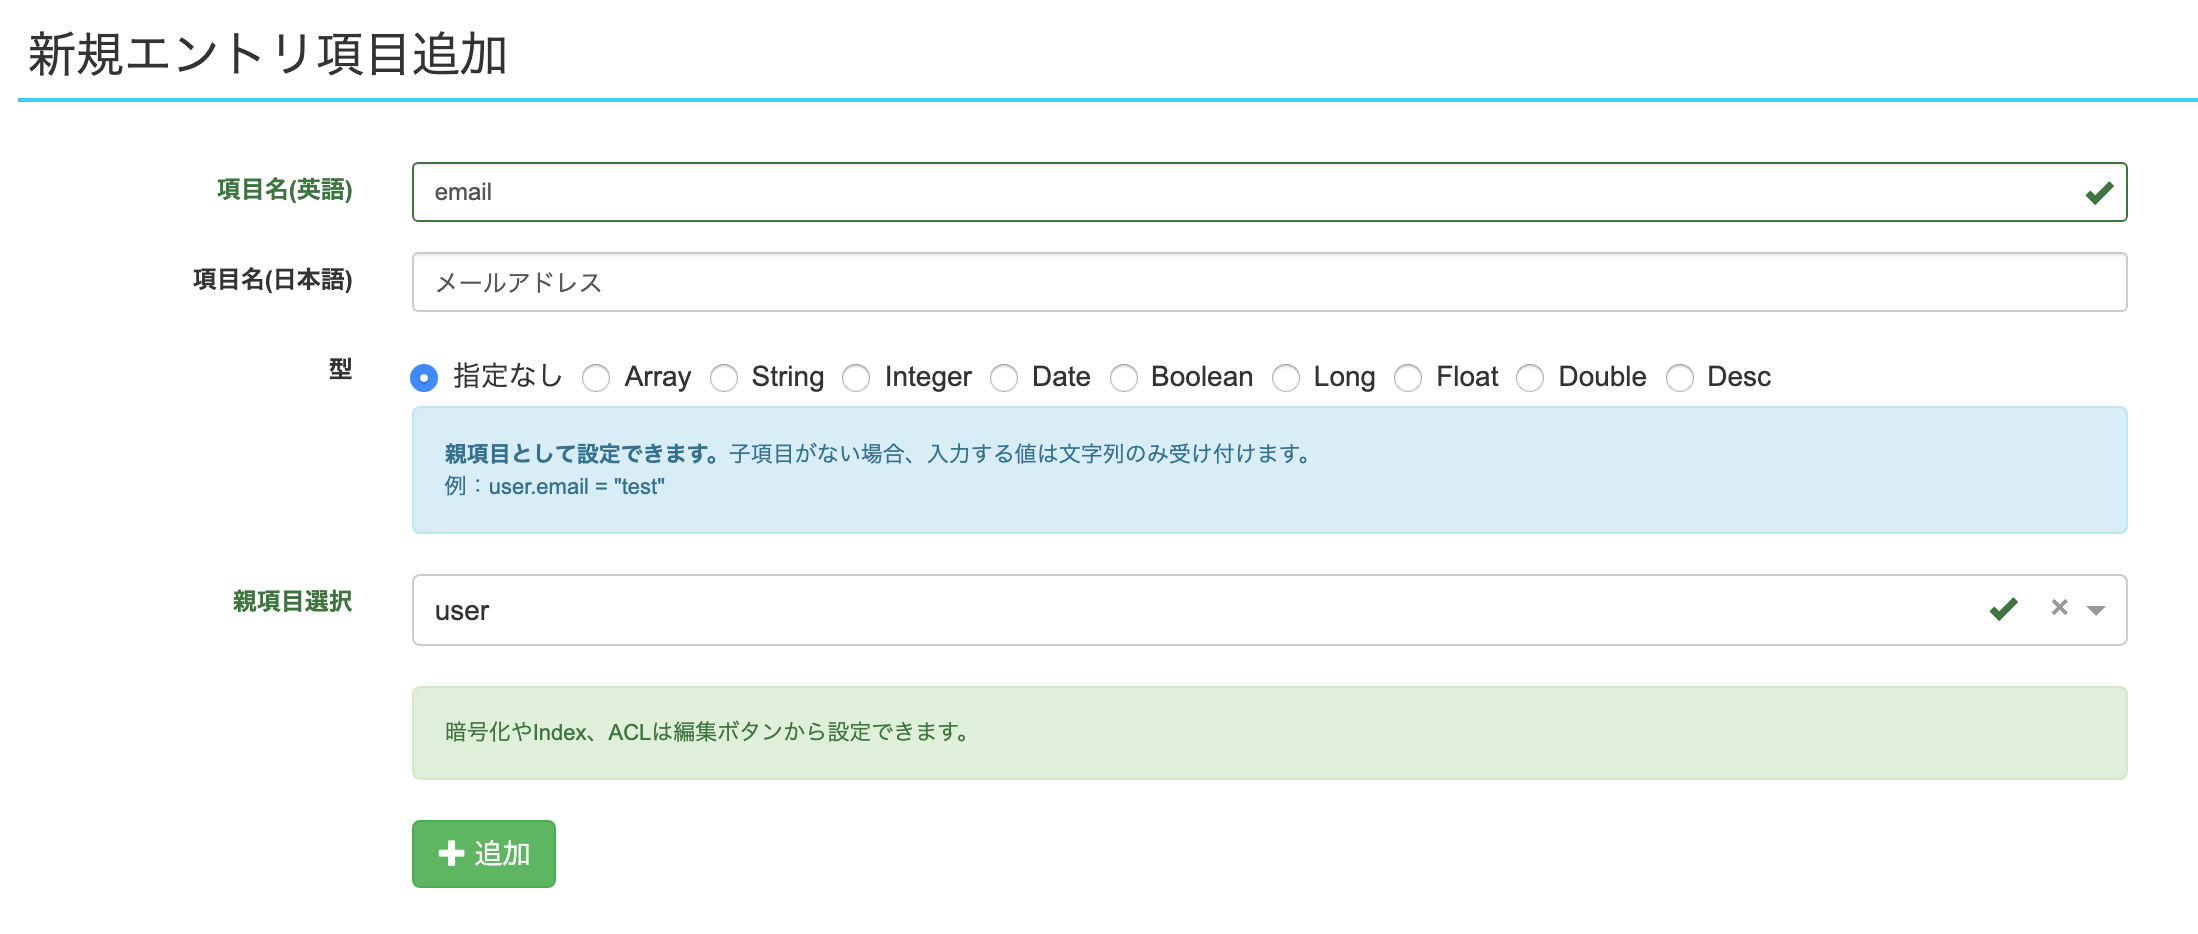
また、項目名にemail、日本語名にメールアドレス、親項目選択にuserを選択して追加ボタンを押します。
すると、エントリ項目一覧では以下のようになります。日本語名やコメントはいつでも更新可能です。

次に、以下のコマンドをターミナルから実行してください。
npm run download:template
これにより、スキーマ情報がダウンロードされ、ローカルファイル(setup/settings/template.xml)が更新されます。中身を覗いてみましょう。
<?xml version="1.0" encoding="UTF-8" ?>
<feed>
<entry>
  <content>user
 name
 email</content>
  <link href="/_settings/template" rel="self"/>
</entry>
<entry>
  <link href="/_settings/template_property" rel="self"/>
</entry>
  <entry>
    <link href="/_settings/template_property/user" rel="self"/>
    <title>ユーザ</title>
  </entry>
  <entry>
    <link href="/_settings/template_property/user.email" rel="self"/>
    <title>メールアドレス</title>
  </entry>
  <entry>
    <link href="/_settings/template_property/user.name" rel="self"/>
    <title>名前</title>
  </entry>
</feed>
最初のentryのcontentの中で以下のようなスキーマ情報が格納されています。userの下の行に一つスペースを空けてname、その下にemailがあります。一つスペースを空けることで子要素であることを意味します。
user
 name
 email
これを手修正して更新することもできます。修正したら必ず、npm run upload:templateを実行してサーバを更新してください。ちなみに、サービスを止めることなくスキーマ更新は可能であり登録済のデータが壊れることはありません。ただし、項目名の変更や追加は可能ですが、削除はできません。
データをアップロードする
以下のようなJSONデータを/dataフォルダ上に作成し、npm run upload:dataを実行してください。キーであるlink.___hrefが/foo/2になっていますので、/d/foo/2に登録されるはずです。
[{
  "user": {
    "name": "bar",
    "email": "bar@vte.cx"
 },
  "link": [
      {
          "___href": "/foo/2",
          "___rel": "self"
      }
  ]
}]
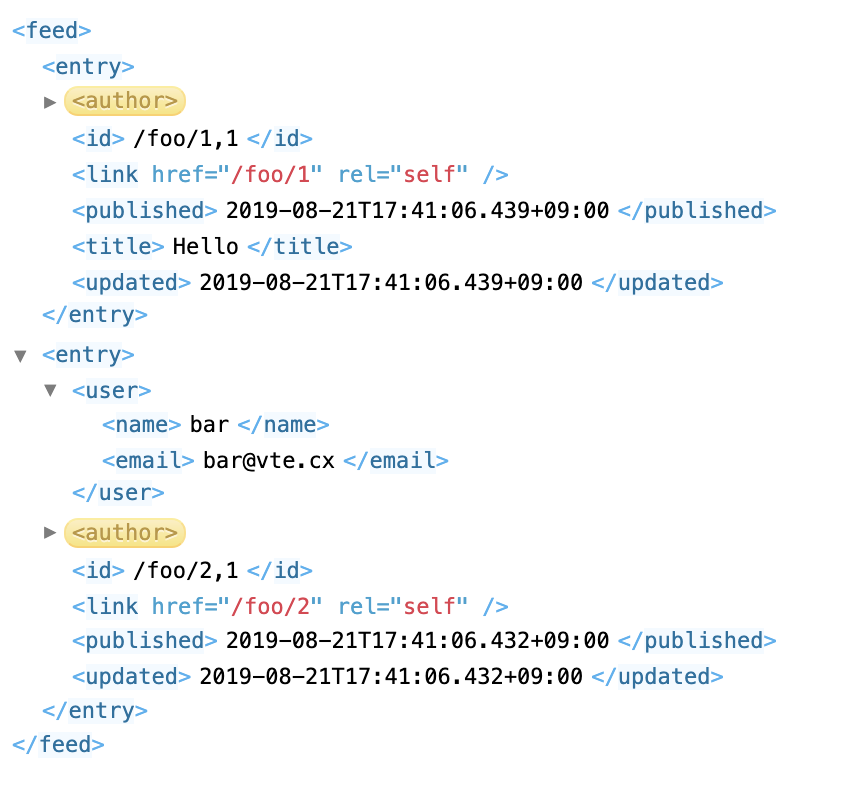
登録されたかブラウザで確認してみましょう。http://{サービス名}.vte.cx/d/foo?x&fをブラウザで開いてみてください。以下のように表示されたらアップロード成功です。
もし、表示されない場合は、/d/fooフォルダが正しく作成されているか確認してください。
管理画面のエンドポイント管理タブのエンドポイント一覧で以下が表示されていれば作成されています。作成されていなければ新規エンドポイント作成を行ってください。(詳しくは、前回の記事を参照)

プログラムからデータを取得して表示する
前回のコードを修正して、登録したデータをプログラムから表示させてみましょう。
import * as React from 'react'
import * as ReactDOM from 'react-dom'
import { useState,useEffect } from 'react'
import axios from 'axios'

const App = () => {
  const [x, f] = useState(0)

  const getdata = async () => {
    try {
      axios.defaults.headers['X-Requested-With'] = 'XMLHttpRequest'
      const res = await axios.get('/d/foo/2?e')
      alert(`res= ${res.data.user.name} `);
    } catch (e) {
      alert('error')
      console.log(e)
    }
  }

  useEffect(() => {
    getdata()
  })

  return (
    <div>
      <button onClick={() => { f(x+1) }}>
       {x} times
      </button>
    </div>
  )

}

ReactDOM.render(<App/>, document.getElementById('container'))
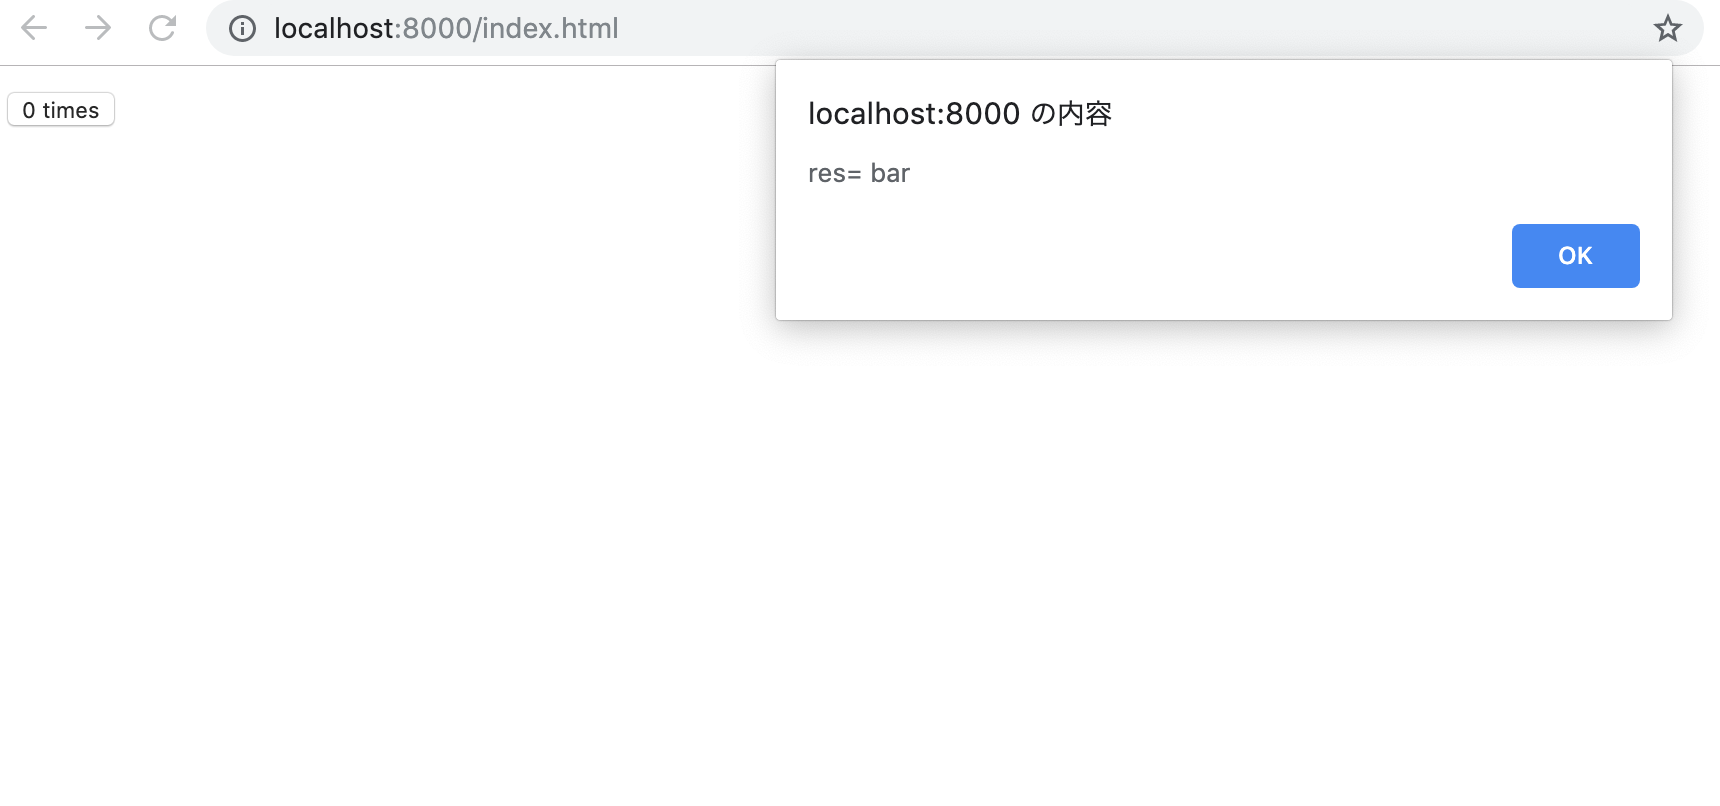
npm run serve:indexを実行するとブラウザが起動し、res.data.user.nameの中身が表示されますので、以下のようにres=barが表示されれば成功です。(errorが表示される場合は、npm run serve:loginを実行してログインしてください)
型を定義する
TypeScriptの型を利用した安全なコードの作成について説明します。
まず、npm run download:typingsで型定義ファイルをダウンロードしてください。vte.cxではダウンロードの際、エントリスキーマの情報を元にTypeScriptの型定義ファイルを自動生成します。
ダウンロードすると、/src/typingsフォルダの下に、index.d.tsファイルが作成されますので、それを開いてみてください。以下のように、ATOM項目とユーザ定義項目が定義されているのがわかります。
export = VtecxApp
export as namespace VtecxApp

declare namespace VtecxApp {
	interface Request {
		feed: Feed
	}
	interface Feed {
		entry: Entry[]
	}
	interface Entry {
		id?: string,
		title?: string,
		subtitle?: string,
		rights?: string,
		summary?: string,
		content?: Content[],
		link?: Link[],
		contributor?: Contributor[],
		user?:User
	}
	interface Content {
		______text: string
	}
	interface Link {
		___href: string,
		___rel: string
	}
	interface Contributor {
		uri?: string,
		email?: string
	}
	interface User {
		name?:string,
		email?:string
	}
}
次に、先程のソースを編集して型を追加してください。
const entry: VtecxApp.Entry = res.dataが該当の箇所です。
これにより、entry.user.nameがエラーになるので、空チェックを行うif文を追加してください。if (entry.user&&entry.user.name)
これで、より堅牢なコードになりました。
import * as React from 'react'
import * as ReactDOM from 'react-dom'
import { useState,useEffect } from 'react'
import axios from 'axios'

const App = () => {
  const [x, f] = useState(0)

  const getdata = async () => {
    try {
      axios.defaults.headers['X-Requested-With'] = 'XMLHttpRequest'
      const res = await axios.get('/d/foo/2?e')
      const entry: VtecxApp.Entry = res.data
      if (entry.user&&entry.user.name) {
        alert(`res= ${entry.user.name} `);
      }
    } catch (e) {
      alert('error')
      console.log(e)
    }
  }

  useEffect(() => {
    getdata()
  })

  return (
    <div>
      <button onClick={() => { f(x+1) }}>
       {x} times
      </button>
    </div>
  )

}

ReactDOM.render(<App/>, document.getElementById('container'))
データをプログラムから更新する
最後に、データをプログラムから更新してみましょう。
データを更新するにはPUTを使います。以下のコードでは、/foo/2 エントリの内容を書き換えます。
実行してres=Updatedと表示されたら成功です。
import * as React from 'react'
import * as ReactDOM from 'react-dom'
import { useState,useEffect } from 'react'
import axios from 'axios'

const App = () => {
  const [x, f] = useState(0)

  const req: VtecxApp.Entry[] = [
    {
        user: {
	    name: 'baz',
	    email: 'baz@com'
	},
        link: [
            {
                "___href": "/foo/2",
                "___rel": "self"
            }
        ]
     }
  ]

  const putdata = async () => {
    try {
      axios.defaults.headers['X-Requested-With'] = 'XMLHttpRequest'
      const res = await axios.put('/d/foo',req)
      alert(`res= ${res.data.feed.title} `);
    } catch (e) {
      alert('error')
      console.log(e)
    }
  }

  useEffect(() => {
    putdata()
  })

  return (
    <div>
      <button onClick={() => { f(x+1) }}>
       {x} times
      </button>
    </div>
  )

}

ReactDOM.render(<App/>, document.getElementById('container'))
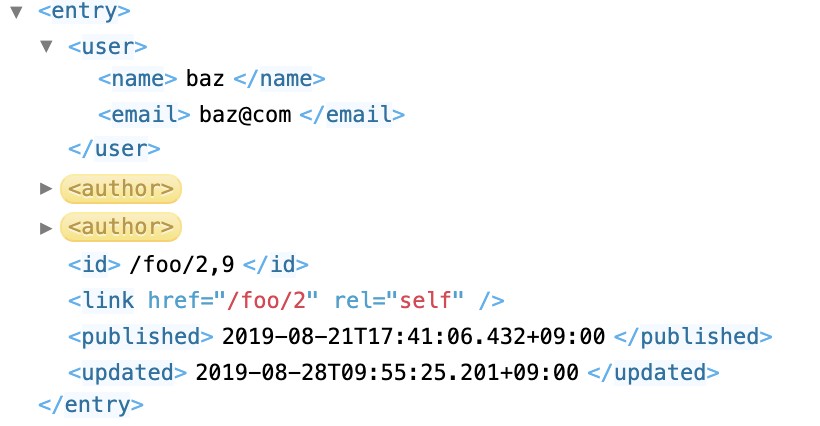
正しく更新されたかブラウザで確認してみましょう。http://{サービス名}.vte.cx/d/foo?x&fをブラウザで開いてみてください。(idのカンマの右の数字は更新回数です。以下は9回更新されたことを意味します)
今回はこれで以上です。お疲れ様でした。