Colaboratoryは、Googleが機械学習の教育・研究用途に無償提供していることでお馴染みのWebサービスですが、その素晴らしい計算機パワーが生かせるのは機械学習だけとは限りません。
論より証拠。以下はColaboratory上のBlenderでレンダリングした1920*1080の出力結果です(注:モデルはBlender公式サイトで公開されており、CC0ライセンスに準拠しています)
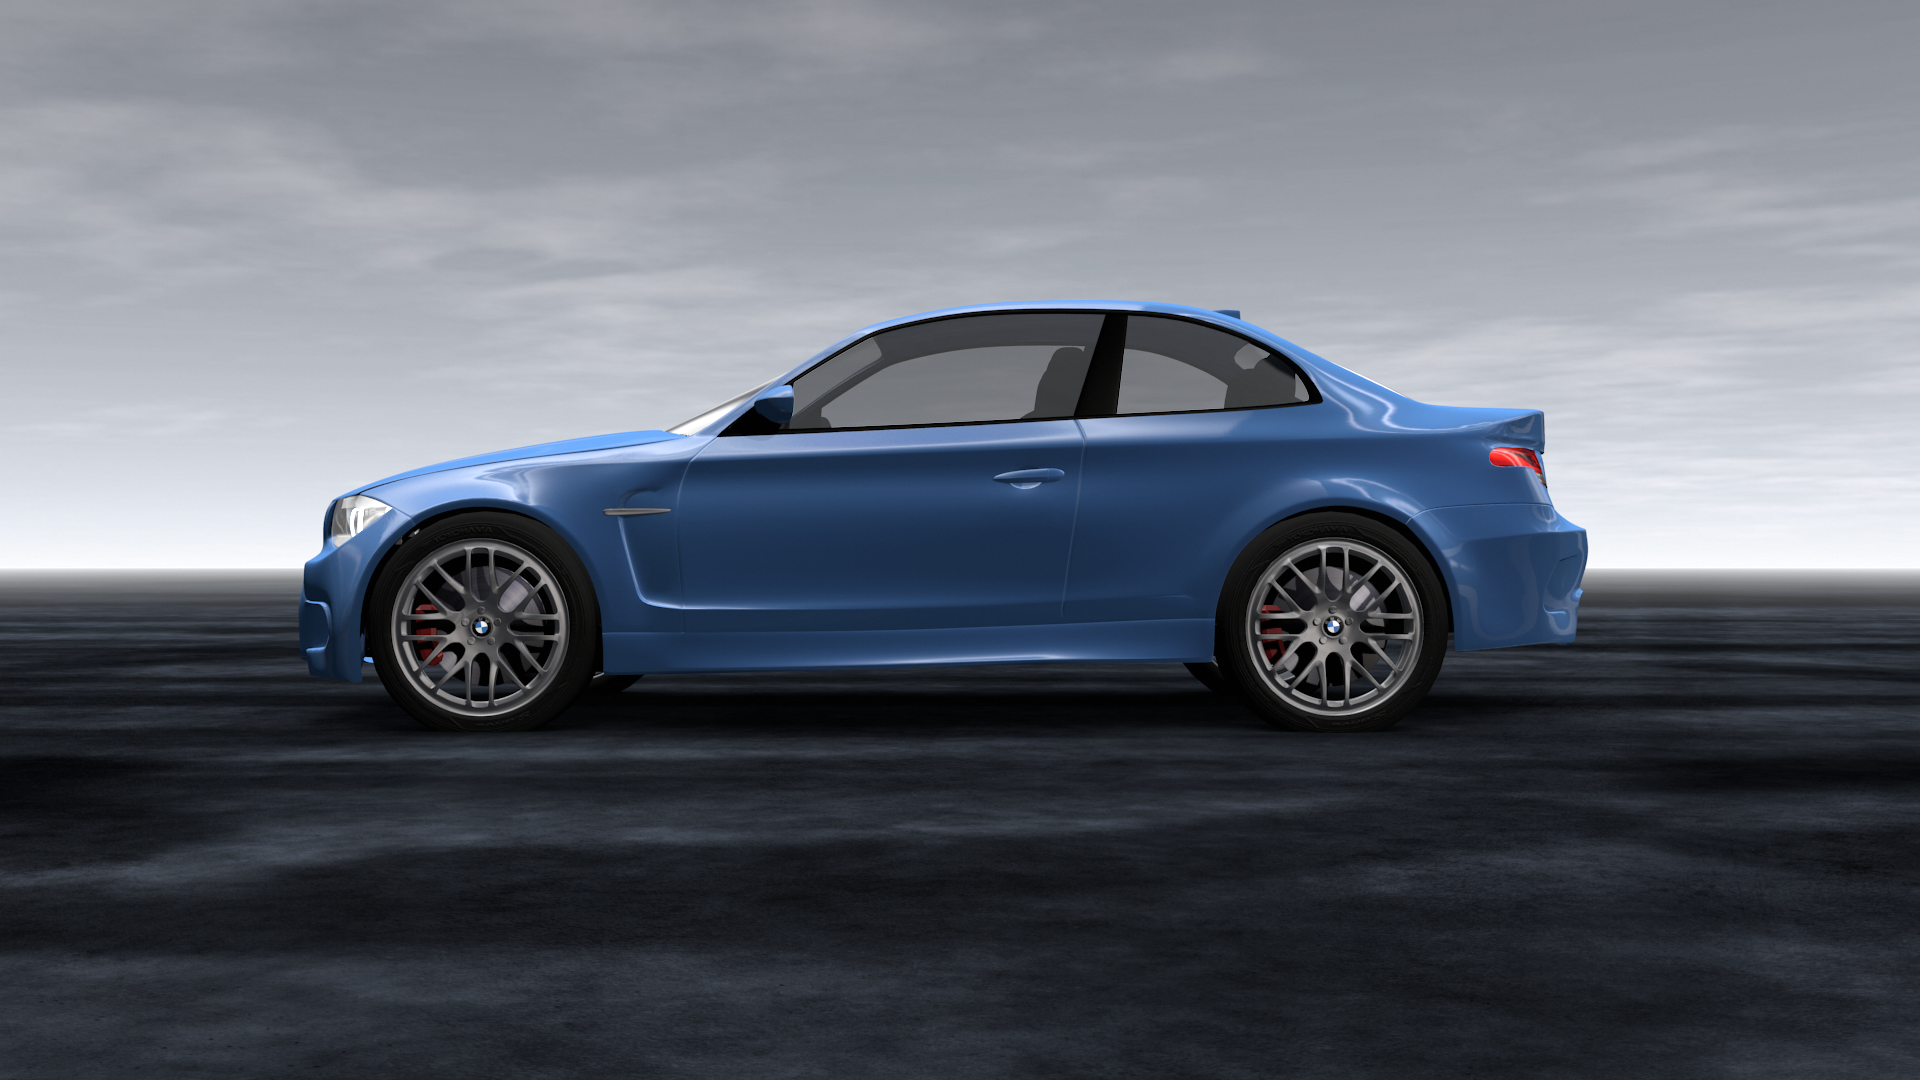
この1枚のレンダリングに要した時間は28秒。実際のJupyterサンプルはこちらで公開しておりますので、今すぐに試すことができます。
サンプルにもありますが、Colaboratory上でのblenderのインストールは以下のコマンドになります。aptコマンド一発でいけるのが素晴らしいですね。
!apt install blender libboost-all-dev libgl1-mesa-dev
そして、Blenderのバックグラウンドモードを用いた実行スクリプトは以下のようになります。Eオプションでレンダラを指定しており、ここを"CYCLES"にするとPath Tracingに切り替わります。
!blender -b BMW27GE.blend -noaudio -o ./test_ -E BLENDER_RENDER-x 1 -f 1
なお、Blender自体はPythonコードで自動制御出来るのですが、残念ながらその制御モジュールであるblenderpyがColabにインストールできませんでした。インストールに用いたコマンドは下記のとおりです。
!pip install bpy
よくREADMEを読むと、Windowsのみの対応だとか。
I have not tested this for platforms other than Windows at the moment. More to come soon.
もしblenderpyが正しくインストールされれば、GPUレンダリングの検証などが出来ただけに残念です。もし代替案をご存知の方がいましたら、ご教授頂けると嬉しいです。
またColabでは、OpenGL ESによるGPUレンダリングも実は可能です。Pyrenderをインストールすると、Pythonのみでモデルの読み込みから描画まで記述できます。
!pip install pyrender
glb(glTFのバイナリフォーマット)形式のファイルを読み込んで、Pyrenderで表示するJupyterサンプルを公開しました。サンプルコードを以下に抜粋しておきます。こちらはGPUだけに瞬時に描画出来ています。
# Render offscreen -- make sure to set the PyOpenGL platform
import os
os.environ["PYOPENGL_PLATFORM"] = "egl"
import numpy as np
import trimesh
import pyrender

# Load the FUZE bottle trimesh and put it in a scene
tri_scene = trimesh.load('pyrender/examples/models/WaterBottle.glb')
scene = pyrender.Scene.from_trimesh_scene(tri_scene)


# Set up the camera -- z-axis away from the scene, x-axis right, y-axis up
camera = pyrender.PerspectiveCamera(yfov=np.pi / 6.0)
s = np.sqrt(2)/2
camera_pose = np.array([
       [0.0, -s,   s,   0.3],
       [1.0,  0.0, 0.0, 0.0],
       [0.0,  s,   s,   0.35],
       [0.0,  0.0, 0.0, 1.0],
    ])
scene.add(camera, pose=camera_pose)

# Set up the light -- a single spot light in the same spot as the camera
light = pyrender.SpotLight(color=np.ones(3), intensity=3.0,
                               innerConeAngle=np.pi/16.0)
scene.add(light, pose=camera_pose)

# Render the scene
r = pyrender.OffscreenRenderer(640*2, 480*2)
color, depth = r.render(scene)

# Show the images
import matplotlib.pyplot as plt
plt.figure(figsize=(16, 12))
plt.axis('off')
plt.imshow(color)
Colaboratory、まさかBlenderが普通に動くとは思っていなかったので、びっくりです。他にもいろんな可能性がありそうですね。