目標
typescript, webpack, loader の環境設定
webpack環境でjavascript, jqueryを使う
前提条件
- node.js(必)
C:\>node -v
v12.18.4
1. typescript project 生成
(1) 基本セッティング
C:\git>mkdir pinyin_show // 1. project フォルダーを作って
C:\git>cd pinyin_show // 2. そこに入って
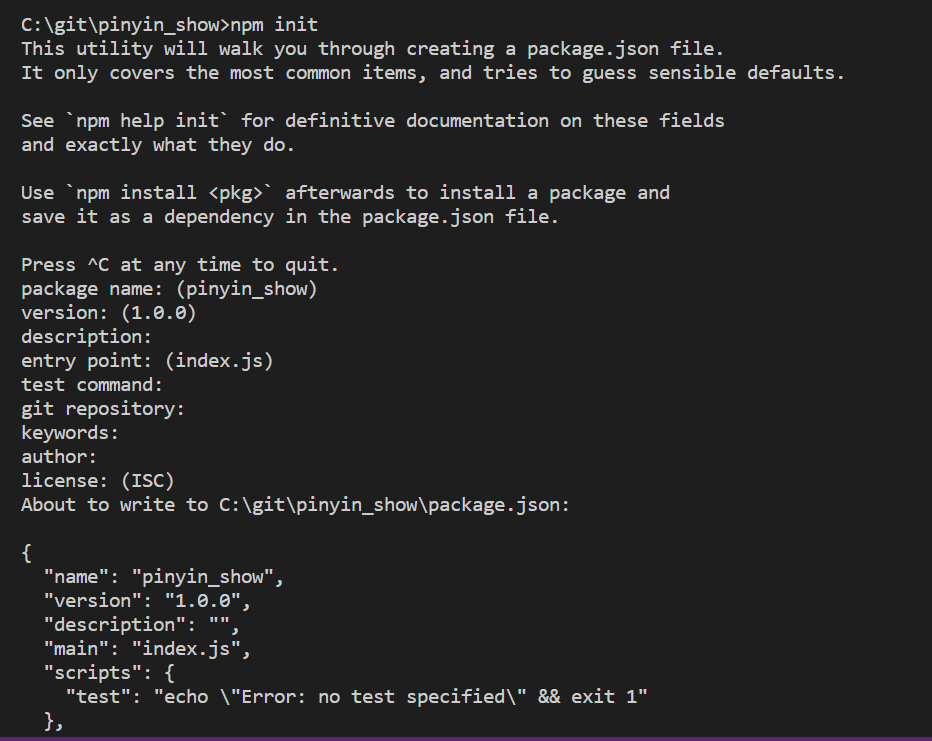
C:\git\lang_wich_sample>npm init // 3. package.jsonが生成させる
エンター連続してデフォルトで進む。

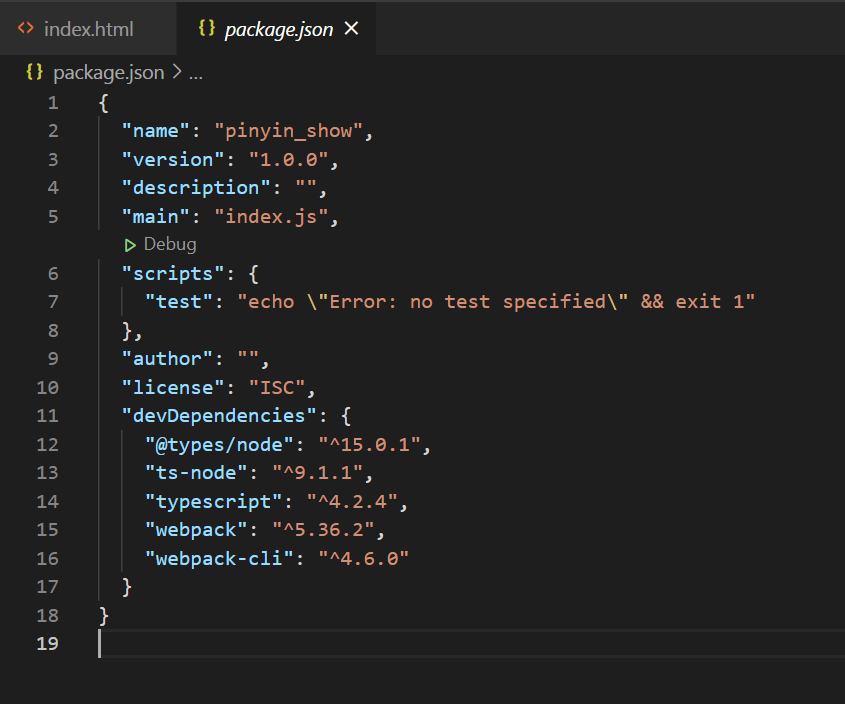
vscからpinyin_showを開いてpackage.jsonを確認する。

npm install
(2) typescript セッティング
npm i -D typescript ts-node @types/node
ts-node: typescript → es5へ変換・実行
@types/node: typescript用タイプライブラリ(ex ramda → @types/ramda)
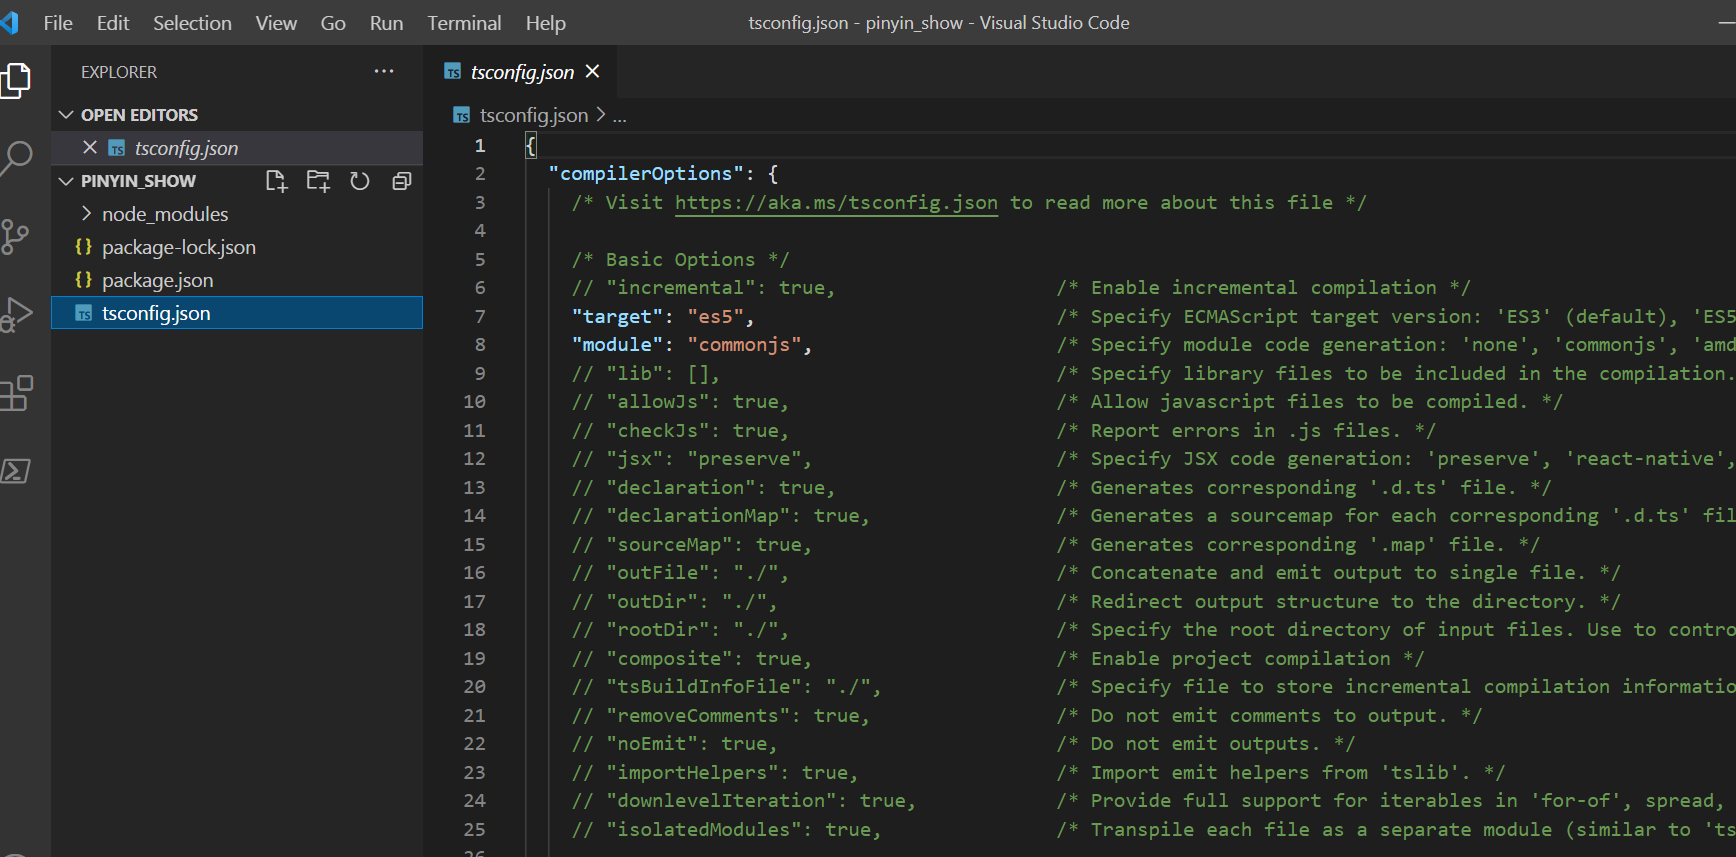
tsc --init
まずはコマンドアウトを全部削除。
{
  "compilerOptions": {
    "target": "es5",
    "module": "commonjs",
    "strict": true,
    "esModuleInterop": true,
    "skipLibCheck": true,
    "forceConsistentCasingInFileNames": true
  },
  "include" : ["src/index.ts"] // そして始まりのファイルを設定する
}
2. webpackを使ってみよう
(1) HTML生成
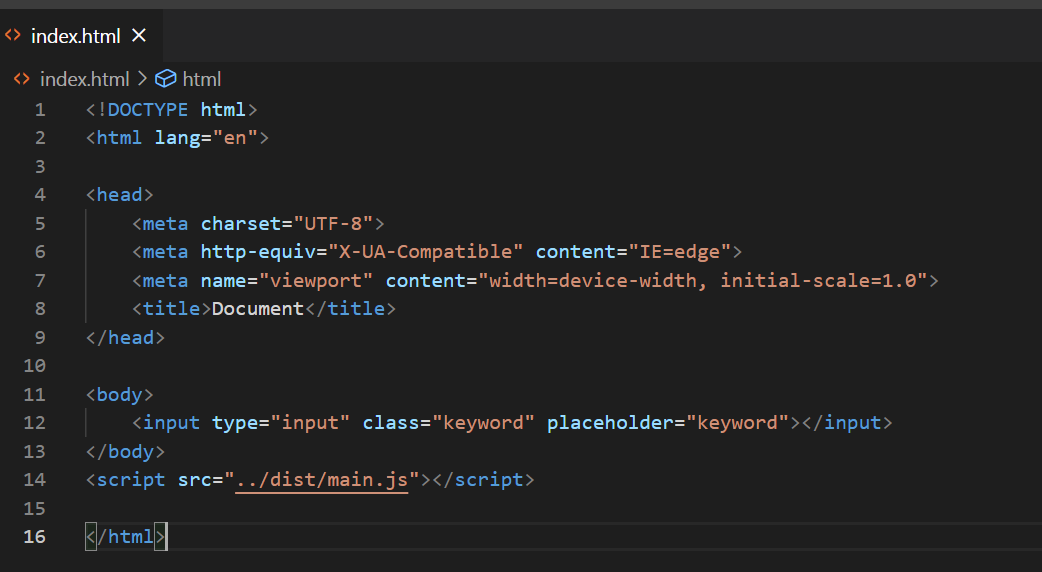
まずindex.htmlを作って中身を埋める
(! → tabキーで基本コードが自動で書かれる)

ピンイン出力のためのキーワード入力欄を作って
<input type="input" class="keyword" placeholder="keyword"></input>
異常なしのこと確認。
(2) webpackインストール
webpackとは? 一つのhtml実行に必要なjsファイルたちを一つのjsnにまとめてくれること。
npm i -D webpack webpack-cli
webpackコマンドを追加する("build"にしなくても大丈夫)
  "scripts": {
    "test": "echo \"Error: no test specified\" && exit 1",
    "build": "webpack" // 追加
  },
webpackの設定ファイルを生成する。
const path = require('path');

module.exports = {
    mode: 'development',
    entry: {
      main:'./src/index.ts'
    },
    output: {
      path: path.resolve('./dist'),
      filename:'[name].js' // [name] = entry : { key: value} の key (main.js)
    }
  };
今までの設定に問題はないかチェックしてみよう。
(これから修正の確認は以下コマンドを叩いた後にする)
npm run build
distフォルダーがなくてもnpm run buildでdistフォルダーが作られmain.jsが納めていることが確認できる。

ビルドされたjsをhtmlで使うためにはjsのパスをhtmlに入れておく。

しかしいちいちビルドの結果物を指定するのも面倒なので、これもwebpackを通してまとめるようにしよう。
(3) html-webpack-plugin インストール
npm i -D html-webpack-plugin
const HtmlWebpackPlugin = require('html-webpack-plugin'); // 追加
const path = require('path');

module.exports = {
    mode: 'development',
    entry: {
      main:'./src/index.ts'
    },
    output: {
      path: path.resolve('./dist'),
      filename:'[name].js'
    },
   // 追加
    plugins: [
      new HtmlWebpackPlugin({
        template:'./src/index.html'
      })
    ],
  };
それでは <script...></script> は削除して
(実装誤り修正: src/index.htmlになるよう位置修正)
npm run build
(4) ts-loader インストール
typescriptで作成したコードを画面で手軽に理解させるためにはローダーのインストールが必要。
npm i -D ts-loader
const HtmlWebpackPlugin = require('html-webpack-plugin');
const path = require('path');

module.exports = {
    mode: 'development',
    entry: {
      main:'./src/index.ts'
    },
    output: {
      path: path.resolve('./dist'),
      filename:'[name].js'
    },
    plugins: [
      new HtmlWebpackPlugin({
        template:'./src/index.html'
      })
    ],
     //追加
     module: {
      rules: [
        { test: /\.ts$/, use: 'ts-loader' }
      ]
    }
  };
3. javascript作成
キーボードが押された際に呼び出される関数を作ってみた。
<input type="input" class="keyword" placeholder="keyword" onkeydown="main"></input>
export function main(){
    console.log("hello typescript..?");
}
Uncaught ReferenceError: main is not defined at HTMLInputElement.onkeydown
onKeyDown, onClick系の関数をtsで使うにはWindowへ設定追加が必要だそうで、
interface Window {
    main(event: KeyboardEvent): void;
}

// enterキーのみ反応する
window.main = (event: KeyboardEvent) => {
    if(event.code == "Enter"){
        console.log("success typescript");
    }
};
<input type="input" class="keyword" placeholder="keyword" onkeydown="main(event)"></input>
成功!
4. ピンイン投入
npm install pinyin
(参考:https://www.npmjs.com/package/pinyin )
5. jqueryで変換結果を画面に表示させる
(1) jqueryのインストール
npm i --save-dev @types/jquery
(参考:https://www.npmjs.com/package/jquery )
    <script src="https://code.jquery.com/jquery-3.6.0.min.js"></script>
</body>
(2) js → html
jsからの結果を受け取るタグを追加する。
<div id="pinyinResult"></div>
const pinyin = require("./pinyin.ts");

interface Window {
    main(event: KeyboardEvent): void;
}

window.main = (event: KeyboardEvent) => {
    if(event.code == "Enter"){
        pinyin.inputHtml();
    }
};
const pinyin = require("pinyin");

function convertPinyin(keyword: string) : string {
    return pinyin(keyword);
}

export function inputHtml(){
    const keyword = $('.keyword').val() + "";
    const convertedKeyword = convertPinyin(keyword);

    let withoutComma = "";

    for(let convert of convertedKeyword){
        withoutComma += convert;
    }

    let html = `<h3>${withoutComma}</h3>`;

    // using jquery
    $("#pinyinResult").append(html);
}


