Unityもなかなか使いやすし、GNOME3もシンプルでかっこいいけれど、やっぱりタイル型WMはいいものですよ。最近はXmonadを使っています。
ということで、今回はawesomeウィンドウマネージャの設定の覚書をば。
キーボードショートカットは[Key1 + Key2]のように書くことにします。ちなみに、modkeyとして登録されているMod4は、Superキーとも呼ばれるキーです。それから、Altキーは"Mod1"と書かないと認識しません。
~/.config/awesome/rc.lua
ターミナルの設定
デフォルトで立ち上がる[Mod4 + Return]ターミナルをgnome-terminalに
terminal = "gnome-terminal"
有効にするレイアウト
[Mod4 + Space]で切り替えられるレイアウトのどれを有効にするかを、ここで決めておけます。"-- "でコメントアウトしておけばOK。
-- Table of layouts to cover with awful.layout.inc, order matters.
layouts =
{
    awful.layout.suit.tile,
    awful.layout.suit.floating,
--    awful.layout.suit.tile.left,
--    awful.layout.suit.tile.bottom,
    awful.layout.suit.tile.top,
--    awful.layout.suit.fair,
    awful.layout.suit.fair.horizontal,
--    awful.layout.suit.spiral,
    awful.layout.suit.spiral.dwindle,
--    awful.layout.suit.max,
--    awful.layout.suit.max.fullscreen,
--    awful.layout.suit.magnifier
}
「タグ」について
「タグ」とは、他のWMでWorkspaceとか仮想モニタとか呼ばれるものです。それぞれに名前をつけ、デフォルトのレイアウトを予め設定できます。
僕は3つ目のタグをfloatとして、レイアウトはフロート(ウィンドウ型のWMに近い)にしてあります。
tags = {
    names = {"  main  ", "  browser  ", "  float  ", "  work  ", "  tray  "},
    layout = {layouts[1], layouts[1], layouts[2], layouts[1], layouts[1]}
    }
for s = 1, screen.count() do
    -- Each screen has its own tag table.
    tags[s] = awful.tag(tags.names, s, tags.layout)
end
バーの表示
(デフォルトでは)上に表示されるバーの高さなどを変えられます。高さを小さくして他の表示面積を空けました。
-- Create the wibox
mywibox[s] = awful.wibox({ position = "top", height = "20", screen = s })
キーボードショートカットについて
キーボードショートカットの設定は、201行目〜271行目くらいの間に、
awful.key({ メタキー }, "a"とか, function () 実行内容 end),
の形で登録していきます。以下に、役に立ちそうなショートカットを載せておきます。
一つ目は[Ctrl + Alt + l]で画面ロックするもの
二つ目と三つ目はキーボードの音量ボタンで音量の調節をするものです。Unity環境と同じフィードバックの音がなります。
-- {{{ Key bindings
globalkeys = awful.util.table.join(
            ・
            ・
            ・
    -- Standard program
            ・
            ・
            ・
    awful.key({ "Mod1", "Control" }, "l",   function () awful.util.spawn("xscreensaver-command -lock") end),
    awful.key({                   }, "XF86AudioRaiseVolume",
              function ()
                  awful.util.spawn("amixer sset Master 10%+")
                  awful.util.spawn_with_shell("mplayer /usr/share/sounds/freedesktop/stereo/audio-volume-change.oga")
              end),
    awful.key({                   }, "XF86AudioLowerVolume",
              function ()
                  awful.util.spawn("amixer sset Master 10%-")
                  awful.util.spawn_with_shell("mplayer /usr/share/sounds/freedesktop/stereo/audio-volume-change.oga")
              end),
            ・
            ・
            ・
)
ウィンドウの配置ルール
343〜376行目くらいの間に
 { rule = { マッチルール },
   properties = { 配置規則 } },
を追記していきます。僕の設定例を以下に示します。
ブラウザで動画を全画面再生するときに表示が崩れるのでPlugin-containerに対する設定は必須です。また、mplayerもタイルの中で表示されるとアスペクト比が崩れるので、floatに設定するといいと思います。conkyも必須かと。
-- {{{ Rules
awful.rules.rules = {
    -- All clients will match this rule.
    { rule = { },
      properties = { border_width = beautiful.border_width,
                     border_color = beautiful.border_normal,
                     focus = true,
                     size_hints_honor = false,
                     keys = clientkeys,
                     buttons = clientbuttons
                     } },
    { rule = { class = "MPlayer" },
      properties = { tag = tags[screen.count()][3], switchtotag = true},
      callback = function (c)
          awful.placement.centered(c, nil)
      end
    },
    { rule = { class = "pinentry" },
      properties = { floating = true } },
    { rule = { class = "gimp" },
      properties = { floating = true } },
    { rule = { class = "Firefox" },
      properties = { tag = tags[screen.count()][2] } },
    { rule = { class = "Plugin-container" },
      properties = { floating = true } },
    { rule = { class = "Websearch.py" },
      properties = { floating = true},
      callback = function (c)
          awful.placement.centered(c, nil)
      end
    },
    { rule = {class = "Conky"},
      properties = { floating = true, border_width = 0 } }
}
起動時に実行するプログラム
設定ファイルの最後に以下のように追記して、自動実行するプログラムを設定します。
Dropboxのデーモンと、無線ネットワーク、音量調整アプレットを起動し、これらがバーに表示されるようになっています。
awful.util.spawn_with_shell("/home/ssh0/.dropbox-dist/dropboxd")
awful.util.spawn_with_shell("nm-applet")
awful.util.spawn_with_shell("gnome-sound-applet")
awful.util.spawn_with_shell("xscreensaver -no-splash")
awful.util.spawn_with_shell("conky -b")
スクリーンショット
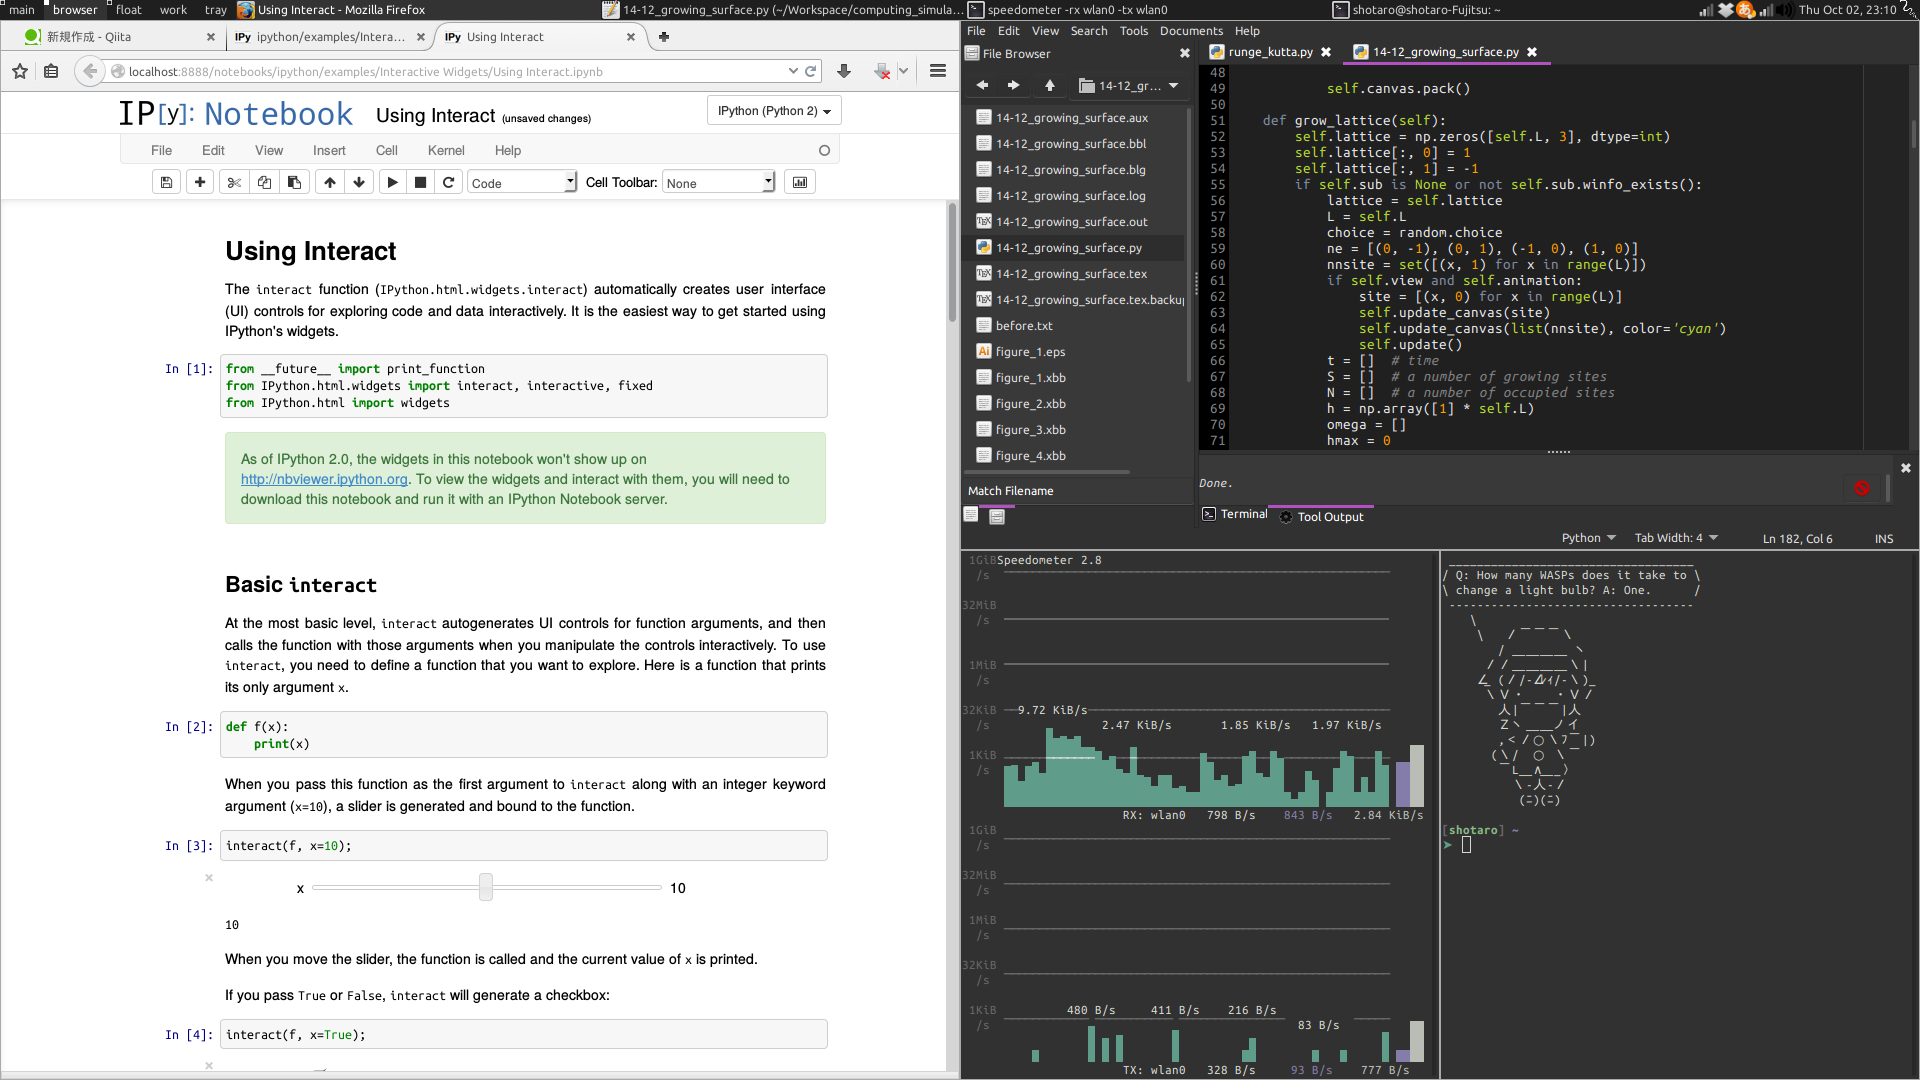
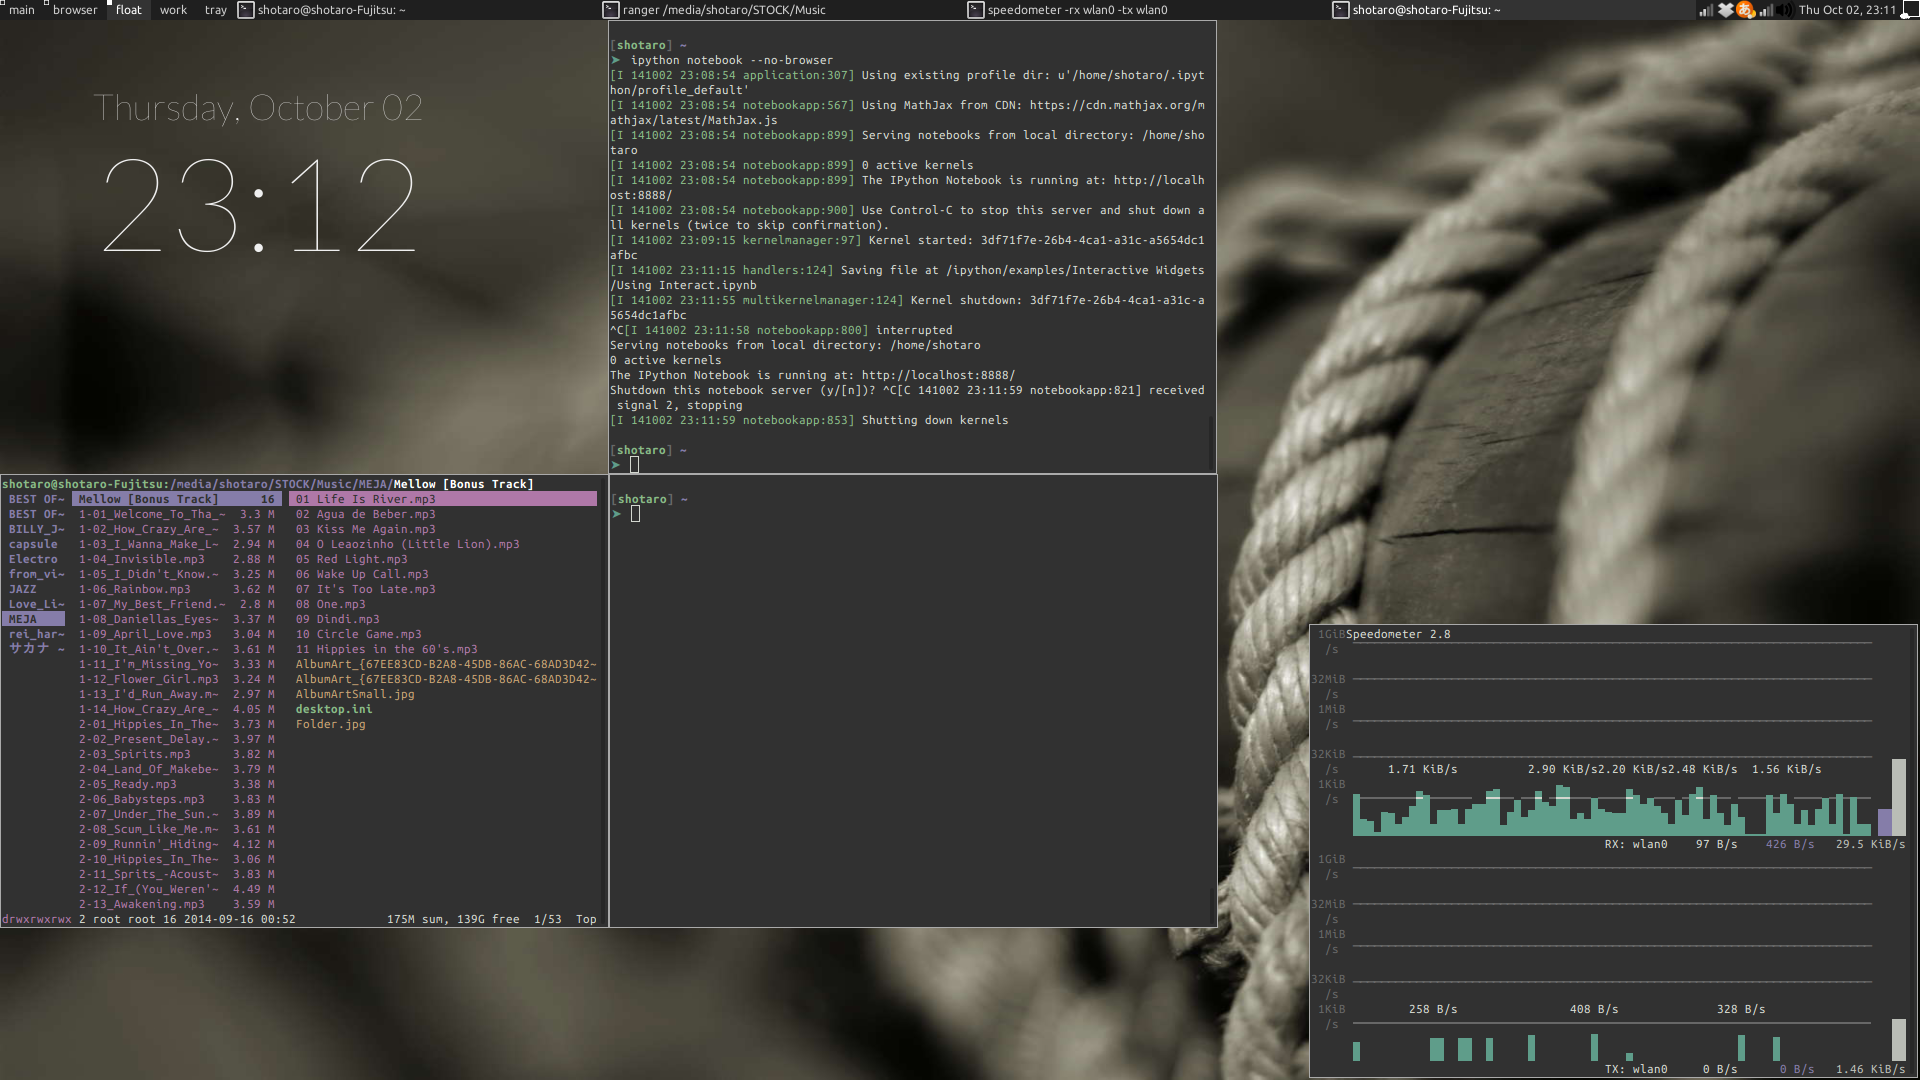
以下に現在のウィンドウのスクリーンショットを貼っておきます。
レイアウト:spiral.dwindle
レイアウト:floating
問題点など
端末の透明化を考えていましたが、xcompmgrを使うと、しっかりとタイル上に敷き詰められずに下側が余ってしまう現象がおきたり、mplayerで動画再生すると線状に遅延がおきたりするので、使用は諦めました。
普段はノートパソコンからデスクトップモニタに接続して表示しているのですが、ノート側の表示をxrandrで消すと、nm-appletが2個表示されてしまいます。また、最近気づいたことですが、表示を消すと、ノート側の画面がモニタ側の画面に上書きされるだけのようです(フロートレイアウトでもう1枚の壁紙をつかんだり消したりすることができます)。起動時に外部モニタとつながっている時だけノート側の表示をしないようにするにはどうすればいいんだろう・・・。

