私がAndroidアプリでGoogle Mapを使う開発を行ったので、備忘録として1からGoogle Mapを表示する手順を記録しておきます。
Google MapのAPIキーを取得する
前提としてGoogle MapのAPIキーが必要になります。
これはマップを表示するたびに料金がかかるので注意が必要です。
何回表示までは無料というサービスがあるので小規模であれば積極的に利用して大丈夫そうです。
APIキー取得の手順は調べればたくさん出てくるので割愛します。
私は以下を参考にしました。
Android Studioでプロジェクトを作成する
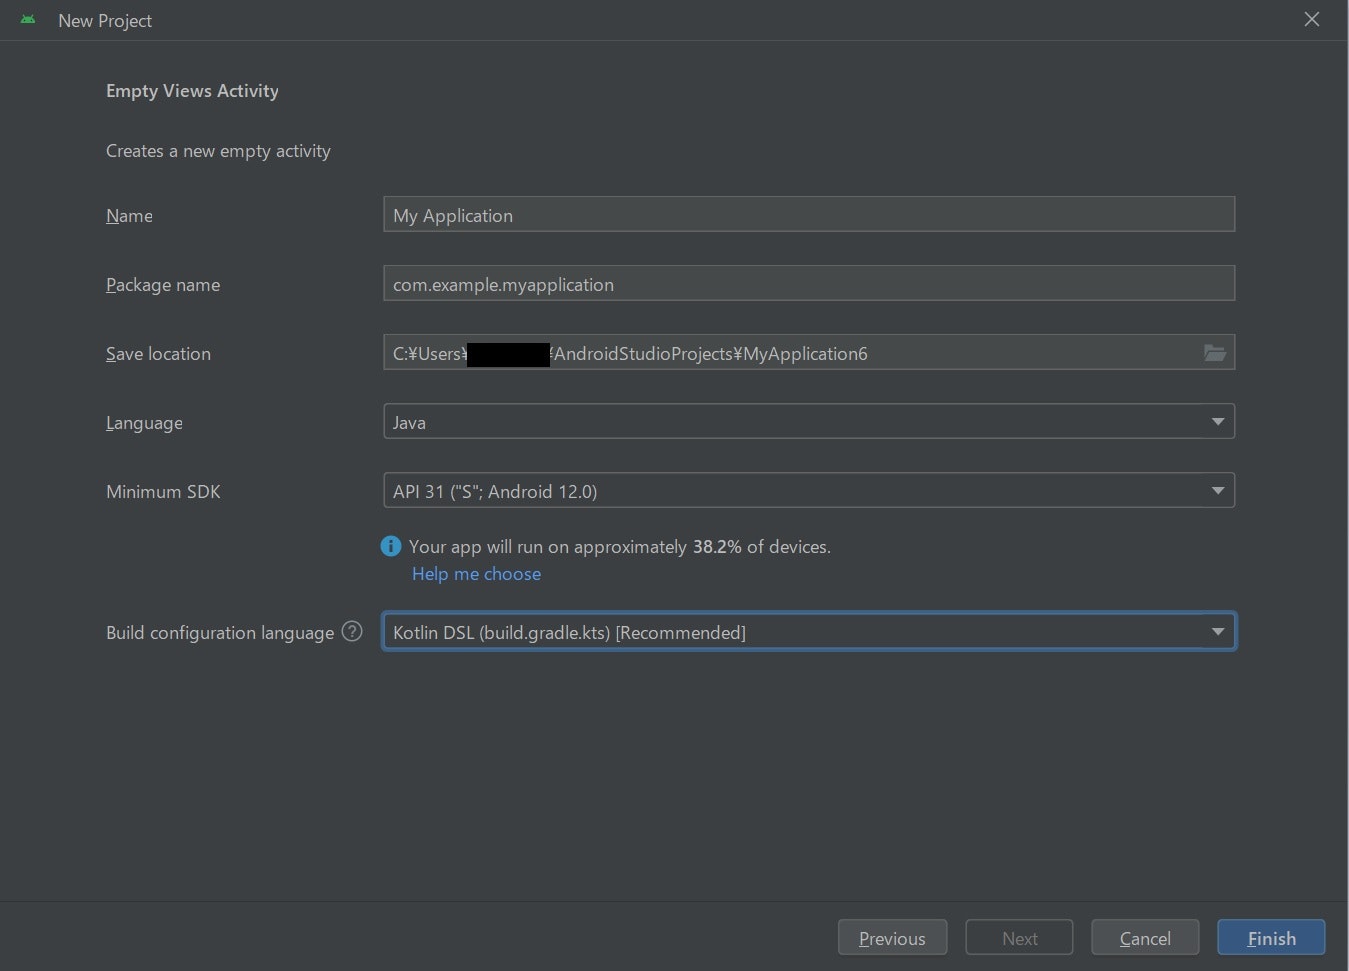
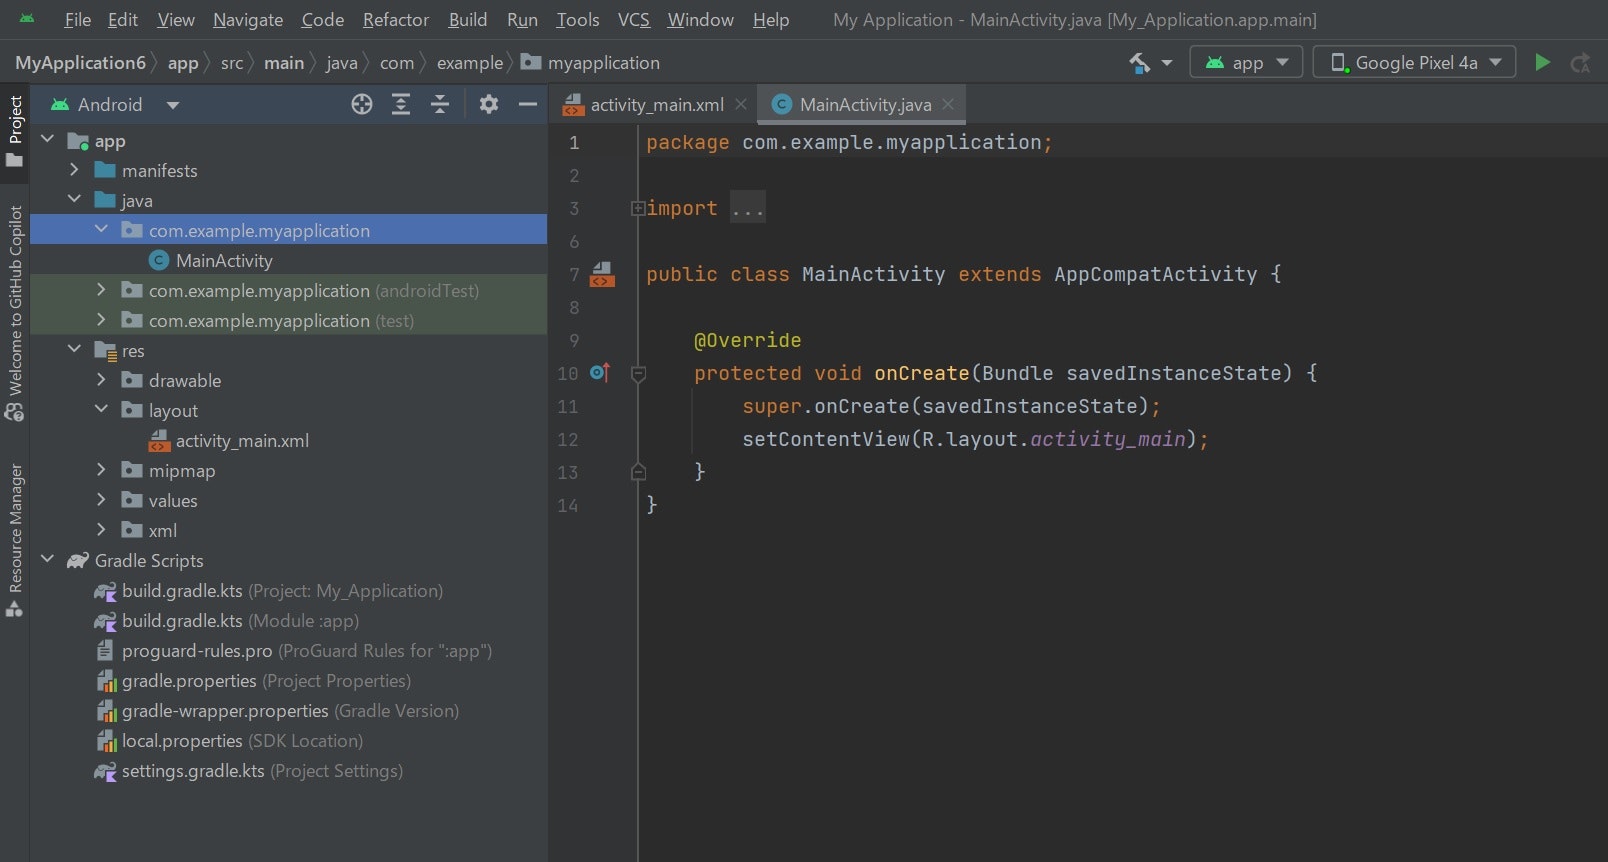
Android StudioでNew Project > Empty Views Activity を選択してNext > 設定を選んでFinishを選択します。
メイン画面
簡単にテキストとボタンだけの画面とします。
<?xml version="1.0" encoding="utf-8"?>
<androidx.constraintlayout.widget.ConstraintLayout xmlns:android="http://schemas.android.com/apk/res/android"
    xmlns:app="http://schemas.android.com/apk/res-auto"
    xmlns:tools="http://schemas.android.com/tools"
    android:layout_width="match_parent"
    android:layout_height="wrap_content"
    android:layout_gravity="center_vertical"
    tools:context=".MainActivity">

    <LinearLayout
        android:layout_width="match_parent"
        android:layout_height="wrap_content"
        android:orientation="vertical"
        tools:ignore="MissingConstraints">

        <TextView
            android:id="@+id/textView"
            android:layout_width="wrap_content"
            android:layout_height="wrap_content"
            android:layout_gravity="center_horizontal"
            android:text="Hello World!"
            android:textSize="28dp"/>

        <Button
            android:id="@+id/map_view"
            android:layout_width="wrap_content"
            android:layout_height="wrap_content"
            android:layout_gravity="center_horizontal"
            android:text="地図"
            android:textSize="20dp"/>

    </LinearLayout>

</androidx.constraintlayout.widget.ConstraintLayout>
package com.example.myapplication;

import androidx.appcompat.app.AppCompatActivity;

import android.annotation.SuppressLint;
import android.content.Intent;
import android.os.Bundle;
import android.view.View;
import android.widget.Button;

public class MainActivity extends AppCompatActivity {

    private Button map_view;

    @SuppressLint("MissingInflatedId")
    @Override
    protected void onCreate(Bundle savedInstanceState) {
        super.onCreate(savedInstanceState);
        setContentView(R.layout.activity_main);

        map_view = findViewById(R.id.map_view);
        map_view.setOnClickListener(new View.OnClickListener() {
            public void onClick(View v) {
                Intent intent = new Intent(MainActivity.this, MapsActivity.class);
                startActivity(intent);
            }
        });
    }
}
実行するとこんな感じです。
MapsActivityをまだ作っていないので以下はコメントアウトして実行します。
                // Intent intent = new Intent(MainActivity.this, MapsActivity.class);
                // startActivity(intent);
地図画面
地図画面は戻るボタンとその下にマップを表示します。
それぞれファイルを新規で追加します。
MyApplication6\app\src\main\java\com\example\myapplication\MapsActivity.javaMyApplication6\app\src\main\res\layout\activity_map.xml
<?xml version="1.0" encoding="utf-8"?>
<androidx.constraintlayout.widget.ConstraintLayout xmlns:android="http://schemas.android.com/apk/res/android"
    xmlns:app="http://schemas.android.com/apk/res-auto"
    xmlns:tools="http://schemas.android.com/tools"
    android:layout_width="match_parent"
    android:layout_height="match_parent"
    android:layout_gravity="center_vertical"
    tools:context=".MapsActivity">

    <RelativeLayout
        android:layout_width="match_parent"
        android:layout_height="wrap_content"
        android:orientation="horizontal"
        android:id="@+id/bar"
        android:background="@color/white"
        tools:ignore="MissingConstraints">

        <Button
            android:id="@+id/back_btn"
            android:layout_width="wrap_content"
            android:layout_height="wrap_content"
            android:text="戻る"
            android:textSize="20dp"/>

    </RelativeLayout>

    <androidx.fragment.app.FragmentContainerView
        android:id="@+id/map"
        android:name="com.google.android.gms.maps.SupportMapFragment"
        android:layout_width="match_parent"
        android:layout_height="0dp"
        app:layout_constraintBottom_toBottomOf="parent"
        app:layout_constraintEnd_toEndOf="parent"
        app:layout_constraintStart_toStartOf="parent"
        app:layout_constraintTop_toBottomOf="@id/bar" />

</androidx.constraintlayout.widget.ConstraintLayout>
package com.example.myapplication;

import android.annotation.SuppressLint;
import android.os.Bundle;
import android.view.View;
import android.widget.Button;

import androidx.appcompat.app.AppCompatActivity;

public class MapsActivity extends AppCompatActivity {
    private Button back_btn;

    @SuppressLint("MissingInflatedId")
    @Override
    protected void onCreate(Bundle savedInstanceState) {
        super.onCreate(savedInstanceState);
        setContentView(R.layout.activity_map);

        back_btn = findViewById(R.id.back_btn);
        back_btn.setOnClickListener(new View.OnClickListener() {
            public void onClick(View v) {
                onBackPressed();
            }
        });

    }
}
Google Mapを表示できるように設定する
このまま実行しても当然マップを表示できないです。
基本的に以下を参考にして各ファイルを設定していきます。
APIキーを設定する
MyApplication6\app\src\main\AndroidManifest.xml
application要素の中に以下を追加します。
(省略)
        <activity
            android:name=".MapsActivity"
            android:exported="true">

            <intent-filter>
                <action android:name="android.intent.action.MAIN" />

                <category android:name="android.intent.category.LAUNCHER" />
            </intent-filter>
        </activity>

        <meta-data
            android:name="com.google.android.geo.API_KEY"
            android:value="${MAPS_API_KEY}" />
    </application>

</manifest>
MyApplication6\local.properties
一番下に以下を追加します。
MAPS_API_KEY=ここは自分で取得したAPIキー
gradleファイルの設定
MyApplication6\build.gradle.kts
plugins {
    id("com.android.application") version "8.2.2" apply false
}
buildscript {
    dependencies {
        classpath("androidx.navigation:navigation-safe-args-gradle-plugin:2.5.0")
        classpath("com.google.android.libraries.mapsplatform.secrets-gradle-plugin:secrets-gradle-plugin:2.0.1")
    }
}
MyApplication6\app\build.gradle.kts
plugins {
    id("com.android.application")
    id("com.google.android.libraries.mapsplatform.secrets-gradle-plugin")
}

android {
    namespace = "com.example.myapplication"
    compileSdk = 34

    defaultConfig {
        applicationId = "com.example.myapplication"
        minSdk = 31
        targetSdk = 34
        versionCode = 1
        versionName = "1.0"

        testInstrumentationRunner = "androidx.test.runner.AndroidJUnitRunner"
    }

    buildTypes {
        release {
            isMinifyEnabled = false
            proguardFiles(
                getDefaultProguardFile("proguard-android-optimize.txt"),
                "proguard-rules.pro"
            )
        }
    }
    compileOptions {
        sourceCompatibility = JavaVersion.VERSION_1_8
        targetCompatibility = JavaVersion.VERSION_1_8
    }
}

dependencies {

    implementation("androidx.appcompat:appcompat:1.6.1")
    implementation("com.google.android.material:material:1.11.0")
    implementation("androidx.constraintlayout:constraintlayout:2.1.4")
    implementation("com.google.android.gms:play-services-maps:18.1.0")
    testImplementation("junit:junit:4.13.2")
    androidTestImplementation("androidx.test.ext:junit:1.1.5")
    androidTestImplementation("androidx.test.espresso:espresso-core:3.5.1")
}
2ファイルを修正したらSyncします。
結果を確認する
まとめ
成功してからまとめると簡単のようですが、私はgradleファイルの設定でかなり手こずりました...
アプリに地図表示できたら色々できそうなので、APIキーを取得して試してみてください。
マップの初期位置を設定したり、ピンを表示する手順は別の記事で書こうと思います。


