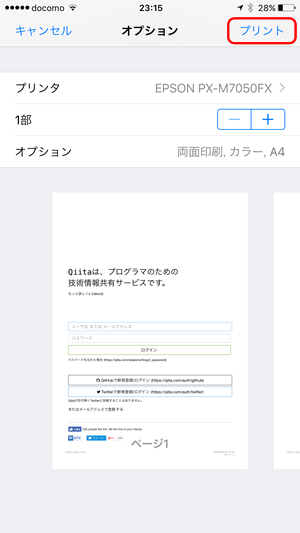
AirPrintをしたい。でも無線LANからはプリンタが見つけられない
○○DCと某氏から呼ばれているお家LANですが、
スマートフォンや家庭用機器のいる無線LANセグメントと、
検証用のサーバやNW機器がごろごろいるお仕事LANセグメントの2つがあります。
LANセグメント間にはNetScreenがFirewallとして鎮座しております。。
(この時点で異常ッて言わないでw)
お家LAN: 192.168.11.0/24
仕事LAN: 192.168.50.0/24
仕事LANにはAirPrint対応のプリンタがいるのですが、iPhoneやiPadからは見つけられない。
bonjourのプロトコルでは、ブロードキャストパケットを投げて欲しいサービスを自分が持っていれば返事をするという、仕組みで動いているようでbonjourクライアントと、プリンタは基本同一セグメント出ないとだめなようです。(プロトコル使用上)
avahi-daemonを初めて使う日が
CentOS使いで長年いろいろやってますが、真っ先に無効にしていたavahi-daemonさん。
今回はじめて使うことにしました。
今回お試しした内容をメモとしてまとめます。
前提条件:
・お家LANと仕事LANそれぞれに足をだす
・bonjour以外は仕事をさせない(必要以外はiptablesで閉じる)
・bonjour用VMとしてCentOS6.8を利用した
1. avahi-daemonのインストール
CentOSを基本インストールで導入している際にはだいたい標準でインストールされているものなのですが、
自分はXenServer上にMinimalなCentOSイメージをよく利用するため、avahi-daemonが入っていませんでした。
まずはインストールから。
# yum install avahi avahi-tools
2. iptablesの設定
iptables を使っている場合 UDP ポート 5353 を開く:
# iptables -A INPUT -p udp -m udp --dport 5353 -j ACCEPT
コマンド行で上記になるが、centosデフォルトのiptables設定に追加する場合は
# vi /etc/sysconfig/iptables
# Firewall configuration written by system-config-firewall
# Manual customization of this file is not recommended.
*filter
:INPUT ACCEPT [0:0]
:FORWARD ACCEPT [0:0]
:OUTPUT ACCEPT [0:0]
-A INPUT -m state --state ESTABLISHED,RELATED -j ACCEPT
-A INPUT -p icmp -j ACCEPT
-A INPUT -i lo -j ACCEPT
-A INPUT -m state --state NEW -m tcp -p tcp --dport 22 -j ACCEPT
-A INPUT -p udp -m udp --dport 5353 -j ACCEPT
-A INPUT -j REJECT --reject-with icmp-host-prohibited
-A FORWARD -j REJECT --reject-with icmp-host-prohibited
COMMIT
上記のようにREJECTの手前に
-A INPUT -p udp -m udp --dport 5353 -j ACCEPT
を追記してサービス再起動を行う
# service iptables restart
3. avahi-daemonでリレーの設定を行う
# cd /etc/avahi
# vi avahi-daemon.conf
変更前
[reflector]
# enable-reflector=no
# reflect-ipv=no
変更後
[reflector]
# enable-reflector=no
enable-reflector=yes
# reflect-ipv=no
4. avahi-daemonの再起動
# service avahi-daemon start
5. iPhone/iPadから試す
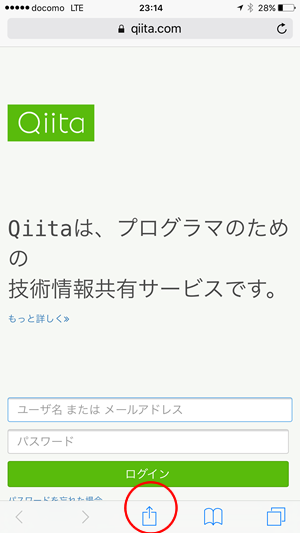
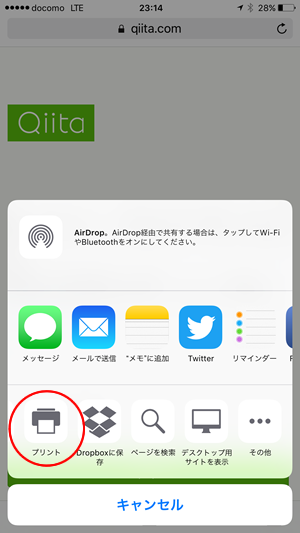
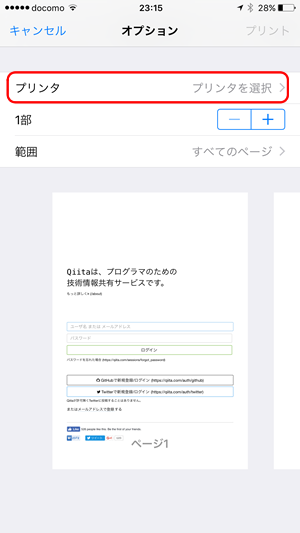
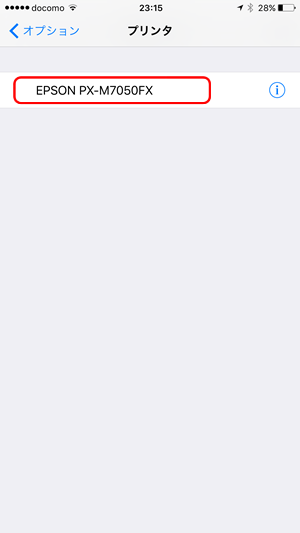
safariを開いて iPhoneから試してみる
