概要
・Raspberry Pi Model 4(bookworm)にSpeeDBee Synapseと関連パッケージをインストールします。評価版ダウンロードファイルは取得済です。
1)OSセットアップ用SDカードを作成します。
・PCにMicroSDカード(32GB)を装着します。
・Raspberry Pi Imagerを起動します。
・Raspberyy Piデバイスに「RASPBERRY PI4」を選択します。
・OSに「Raspberry Pi OS(64-bit)」を選択します。
・ストレージに装着したMicroSDカードを選択します。
・書込みを開始します。
2)Raspberry Piに、OSをインストールします。
・WiFi環境を準備します。
・Raspberry Piに1)で作成したMicroSDカードを装着します。
・Raspberry PiにUSBキーボード、USBマウス、モニターを接続します。
・Raspberry Piに電源を投入します。
・セットアップ情報(WiFi接続情報、ユーザ名、パスワード等)を応答してインストールを完了します。
3)インストール前の準備をします。
・Synapseのインストールには、インターネット接続が必須となります。
・ここでは、Raspberry PiがWiFiで接続されインターネットへアクセスでき、作業用PCからログインできる環境として説明します。
・作業用PCからTeraTermアプリでRaspberry Piにログインします。
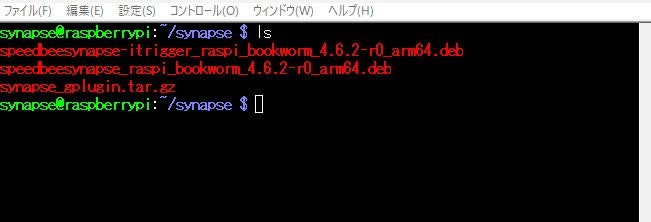
・作業用PCからSynapse評価版ダウンロードファイルをscpアプリで転送します。
・Grafanaパッケージファイルをダウンロードします。
$ wget https://dl.grafana.com/oss/release/grafana_11.1.0_arm64.deb
4)Synapseをインストールします。
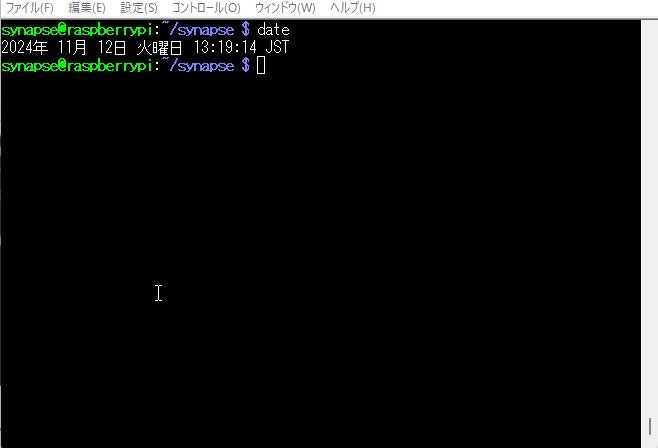
・システム日付がずれていないか確認します。現在時刻と合致していない場合は、dateコマンドで修正します。
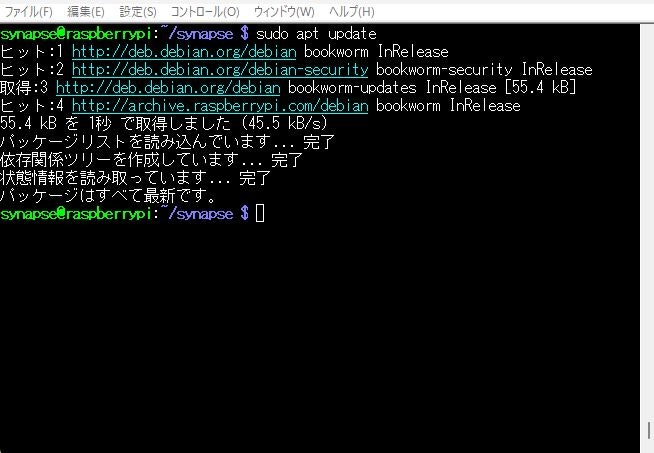
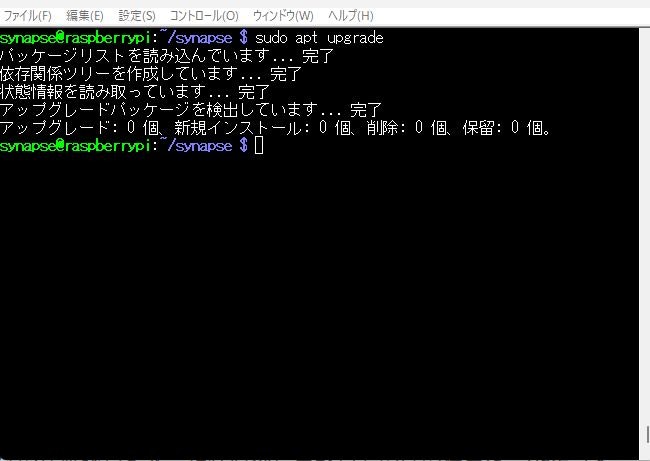
・インストールされているパッケージを最新にします。
$ sudo apt update
$ sudo apt upgrade
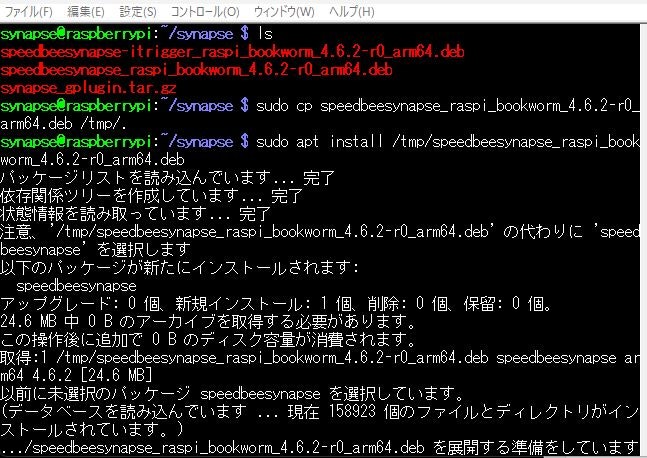
・Synapseをインストールします。
$ sudo apt install /tmp/speedbeesynapse_raspi_bookworm_4.6.2-r0_arm64.deb
※パッケージファイルを/tmpにコピーしてからインストールしてください。
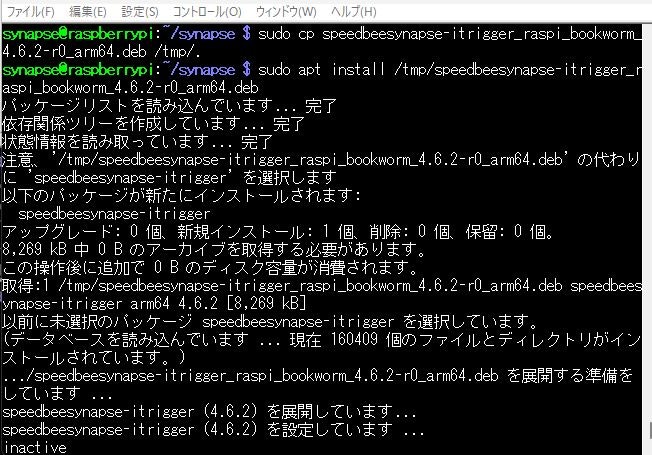
5)i-Trigger拡張パッケージをインストールします。
$ sudo apt install /tmp/speedbeesynapse-itrigger_raspi_bookworm_4.6.2-r0_arm64.deb
※パッケージファイルを/tmpにコピーしてからインストールしてください。
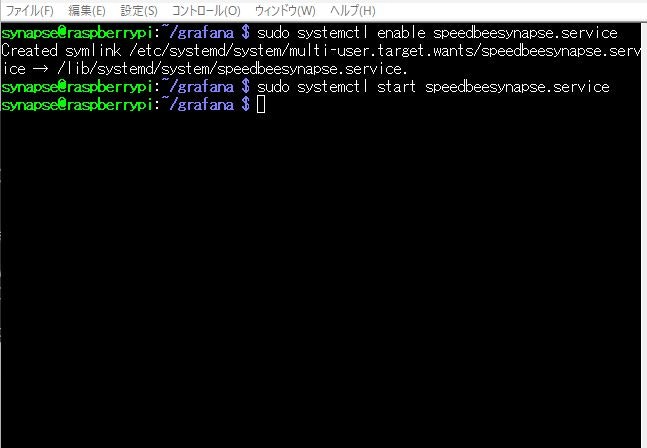
6)Synapseを自動起動設定にし起動します。
$ sudo systemctl enable speedbeesynapse.service
$ sudo systemctl start speedbeesynapse.service
7)Grafanaをインストールします。
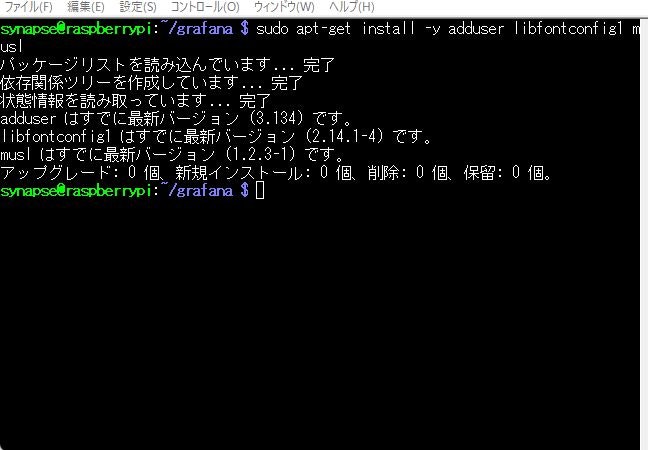
・Grafanaに必要なライブラリをインストールします。
$ sudo apt-get install -y adduser libfontconfig1 musl
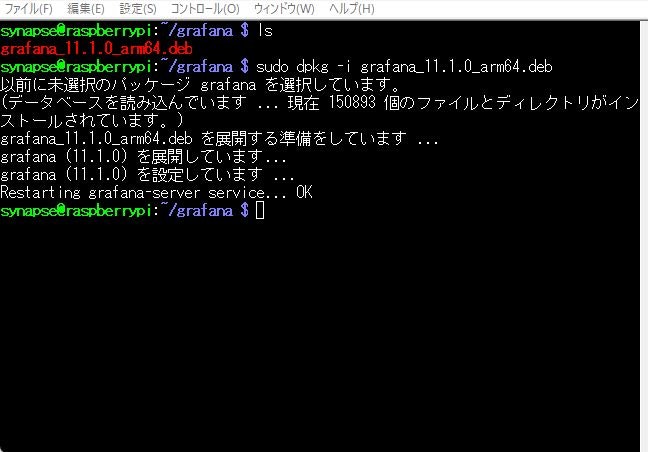
・Grafana本体をインストールします。
$ sudo dpkg -i grafana_11.1.0_arm64.deb
8)SynapseのGrafanaプラグインファイルを設定します。
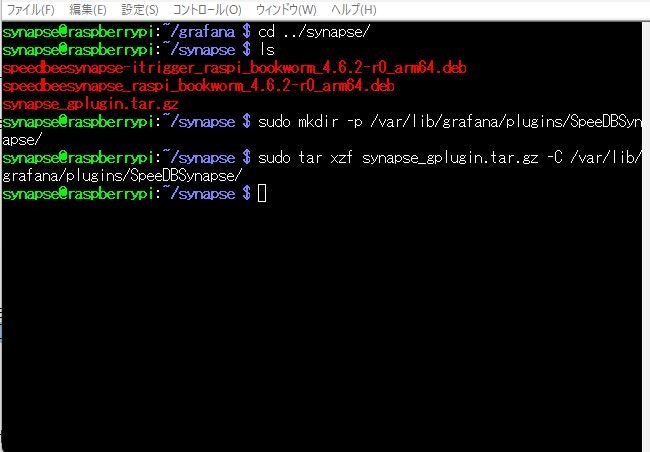
・GrafanaにSynapse用のディレクトリを作成し、プラグインファイルを展開します。
$ sudo mkdir -p /var/lib/grafana/plugins/SpeeDBSynapse/
・プラグインファイルを展開します。
$ sudo tar xzf synapse_gplugin.tar.gz -C /var/lib/grafana/plugins/SpeeDBSynapse/
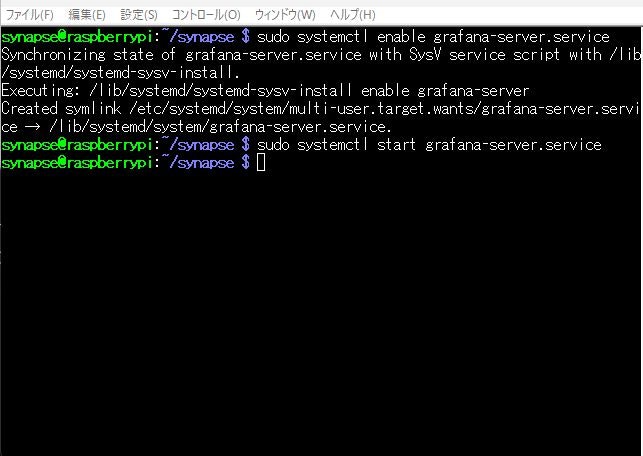
9)Grafanaを自動起動設定にし起動します。
$ sudo systemctl enable grafana-server
$ sudo systemctl start grafana-server
10)Synapseを起動します。
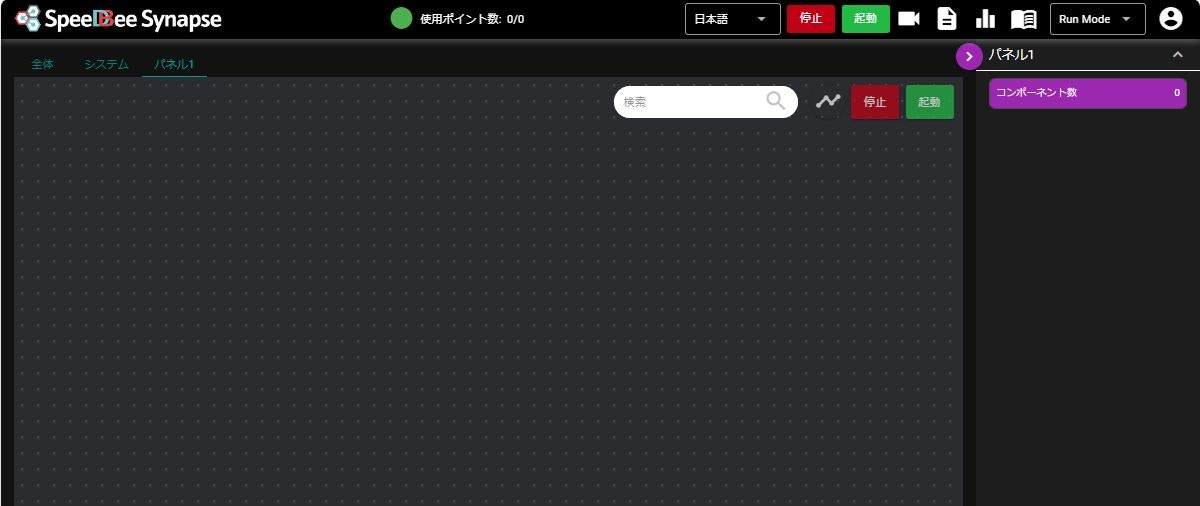
・作業用PCのブラウザ(Chrom/Edge)で、Synapseを起動します。
URL://xxx.xxx.xxx.xxx:8120(xxx.xxx.xxx.xxx:Raspberry PiのIPアドレス)
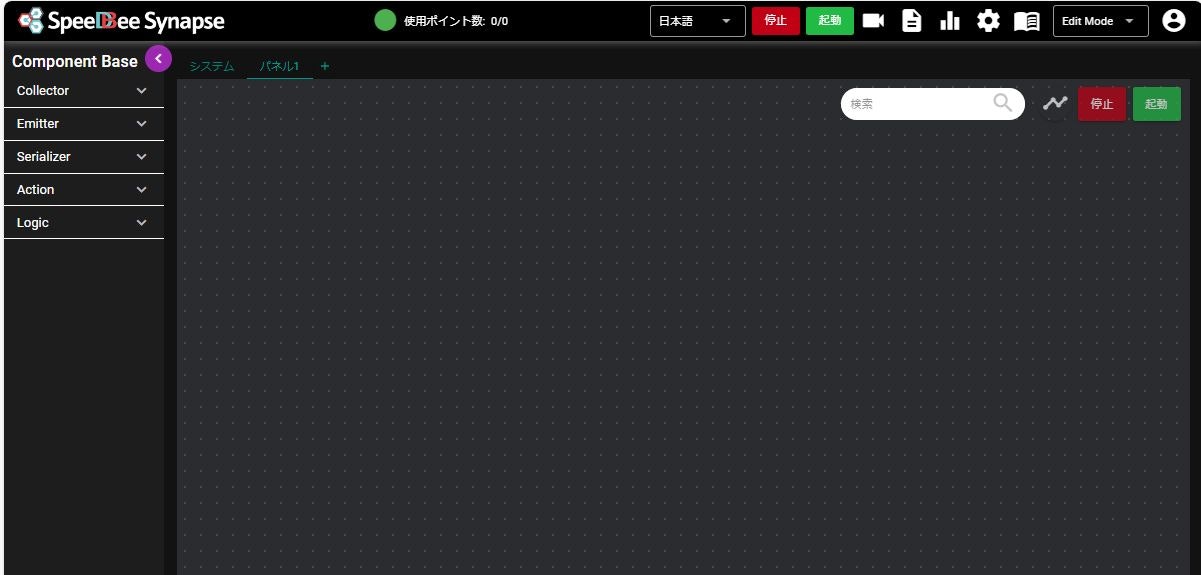
・Edit Modeにモード変更します。
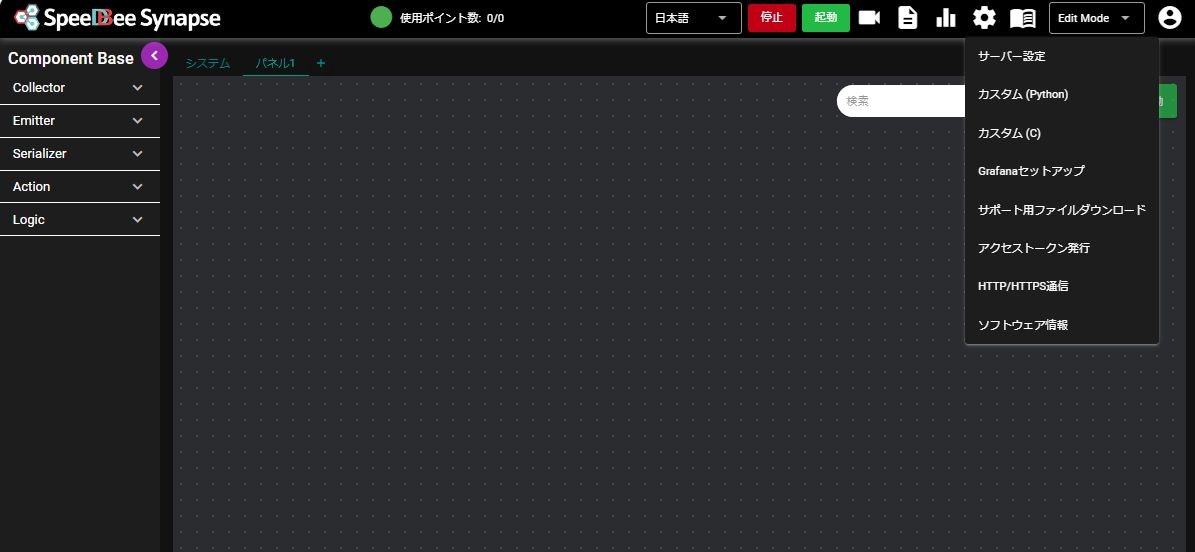
・設定メニューからソフトウェア情報を選択します。
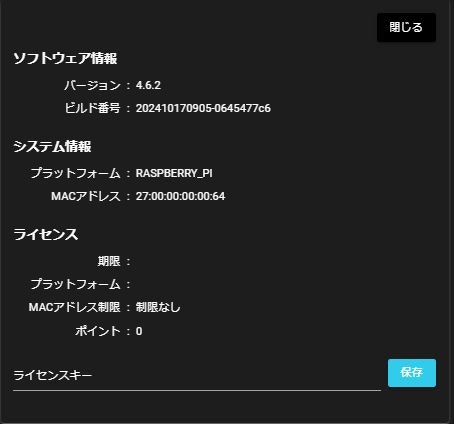
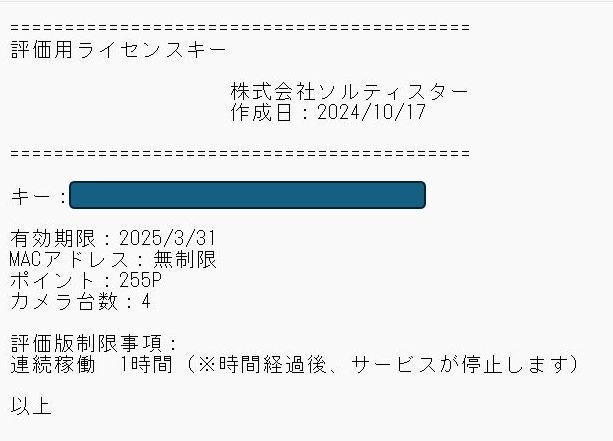
・ライセンスキーを入力します。
※評価用ライセンキーは、評価版ダウンロードファイルのライセンス.txtに記載されています。
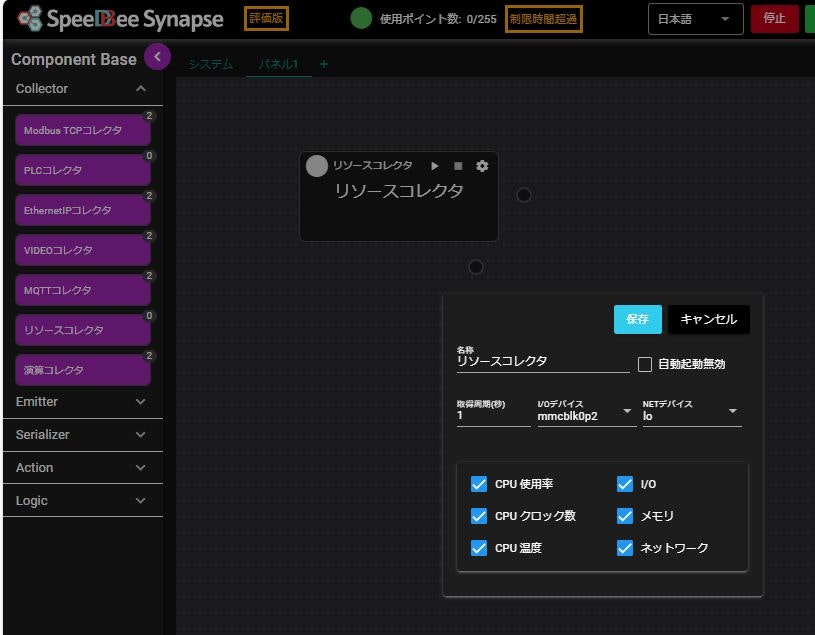
・Collectorからリソースコレクタをドラッグして、パネル上にドロップします。
・名称と取得するデータを選択し、保存・起動します。
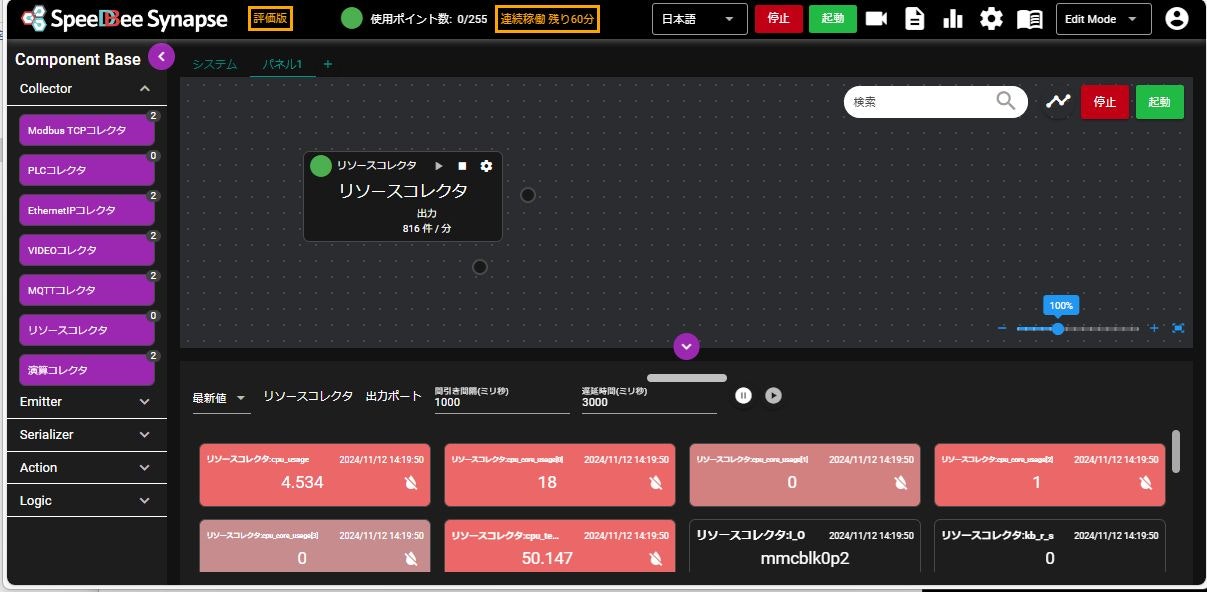
・データモニターを開き、リソースコレクタの出力ポートをクリックし、最新値を確認します。
▶以上で、Synapseをインストールし、動作確認ができました
