昨日は
を触ってみたので, 今日は CodeIgniter を触ってみる.
導入
2 系の最新版を落としてくる. なお, 3.0 以降はライセンス問題が解消されているようだ.
今回は 2.2-stable を利用する. 公式の zip でも良いのだけれど, あえて github から落としてくる.
git clone git@github.com:bcit-ci/CodeIgniter.git
cd CodeIgniter/
git checkout 2.2-stable
cd ..
mv CodeIgniter test
bcit-ci/CodeIgniter
CodeIgniter Tutorial – Learn CodeIgniter in 40 minutes | RevillWeb
表示
とりあえず php -S してみる.
php -S localhost:3000
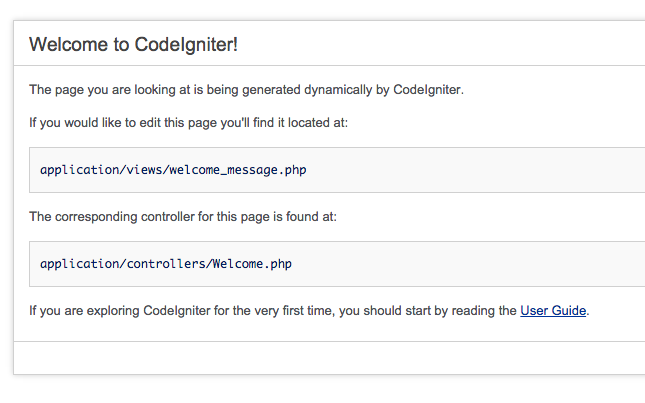
http://localhost:3000/ にアクセスすると以下が表示される![]()
Controller
add rooting
新規ルーティングを作ってみる. path に対して controller class を指定すれば良いようだ. ここで指定する class はおそらく snake_case か.
/application/config/routes.php より
$route['test'] = 'test';
を追加.
ルーティングは以下のような構造を取る.
example.com/class/function/id/
URI Routing : CodeIgniter User Guide
add controller
対応する controller を用意する.
どうやら / は index, /hoge は hoge メソッドを用意すれば良いようだ (なお http://localhost:3000/test/hoge/ と http://localhost:3000/test/hoge/fjkaljfkldajfkla/fdajklfjakl/fdjaklf は同一視される.)
application/controllers/sample.php より,
<?php

class Sample extends CI_Controller {

    public function index()
    {
        $this->load->view('sample_index');
    }

    public function hoge()
    {
        $this->load->view('sample_hoge');
    }

}
add view
sample_index, sample_hoge は view に置く.
application/views/sample_index.php
<!DOCTYPE html>
<html lang='ja'>
  <head>
    <title>sample index</title>
  </head>
  <body>
    <h1>sample index page</h1>
  </body>
</html>
application/views/sample_hoge.php
<!DOCTYPE html>
<html lang='ja'>
  <head>
    <title>sample hoge</title>
  </head>
  <body>
    <h1>sample hoge page</h1>
  </body>
</html>
アクセスすると, ちゃんと閲覧できる.
パーシャル
部分的に使いまわす場合は view の中で
<?php $this->load->view("hogehoge"); ?> としてやればよい.
Migration
DB との接続
MySQL でとりあえず走らせる.
まず mysql から
mysql -u root
grant all privileges on *.* to sample@"localhost";
SET PASSWORD FOR sample@"localhost"=password('sample');
mysql -usample -psample
データベースを作成する.
create database sample character set utf8;
設定を変更.
application/config/database.php より,
<?php  if ( ! defined('BASEPATH')) exit('No direct script access allowed');

$active_group = 'default';
$active_record = TRUE;

$db['default']['hostname'] = 'localhost';
$db['default']['username'] = 'sample';
$db['default']['password'] = 'sample';
$db['default']['database'] = 'sample';
$db['default']['dbdriver'] = 'mysql';
$db['default']['dbprefix'] = '';
$db['default']['pconnect'] = TRUE;
$db['default']['db_debug'] = TRUE;
$db['default']['cache_on'] = FALSE;
$db['default']['cachedir'] = '';
$db['default']['char_set'] = 'utf8';
$db['default']['dbcollat'] = 'utf8_general_ci';
$db['default']['swap_pre'] = '';
$db['default']['autoinit'] = TRUE;
$db['default']['stricton'] = FALSE;
Using CodeIgniter 2 with SQLite 3 databases | Living with technology
migration ファイルを作る.
最初に migration を格納するディレクトリを作成する.
mkdir application/migrations
今回は user table を作る migration を用意する.
user は id, name を持つ. 命名規則厳しく, 間違っていると動かないので注意.
application/migrations/001_add_user.php より,
<?php

class Migration_Add_User extends CI_Migration {

    public function up(){
        $this->dbforge->add_field(array(
            'user_id' => array('type' => 'INT', 'constraint' => 11,
                               'unsigned' => TRUE, 'auto_increment' => TRUE),
            'name'    => array('type' => 'VARCHAR', 'constraint' => '255')
        ));
        $this->dbforge->add_key('user_id', TRUE);

        $this->dbforge->create_table('users', TRUE);
    }

    public function down(){
        $this->dbforge->drop_table('users');
    }

}
これを実行するための migration controller を以下をそのままコピペして作成する.
PHP - Codeigniterのmigration - Qiita
migrate 実行
php index.php migrate latest
mysql に接続し正しくテーブルが作られていれば OK.
スタイルガイド
- 空白にはタブを使う
Style Guide : CodeIgniter User Guide
今日はこんなところで.

