WindowsのODBCでSnowflakeに接続します。
- テスト環境
- Windows 11 64bit
- Snowflake ODBC ドライバー 2.25.2
ODBCドライバーのダウンロード
以下からODBCドライバーをダウンロードします。ここでは少し古い2.25.2のバージョンのドライバーを使います。
Windows用 ODBC ドライバーのインストールおよび構成 — Snowflake Documentation


ODBCドライバーの導入
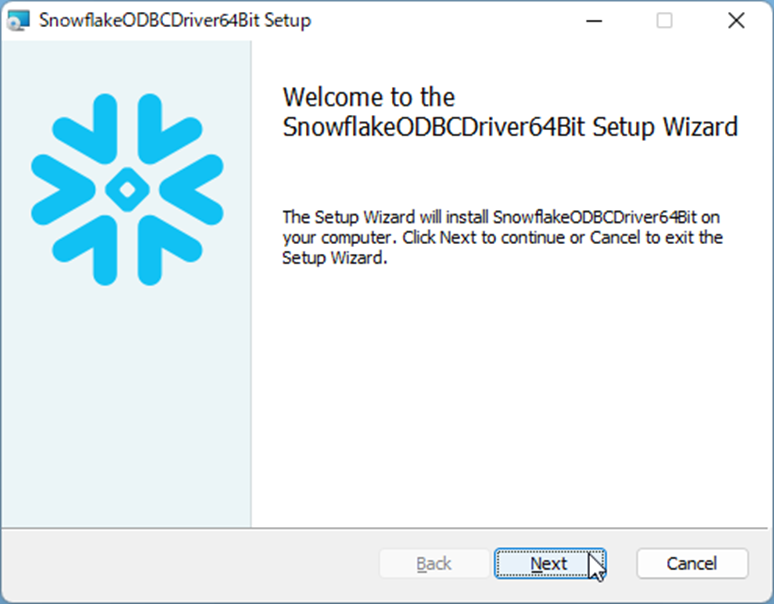
snowflake64_odbc-2.25.2.msiを起動します。

「Next」で進みます。
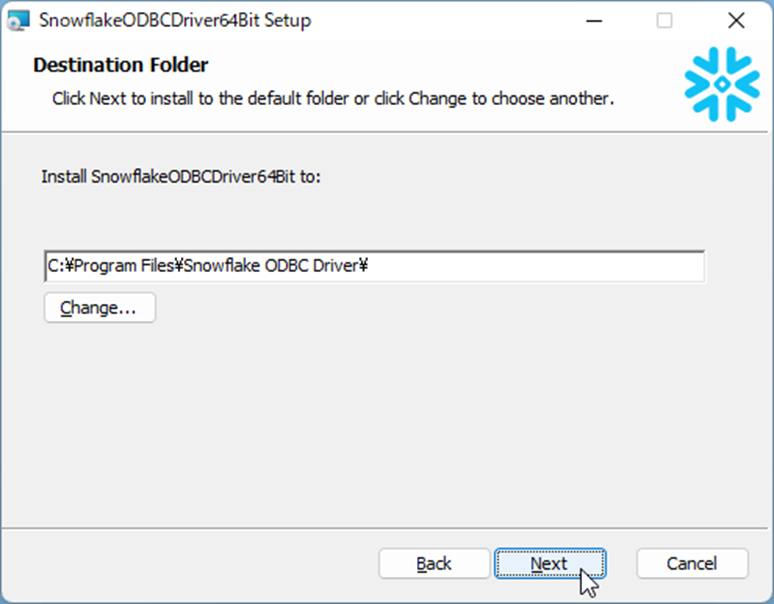
「Next」で進みます。
「Install」で進みます。

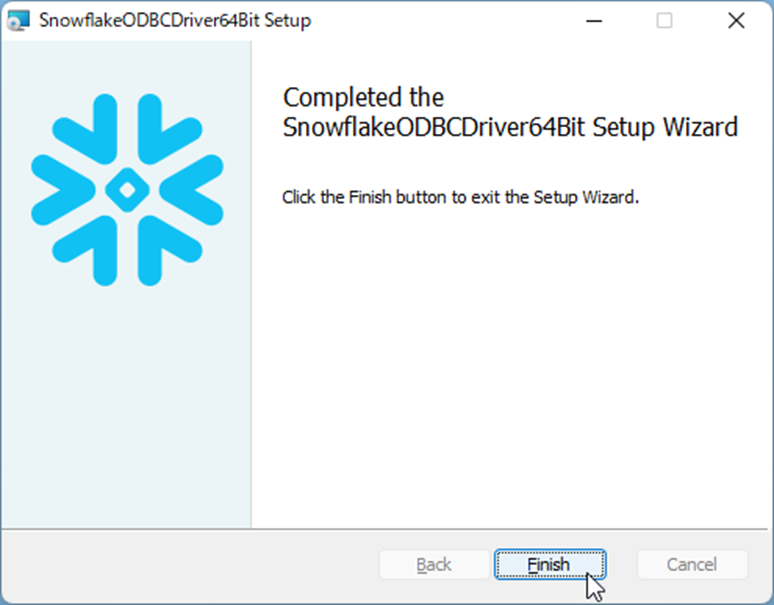
「Finish」します。
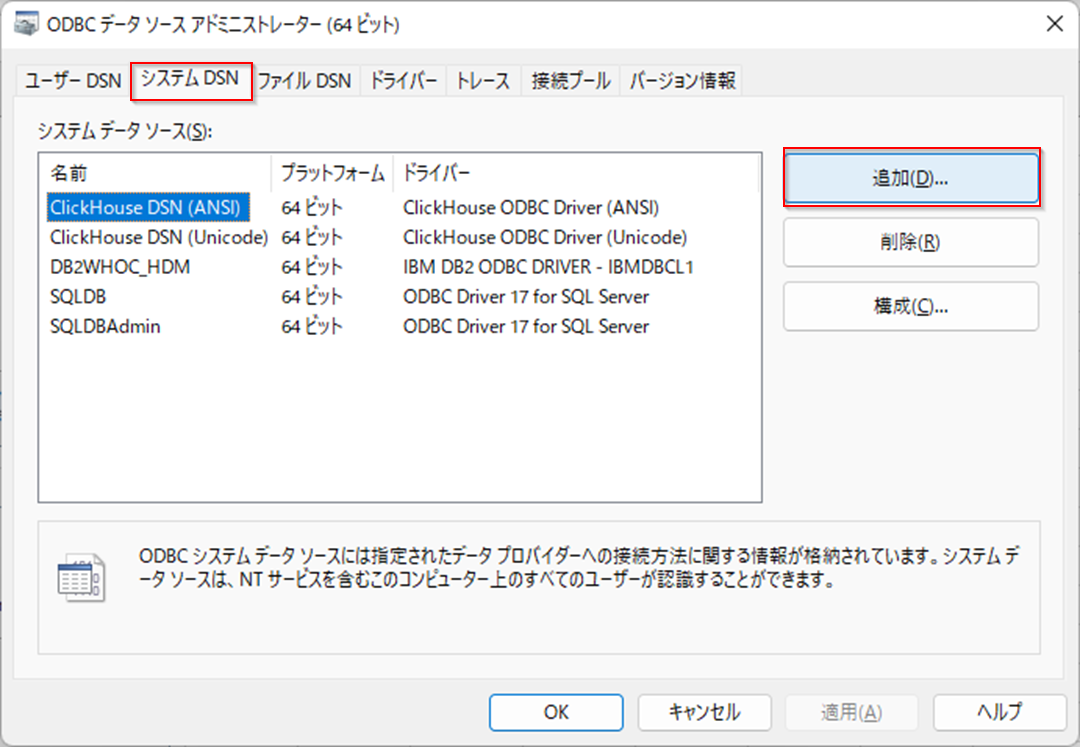
ODBCの設定
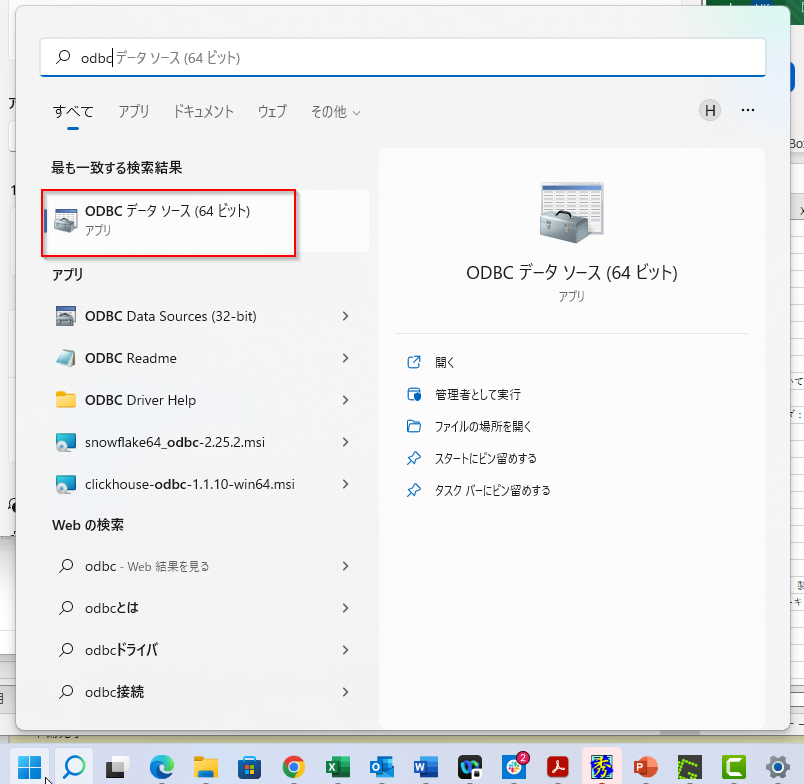
ODBCデータソースアドミニストレーター(64bit)を起動します。
ユーザーDSNかシステムDSNで「追加」をします。
「SnowflakeDSIIDriver」を選びます。

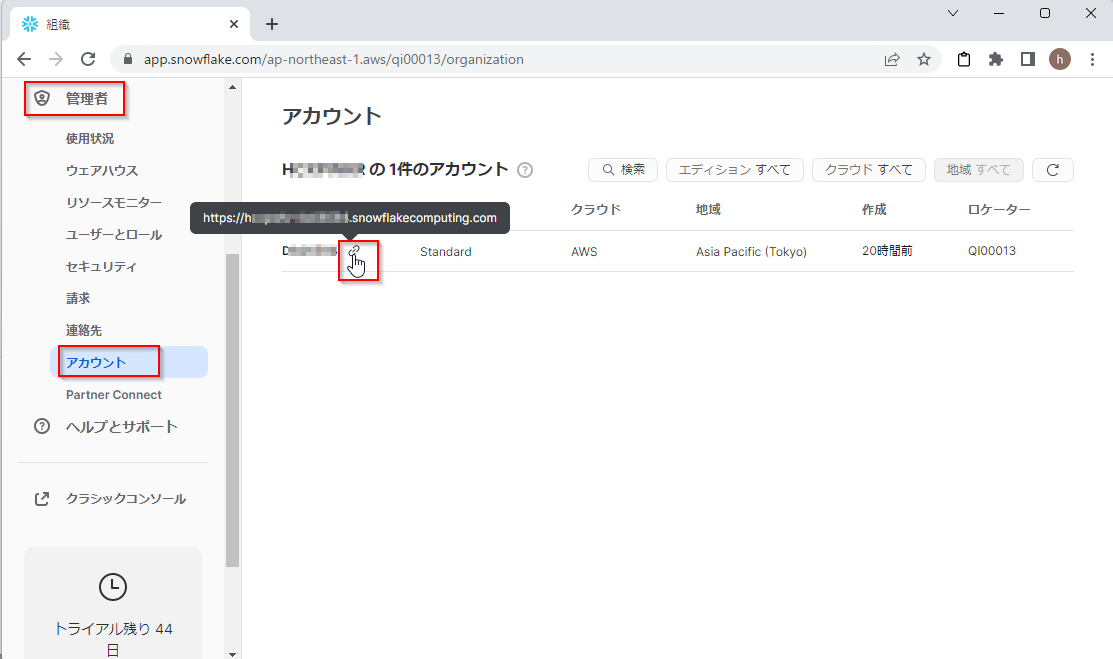
WebブラウザでSnowflakeのコンソールに入り、「管理者」_「アカウント」を開き、をクリックします。アカウントのURLを取得します。
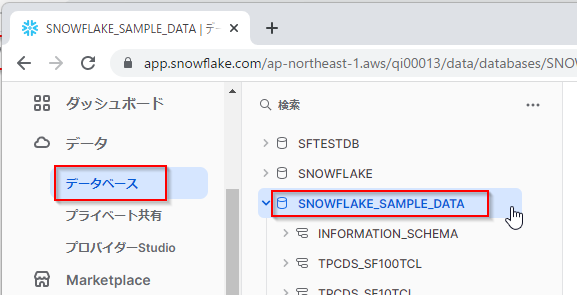
接続したいデータベースも確認しておきます。ここではSNOWFLAKE_SAMPLE_DATAにつなぎます。
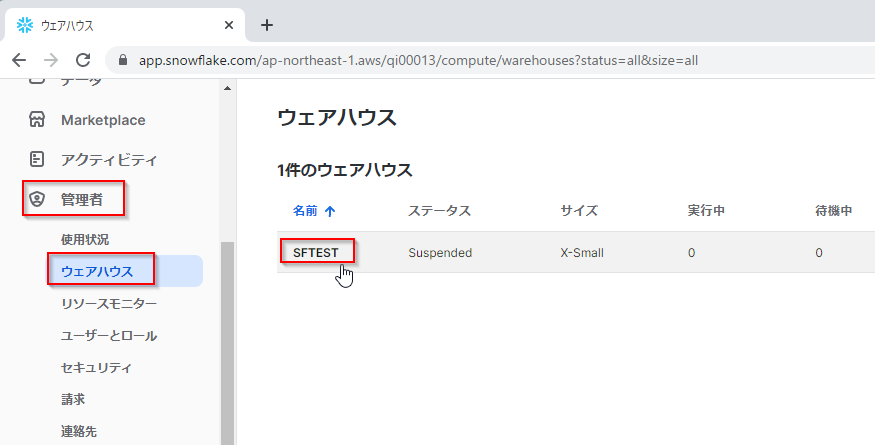
利用するウェアハウスも確認しておきます。ここではSFTESTを使います。
ODBCデータソースアドミニストレーターに戻ります。
「Data Source」には任意の名前を選びます。
「Server」には上で得たURLから「https://」を除いたホスト名のみを貼り付けます。
「Database」と「Warehouse」はコンソールで確認したものを入力します。この例ではSNOWFLAKE_SAMPLE_DATAとSFTESTです。
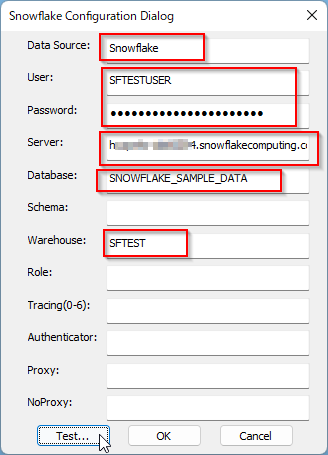
「Test」ボタンで接続確認をします。テストが成功したらOKで保存します。
