勉強のメモを兼ねて
[MAC]Macbook white 2009 late
[IDE] VisualStudio 1.27.2 (以下VSCと呼ぶ)
[パッケージ管理] yarn (not npm) ※yarnのインストールについては後ほど記載
準備編
Reactに必要なモジュールを準備する
まずは呪文を唱えましょう。 ※VSCodeのターミナルから実施できます。yarn install -g create-react-app
/usr/local/var/nodebrew/node/v10.4.0/bin/create-react-app -> /usr/local/var/nodebrew/node/v10.4.0/lib/node_modules/create-react-app/index.js
+ create-react-app@2.1.5
added 1 package from 1 contributor, removed 5 packages and updated 12 packages in 10.242s
create-react-appというコマンドは、MACには標準装備されていないため、
新しくMACにインストールします。
(windowsしか使ったことない人には、「コマンドをインストールする」というのは耳慣れないかも)
コマンド自体がなにやってるかは以下参照
https://qiita.com/naohikowatanabe/items/71a8bf477216ef56a5b7
プロジェクトを作る
さらに呪文2つ目を唱えます。create-react-app reactsample
Creating a new React app in /.../reactsample.

Installing packages. This might take a couple of minutes.
Installing react, react-dom, and react-scripts...

yarn add v1.7.0
[1/4] 🔍  Resolving packages...
[2/4] 🚚  Fetching packages...
[3/4] 🔗  Linking dependencies...
warning "react-scripts > pnp-webpack-plugin > ts-pnp@1.0.0" has unmet peer dependency "typescript@*".
[4/4] 📃  Building fresh packages...
success Saved lockfile.
success Saved 4 new dependencies.
info Direct dependencies
├─ react-dom@16.8.2
├─ react-scripts@2.1.5
└─ react@16.8.2
info All dependencies
├─ react-dev-utils@7.0.3
├─ react-dom@16.8.2
├─ react-scripts@2.1.5
└─ react@16.8.2
✨  Done in 127.20s.

Initialized a git repository.

Success! Created reactsample
Inside that directory, you can run several commands:

  yarn start
    Starts the development server.

  yarn build
    Bundles the app into static files for production.

  yarn test
    Starts the test runner.

  yarn eject
    Removes this tool and copies build dependencies, configuration files
    and scripts into the app directory. If you do this, you can’t go back!

We suggest that you begin by typing:

  cd reactsample
  yarn start

Happy hacking!
メッセージがいろいろ流れましたが超訳すると
reactsampleのプロジェクトが作れたよ!「Success! Created reactsample」
楽しんでね!「Happy hacking!」
ということでしょうか。
無事にプロジェクト作成完了したので、
試しにReactのモジュールが起動できるか実行してみましょう。
yarn start
Compiled successfully!

You can now view reactsample in the browser.

  Local:            http://localhost:3000/
  On Your Network:  http://172.20.10.2:3000/

Note that the development build is not optimized.
To create a production build, use yarn build.
お使いのブラウザにReactのデフォルト画面が表示されました。
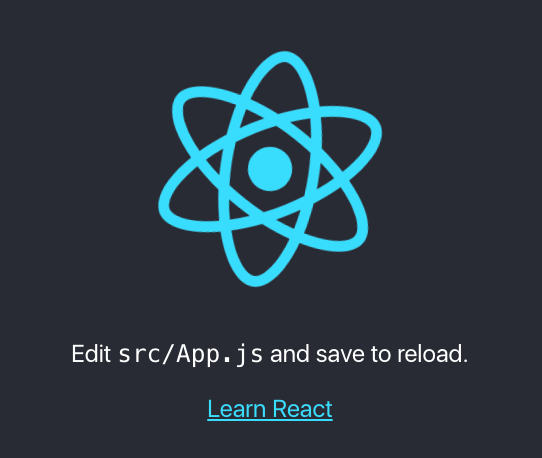
ここまでくれば、Reactの開発環境は整いました。
作成編
デフォルト画面を書き換え
プロジェクトの中に以下のファイルが作成されています。
reactsample
 | - public      : HTMLファイルを置くところ
 | - src         : Reactのソースファイルを置くところ
 L - node_module : Reactが使う標準モジュール。触らないこと。
さらに細かく見ると以下のようになっています。(メインのファイルのみ)
reactsample
 | - public
 |       L index.html
 | - src
 |       | - index.js
 |       L - App.js
 L - node_module
先ほどのデフォルト画面は
index.html , index.js , App.js で記述された内容が表示されています。
呼び出し順番は上の通り。
今回はこの画面を書き換えてみます。
index.jsがApp.jsを読み込んでいるのはしゃらくさいので、
index.jsを直接書き換えます。
import React from 'react';
import ReactDOM from 'react-dom';
import './index.css';
import App from './App';
import * as serviceWorker from './serviceWorker';

ReactDOM.render(

    <App />,
    document.getElementById('root')

);

// If you want your app to work offline and load faster, you can change
// unregister() to register() below. Note this comes with some pitfalls.
// Learn more about service workers: http://bit.ly/CRA-PWA
serviceWorker.unregister();
<App />, ← ここを
<div>hello world</div> ← これに書き換えます。
import React from 'react';
import ReactDOM from 'react-dom';
import './index.css';
import App from './App';
import * as serviceWorker from './serviceWorker';

ReactDOM.render(

    <div>hello world </div>,
    document.getElementById('root')

);

// If you want your app to work offline and load faster, you can change
// unregister() to register() below. Note this comes with some pitfalls.
// Learn more about service workers: http://bit.ly/CRA-PWA
serviceWorker.unregister();
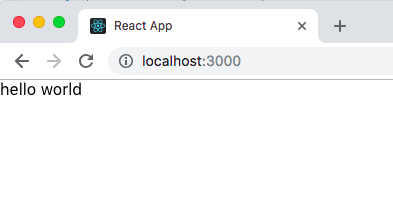
すると今までのデフォルト画面は消え、hello worldが表示されました。
※注意点として、
ReactDOM.renderの第1引数は必ず何かしらのタグで括っておかないと
エラーになります。
これでひとまずはサンプル画面が完成です。