Onion Omega2+にNode-Redをインストールしたので、手順を記録しておきます。最終的には、Node-Redに「node-red-contrib-alexa-home-skill」または「node-red-contrib-alexa-local」をインストールして、Amazon Echo Dotからテレビとライトのオンオフを制御したいと考えています。
以前、ラズパイ+node-red-contrib-alexa-home-skill+RM mini3で実験運用していましたが、ラズパイを別な用途に利用したため、稼働停止していました。
今回は、安価な Onion Omega2+ で実現しようと考えています。
(ホントは、Omega2 でやりたかったけど、リソース不足で Node-Red のインストールに失敗しました)
0. 前提条件
- Onion Omega2 Plus(※)
BusyBox v1.25.1Ω-ware: 0.2.0 b188 (Device Firmware Version: 0.2.0 b188)Linux 4.4.74 mipsel LE
- 2GB Micro-SD Card
- パーティション2分割
- 512MB=スワップ用、残り=システム領域拡張用
- 各領域共にext4でフォーマット済み
- パーティション2分割
- Omega2拡張ドック
- Node.js version: v4.3.1
- Node-RED version: v0.18.4
※2018/06/29修正
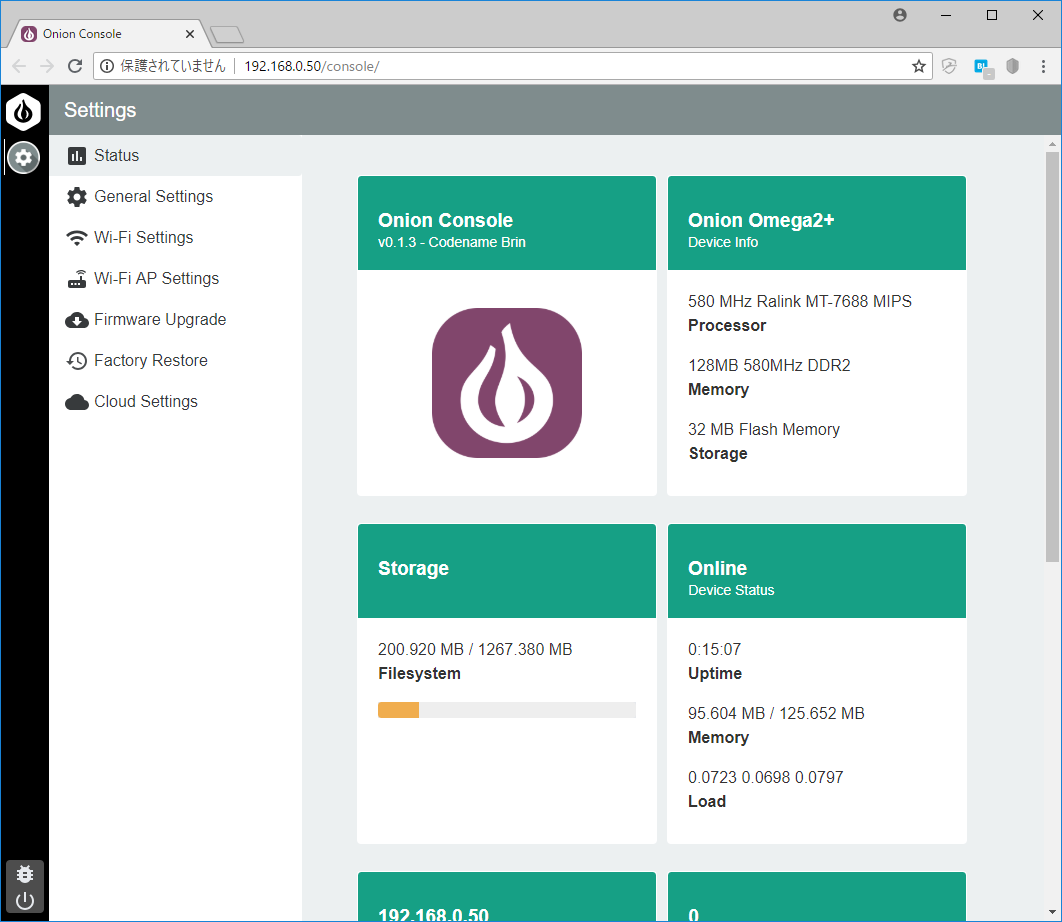
インストール時点では、上記に示す開発版最新ファームウェア(0.2.0 b188)にアップグレード(oupgrade -latest)した環境でした。しかしながら、wifi-I/F(apcli0) の MACアドレスが何故かシールに記載された MACアドレスとならず、別なアドレスとなっていたので、標準リポジトリの最新に変更、再インストールしました。あと、興味本位で、Onion OS をインストールしてます。
- Onion Omega2 Plus
- BusyBox v1.26.2
- Ω-ware: 0.1.10 b160(標準リポジトリの2018/06/24時点最新版)
- Linux 4.4.46 mipsel LE
1. スワップ領域の確保
2GB の Micro-SD のスワップ用のパーティションにスワップファイルを作成して、利用できるメモリ領域を確保します。
Omega2の公式ドキュメント:Advanced->Extending the Omega’s Available Memoryに説明があります。その手順に従ってセットアップしていきます。
必要なパッケージのインストール
$ opkg update
$ opkg install swap-utils block-mount
スワップファイルの作成
dd コマンドでスワップファイルを作成します。
私は、512MBのスワップファイルを SD-P1(スワップ用のパーティション)に作成したいので、bs=1MB count=512 としています。
$ dd if=/dev/zero of=/tmp/mounts/SD-P1/swap.page bs=1M count=512
スワップ領域の設定
作成したスワップファイルをスワップ領域として設定、有効化します。
$ mkswap /tmp/mounts/SD-P1/swap.page
$ swapon /tmp/mounts/SD-P1/swap.page
起動時のmicro-SD自動マウント有効化
起動時にスワップファイルがあるmicro-SDのパーティションが自動マウントされるように、
blockとfstabの設定を行います。
$ block detect > /etc/config/fstab
以下のコマンドで、fstabの設定状態を確認します。
私の環境の場合、/mnt/mmcblk0p1の方がスワップファイルのあるパーティションです。
$ uci show fstab
fstab.@global[0]=global
fstab.@global[0].anon_swap='0'
fstab.@global[0].anon_mount='0'
fstab.@global[0].auto_swap='1'
fstab.@global[0].auto_mount='1'
fstab.@global[0].delay_root='5'
fstab.@global[0].check_fs='0'
fstab.@mount[0]=mount
fstab.@mount[0].target='/mnt/mmcblk0p1'
fstab.@mount[0].uuid='xxxxxxxx-xxxx-xxxx-xxxx-xxxxxxxxxxxx'
fstab.@mount[0].enabled='0'
fstab.@mount[1]=mount
fstab.@mount[1].target='/mnt/mmcblk0p2'
fstab.@mount[1].uuid='xxxxxxxx-xxxx-xxxx-xxxx-xxxxxxxxxxxx'
fstab.@mount[1].enabled='0'
mount[0].enabled='0'の設定をenable化(=1に設定)して、自動マウントを有効化します。
$ uci set fstab.@mount[0].enabled='1'
$ uci commit fstab
$ /etc/init.d/fstab enable
$ block mount
起動時のスワップファイル自動有効化
起動時にスワップファイルが自動的に有効になるように /etc/rc.local に swapon コマンドを仕込みます。
# Put your custom commands here that should be executed once
# the system init finished. By default this file does nothing.

### activate the swap file on an external SD-Card
SWAP_FILE="/mnt/mmcblk0p1/swap.page"
if [ -e "$SWAP_FILE" ]; then
        swapon $SWAP_FILE
fi

exit 0
再起動して、スワップファイルが自動で有効になっているか確認します。
$ free
             total       used       free     shared    buffers     cached
Mem:        125652      90548      35104        168       9716      53248
-/+ buffers/cache:      27584      98068
Swap:       524284         48     524236
2. 外部ストレージからの起動設定
Micro-SD に用意したシステム領域拡張用のパーティションから起動させるための設定を行います。
Omega2の公式ドキュメント:Advanced->Booting from External Storageに説明があります。その手順に従ってセットアップしていきます。
外部ストレージのフォーマット
以下の手順で外部ストレージとなる Micro-SD の2つ目のパーティション(/tmp/mounts/SD-P2)をフォーマットします。
※前提条件で Micro-SDは、ext4 でフォーマット済みと記載しました。
フォーマットは、Ubuntu マシンの GParted を使用しました。
念のため、公式ドキュメントに記載の内容で、再フォーマットしました。
e2fsprogsのインストール
ext2、ext3 と ext4 ファイルシステムをメンテナンスするための一連のユーティリティとなる e2fsprogs をインストールします。
$ opkg update
$ opkg install e2fsprogs
ext4 でフォーマット
一度、アンマウントしてから、デバイスをフォーマットします。
$ umount /tmp/mounts/SD-P2
$ mkfs.ext4 /dev/mmcblk0p2
マウント
フォーマットしたデバイスをマウントします。
デバイス名と同じ名前で /mnt にディレクトリを作成し、マウントします。
$ mkdir /mnt/mmcblk0p2
$ mount /dev/mmcblk0p2 /mnt/mmcblk0p2
/overlay ディレクトリをコピー
/overlay に格納されているシステム関連ファイルを Micro-SD にコピーします。
$ umount /mnt/mmcblk0p2
$ mount /dev/mmcblk0p2 /mnt/ ; tar -C /overlay -cvf - . | tar -C /mnt/ -xf - ; umount /mnt/
起動時の /overlay 自動マウント設定
/etc/config/fstab は、スワップ設定時に作成してあるので、 (※)エディタで "option target" と "option enabled" 部分を以下のように編集します。
※UUIDが異なってくるようです(おそらく、フォーマットしたから・・)
(再度、以下のコマンドで、生成して、Swapの方の「option enabled」も'1'に設定する必要があります。)
$ block detect > /etc/config/fstab
# option  target  '/mnt/mmcblk0p2'
option  target  '/overlay'
# option  enabled '0'
option  enabled '1'
再起動します。
$ reboot
再起動後、ストレージが増えていることを確認します。
df
Filesystem           1K-blocks      Used Available Use% Mounted on
/dev/root                 5888      5888         0 100% /rom
tmpfs                    62824       108     62716   0% /tmp
/dev/mmcblk0p2         1348020    195032   1066460  15% /overlay
overlayfs:/overlay     1348020    195032   1066460  15% /
tmpfs                      512         0       512   0% /dev
/dev/mmcblk0p1          564156    524736         0 100% /mnt/mmcblk0p1
3. Node-Redのインストール
Node-Red をインストールしていきます。
必要なツールのインストール
以下のコマンドで、Node.js 他、必要なツールをインストールします。
$ opkg update
$ opkg install nodejs npm python
$ npm install -g node-gyp
※2018/07/01追記
「npm install -g node-gyp」でアウトオブメモリエラーとなる場合は、以下で実施する。
(参考:node-red-contrib-alexa-home-skillインストール[On Onion Omega2+]の記事より)
$ node --max_old_space_size=512 $(which npm) install -g node-gyp
Node-Red をインストール
$ opkg install onion-node-red
Node-Redの起動
以下のコマンドで起動を確認します。
$ node --max-old-space-size=128 /usr/bin/onion-node-red/node_modules/node-red/red.js
The host is: undefined
16 Jun 14:22:53 - [info]

Welcome to Node-RED
===================

16 Jun 14:22:53 - [info] Node-RED version: v0.18.4
16 Jun 14:22:54 - [info] Node.js  version: v4.3.1
16 Jun 14:22:54 - [info] Linux 4.4.74 mipsel LE
16 Jun 14:23:02 - [info] Loading palette nodes
16 Jun 14:23:40 - [warn] ------------------------------------------------------
16 Jun 14:23:40 - [warn] [node-red/rpi-gpio] Info : Ignoring Raspberry Pi specific node
16 Jun 14:23:40 - [warn] ------------------------------------------------------
16 Jun 14:23:40 - [info] Settings file  : /root/.node-red/settings.js
16 Jun 14:23:40 - [info] User directory : /root/.node-red
16 Jun 14:23:40 - [warn] Projects disabled : set editorTheme.projects.enabled=true to enable
16 Jun 14:23:40 - [info] Flows file     : /root/.node-red/flows_Omega-39D5.json
16 Jun 14:23:40 - [info] Creating new flow file
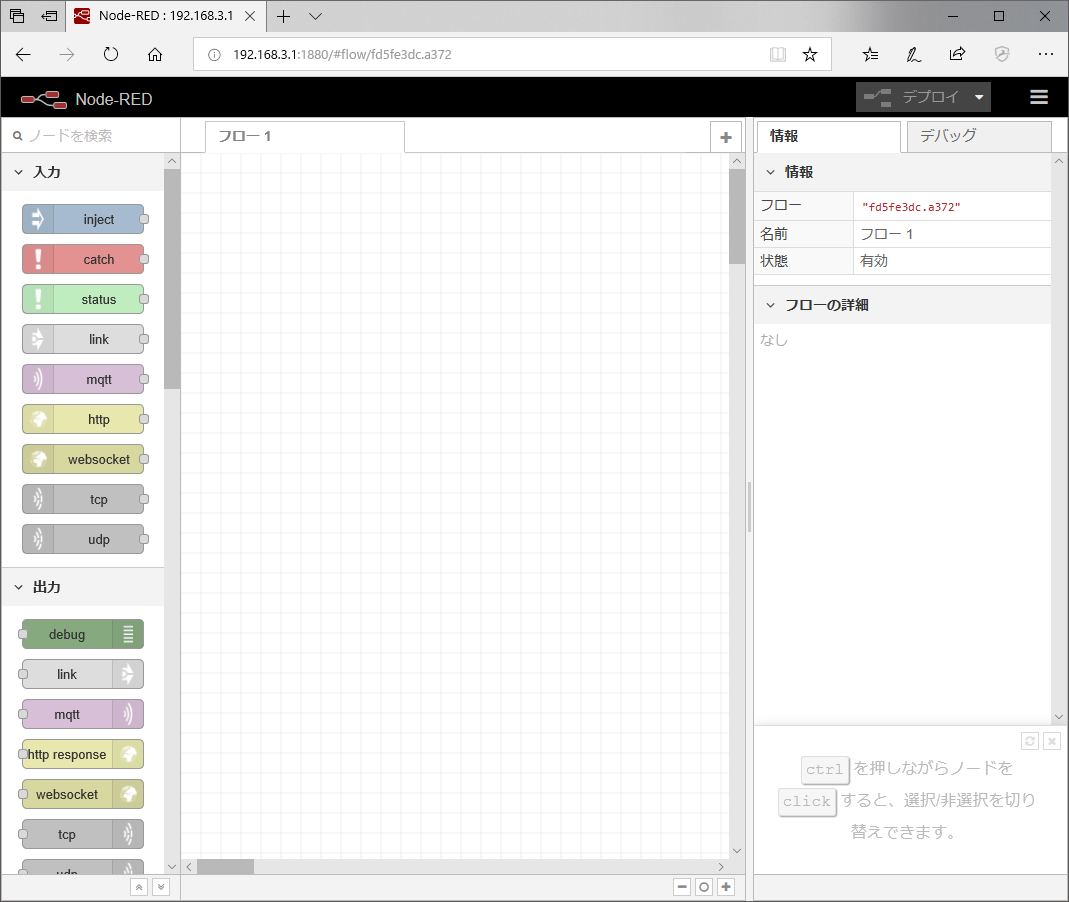
16 Jun 14:23:41 - [info] Server now running at http://192.168.3.1:1880/
16 Jun 14:23:41 - [info] Starting flows
16 Jun 14:23:41 - [info] Started flows
システム起動時の Node-Red 自動起動
システム起動時に Node-Red が自動で起動するように /etc/rc.local に起動コマンドを仕込みます。
まずは、起動用のスクリプト /root/node-red.sh を作成します。
オプション指定で「--userDir /root/.node-red」が必要です。
# !/bin/ash

node --max-old-space-size=128 /usr/bin/onion-node-red/node_modules/node-red/red.js --userDir /root/.node-red

exit 0
次に /etc/rc.local にこのスクリプトの起動命令を追記します。
## Node-Red
NODE_RED_COMMAND="/root/node-red.sh"
if [ -e "$NODE_RED_COMMAND" ]; then
        $NODE_RED_COMMAND > /tmp/node-red.log.$$ 2>&1 &
fi
これで再起動後も自動でNode-Redが立ち上がる環境ができました。

4. その他
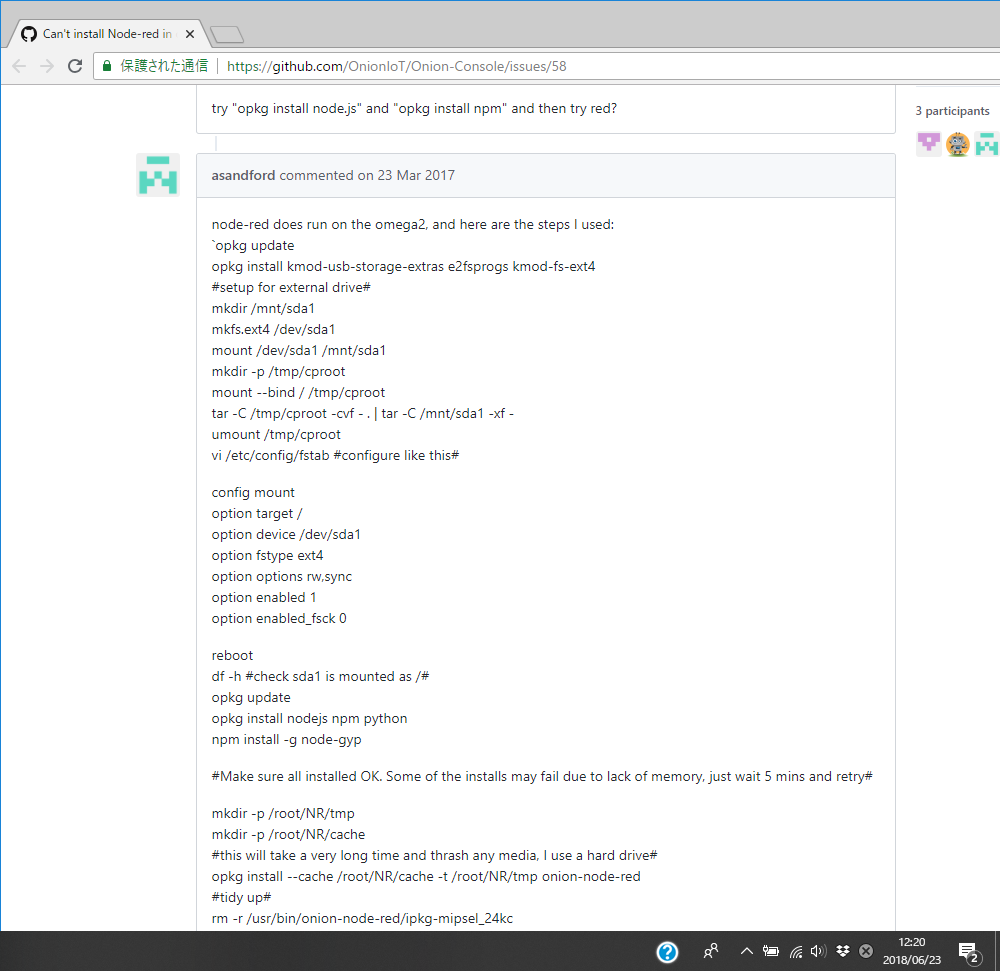
今回いろいろググっていたら、以下の記事がありました。
どうも Plus ではない Omega2 でもインストール可能なようです。
今度、試してみようと思います。
※2018/06/25追記
USB 外付けメモリでやってるぽいですね・・
Can't install Node-red in omeage 2 plus !! #58
node-red does run on the omega2, and here are the steps I used:

今回は Omega2+ での Node-Red 起動までできました。
「node-red-contrib-alexa-local」のインストールと Amazon Echo Dot については、纏まったらアップしようと思います。
以上

