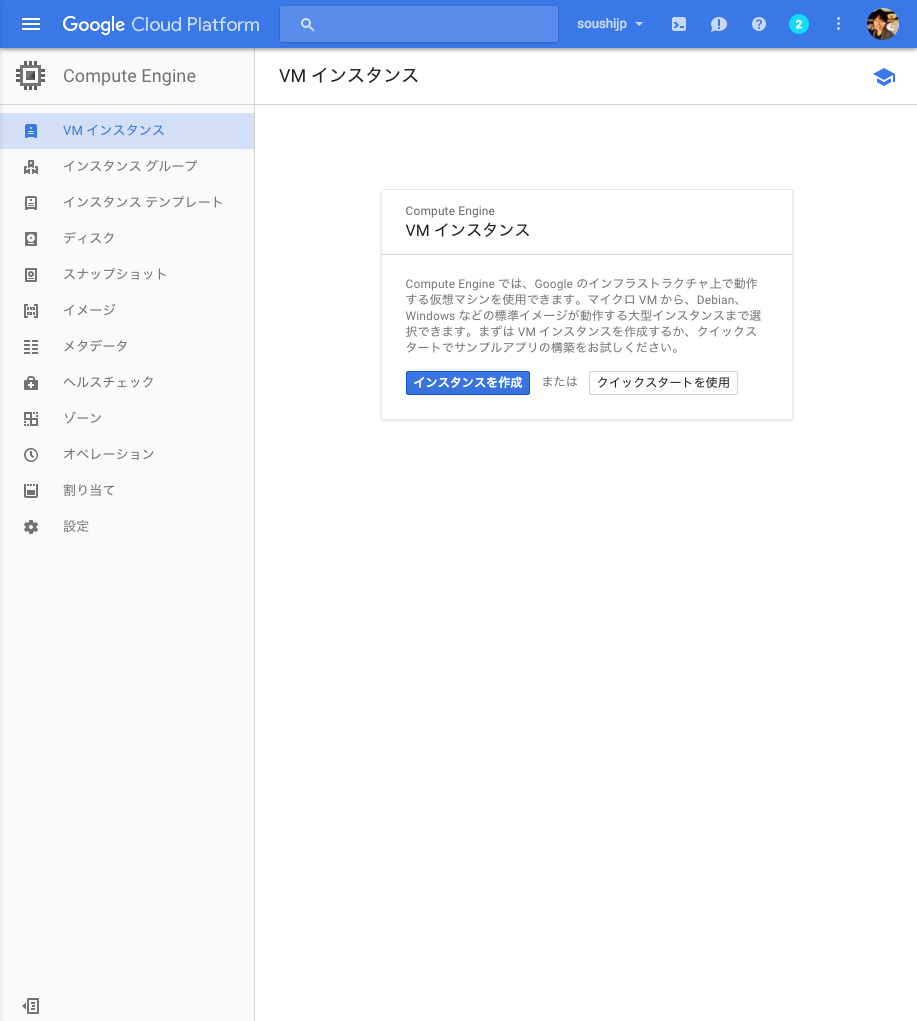
1 仮想マシン(Virtual Machine/VM)を作成します。
1.1 VMインスタンスを作成
1.2 マシンタイプ->カスタマイズ
- 「コア数:共有vCPUx1」に設定します。✳︎自分専用のCPUを確保しないので、反応が遅くなることがあります。
- 今回は個人的なWebサーバー用途なので、ケチケチ大作戦です!(笑)

1.3 ブートディスク->変更
- 「CentOS6.7」を選択します。


1.4 ファイアウォールの設定を変更します。
- 今回は、Web Serverなので、HTTPとHTTPSを通過、Google Cloudサービスへのアクセスも許可します。
- また、「管理」タブをクリックし、適当な説明を書いておきましょう。

1.5 静的IPアドレスを割り当てます。
- ネットワーキング->外部IP->新しい静的IPアドレスを選択します。
- 静的IPアドレスは、使っていない場合のみ料金が発生します。


1.6 SSH接続をするための公開鍵を登録します。
-
id_rsa.pubファイルの内容をコピペします。

1.7 「作成」ボタンを押下し、VMを作成します。
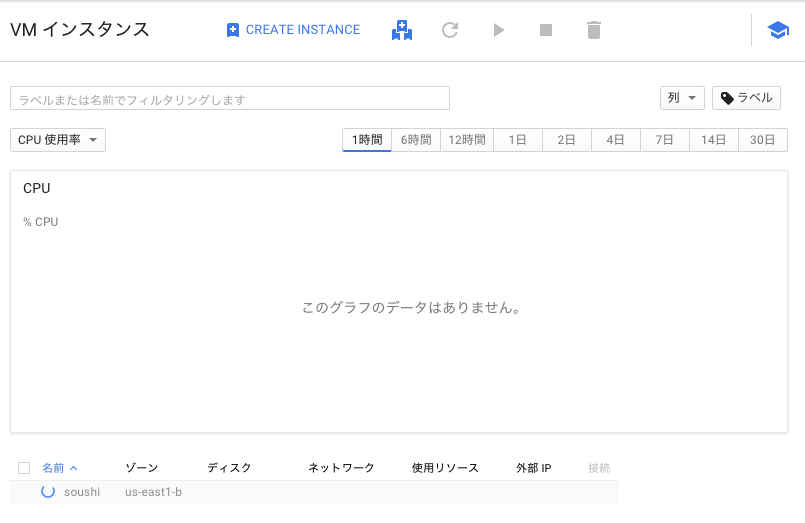
2 VMへのSSHログイン設定
2.1 VMインスタンス->外部IPの部分に書いてあるIPアドレスを控えます。

2.2 秘密鍵を指定して、サーバーに接続します。
- 「1-5」で登録した公開鍵に対応する秘密鍵を使って、サーバーへSSH接続します。
ssh -i <秘密鍵の場所> <ユーザ名>@<VMの外部IPアドレス>

3 VMの基本設定
3.1 rootのパスワードを設定
-
sudo passwd rootで、rootのパスワードを設定します。

3.2 SELinuxの無効化
- SELINUX=disabledにします。
setenforce 0
vi /etc/sysconfig/selinux
# /etc/sysconfig/selinux
SELINUX=disabled
4 Nginxのインストール
- VMの設定が終わったので、Nginxを使ってWebサーバーを構築します。
- ユーザーを
rootに切り替えます。
su root
cd
4.1 yumにリポジトリを追加する
- デフォルトのyumリポジトリにはNginxがありません。
- そこで、リポジトリを追加し、
yumでNginxをインストールできるようにします。
rpm -ivh http://nginx.org/packages/centos/6/noarch/RPMS/nginx-release-centos-6-0.el6.ngx.noarch.rpm
- Nginxのインストール
yum install -y nginx
5 MySQLのインストール
- MySQLのインストール
yum install -y mysql mysql-server
service mysqld start
chkconfig mysqld on
chkconfig mysqld --list
- MySQLの初期設定
mysql_secure_installation
# 質問に下記の通りに答える

Enter current password for root (enter for none): (ENTER)
Set root password? [Y/n] Y
New password: ***** #パスワードを入力
Re-enter new password: ***** #再度、同一のパスワードを入力
Remove anonymous users? [Y/n] Y
Disallow root login remotely? [Y/n] Y
Remove test database and access to it? [Y/n] Y
Reload privilege tables now? [Y/n] Y
6 PHPのインストール
yum install -y php php-mbstring php-mysql php-fpm
cp -p /etc/php.ini{,.org}
perl -pi -e 's/^;date.timezone =/date.timezone = \"Asia\/Tokyo\"/' /etc/php.ini
perl -pi -e 's/^expose_php = On/expose_php = Off/' /etc/php.ini
7 mysqlのデータベース作成
mysql -u root -p
- WordPress用のデータベース作成
mysql> create database wordpress;
Query OK, 1 row affected (0.00 sec)
- WordPress用のユーザー作成
PASSWORDの部分に、希望するパスワードを入力してから下記コマンドを実行してください。
間違いを防ぐために先頭に#を入れてあります。先頭の#を外してください。
# grant all privileges on wordpress.* to wordpress@localhost identified by 'PASSWORD';
8 Nginxの設定
mkdir -p /var/www/html
vi /etc/nginx/nginx.conf
- Nginxの設定
# /etc/nginx/nginx.conf

user  nginx;
worker_processes  auto; # コア数に合わせてワーカープロセス数を自動決定

error_log  /var/log/nginx/error.log warn;
pid        /var/run/nginx.pid;

events {
    worker_connections  1024;
    use epoll;
}

http {
    include       /etc/nginx/mime.types;
    default_type  application/octet-stream;

    log_format  main  '$remote_addr - $remote_user [$time_local] "$request" '
                      '$status $body_bytes_sent "$http_referer" '
                      '"$http_user_agent" "$http_x_forwarded_for"';

    access_log  /var/log/nginx/access.log  main;

    sendfile        on;
    #tcp_nopush     on;

    keepalive_timeout  65;

    #gzip  on;

    include /etc/nginx/conf.d/*.conf;
}
- WordPressの設定
- ドメインを用いない場合はserver_nameにIPアドレスを書き込む。
# /etc/nginx/conf.d/wordpress.conf(新規作成)

server {
    listen 80;
    server_name "外部IPアドレス";
    root /var/www/html;
    client_max_body_size 5m;

    index index.php;

    access_log  /var/log/nginx/www.example.com.access.log main;
    error_log   /var/log/nginx/www.example.com.error.log error;

    location = /favicon.ico {
    log_not_found off;
    access_log off;
    }

location = /robots.txt {
        allow all;
        log_not_found off;
        access_log off;
}

location ~ /\. {
    deny all;
}

location ~* /(?:uploads|files)/.*\.php$ {
    deny all;
}


location / {
    try_files $uri $uri/ /index.php?$args;
}

rewrite /wp-admin$ $scheme://$host$uri/ permanent;

location ~* ^.+\.(ogg|ogv|svg|svgz|eot|otf|woff|mp4|ttf|rss|atom|jpg|jpeg|gif|png|ico|zip|tgz|gz|rar|bz2|doc|xls|exe|ppt|tar|mid|midi|wav|bmp|rtf|js|JS|css|html?)$ {
   access_log off;
   log_not_found off;
   expires 1d;
}

location ~ [^/]\.php(/|$) {
    fastcgi_split_path_info ^(.+?\.php)(/.*)$;
    if (!-f $document_root$fastcgi_script_name) {
            return 404;
    }

    include fastcgi_params;
    fastcgi_index index.php;
    fastcgi_param SCRIPT_FILENAME $document_root$fastcgi_script_name;
    fastcgi_pass 127.0.0.1:9000;
    }
}
- php-fpmの設定(実行ユーザーとグループをnginxに変更)
cp -p /etc/php-fpm.d/www.conf{,.org}
perl -pi -e 's/user = apache/user = nginx/' /etc/php-fpm.d/www.conf
perl -pi -e 's/group = apache/group = nginx/' /etc/php-fpm.d/www.conf
9 WordPressの設置
cd /usr/local/src/
wget https://ja.wordpress.org/latest-ja.zip
unzip -q latest-ja.zip
mkdir /var/www/html
cp -a wordpress/* /var/www/html/
cd /var/www/html/
cp -p wp-config-sample.php wp-config.php
vi wp-config.php
- WordPressの設定
- put your unique phrase hereの部分は、認証キーの作成サイトにアクセスして表示されたキーを使う。
# wp-config.php
/** WordPress のためのデータベース名 */
define('DB_NAME', 'wordpress');

/** MySQL データベースのユーザー名 */
define('DB_USER', 'wordpress');

/** MySQL データベースのパスワード */
define('DB_PASSWORD', 'PASSWORD');

/** MySQL のホスト名 */
define('DB_HOST', 'localhost');

/** データベースのテーブルを作成する際のデータベースの文字セット */
define('DB_CHARSET', 'utf8');

/** データベースの照合順序 (ほとんどの場合変更する必要はありません) */
define('DB_COLLATE', '');


/**#@+
* 認証用ユニークキー
*
* それぞれを異なるユニーク (一意) な文字列に変更してください。
* {@link https://api.wordpress.org/secret-key/1.1/salt/ WordPress.org の秘密鍵サービス} で自動生成することもできます。
 * 後でいつでも変更して、既存のすべての cookie を無効にできます。これにより、すべてのユーザーを強制的に再ログインさせることになります。
*
* @since 2.6.0
*/
define('AUTH_KEY',         'put your unique phrase here');
define('SECURE_AUTH_KEY',  'put your unique phrase here');
define('LOGGED_IN_KEY',    'put your unique phrase here');
define('NONCE_KEY',        'put your unique phrase here');
define('AUTH_SALT',        'put your unique phrase here');
define('SECURE_AUTH_SALT', 'put your unique phrase here');
define('LOGGED_IN_SALT',   'put your unique phrase here');
define('NONCE_SALT',       'put your unique phrase here');
- 所有権の変更と、自動起動設定
mkdir /var/www/html/wp-content/uploads
mkdir /var/www/html/wp-content/upgrade
chmod 707 /var/www/html/wp-content/uploads
chmod 707 /var/www/html/wp-content/upgrade
chown nginx. -R *
service php-fpm start
chkconfig php-fpm on
service nginx start
chkconfig nginx on
chkconfig mysqld --list
chkconfig php-fpm --list
chkconfig nginx --list
10 ブラウザで、http://外部IPアドレスにアクセスする。

- うまく動かない場合は次の2点をチェックしてください。
-
/etc/nginx/conf.d/wordpress.confファイルを開き、外部IPアドレスが正しく入力されているかどうか。 -
mysql -u wordpress -pでログインできるかどうか。できない場合、mysql上のwordpressユーザーのパスワードを変更する必要があります。
11.MacOS X上にGoogle Cloud SDKをインストール(オプション)
- Google Cloud SDKをインストールします
curl https://sdk.cloud.google.com | bash
exec -l $SHELL
gcloud init
- 途中の質問には次のように答えます
Installation directory (this will create a google-cloud-sdk subdirectory) (/root): (ENTER)
Do you want to help improve the Google Cloud SDK (Y/n)?  Y
Modify profile to update your $PATH and enable shell command completion? (Y/n)?  Y
Enter a path to an rc file to update, or leave blank to use
/root/.bashrc: (ENTER)