Android ThingsのAdventカレンダーです。
初日なので現状のOSのインストール方法を書いていきます。
というかまだ発表がないのですが、
Developer Previewの0.6.0が11/30に出たようです。
Android Thigns Consoleを触りながらなにかエラーになるなーとか思ってたら出てきました。
というか、なんか新しいツールも出てきていて、インストール方法が変わっている雰囲気があります。
まだドキュメントもなさそうですが、今回はこの新しいツールを使ってAndroid Things DP 0.6.0をインストールしてみたいと思います。
ハードウェア
今回利用するハードウェアは以下です。
- Raspberry Pi 3 Model B
- Raspberry Pi 2やRaspberry Pi Zero、Raspberry Pi Zero Wは利用できません。
- マイクロUSBケーブル及びUSB電源アダプタ
- 8GB以上のマイクロSDカード
- 必要であれば、マイクロSDカードアダプター
OSインストール
ツールダウンロード
以下より android-things-setup-utility.zipをダウンロードし、解凍します。
https://partner.android.com/things/console/u/0/#/tools
ツールの起動・OSの焼き込み
SDカードをホストOSに接続して、ダウンロードしたandroid-things-setup-utility.zipの中にある、
android-things-setup-utility-[[OS]]を起動します。
$ sudo ./android-things-setup-utility-macos
起動すると幾つか途中で質問が出てくるので、質問に合わせて回答していきます。
OSのインストールは最初の質問で 1 を選択します。
これだけSDカードにOSを焼き込み出来ます。
$ sudo ./android-things-setup-utility-macos
Password:

Android Things Setup Utility (version 1.0.9)
============================
This tool will help you install Android Things on your board and set up Wifi.

What do you want to do?
1 - Install Android Things and optionally set up Wifi
2 - Set up Wifi on an existing Android Things device
1
What hardware are you using?
1 - Raspberry Pi 3
2 - NXP Pico i.MX7D
3 - NXP Pico i.MX6UL
1
You chose Raspberry Pi 3.

Setting up required tools...
Fetching additional configuration...
Downloading platform tools...
File already downloaded.
Unzipping platform tools...
Finished setting up required tools.

Do you want to use the default image or a custom image?
1 - Default image: Used for development purposes. No access to the Android
Things Console features such as metrics, crash reports, and OTA updates.
2 - Custom image: Provide your own image, enter the path to an image generated
and from the Android Things Console.
1
Downloading Android Things image...
File already downloaded.
Unzipping image...

Downloading Etcher-cli, a tool to flash your SD card...
File already downloaded.
Unzipping Etcher-cli...

Plug the SD card into your computer. Press [Enter] when ready

Running Etcher-cli...
? Select drive /dev/disk2 (15.9 GB) - Card
? This will erase the selected drive. Are you sure? Yes
Flashing [========================] 100% eta 0s
Validating [========================] 100% eta 0s
iot_rpi3.img was successfully written to Card (/dev/disk2)
Checksum: 9173cba3

If you have successfully installed Android Things on your SD card, you can now
put the SD card into the Raspberry Pi and power it up. Otherwise you can abort
and run the tool again.

Would you like to set up Wi-Fi on this device? (y/n) y
Please plug your Raspberry Pi to your router with an Ethernet cable, then press [Enter].
Wi-Fi セットアップ
Wi−Fiのセットアップも、同じツールでそのまま行えます。
マイクロSDカードをRaspberry Piに入れて、電源を入れます。
ツールでWi-Fiをセットアップする場合はルーターに繋がった、イーサネットケーブルに接続します。
上記ツールの続きから行うか、サイドツールを起動し、 2を選択します。
$ sudo ./android-things-setup-utility-macos

Android Things Setup Utility (version 1.0.9)
============================
This tool will help you install Android Things on your board and set up Wifi.

What do you want to do?
1 - Install Android Things and optionally set up Wifi
2 - Set up Wifi on an existing Android Things device
2
What hardware are you using?
1 - Raspberry Pi 3
2 - NXP Pico i.MX7D
3 - NXP Pico i.MX6UL
1
You chose Raspberry Pi 3.

Setting up required tools...
Fetching additional configuration...
Downloading platform tools...
File already downloaded.
Unzipping platform tools...
Finished setting up required tools.

Please plug your Raspberry Pi to your router with an Ethernet cable, then press [Enter].

Attempting to connect to your Raspberry Pi at Android.local...
Connected to device through Ethernet.
Enter the Wi-Fi network name: <SSIDを入力>
Enter the Wi-Fi network password (leave empty if no password): <パスワードを入力>
接続予定のWi-Fiルーターにイーサネットケーブルを繋いでしまっていると、うまく接続できないことがあります。
その場合は、イーサネットケーブルを抜いて、電源を入れ直します。
接続テスト
adbを使って接続します。
$ adb connect Android.local
これで開発が開始できます。
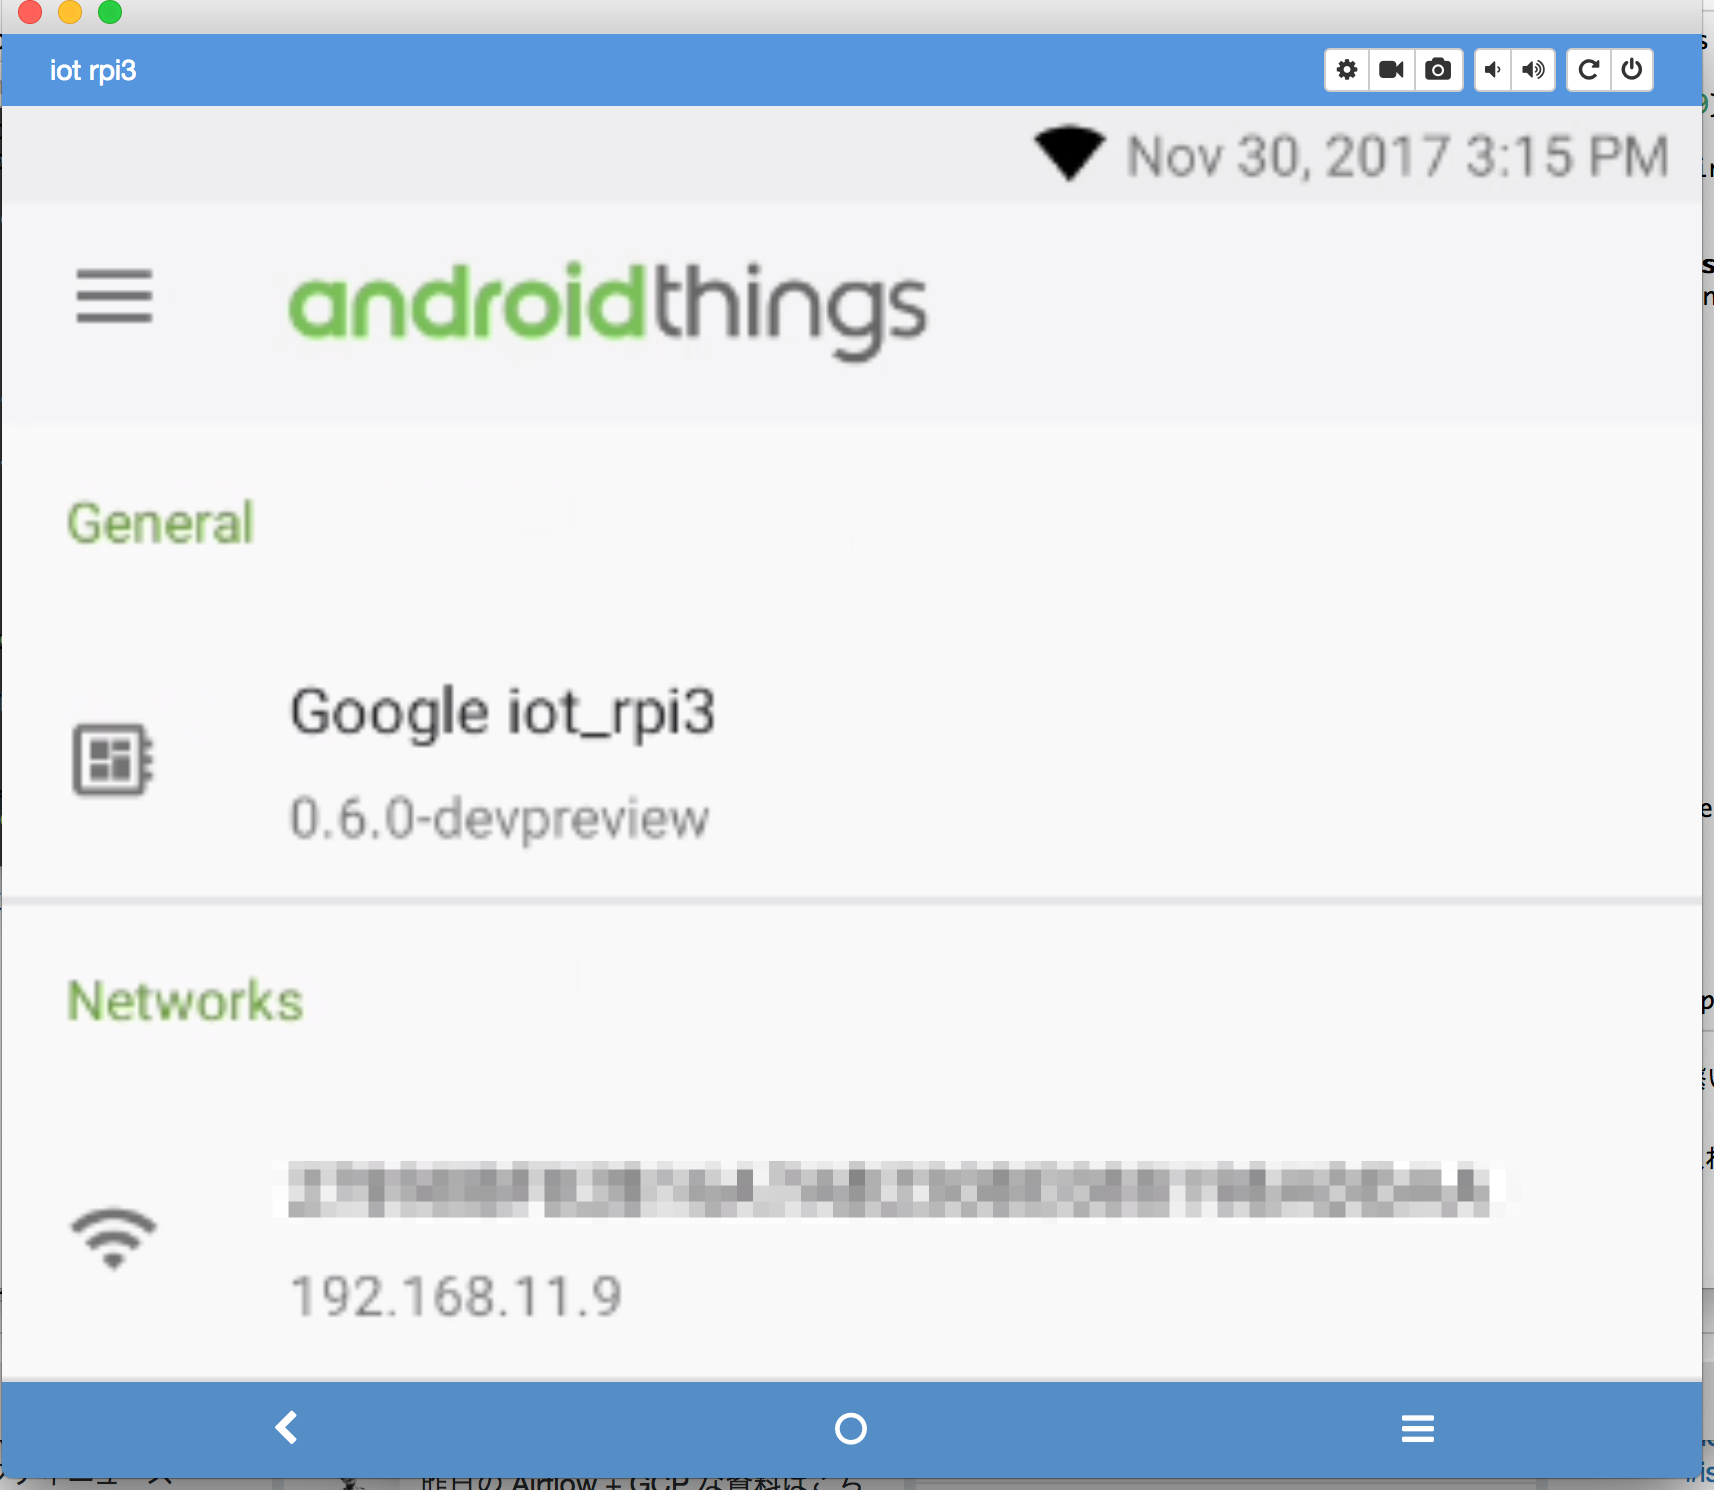
ちなみに、今まではVysorなどがうまく動かなかったのですが、DP0.6.0では動くようです。
UIを作るときもわざわざHDMIディスプレイなしでもいけますね。素敵です。
