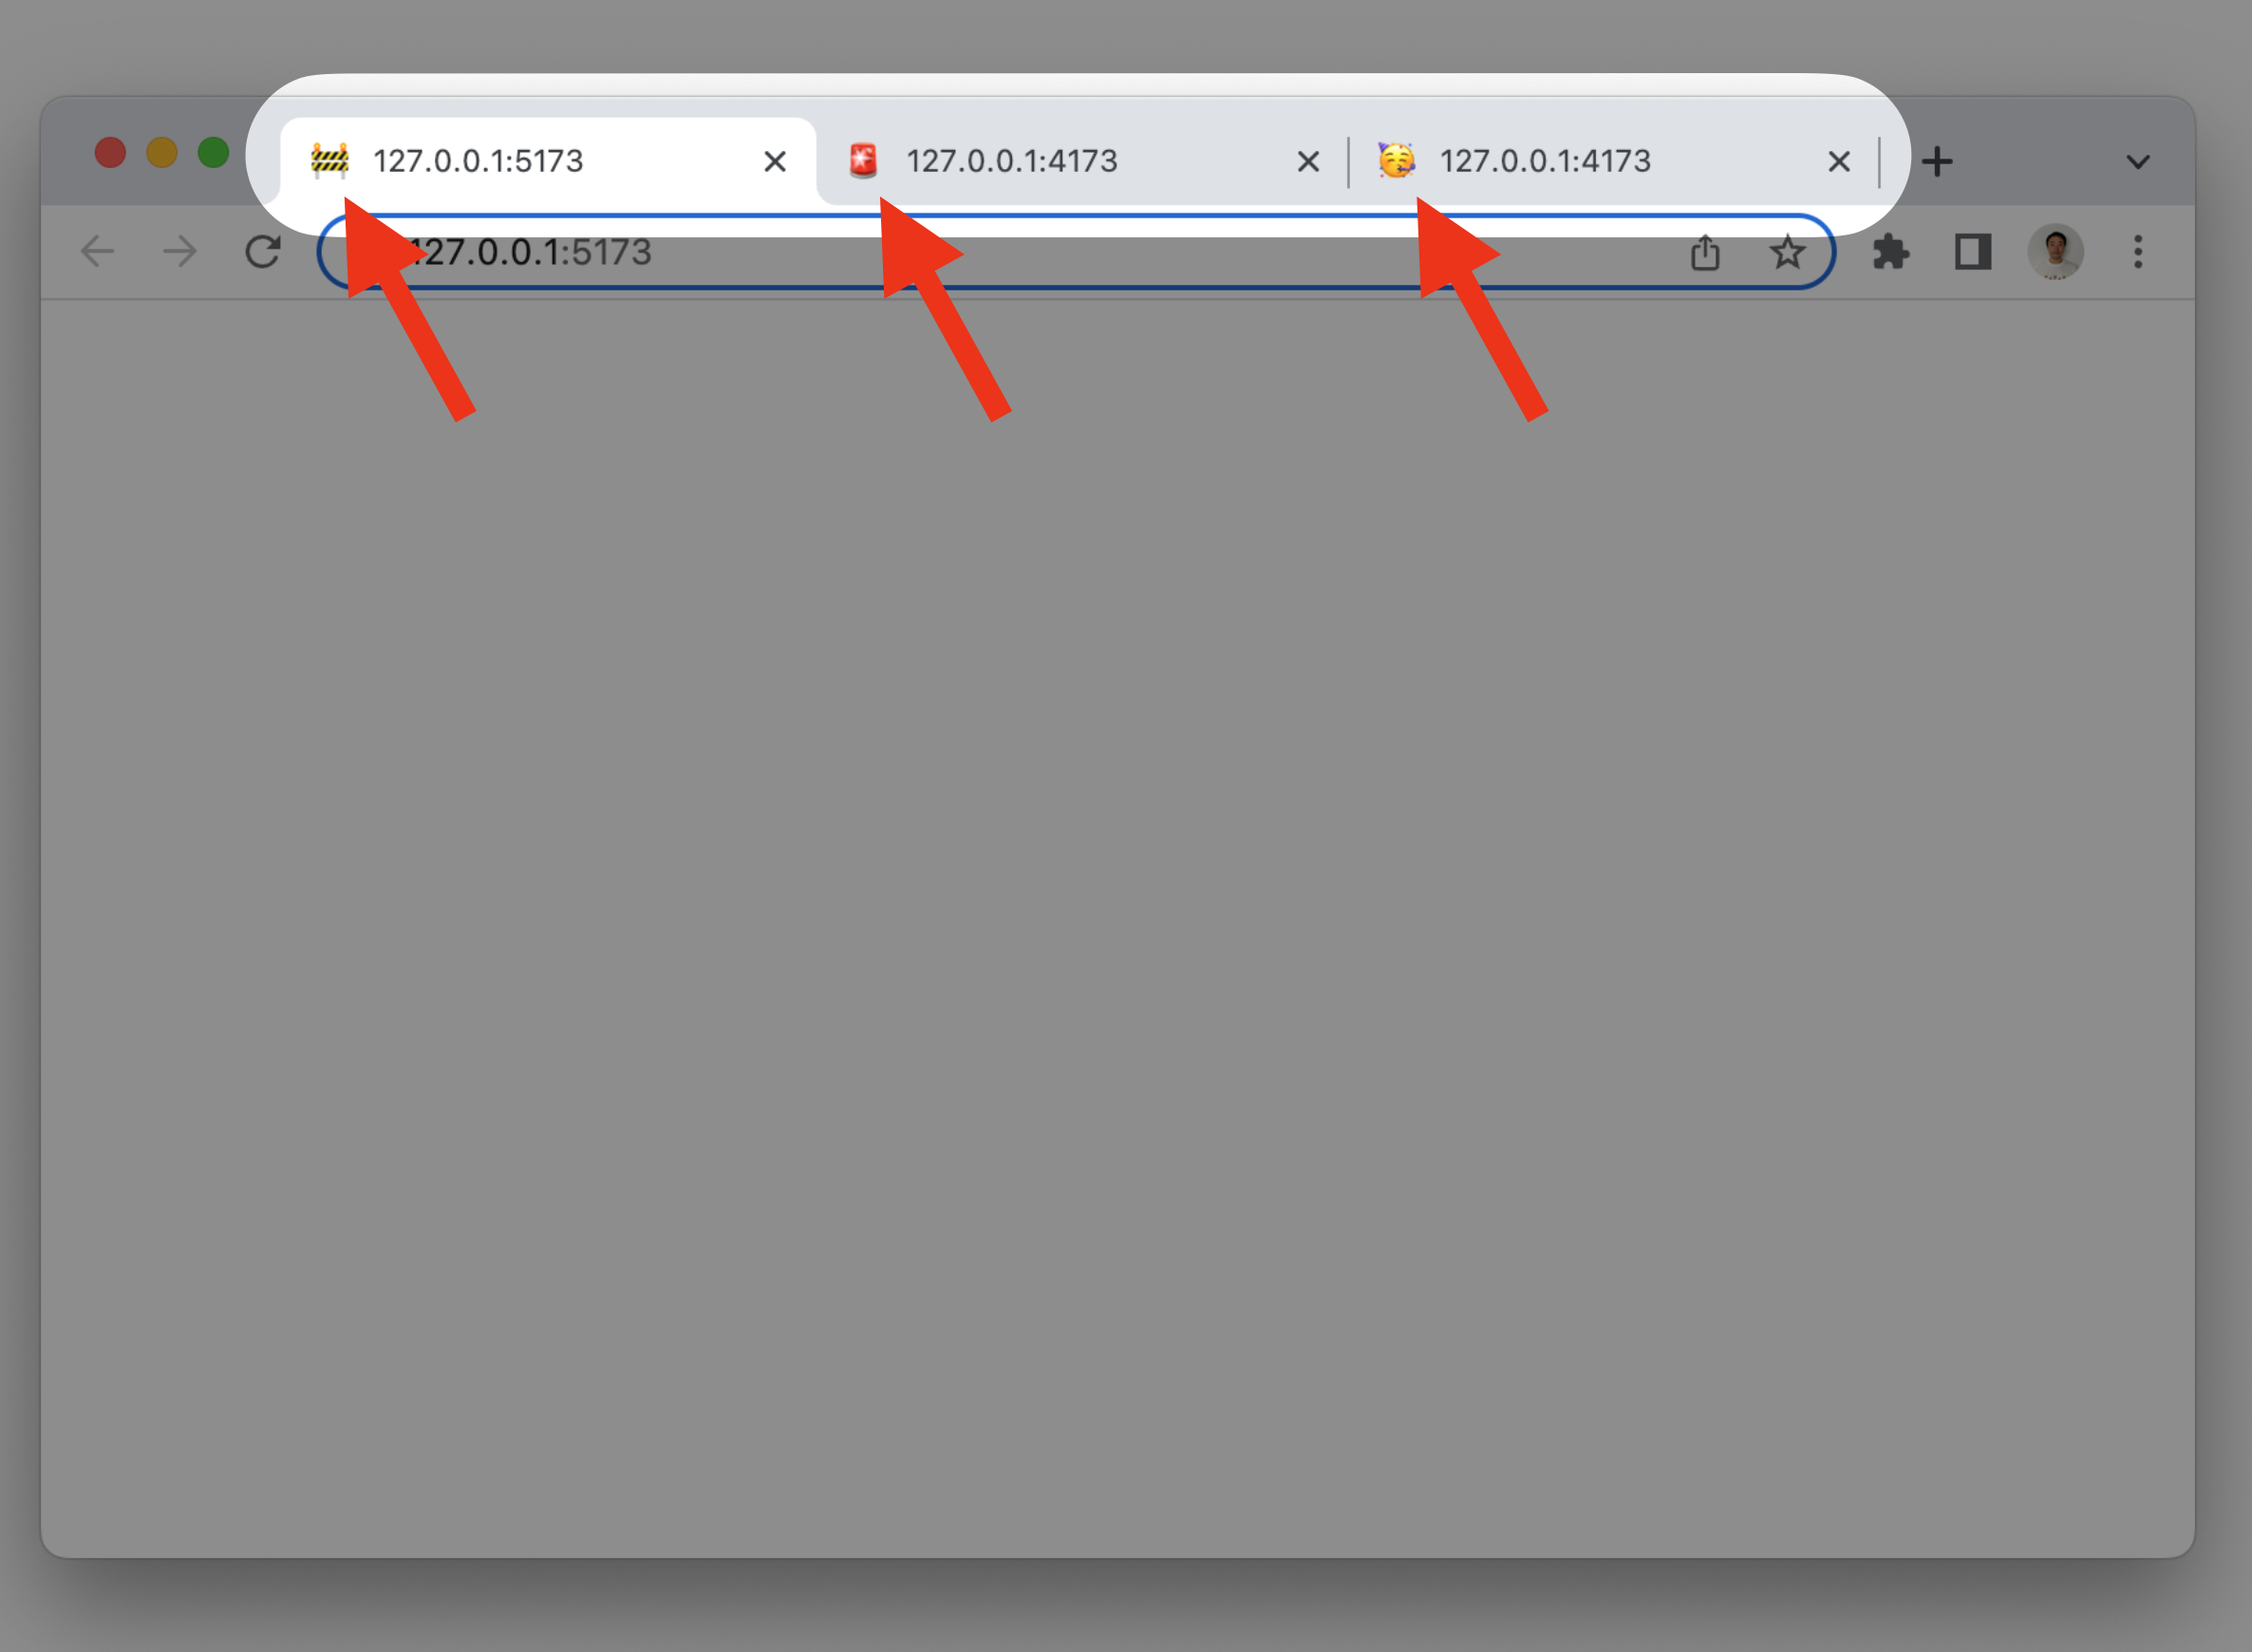
- 「開発環境」「プロダクション環境」などごとにファビコンを変えておくと、パッと見てわかりやすい
- 絵文字をファビコンに設定できる
- Next.js, Vue3, SvelteKit, Astro での実例を紹介した
そもそもFavicon(ファビコン)って?
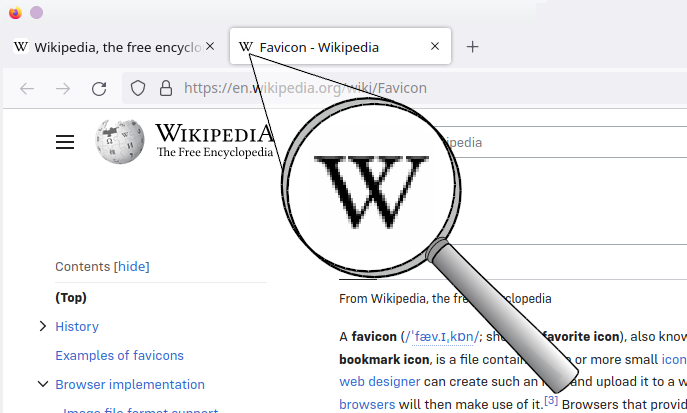
ウェブページのアイコンです。ブラウザでページを開いたときに、タブなどに表示されていたりします:
File:Wikipedia favicon in Firefox on KDE (2023).png - Wikipedia
ファビコンの設定方法
pngなどの画像や、SVGファイルを用意して、それをHTMLのhead内で指定します。
bissyさんによる↓の記事が大変参考になります!
ずぼらな私の2023年のファビコン事情(SVGでダークモード対応)
一般的なウェブサイトでは、SVGでファビコンを作れば補助のアイコンを含めて3つで済みます。
- あらゆるブラウザ向けにSVGを 1点
- iOSのホーム画面用にPNGを1点(余白とか調整した画像・180x180px)
- SVGが使えない環境(Safari等)のために .ico を1点。(32x32px)
- SVGでダークモード対応もカンタンにできます(スタイルを指定)
- SafariはSVG非対応です
絵文字をファビコンにする
画像を用意するのではなく、「テキストの絵文字」をファビコンに設定する方法があります。
こんな感じに書きます↓
<link rel="icon" href="data:image/svg+xml,<svg xmlns=%22http://www.w3.org/2000/svg%22 viewBox=%220 0 100 100%22><text y=%22.9em%22 font-size=%2290%22>🥳</text></svg>">
- Lea Verouさんのツイート
-
How To Use an Emoji as a Favicon Easily | CSS-Tricks - CSS-Tricks
- デモ: Favicon Machine
-
絵文字をファビコンとして表示する簡単な方法
- Safariのために、絵文字画像を指定する例も紹介されている
<link rel="icon alternate" type="image/png" href="https://twemoji.maxcdn.com/v/13.0.2/72x72/1f638.png" />- twemoji CDN by jsDelivr - A free, fast, and reliable Open Source CDN
- Safariのために、絵文字画像を指定する例も紹介されている
環境ごとにFaviconを変える
「開発環境」「プロダクション環境」などごとにファビコンを変えておくと、パッと見てわかりやすいです!
参考:
- Different Favicon for Development | CSS-Tricks - CSS-Tricks
- eleventy-high-performance-blog/favicon.svg.njk at main · google/eleventy-high-performance-blog · GitHub(静的サイトジェネレーター11tyのテンプレート。ローカル開発環境ではファビコンが🚨になるよう設定されている)
自分が関わるプロジェクトでは
- 本番は通常の favicon
- 開発環境はモノクロの favicon
を作って切り分けています。他にも環境がある場合、色調補正したり、90度回転させてみたり、ぱっと見すぐ解るようにしています。
実例
Next.js, Vue3, SvelteKit, Astro での実例を紹介します。
コードは↓でも公開しています:
sorami/different-favicons: Favicons for each environment - examples
Next.js
Next.js by Vercel - The React Framework
ImageResponseによる方法
最近のNext.jsで導入された、ファイルベースのメタデータAPIを利用した例です:
Metadata Files: favicon, icon, and apple-icon | Next.js
ImageResponseにより画像を生成します:
Functions: ImageResponse | Next.js
<link rel="icon" href="/icon?<generated>" type="image/png" sizes="32x32" />
import { ImageResponse } from 'next/server'

export const runtime = 'edge'

// 画像のメタデータ
export const size = {
  width: 32,
  height: 32,
}
export const contentType = 'image/png'

// ImageResponseによる画像の生成
export default function Icon() {
  return new ImageResponse(
    (
      <div
        style={{
          fontSize: 32,
          width: '100%',
          height: '100%',
          display: 'flex',
          alignItems: 'center',
          justifyContent: 'center',
        }}
      >
        { process.env.NODE_ENV === 'development' ? '🚧' : '🥳' }
      </div>
    ),
    {
      // emoji種類の選択
      // "openmoji" | "twemoji" | "blobmoji" | "noto" | "fluent" | "fluentFlat"
      emoji: "twemoji",
      ...size,
    }
  )
}
> npm run dev # development環境
> npm run build && npm run start # production環境
また、後述するVue3,Svelte(Kit),AstroのViteと違って、Next.jsでは基本的に development と production (そしてtest)という2~3種類のモードしかデフォルトではないようです。任意のモードを指定するには、以下の記事が参考になります:
Next.jsにおけるenvのベストプラクティス APP_ENV
別の方法
上記のメタデータファイルを使った方法ではないやり方は、以下の記事が参考になります:
-
faviconを開発環境と本番環境で視覚的に区別する方法
-
process.env.NODE_ENVで切り替え -
next.config.jsに条件分岐文を記述し、環境変数を指定 →process.env.FAVICON_URL - ファビコンは、それぞれ
dev.svg,prod.svgのようにファイルを作成しておく
-
Vue 3
Vue.js - The Progressive JavaScript Framework | Vue.js
Viteのモード(import.meta.env.MODE)をもとに、headの内容を追加しています(参考:環境変数とモード | Vite):
const faviconDict: Record<string, string> = {
  "development": "🚧",
  "staging": "🚨",
  "production": "🥳",
};

const updateFavicon = (char: string) => {
  if (!char) return;
  const head = document.querySelector("head");
  head?.append(
    Object.assign(document.createElement("link"), {
      rel: "icon",
      href: `data:image/svg+xml,<svg xmlns=%22http://www.w3.org/2000/svg%22 viewBox=%220 0 100 100%22><text y=%22.9em%22 font-size=%2290%22>${char}</text></svg>`,
    })
  );
};
updateFavicon(faviconDict[import.meta.env.MODE] ?? "");
> npm run dev # development環境
> npm run build-only -- --mode staging && npm run preview # staging環境(任意の環境名を vite build --mode で設定)
> npm run build && npm run preview # production環境
SvelteKit
SvelteKit • Web development, streamlined
<svelte:head> という要素で、headの内容を追加できます(参考:Special elements / <svelte:head> • Svelte Tutorial)。
例では、ページのレイアウトを指定する +layout.svelte に、以下を追加しています(参考:Routing • Docs • SvelteKit)。
Viteのモード(import.meta.env.MODE)をもとに、headの内容を切り替えていま(参考:環境変数とモード | Vite):
<script lang="ts">
  const faviconDict: Record<string, string> = {
    development: "🚧",
    staging: "🚨",
    production: "🥳",
  };

  const faviconChar = faviconDict[import.meta.env.MODE];
  const faviconHref = `data:image/svg+xml,<svg xmlns=%22http://www.w3.org/2000/svg%22 viewBox=%220 0 100 100%22><text y=%22.9em%22 font-size=%2290%22>${faviconChar}</text></svg>`;
</script>

<svelte:head>
  <link rel="icon" href={faviconHref} />
</svelte:head>

<slot />
> npm run dev # development環境
> npm run build -- --mode staging && npm run preview # staging環境(任意の環境名を vite build --mode で設定)
> npm run build && npm run preview # production環境
Astro
Viteのモード(import.meta.env.MODE)をもとに、headの内容を切り替えていま(参考:環境変数とモード | Vite):
import.meta.env.MODE: The mode your site is running in. This isdevelopmentwhen running astro dev andproductionwhen running astro build.
例では、Layout.astro に以下を記述し、ページ(src/pages/index.astroなど)で、そのレイアウトを利用しています:
---
const faviconDict: Record<string, string> = {
    development: "🚧",
    staging: "🚨",
    production: "🥳",
};

const faviconChar = faviconDict[import.meta.env.MODE];
const faviconHref = `data:image/svg+xml,<svg xmlns=%22http://www.w3.org/2000/svg%22 viewBox=%220 0 100 100%22><text y=%22.9em%22 font-size=%2290%22>${faviconChar}</text></svg>`;
---

// (中略)

<!DOCTYPE html>
<html>
  <head>
    <link rel="icon" href={faviconHref} />

// (後略)
それでは良いファビコンライフを 🥳

