概要
フロントエンドのフレームワークを使うと、パスパラメータを使用したくなる時があります。パスパラメータについては、パスパラメータとクエリパラメータの違いを参照頂きたいのですが、URLパスに変数の値を指定する手法です。これをNext.jsで実現したい場合、どうすれば良いのか今回書きます。
どうすれば良いのか
ドキュメントの動的なルーティングに書いてあるとおり、パスパラメータを設定したいパスのjsファイル名に[パスパラメータ名].jsを指定することで、パラメータの取得をそのjs内で行うことができます。言葉だけだと、ピンと来ないかもしれないので以下にサンプルを示します。
実装サンプル
今回は記事投稿を例にします。パスパラメータに投稿id(post_id)を設定し、これを取得するやり方を書きます。
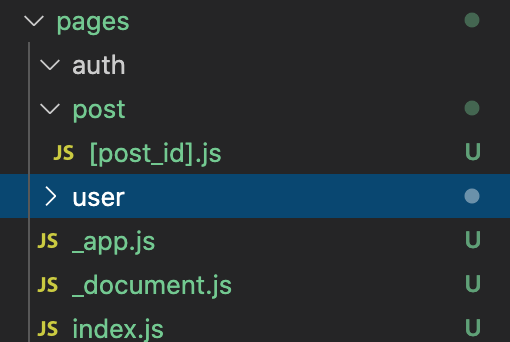
<ファイルの配置>
pages/postの配下に[post_id].jsを配置します。
<[post_id].jsの内容>
router.queryでパスパラメータ名(post_id)を指定することで取得できます。
[post_id].js
import { useRouter } from "next/router";
import Header from "../../components/common/Header";
import PostRefer from "../../components/post/PostRefer";

const Index = () => {
  const router = useRouter();
  // パスパラメータから値を取得
  const { post_id } = router.query;
  return (
    <div>
      <Header />
      <PostRefer postId={post_id} />
    </div>
  );
};

export default Index;
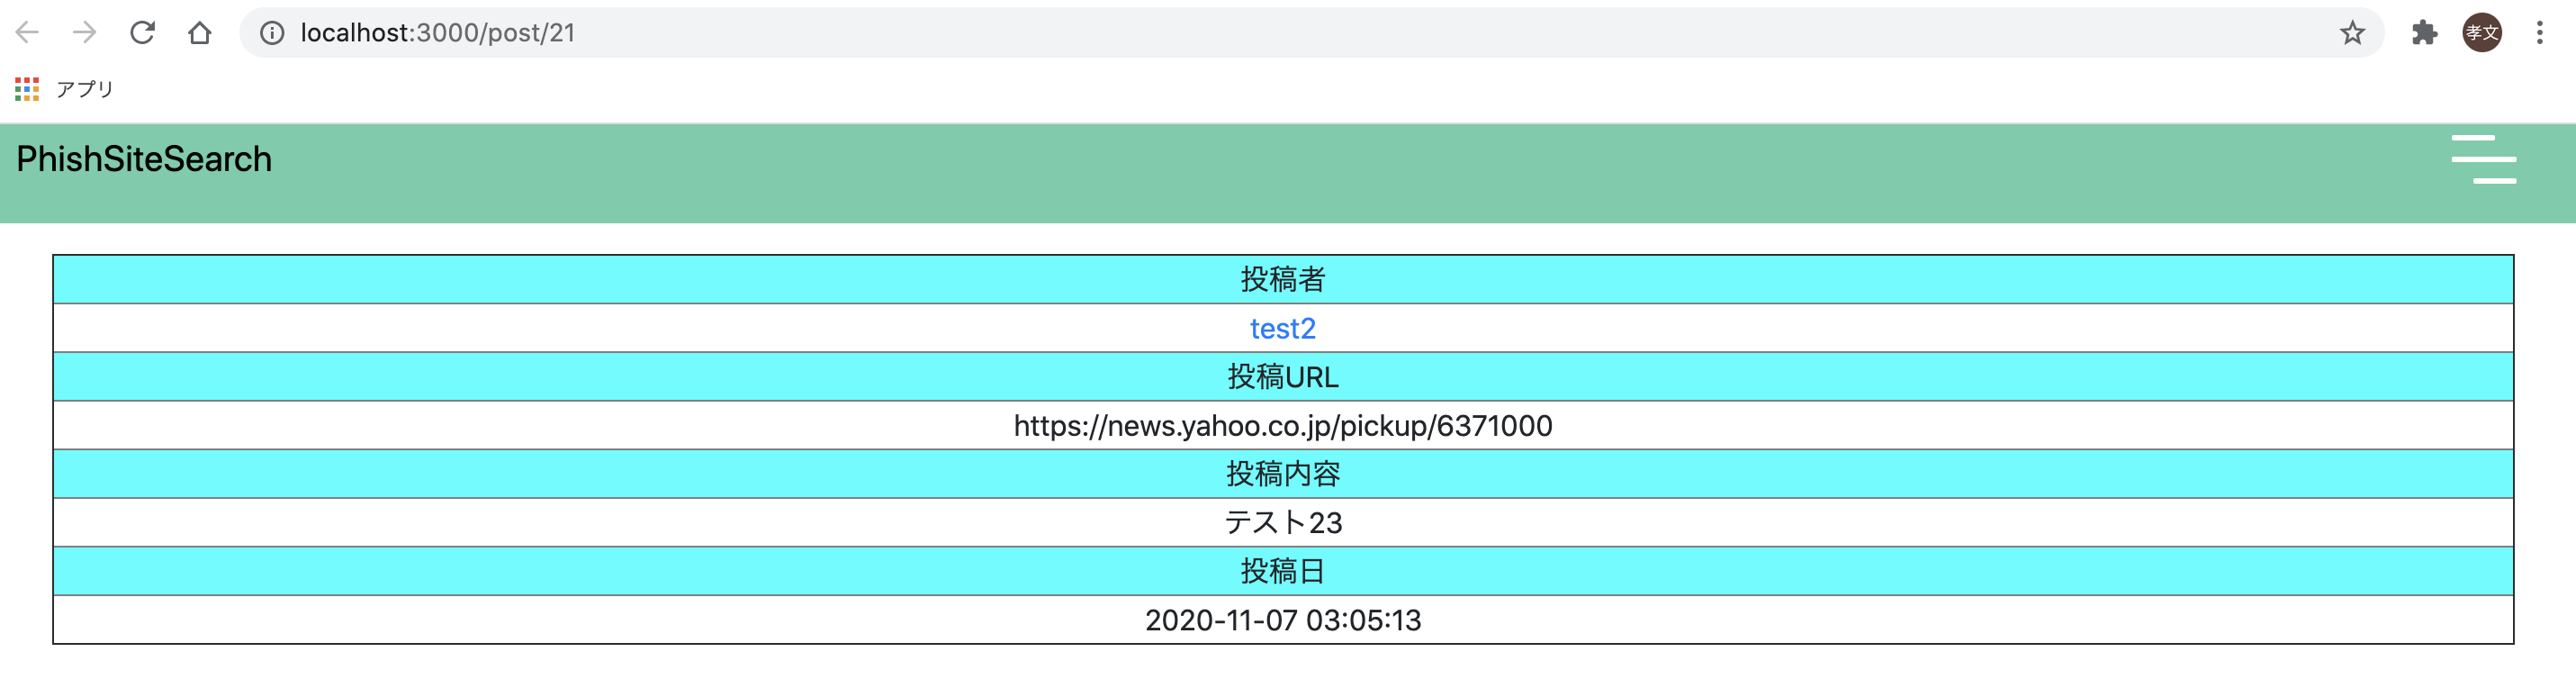
<このページへのアクセス>
http://localhost:3000/post/[post_id]へアクセスすると、パスパラメータを取得するページにアクセスします。