概要
UIのフレームワークで代表的なものの一つがMaterial UIで、React用のライブラリも用意されています。こちらのページにある通り、色々なコンポーネントが用意されているのですが、今回はTableのコンポーネントを使用してみました。
Tableのコンポーネントを使用する際に、行や列を固定したい時があると思いますが、その際の実装方法を今回紹介します。なお、今回使用したMaterial UIのバージョンは5.6.0になります。
実装方針
- ヘッダー行の固定ですが、Tableのドキュメントsticky-headerにある通り、Tableのコンポーネントに
stickyHeaderを設定します。 - 固定したい列がある場合は、MUI Table Sticky Column Demoのサンプル実装にある通り、TableCellのコンポーネントにCSSで
position: "sticky"を設定します。また、列幅を固定したいので、TableのコンポーネントにてCSSでtableLayout: "fixed"を設定します。
横にスライドする時に要素がかぶる状態になるのでbackgroundやz-indexも、合わせて必要に応じて設定しましょう。
実装サンプル
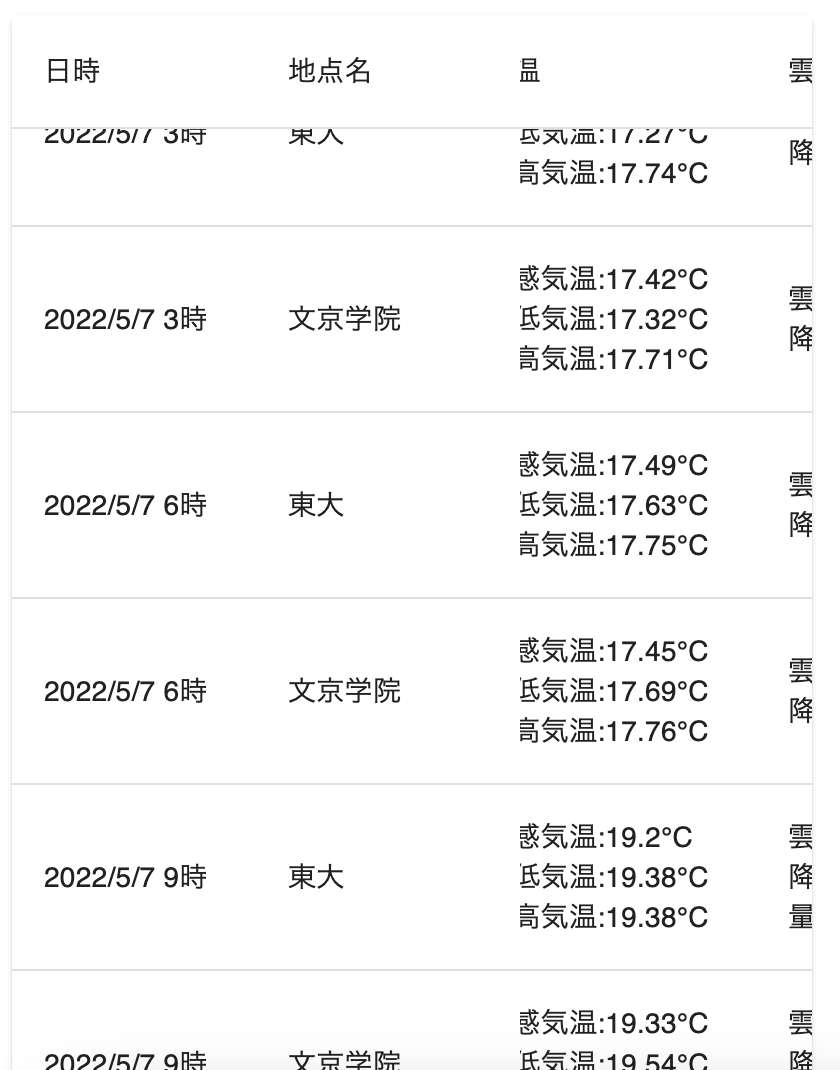
実現するテーブルのイメージは以下になります。
ヘッダーのタイトル行および、列は日時と地点名を固定します。
実装は以下の通りになります。
import Image from "next/image";

import Table from "@mui/material/Table";
import TableBody from "@mui/material/TableBody";
import TableCell from "@mui/material/TableCell";
import TableContainer from "@mui/material/TableContainer";
import TableHead from "@mui/material/TableHead";
import TableRow from "@mui/material/TableRow";
import Paper from "@mui/material/Paper";

export default function SampleComponent(prop) {

  function getStickyCellStyle(width, zIndex, left) {
    return {
      position: "sticky",
      left: left,
      background: "white",
      width: width,
      zIndex: zIndex,
    };
  }

  function renderWeatherInfo(weatherInfo) {
    return (
      <>
        <TableRow>
          <TableCell style={getStickyCellStyle(90, 90, 0)}>
            {getDateDisplayFromUnixTime(weatherInfo.getUnixtime())}
          </TableCell>
          <TableCell style={getStickyCellStyle(100, 90, 122)}>
            {weatherInfo.getPointname()}
          </TableCell>
          <TableCell>
            <Image
              src={weatherInfo.getWeatherImage()}
              width={40}
              height={40}
            />
          </TableCell>
          <TableCell>
            体感気温:{weatherInfo.getTempfeelslike()}°C
            <br />
            最低気温:{weatherInfo.getTempmin()}°C
            <br />
            最高気温:{weatherInfo.getTempmax()}°C
          </TableCell>
          <TableCell>
            雲量:{weatherInfo.getClouds()}%
            <br />
            降水量:{weatherInfo.getRainfall() ? weatherInfo.getRainfall() : 0}mm/3h
            <br />
          </TableCell>
          <TableCell>{weatherInfo.getHumidity()}%</TableCell>
          <TableCell>{weatherInfo.getWindspeed()}m/秒</TableCell>
          <TableCell>{weatherInfo.getPressure()}hpa</TableCell>
        </TableRow>
      </>
    );
  }

  return (
    <Paper
      sx={{
        width: 400,
      }}
    >
      <TableContainer sx={{ height: "80vh", maxWidth: 400 }}>
        <Table
          stickyHeader
          style={{
            tableLayout: "fixed",
          }}
        >
          <TableHead>
            <TableRow>
              <TableCell style={getStickyCellStyle(90, 100, 0)}>日時</TableCell>
              <TableCell style={getStickyCellStyle(100, 100, 122)}>
                地点名
              </TableCell>
              <TableCell style={{ width: 40 }}>天気</TableCell>
              <TableCell style={{ width: 120 }}>気温</TableCell>
              <TableCell style={{ width: 110 }}>雲・降水量</TableCell>
              <TableCell style={{ width: 60 }}>湿度</TableCell>
              <TableCell style={{ width: 60 }}>風速</TableCell>
              <TableCell style={{ width: 80 }}>気圧</TableCell>
            </TableRow>
          </TableHead>
          <TableBody>
            {prop.weatherList.map((weather) => {
              return renderWeatherInfo(weather);
            })}
          </TableBody>
        </Table>
      </TableContainer>
    </Paper>
  );
}