=====================================================
(追記)
これから大規模なプロジェクトを作る方はNuxt.jsをお勧めします。
ただ学習という視点で考えると一つ一つのパッケージをインストール
することでVue.js自体の理解を深めるのに役立つと思っています。
=====================================================
SPA(Single Page Application)でWebアプリを作ってみたいという方は多いと思います。SPAを作るのにvue.jsは非常に強力です。Webアプリでひとまず考えられる最低条件として
・ルーティング(router)
・状態管理(veus)
・サーバーへのアクセス(axios)
・見た目を整えるフレームワーク(bootstrap)
があげられます。これらをvue.jsを使ってプロジェクトを立ち上げてみます。最初のプロジェクトを立ち上げるというところで挫折する方も多い(私を含め、、、)かと思うので自身への備忘録をかねて紹介します。「とにかく簡単」がテーマなので設定やコードの中身は申し訳程度です。シンプルに動きを確認できて後で応用できるものを用意することを優先します。
(*node.jsやvueはインストールされている前提です、下記のリンクを参照のこと)
https://jp.vuejs.org/v2/guide/installation.html
$ vue init webpack spa-sample
プロジェクト生成のための対話が発生すると以下の通りに。

これでプロジェクトができたのでひとまず確認しましょう。
$ cd spa-sample
$ cd npm run dev
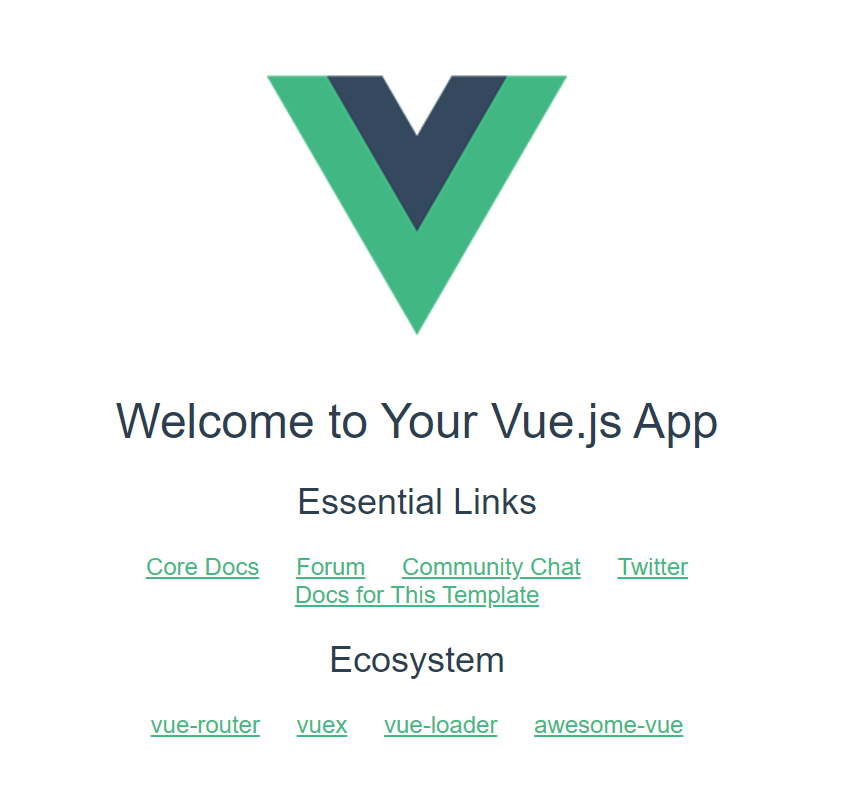
この後ブラウザを立ち上げてlocalhost:8080でアクセスするとページができています。例のページです。

ここから必要なライブラリのインストールを行います。
$ npm install vue-router
$ npm install vuex
$ npm install axios
$ npm install bootstrap-vue
$ npm install vuex-router-sync
インストールはひとまず完了です。これから必要なファイルを作ります。
spa-sample
   |-src
      |-main.js
      |-App.vue
      |-router.js (新規作成)
      |-aasets
      |-components
      |-pages(新規作成)
         |-Home.vue(新規作成)
         |-Sub.vue(新規作成)
まずはルーティングの設定。今回は"Home"と"Sub"の2つのページを用意します。
import Vue from 'vue';
import VueRouter from 'vue-router';

import Home from '@/pages/Home.vue';
import Sub from '@/pages/Sub.vue';

Vue.use(VueRouter);

var router = new VueRouter({
  routes: [
    {
      path: '/',
      component: Home
    },
    {
      path: '/sub',
      component: Sub
    },
  ]
});

export default router;
そしてアプリ全体での状態管理を管理を記述します。(変数を足すだけでほぼ無意味な状態管理ですが、コンポーネントからアクセスできることを確認するのが目的なのでご愛敬)
// The Vue build version to load with the `import` command
// (runtime-only or standalone) has been set in webpack.base.conf with an alias.
import Vue from 'vue'
import App from './App'
import router from './router.js'
import axios from 'axios'
import BootstrapVue from 'bootstrap-vue'
import 'bootstrap/dist/css/bootstrap.css'
import 'bootstrap-vue/dist/bootstrap-vue.css'
import Vuex from 'vuex'
import {sync} from 'vuex-router-sync'

Vue.use(BootstrapVue)
Vue.use(Vuex)

Vue.config.productionTip = false
Vue.prototype.$axios = axios

const store = new Vuex.Store({
  state:{
    count:0
  },
  mutations:{
    increment(state, amount){
      state.count += amount
    }
  },
  actions:{
    plus (context) {
      context.commit('increment', 1)
    }
  }
})
export default store
sync(store ,router)

/* eslint-disable no-new */
new Vue({
  el: '#app',
  store,
  router: router,
  components: { App },
  template: '<App/>'
})
次にそれぞれのページを準備します。まずはHomeから。Homeではコンポーネントからstoreにアクセスしてみましょう。
<template>
  <div id="home">
    <div>
      <h2>Home</h2>
      <b-button
        size="lg"
        variant="outline-primary"
        @click="log"
      >
        Log
      </b-button>
      <b-button
        size="lg"
        variant="outline-primary"
        @click="plus1"
      >
        +1
      </b-button>
    </div>
  </div>
</template>

<script type="text/javascript">
  export default {
    name: 'Home',
    data() {
      return {
      }
    },
    methods: {
      log() {
        console.log(this.$store.state.count)
      },
      plus1() {
        this.$store.dispatch('plus')
      }
    }
  }
</script>

<style scoped>
</style>
まずはSubを。Subではサーバーへのアクセスをaxiosを使って行います。サンプルとして郵便番号から住所を取得してみます。
<template>
  <div id="ip">
    <div>
      <h2>Sub</h2>
      <p>ここに郵便番号1000001の住所が表示します</p>
      <p>{{address}}</p>
      <div>
        <b-button
          size="lg"
          variant="outline-primary"
          @click="getAddress"
        >
        取得
        </b-button>
      </div>
    </div>
  </div>
</template>

<script type="text/javascript">
  export default {
    name: 'Sub',
    data() {
      return {
        address: ''
      }
    },
    methods: {
      getAddress() {
        this.address = '住所を取得しています';
        this.$axios.get('https://api.zipaddress.net/?zipcode=1000001')
          .then((response) => {
            this.address = response.data.data.fullAddress;
            console.log(response)
          })
          .catch((reason) => {
            this.address = '取得に失敗しました';
          });
      }
    }
  }
</script>

<style scoped>
</style>
さてこれで全体ができました。さっそくブラウザで確認してみましょう。
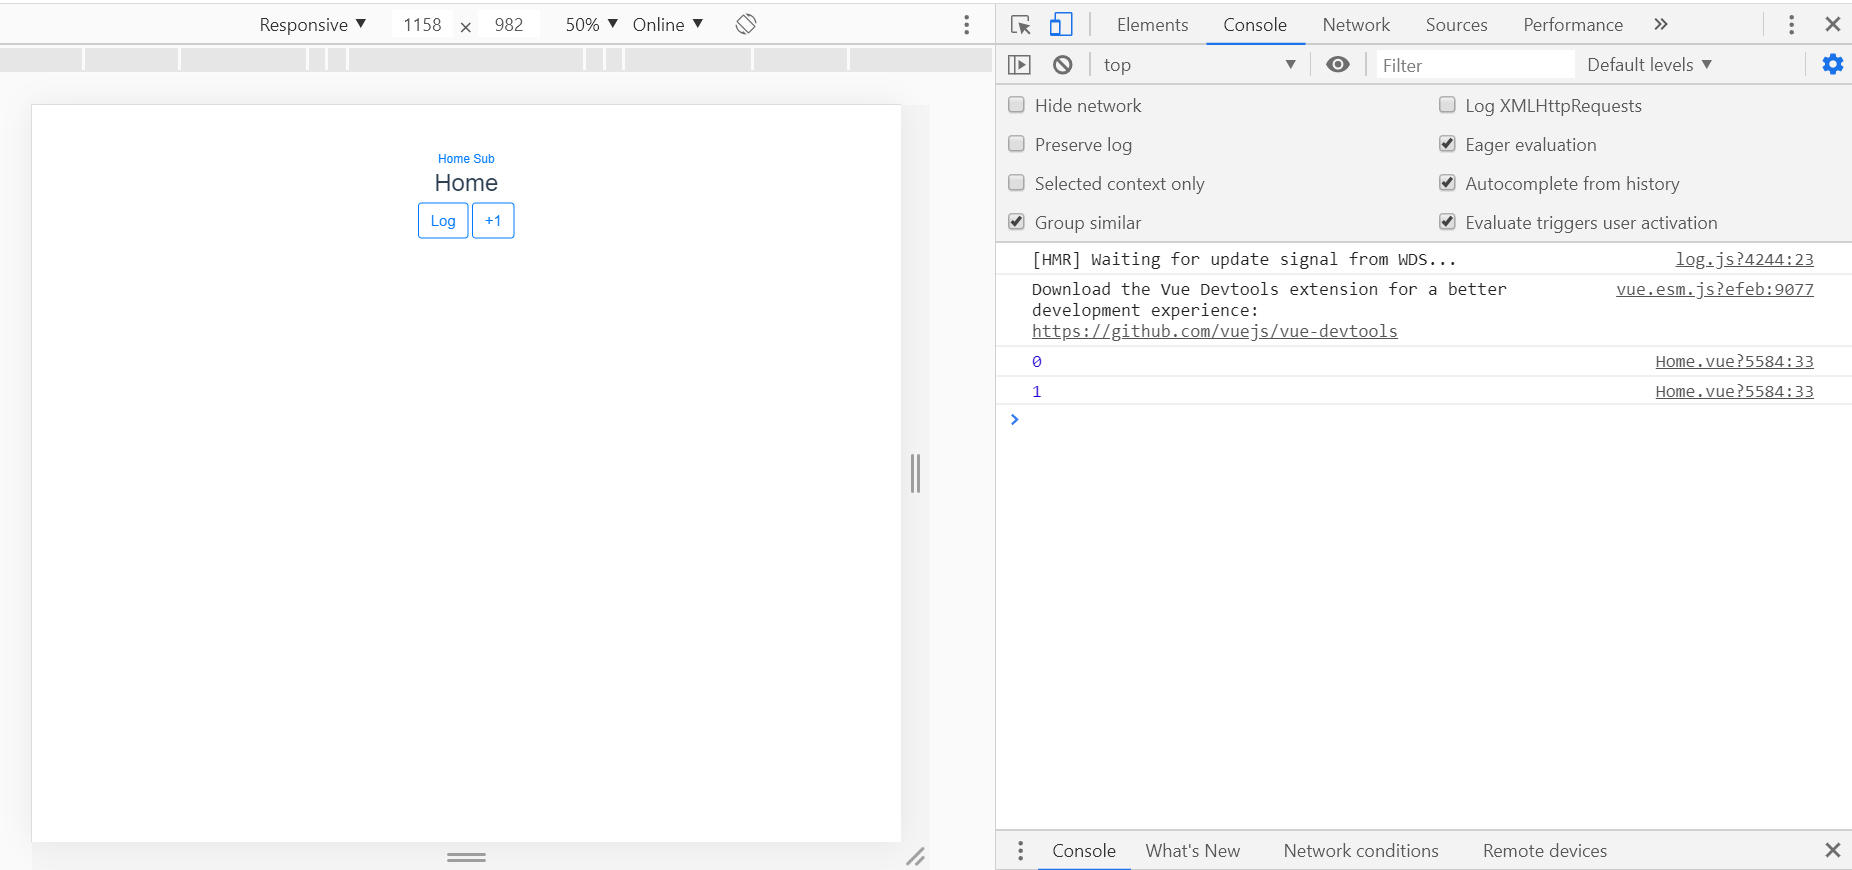
Home
ボタンが2つあります。これはbootstrapのボタンですね。Google ChromeのF12で開発者モードにしLog -> +1 -> Logを交互にクリックします。数字が足されていきますね。もちろんSubのページでも同じstoreにアクセスできます。応用すればページ全体の状態管理ができるわけですね。

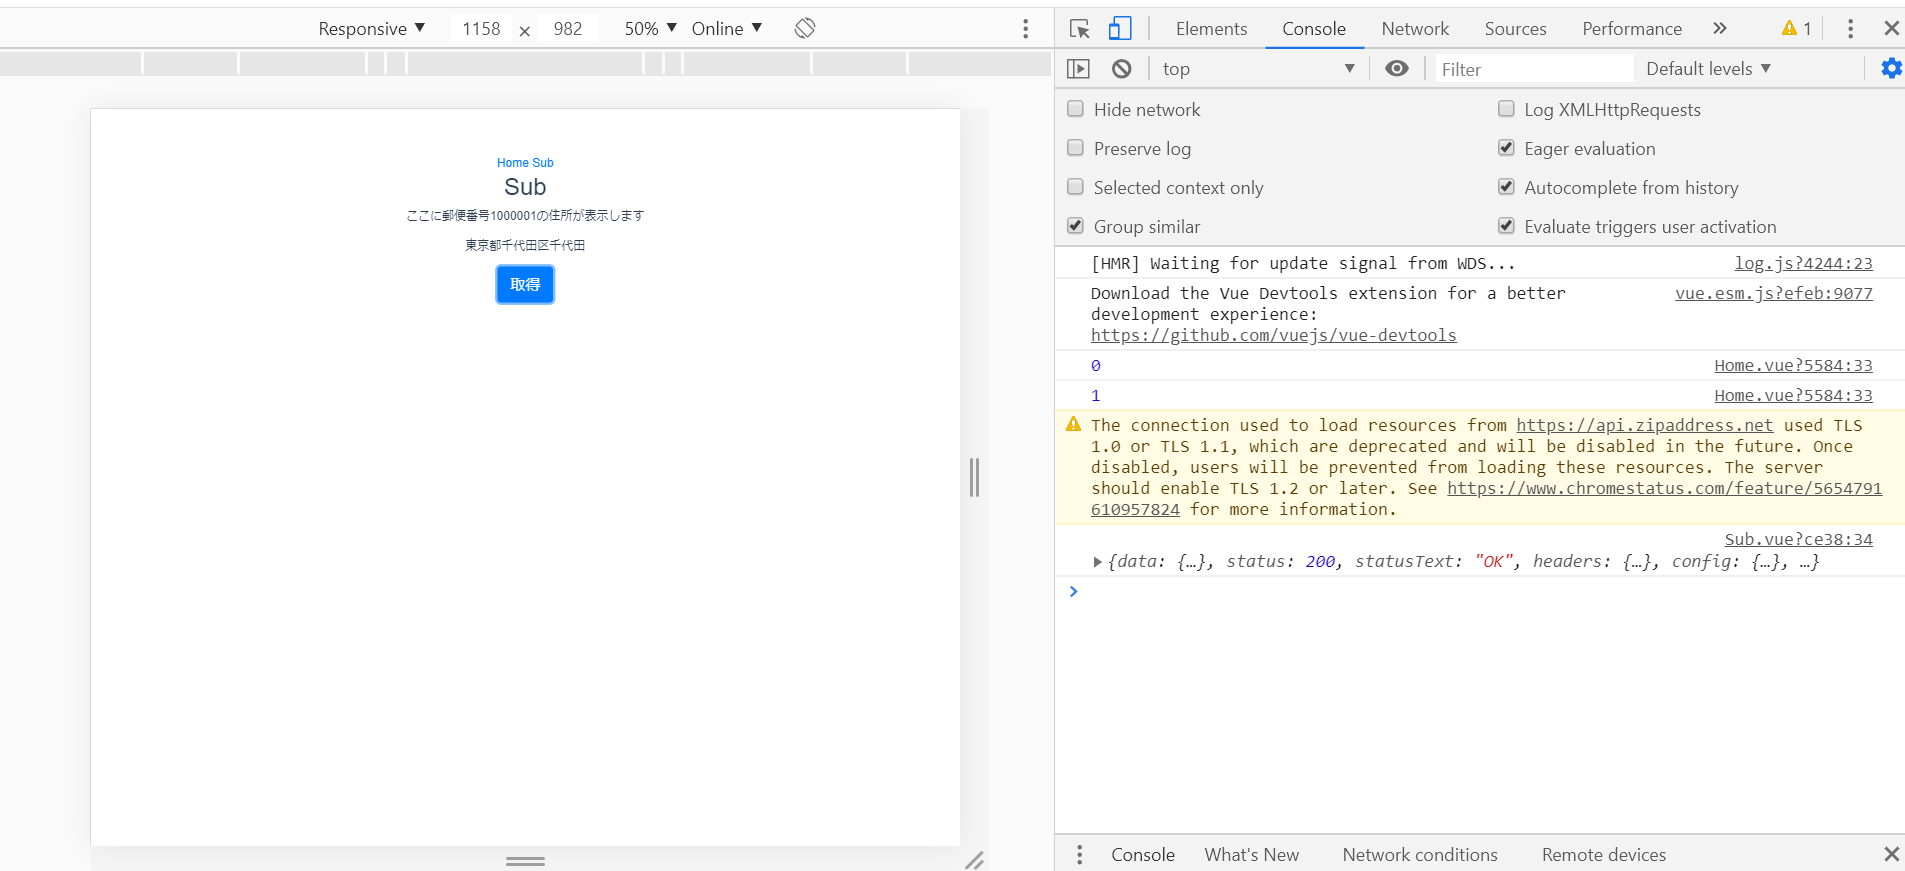
Sub
「取得」をクリックと郵便番号のAPIにアクセスして住所を表示します。応用すればバックエンドを実装して自前でAPIを作るなどしてサービスを展開できますね。

あくまで「とにかく簡単」がテーマなため意味あるページではないですし、見た目もよくないです。はじめて挑戦される方が一番苦戦するのがプロジェクトの立ち上げではないかと思います。ですのでプロジェクトのテンプレートとして考えてもらえれば。