ことの経緯
- 子供がネトゲばかりで勉強しないので困ってる、と友人が言ってた。
- ずっとSNS疲れを実感してて、ネット依存の自分を見つめ直したい。
- 世の中にはネット依存の人がわんさか。
とりあえず、自宅Wi-Fi環境にあれやこれや接続制限をかけてみようと思いました。
しっかり利用制限するなら、ペアレンタル・コントロール・アプリの導入や、SIMデータ通信プランの見直しが有効なのは言うまでもありません。
考え方は簡単
Free Wi-Fiを利用する時、ユーザ認証を経て一時的にネットが使える仕組みがありますよね。Captive Portalと言いますが、早い話それと同じシステムを自宅で構築しようという試みです。
接続制限は
- 何時から何時まで使えるようにする。
- 一日何時間まで使えるようにする。
- それらの組み合わせ
- 他にもいろいろ
といった感じになります。
一日に何時間までといったルータ機能がなかなかないんですよね。
システム構成

- 既存インターネット・ルータ(ルータA)の下に、接続制限するルータ(ルータB)をぶら下げます。クライアント側でどちらにするか振り分けます。
- ルータB(ラズパイ+WN-G300UA)のファームウェアはOpenWrtを使い、Captive PortalのパッケージCoovaChilliをインストールします。Wi-Fi APへ接続した時に認証画面を表示し、認証サーバへ取り次ぎをします。
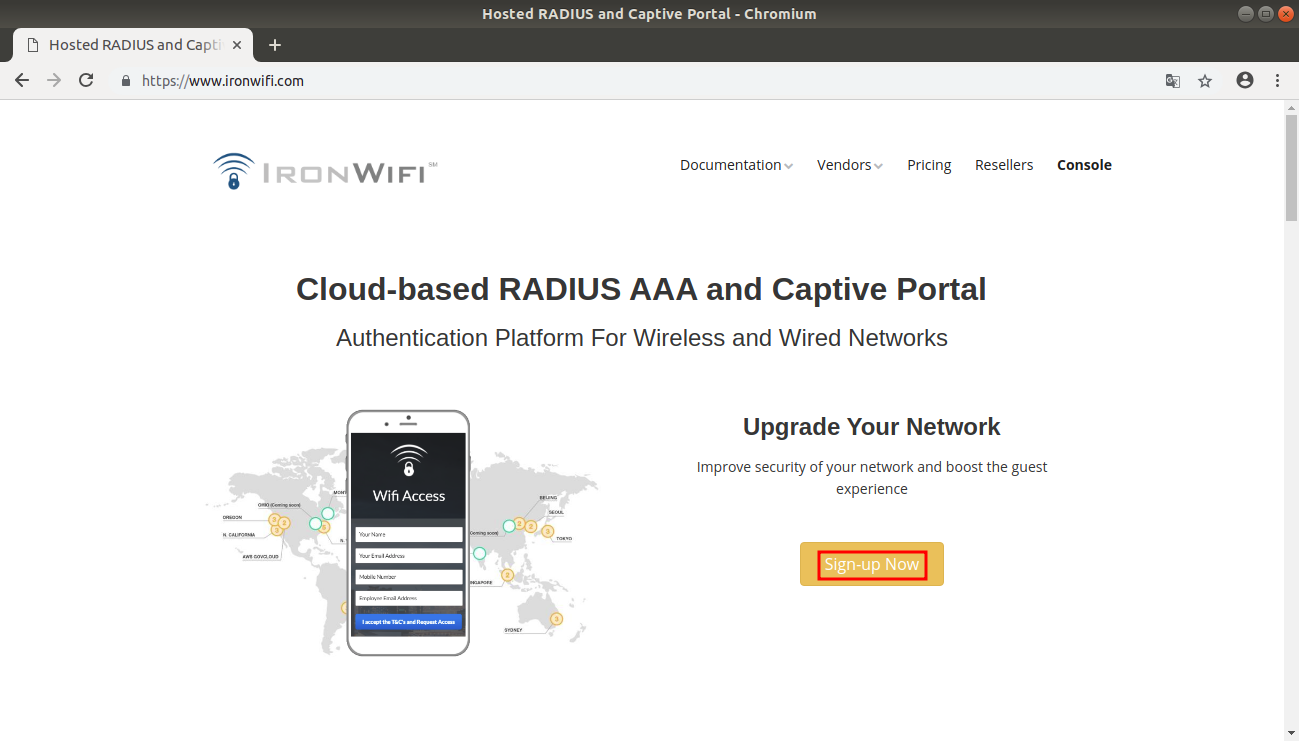
- 認証サーバはIronWifiのサービスを利用します。機能はFreeRADIUSがベースになっています。無料で1アクセスポイント、10ユーザまで利用できます。IronWifi - Captive Portal Demosでデモできます。本当はOpenWrtでFreeRADIUSをインストールできるようですが、私には難しそうなので外部サービスを利用することにしました。
いざ実装
- ironwifiの設定
(A). サインアップします


Regionを**Tokyo(asia-northeast1)**にします。

(B). Networksを設定をします

Name(ネットワーク名)を入力します。ルータの識別名です。

(C). Captive Portalsを設定をします

Name(最初に表示されるログイン・ページの名前)を入力します。
Networkは、(B)で登録したネットワーク名を指定します。
VendorをCoovaChilliを指定します。

Authentication ProvidersをLocal Accountにします。


(D). Usersを設定をします

詳細情報が表示されます。
Authentication Source(認証方式)をlocalにします。
Passwordを設定します。

ラズパイ、WN-G300UA、OpenWrt、CoovaChilliをインストールします
参考:
- GitHub - coova/coova-chilli - releases
- GitHub - coova/coova-chilli - INSTALL
- にたまご。- Coova Chilli 1.4のインストール方法
(A). ラズパイとWN-G300UAとOpenWrtを、しなやかに融合させてみた(ルータモード編) の通りにインストールします
(B). CoovaChilli 1.4をインストールします
root@OpenWrt:~# opkg update
root@OpenWrt:~# opkg install tar grep diffutils patch
root@OpenWrt:~# opkg install libustream-openssl ca-bundle ca-certificates
root@OpenWrt:~# opkg install gcc autoconf automake libtool-bin make

root@OpenWrt:~# opkg install tcpdump kmod-tun
root@OpenWrt:~# opkg remove  wpad-mini
root@OpenWrt:~# opkg install wpad

root@OpenWrt:~# wget https://sources.lede-project.org/gengetopt-2.22.6.tar.gz
root@OpenWrt:~# tar zxvf gengetopt-2.22.6.tar.gz
root@OpenWrt:~# cd gengetopt-2.22.6

root@OpenWrt:~gengetopt-2.22.6# sh ./configure --prefix=
root@OpenWrt:~gengetopt-2.22.6# make
root@OpenWrt:~gengetopt-2.22.6# make check
root@OpenWrt:~gengetopt-2.22.6# make install

root@OpenWrt:~# cd
root@OpenWrt:~# wget https://github.com/coova/coova-chilli/archive/1.4.tar.gz -O coova-chilli-1.4.tar.gz
root@OpenWrt:~# tar zxvf coova-chilli-1.4.tar.gz
root@OpenWrt:~# cd coova-chilli-1.4

root@OpenWrt:~# wget https://raw.githubusercontent.com/openwrt/packages/master/net/coova-chilli/patches/100-fix_compile_kmod.patch
root@OpenWrt:~# wget https://raw.githubusercontent.com/openwrt/packages/master/net/coova-chilli/patches/200-fix-compile-with-musl.patch
root@OpenWrt:~# patch -p1 < 100-fix_compile_kmod.patch
root@OpenWrt:~# patch -p1 < 200-fix-compile-with-musl.patch

root@OpenWrt:~# ./bootstrap
root@OpenWrt:~# ./configure --enable-miniportal --prefix= --bindir=/usr/bin --sbindir=/usr/sbin --includedir=/usr/include
root@OpenWrt:~# make
root@OpenWrt:~# chmod 755 /usr/share/automake-1.15/install-sh
root@OpenWrt:~# make install
(C). CoovaChilliの環境設定をします
root@OpenWrt:~# mkdir ironwifi
root@OpenWrt:~# cd ironwifi
Captive Portalsの設定ページからOpenWrt/CoovaChilli用設定ファイルをダウンロードします。ダウンロード・リンク名はDefaultsとChilli Init Scriptですが、実際のファイル名はそれぞれdefaultsとchilliになります。
ダウンロードしたchilliとdefaultsを環境に合わせて修正します。
その際ダウンロードしたファイルに**^M**がある場合はすべて削除します。
root@OpenWrt:~/ironwifi# chmod 755 chilli
root@OpenWrt:~/ironwifi# cp -p chilli chilli.org
root@OpenWrt:~/ironwifi# cp -p defaults defaults.org
root@OpenWrt:~/ironwifi# vi chilli
(変更前)
config_load hotspot > /etc/chilli/config
(変更後)
# config_load hotspot > /etc/chilli/config
root@OpenWrt:~/ironwifi# vi defaults
(変更前)
HS_WANIF=eth1 # WAN Interface toward the Internet
(変更後)
HS_WANIF=br-lan # WAN Interface toward the Internet
設定ファイルを修正したものに置き換えます。
root@OpenWrt:~/ironwifi# mv /etc/chilli/defaults /etc/chilli/defaults.org
root@OpenWrt:~/ironwifi# cp defaults /etc/chilli/defaults
root@OpenWrt:~/ironwifi# ln -s /etc/chilli/defaults /etc/chilli/config
root@OpenWrt:~/ironwifi# mv /etc/init.d/chilli etc-init.d-chilli.org
root@OpenWrt:~/ironwifi# mv chilli /etc/init.d/chilli
root@OpenWrt:~/ironwifi# reboot
OS起動時に自動でプロセスchilliが自動実行されるようにします。
root@OpenWrt:~# /etc/init.d/chilli start
root@OpenWrt:~# /etc/init.d/chilli enable
(D). スマホで動作確認をします
Wi-FiのSSID OpenWrt を選択し、そのパスワードを入力します。
すると Wi-Fiネットワークにログイン OpenWrt が表示されるのでそれを選択します。
その後IronWifiで設定したユーザ名とパスワードを入力すると通常通りネット接続できます。
 |
 |
 |
 |
(E). IronWifiで接続制限をかけます
参考:
Usersの設定ページのAttributesで接続制限の設定をします。
![]() 一日の接続時間を 1時間=60分=3600秒 に制限する。
一日の接続時間を 1時間=60分=3600秒 に制限する。
| ATTRIBUTE | TABLE | OPERATOR | VALUE |
|---|---|---|---|
| Max-Daily-Session | radcheck | := | 3600 |
| Session-Timeout | radcheck | := | 3600 |
![]() 接続時間帯を 「19:00-20:30 JST」=「10:00-11:30 UTC」 に制限する。
接続時間帯を 「19:00-20:30 JST」=「10:00-11:30 UTC」 に制限する。
参考:
| ATTRIBUTE | TABLE | OPERATOR | VALUE |
|---|---|---|---|
| Login-Time | radcheck | := | Al1000-1130 |
![]() 時間帯 「19:00-20:30 JST」=「10:00-11:30 UTC」 のうち、1時間=60分=3600秒 接続できるようにする。
時間帯 「19:00-20:30 JST」=「10:00-11:30 UTC」 のうち、1時間=60分=3600秒 接続できるようにする。
| ATTRIBUTE | TABLE | OPERATOR | VALUE |
|---|---|---|---|
| Max-Daily-Session | radcheck | := | 3600 |
| Session-Timeout | radcheck | := | 3600 |
| Login-Time | radcheck | := | Al1000-1130 |
結び
あれこれと解放されたい気持ちでいっぱいです。(=^・^=)


