前回の続きです。
はじめに
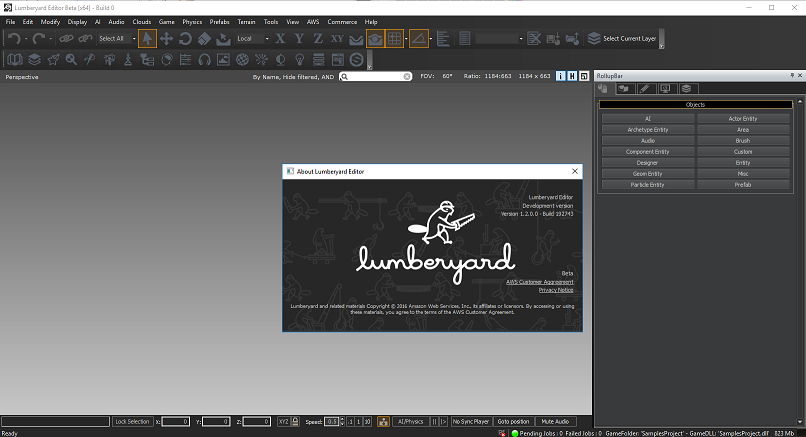
Amazon Lumberyard は、CEVとは異なりエディタのソースコードも無償で公開されています。折角なのでエディタをDEBUGビルドした際に行った手順を残しておきます。
なお、使用した Lumberyard のバージョンは1.2.0.0です。
作業環境
Windows10 64bit English
日本語Windowsでも作業完了できた方、コメント残していただけると幸いです。
前準備
以下のツールをあらかじめ使えるようにしておきましょう。
- command prompt
- Python2.7
- Visual Studio 2013 with MFC
- Lumberyard 前回参照
作業手順
Lumberyard Setup Assistant 起動
<Lumberyard root>/1.2.0.0/SetupAssistant.bat
上記バッチファイルから、Setup Assistantを起動します。
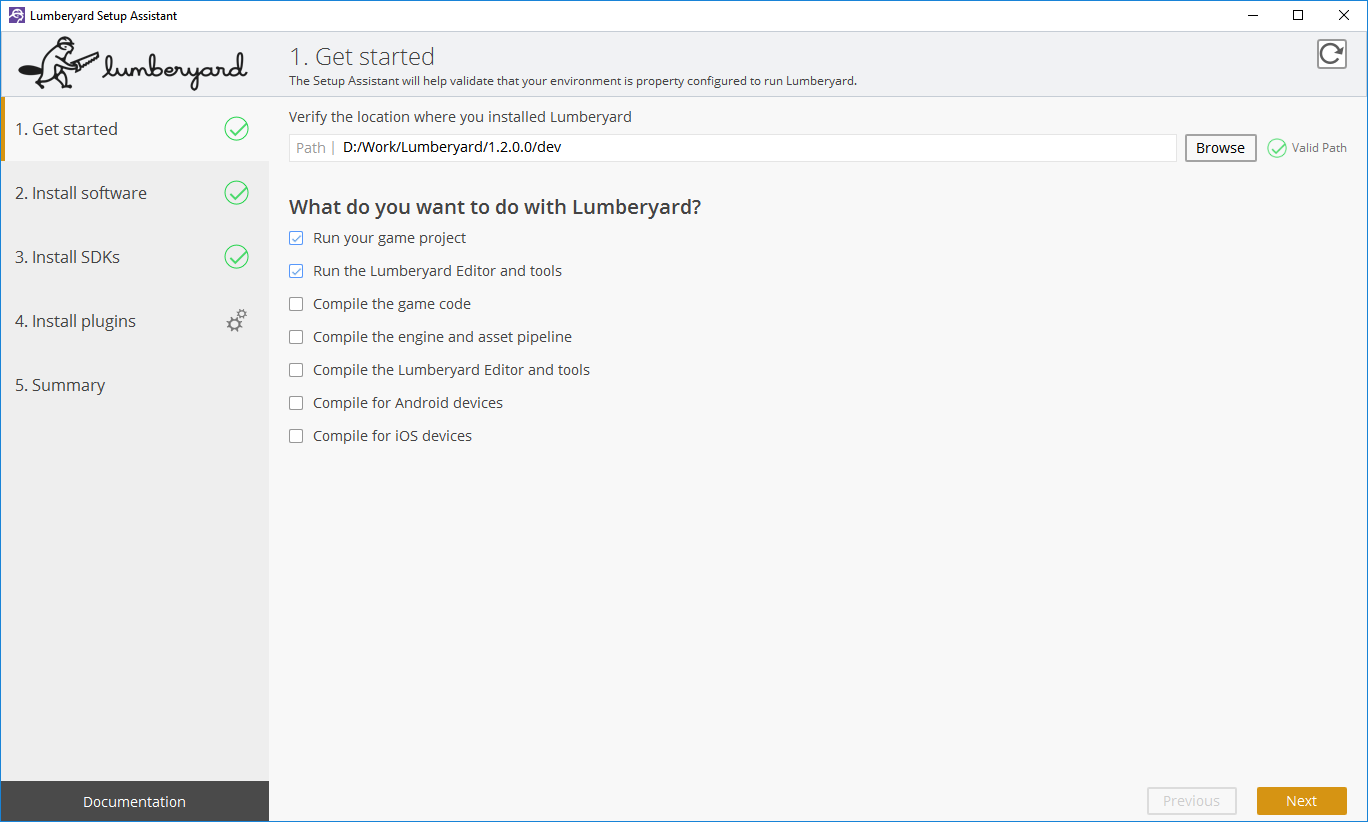
Lumberyardを実行するだけであれば、以下の2項目にチェックが入っていれば十分です。
- Run your game project
- Run the Lumberyard Editor and tools
必要なSDKの依存関係は前回で解決済みのはずです。まだの方は先に解決しておきましょう。
今回はエディタまでビルドするので、上記に加え以下の項目にもチェックを入れます。
- Compile the game code
- Compile the engine and asset pipeline
- Compile the Lumberyard Editor and tools
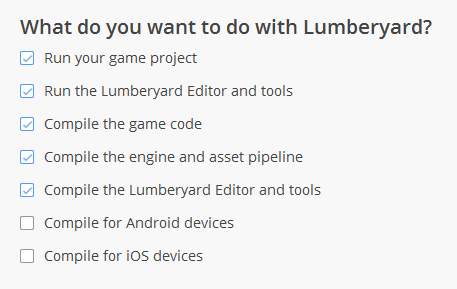
iOSや、Androidは、一度Windowsでビルドできるのを確認してから、再度チェックを入れて追加でSDKをインストールした方が良いと思います。
SDK 依存関係の解決
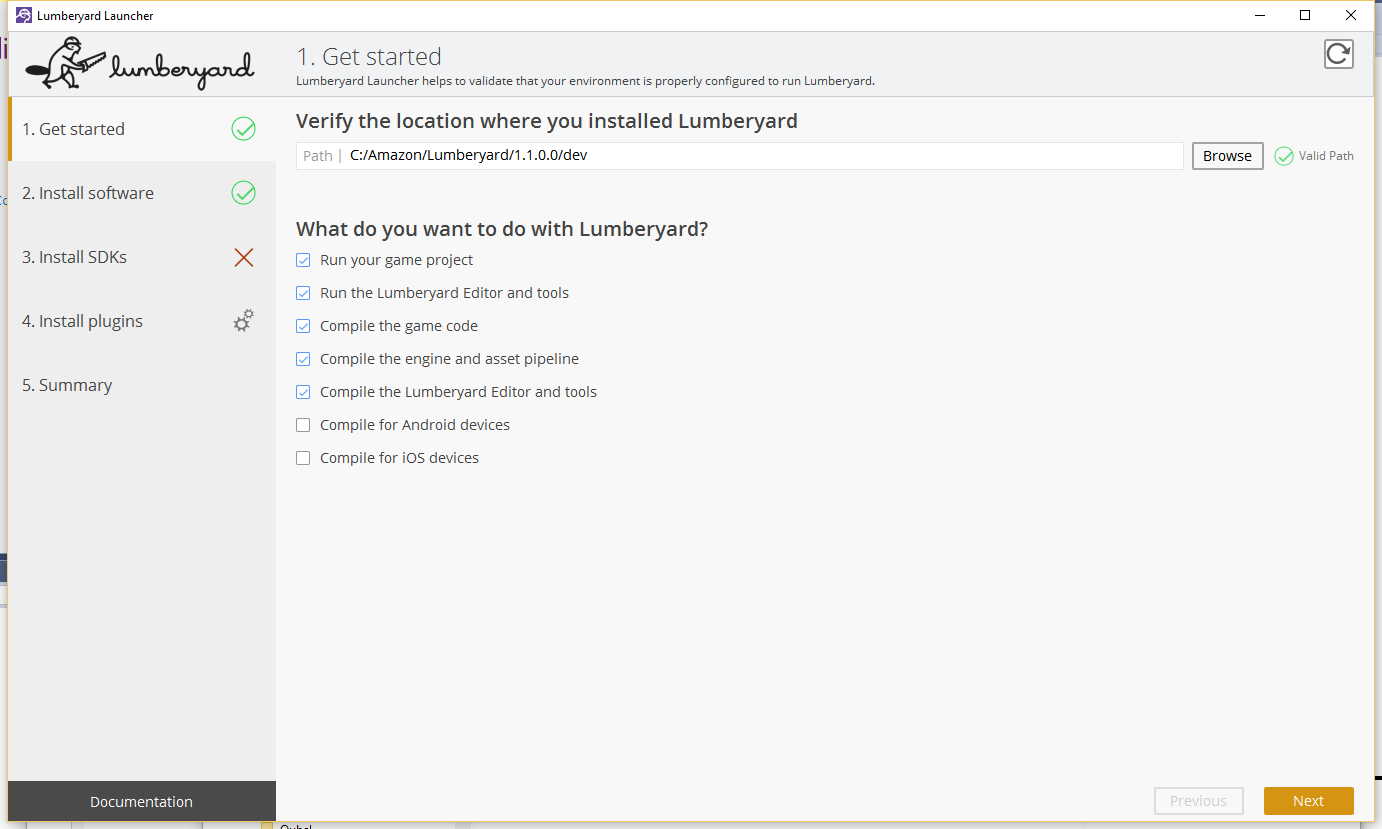
上記画像のように 3. Install SDKs の横に赤い×印が入ると思いますので、緑に戻るまで必要なSDKをインストールします。
各SDKのインストール方法は、以下の画像の様な感じで、ウィンドウ内に適宜表示されるので、それに従います。

作業プロジェクトの指定
SDKのインストールが終わったら5.Summaryから、[Configure project] を押して、Project Configurator を起動します。
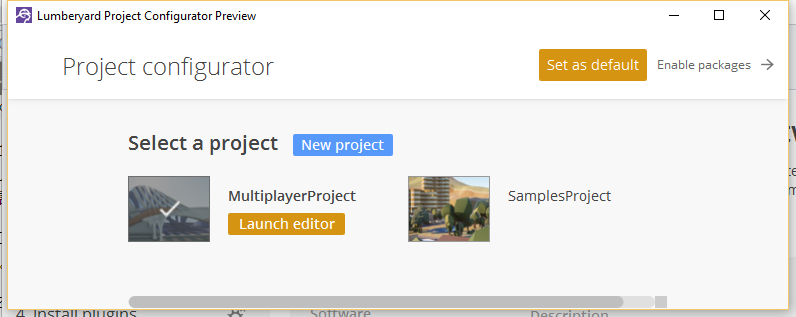
自分の作業するプロジェクトを選んで、  ボタンを押しましょう。
その後、Project configurator は閉じます。
WAF を使って、Visual Studio 用ソリューションファイル生成
コマンドプロンプトを開いて、以下のコマンドを順番に実行します。
cd <Lumberyard root>/1.2.0.0/dev
Lumberyardのインストールディレクトリへ移動したらWAFを実行します。
lmbr_waf.bat configure
lmbr_waf.bat build_win_x64_debug -p all
<Lumberyard root>/1.2.0.0/dev/Solutions フォルダ内に LumberyardSDK.sln ファイルができていれば成功です。
エラー発生時には、赤文字で表示されるので、よく読みましょう。
VisualStudioからEditorをビルド
<Lumberyard root>/1.2.0.0/dev/Solutions/LumberyardSDK.sln をVisual Stuido 2013 から開きます。
Solution Explorer 内から、Sandbox/Editor を見つけ、Set as StartUp Projectに指定すます。
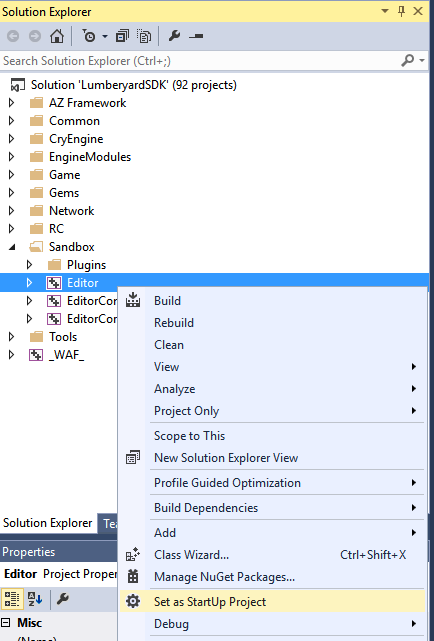
ビルドコンフィギュレーションを、[All] Debug / x64 に指定

メニューの [BUILD] -> [Build solution] を選んでビルド実行

ビルドエラーが起きなければ、[DEBUG] -> [Start Debugging] を選ぶことで Sandbox Editor が起動します。

おつかれさまでした。
参考にしたドキュメント
Setting up your development environment
上記ドキュメントの内容要約
- ソースコード管理
- Setup Assistant を利用して依存するSDKのインストール
- lmbr_waf コンフィギュレーション
- Visual Studio 用ソリューションファイル完成
Compiling the Engine, Editor, and Game
上記ドキュメントの内容要約
- lmbr_waf コンフィギュレーション
- lmbr_wafでコマンドラインからビルド
- VS2013Communityでエディタビルド
- VS2013からエディタ起動
- エディタ内でゲームモード起動
- ラウンチャー起動後にコンソールからレベルデータの読み込み
