PyQt5とMatplotlibを併用した場合にボタン等が同時に表示できるかやってみた。
あまりサンプルとしてみたことがなかったので備忘録も兼ねております。
ラベル
ラベル:QLabel
ボタン:QPushButton
コマンドボックス:QComboBox
addItemで項目追加
作成した画面
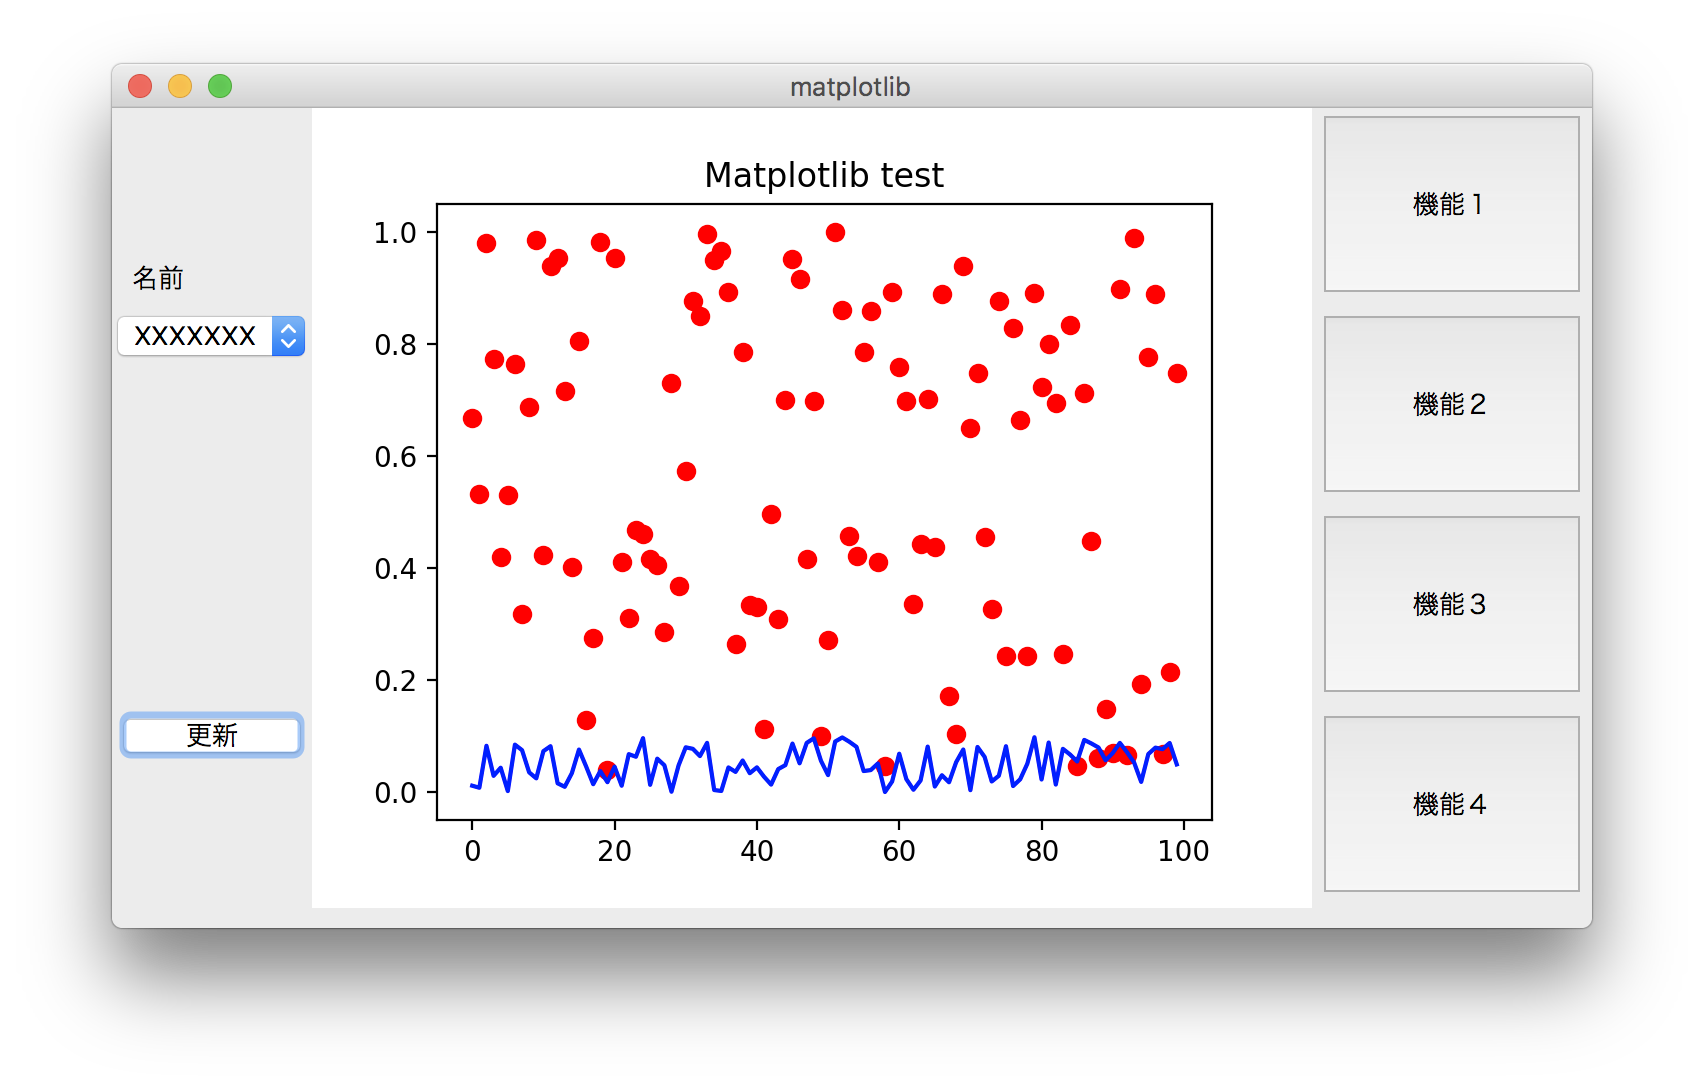
下のプログラムは画面の確認のため、ボタンを押しても変化しません…
import sys

from PyQt5.QtWidgets import QApplication, QMainWindow, QMenu, QVBoxLayout, QSizePolicy, QMessageBox, QWidget, QPushButton,QComboBox,QListView,QLabel
from PyQt5.QtGui import QIcon

from matplotlib.backends.backend_qt5agg import FigureCanvasQTAgg as FigureCanvas
from matplotlib.figure import Figure
import matplotlib.pyplot as plt

import random

class App(QMainWindow):

    def __init__(self):
        super().__init__()
        self.left = 10
        self.top = 10
        self.title = 'matplotlib'
        self.width = 740
        self.height = 410
        self.initUI()

    def initUI(self):
        self.setWindowTitle(self.title)
        self.setGeometry(self.left, self.top, self.width, self.height)

        m = PlotCanvas(self, width=5, height=4)
        m.move(100,0)

        label = QLabel('名前', self)
        label.move(10,70)

        button = QPushButton('更新', self)
        button.setToolTip('This s an example button')
        button.move(0,300)

        button = QPushButton('機能1', self)
        button.setToolTip('機能1の説明文')
        button.move(600,0)
        button.resize(140,100)

        button2 = QPushButton('機能2', self)
        button2.setToolTip('機能2の説明文')
        button2.move(600,100)
        button2.resize(140,100)

        button3 = QPushButton('機能3', self)
        button3.setToolTip('機能3の説明文')
        button3.move(600,200)
        button3.resize(140,100)

        button4 = QPushButton('機能4', self)
        button4.setToolTip('機能4の説明文')
        button4.move(600,300)
        button4.resize(140,100)

        combox1 = QComboBox(self)
        combox1.addItem("XXXXXXX")
        combox1.addItem("XXXXXXX")
        combox1.addItem("XXXXXXX")
        combox1.addItem("XXXXXXX")
        combox1.addItem("XXXXXXX")
        combox1.addItem("XXXXXXX")
        combox1.addItem("XXXXXXX")
        combox1.addItem("XXXXXXX")
        combox1.addItem("XXXXXXX")
        combox1.move(0,100)

        listView = QListView()
        listView.setToolTip('This s an example button')

        self.show()

class PlotCanvas(FigureCanvas):

    def __init__(self, parent=None, width=5, height=4, dpi=100):
        fig = Figure(figsize=(width, height), dpi=dpi)
        self.axes = fig.add_subplot(111)

        FigureCanvas.__init__(self, fig)
        self.setParent(parent)

        FigureCanvas.setSizePolicy(self,
                QSizePolicy.Expanding,
                QSizePolicy.Expanding)
        FigureCanvas.updateGeometry(self)
        self.plot()


    def plot(self):
        data1 = [random.random() for i in range(100)]
        data2 = [0.1*random.random() for i in range(100)]
        ax = self.figure.add_subplot(111)
        ax.plot(data1, 'ro')
        ax.plot(data2, 'b-')
        ax.set_title('Matplotlibサンプル')
        self.draw()

if __name__ == '__main__':
    app = QApplication(sys.argv)
    ex = App()
    sys.exit(app.exec_())