はじめに
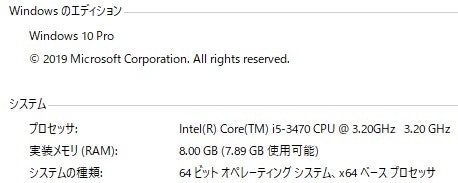
ネイティブアプリの開発に少し興味が出て、最近クロスプラットフォーム開発のフレームワークで有名なFlutterを試しに使ってみようと思った。スペック的にかなり不安があるが、ひとまず手持ちのWindowsPCを使ってエミュレータ上でサンプルを動かすところまでやってみたので、その時のメモを残す。
実行環境
【ローカルPC-OS】
Windows 10 Pro
Git for windows 2.29.1
VScode 1.50.1
本記事の流れ
1.Flutter SDK のインストール
2.Android Studioのインストール
3.VScodeにプラグインのインストール
4.Flutterプロジェクト作成前の最終確認
5.Flutterプロジェクトの作成
1.Flutter SDK のインストール
以下の公式サイトよりダウンロード
https://flutter.dev/docs/get-started/install/windows
ダウンロードしたzipパッケージを展開する
※ここでフォルダ指定をするが、C:\Program Files\の様なアクセス権限固いところはできる限り避ける。
上記展開したフォルダについてPATHを指定
Windows10proなので、システム > システムの詳細設定 > 環境変数 > Pathの項目を選択して、指定フォルダ\fultter\bin を追加する。
コマンドプロンプトよりちゃんとPATHが通っているか確認
$ flutter doctor

[√] Flutter (Channel stable, 1.22.6, on Microsoft Windows [Version 10.0.18363.1316], locale ja-JP)
[X] Android toolchain - develop for Android devices
    X Unable to locate Android SDK.
      Install Android Studio from: https://developer.android.com/studio/index.html
      On first launch it will assist you in installing the Android SDK components.
      (or visit https://flutter.dev/docs/get-started/install/windows#android-setup for detailed instructions).
      If the Android SDK has been installed to a custom location, set ANDROID_SDK_ROOT to that location.
      You may also want to add it to your PATH environment variable.

[!] Android Studio (not installed)
[!] VS Code (version 1.52.1)
    X Flutter extension not installed; install from
      https://marketplace.visualstudio.com/items?itemName=Dart-Code.flutter
[!] Connected device
    ! No devices available
2.Android Studioのインストール
以下の公式サイトよりダウンロード
https://developer.android.com/studio?hl=ja#downloads
ダウンロードしたexeファイルを実行
基本的にデフォルトチェックのまま『Next』で問題ない。
インストール先はC:\Program Files\ の中で問題ない。
起動して初期設定を行う
※Installerを閉じる時、Start--にチェックを入れていれば勝手に立ち上がる
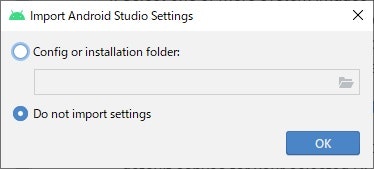
設定ファイルは今回作成するため『Do not import settings』を選択する。
Welcomページが開かれるが、構わず『Next』をクリック。(画像なし)
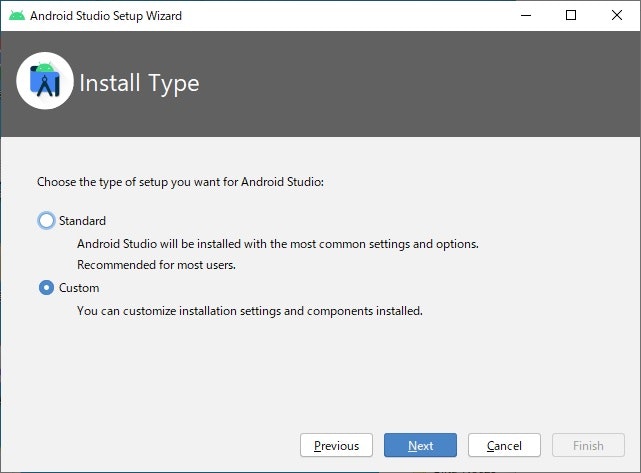
Install Typeを聞かれるので、『Custom』を選択。
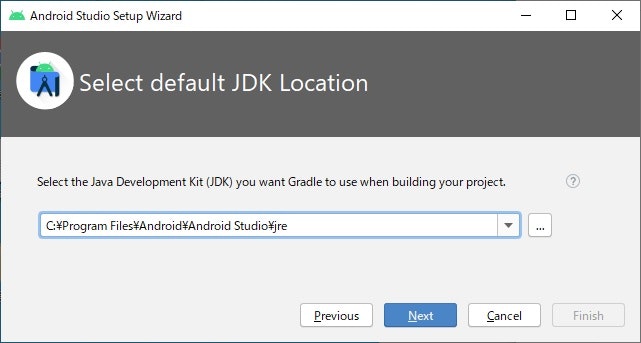
JDKのフォルダパスを聞かれるため入力。
※Android Studioのインストール先がデフォルトから変更していない場合は、恐らく下図の通り。
UIのテーマを【ダーク】にするか【ライト】にするか聞かれるので、好きな方を選択。(画像なし)
インストールするコンポーネントを選択する。
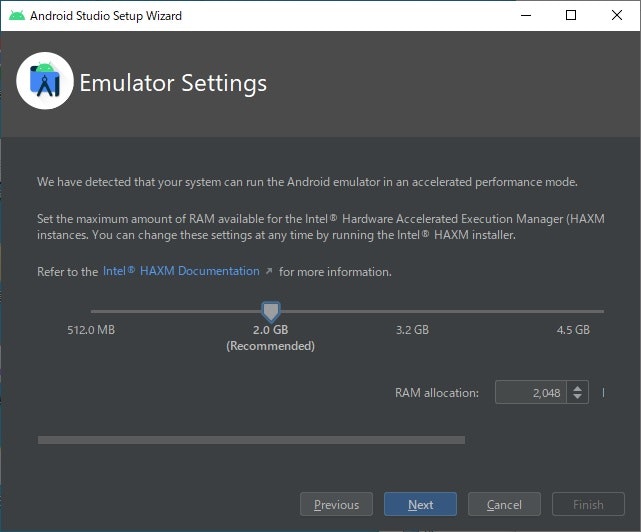
Android Virtual Deviceにチェックを入れる。CPUがIntelの人はHAXMにもチェック。
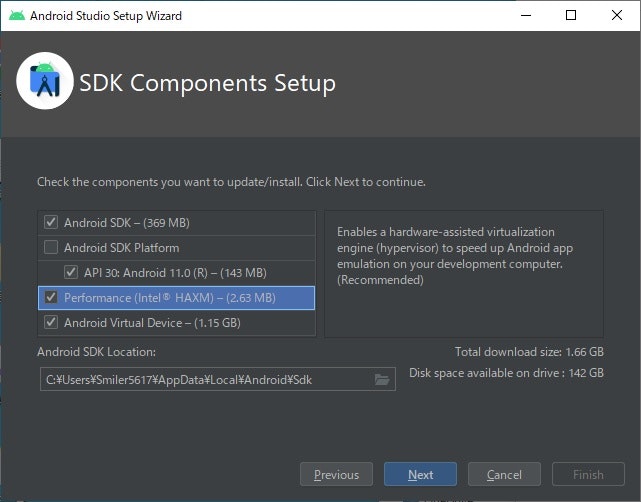
『Finish』をクリックすると、必要ツールのインストールが開始される。(画像なし)
Android Studioを起動してエミュレータを使ってみる
Android Studioを起動して右下のConfigureかAVD Managerを選択
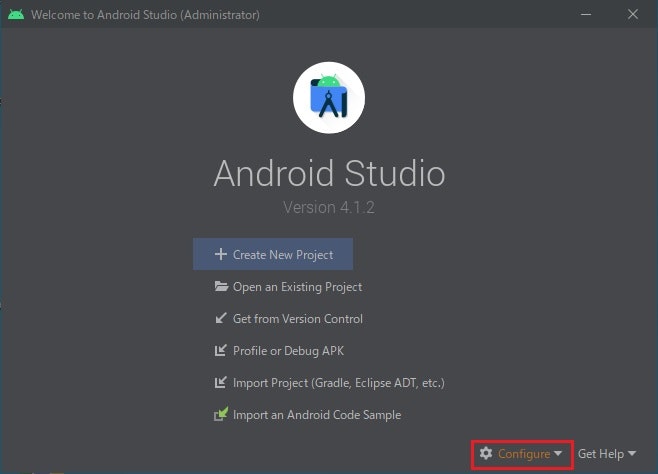
デフォルトでDeviceが登録されているので、試しにアクションの『△ボタン』よりエミュレータを起動してみる。

※エミュレータな重くて起動しない場合は、左下の『Create Virtual Device...』より低スペックのエミュレータを作成して、それで試してみる。
3.VScodeにプラグインのインストール
Flutterをインストール

※この後Dartもインストールしようとしたところ既にインストール済みとなっていた。Flutterのインストール時に一緒にされるっぽい。
Flutter Widget Shippets もインストール
※必須ではないが、開発する際に便利らしいのでインストールしておく。
4.Flutterプロジェクト作成前の最終確認
>flutter doctor
Doctor summary (to see all details, run flutter doctor -v):
[√] Flutter (Channel stable, 1.22.6, on Microsoft Windows [Version 10.0.18363.1316], locale ja-JP)

[!] Android toolchain - develop for Android devices (Android SDK version 30.0.3)
    X Android licenses not accepted.  To resolve this, run: flutter doctor --android-licenses
[!] Android Studio (version 4.1.0)
    X Flutter plugin not installed; this adds Flutter specific functionality.
    X Dart plugin not installed; this adds Dart specific functionality.
[√] VS Code (version 1.52.1)
[!] Connected device
    ! No devices available
大きく2つの問題が発生!
① Androidライセンス契約に同意していない。
② Android StudioにFlutterやDartのプラグインがインストールされていないとのこと。
⇒ 今回はVScodeをつかうため、このエラーは問題なし。
$ flutter doctor --android-licenses
# 全て『y』でOK
・・・
・・・
All SDK package licenses accepted
flutter doctor
Doctor summary (to see all details, run flutter doctor -v):
[√] Flutter (Channel stable, 1.22.6, on Microsoft Windows [Version 10.0.18363.1316], locale ja-JP)

[√] Android toolchain - develop for Android devices (Android SDK version 30.0.3)
[!] Android Studio (version 4.1.0)
    X Flutter plugin not installed; this adds Flutter specific functionality.
    X Dart plugin not installed; this adds Dart specific functionality.
[√] VS Code (version 1.52.1)
[!] Connected device
    ! No devices available
5.Flutterプロジェクトの作成
プロジェクト作成
VScodeを立ち上げ、F1で入力欄を表示させたら、そこで>flutterと入力。
出てきた候補の中からNew Application Projectをクリック。

プロジェクトを作成するフォルダを指定して、『Select a folder...』をクリック。
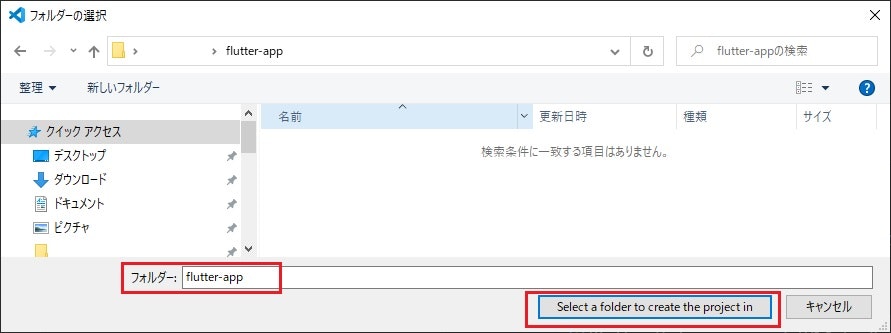
プロジェクト名を入力すると、プロジェクトが作成され自動で開く。

エミュレータ上での起動確認
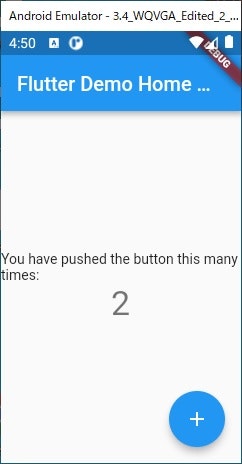
プロジェクト作成後、main.dartが開かれているので、右下の【No Devices】をクリックして、作成済みのエミュレータをどれか選択する。そうするとエミュレータが起動する。
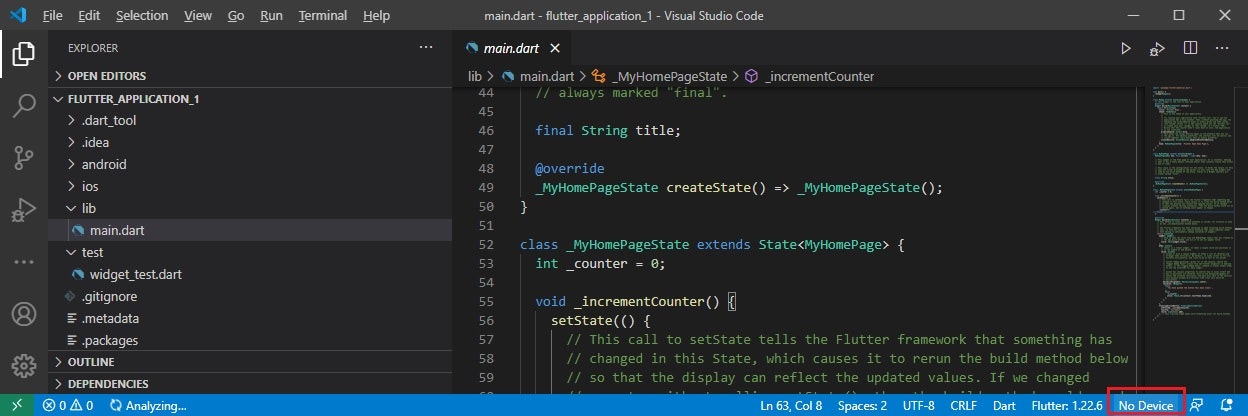
エミュレータが起動した状態で、TERMINALからflutter runを実行すると、動くはず。(結構待つ)

※デフォルトで用意されていたエミュレータは重かったので、動くレベルのエミュレータを作ってそこで動作確認してる。
