はじめに
お客さんに「KeycloakってこんなUIなんっすよ」をお伝えするための最速手順を自分向けにまとめました。
自分だけが触れればいいのであればローカルマシンにdockerで
# docker run jboss/keycloak
これが最速のはずです。
Keycloakのドキュメントによると
Server Installation and Configuration Guide
https://keycloak-documentation.openstandia.jp/master/ja_JP/server_installation/index.html
システム要件は以下とのこと
- Javaが実行可能なオペレーティング・システム
- Java 8 JDK
- zipまたはgzip、およびtar
- RAM512M以上
- ディスクスペース1G以上
ということで、EC2の無料枠 t2.micro で構築します。
セットアップ
ほぼデフォルトで進め、セキュリティグループのインバウンドでsshとhttpsを許可しておく。
sshでサーバに入ったら以下rootでコマンド実行。
# amazon-linux-extras install -y java-openjdk11 nginx1
javaとnginxがインストール出来たらkeycloakのDLと設置。
# cd /usr/local/src/
# wget https://github.com/keycloak/keycloak/releases/download/12.0.1/keycloak-12.0.1.tar.gz
# tar zxf keycloak-12.0.1.tar.gz
# mv keycloak-12.0.1 /opt/keycloak
ルート用ユーザーの作成
# cd /opt/keycloak/
# ./bin/add-user-keycloak.sh -r master -u user1 -p password1
Added 'user1' to '/opt/keycloak/standalone/configuration/keycloak-add-user.json', restart server to load user
standalone設定の変更(これしておかないとnginx連携時にハマる)
# cp ./standalone/configuration/standalone.xml ./standalone/configuration/standalone.xml.org
# vi ./standalone/configuration/standalone.xml
# diff ./standalone/configuration/standalone.xml.org ./standalone/configuration/standalone.xml
483c483
<                 <http-listener name="default" socket-binding="http" redirect-socket="https" enable-http2="true"/>
---
>                 <http-listener name="default" socket-binding="http" redirect-socket="https" enable-http2="true" proxy-address-forwarding="true"/>
keycloakの起動
# ./bin/standalone.sh -b=0.0.0.0 &
nginxの設定
# cp -p nginx.conf nginx.conf.org
# vi nginx.conf
# diff nginx.conf.org nginx.conf
58,67c58,67
< #    server {
< #        listen       443 ssl http2;
< #        listen       [::]:443 ssl http2;
< #        server_name  _;
< #        root         /usr/share/nginx/html;
< #
< #        ssl_certificate "/etc/pki/nginx/server.crt";
< #        ssl_certificate_key "/etc/pki/nginx/private/server.key";
< #        ssl_session_cache shared:SSL:1m;
< #        ssl_session_timeout  10m;
---
>     server {
>         listen       443 ssl http2;
>         listen       [::]:443 ssl http2;
>         server_name  _;
>         root         /usr/share/nginx/html;
>
>         ssl_certificate "/etc/nginx/crt.pem";
>         ssl_certificate_key "/etc/nginx/key.pem";
>         ssl_session_cache shared:SSL:1m;
>         ssl_session_timeout  10m;
69,81c69,92
< #        ssl_prefer_server_ciphers on;
< #
< #        # Load configuration files for the default server block.
< #        include /etc/nginx/default.d/*.conf;
< #
< #        error_page 404 /404.html;
< #            location = /40x.html {
< #        }
< #
< #        error_page 500 502 503 504 /50x.html;
< #            location = /50x.html {
< #        }
< #    }
---
>         ssl_prefer_server_ciphers on;
>
>         proxy_set_header Host $host;
>         proxy_set_header X-Real-IP $remote_addr;
>         proxy_set_header X-Forwarded-Host $host;
>         proxy_set_header X-Forwarded-Server $host;
>         proxy_set_header X-Forwarded-For $proxy_add_x_forwarded_for;
>         proxy_set_header X-Forwarded-Proto $scheme;
>
>         # Load configuration files for the default server block.
>         include /etc/nginx/default.d/*.conf;
>
>         error_page 404 /404.html;
>             location = /40x.html {
>         }
>
>         error_page 500 502 503 504 /50x.html;
>             location = /50x.html {
>         }
>
>         location / {
>             proxy_pass http://127.0.0.1:8080;
>         }
>    }
# vi /etc/nginx/crt.pem
# vi /etc/nginx/key.pem
※ proxy_set_header関連が必要。
※ crt.pemとkey.pemは各自用意。私はletsencrypt利用しているものがあったのでそれを活用。
nginxの起動
# systemctl start nginx
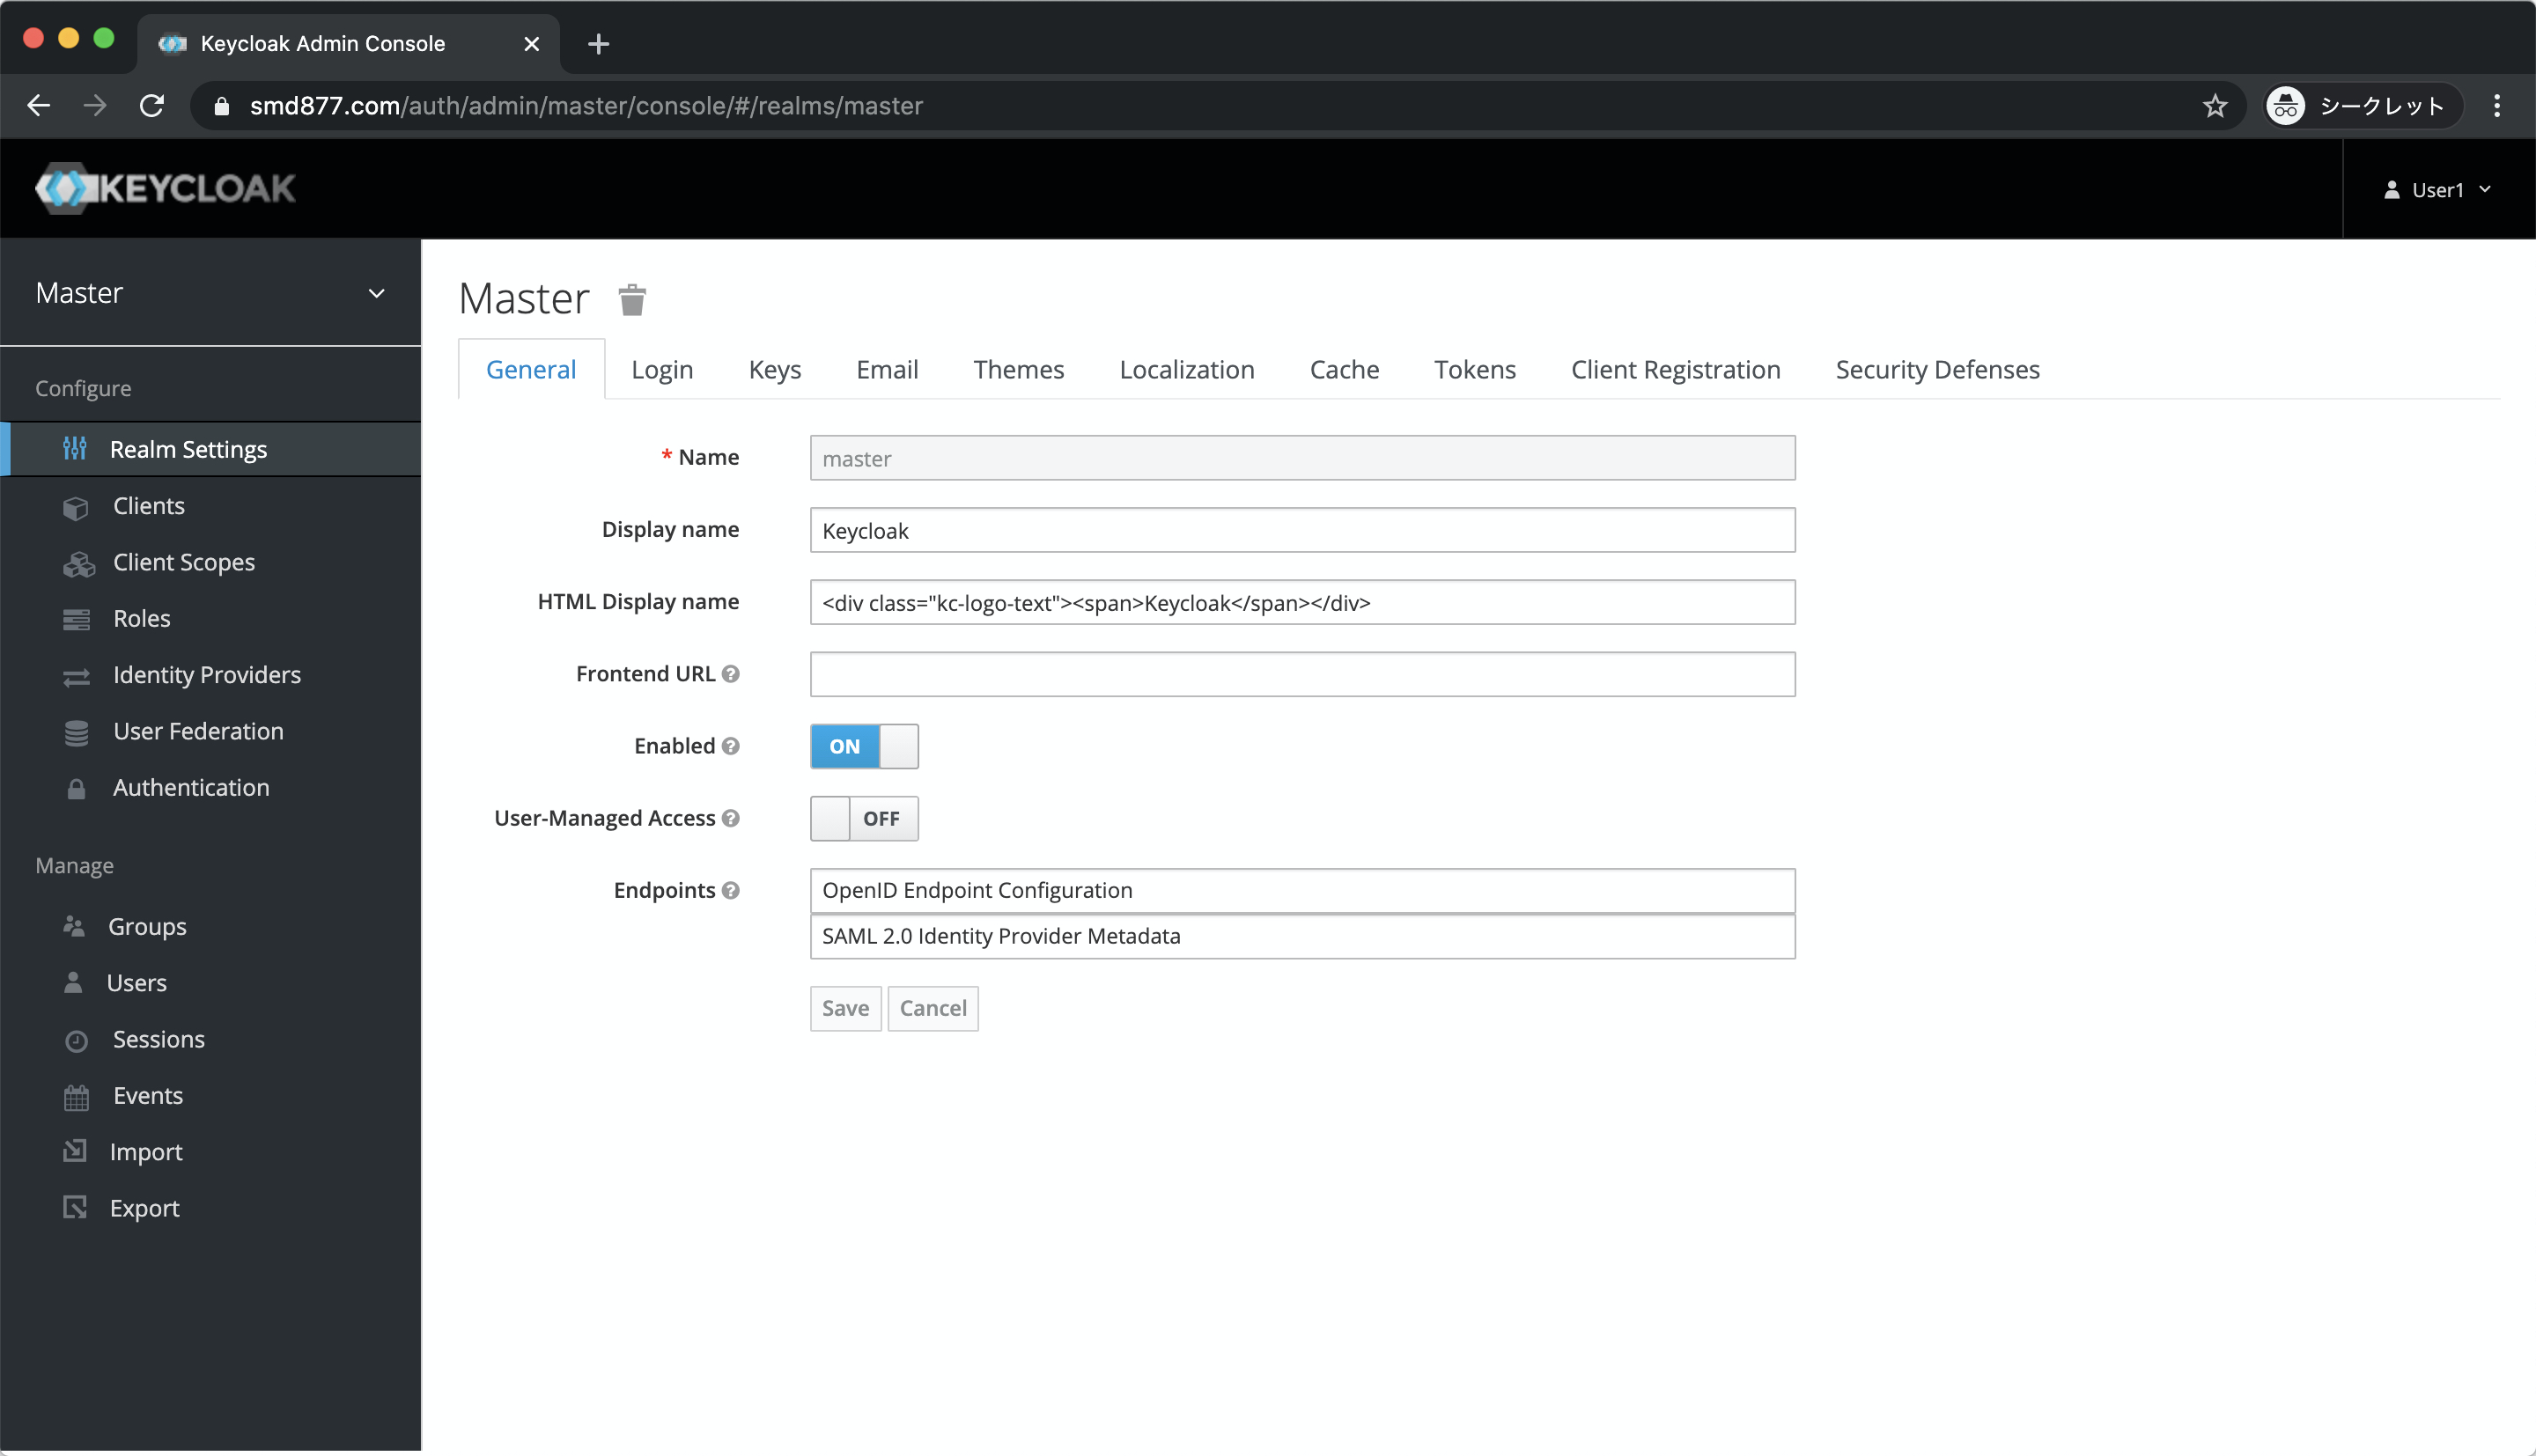
Administration Console に遷移したら、作成したルート用ユーザーでログイン

※ httpsじゃないと「We are sorry... HTTPS required」と言われ悲しい気持ちになります
※ proxy_set_header関連が正しく設定されていないと、リンクが127.0.0.1になって接続できず虚しい気持ちになります
あとはこれから学習していきます。
以上〜

