AWS API Gateway上のAPIをSwaggerファイルから作成・更新してみます。
前提
準備
AWS Labsが提供する以下のツールを使います。
- リポジトリのclone
git clone https://github.com/awslabs/aws-apigateway-importer.git
cd aws-apigateway-importer
- ビルド
mvn assembly:assembly
使い方
APIの新規作成
SwaggerのスキーマファイルからAPI Gateway上でAPIを新規に作成します。
-
実行
./aws-api-import.sh --create [Swaggerのスキーマファイル]※ Windowsの場合は
./aws-api-import.cmdを使います。 -
実行結果
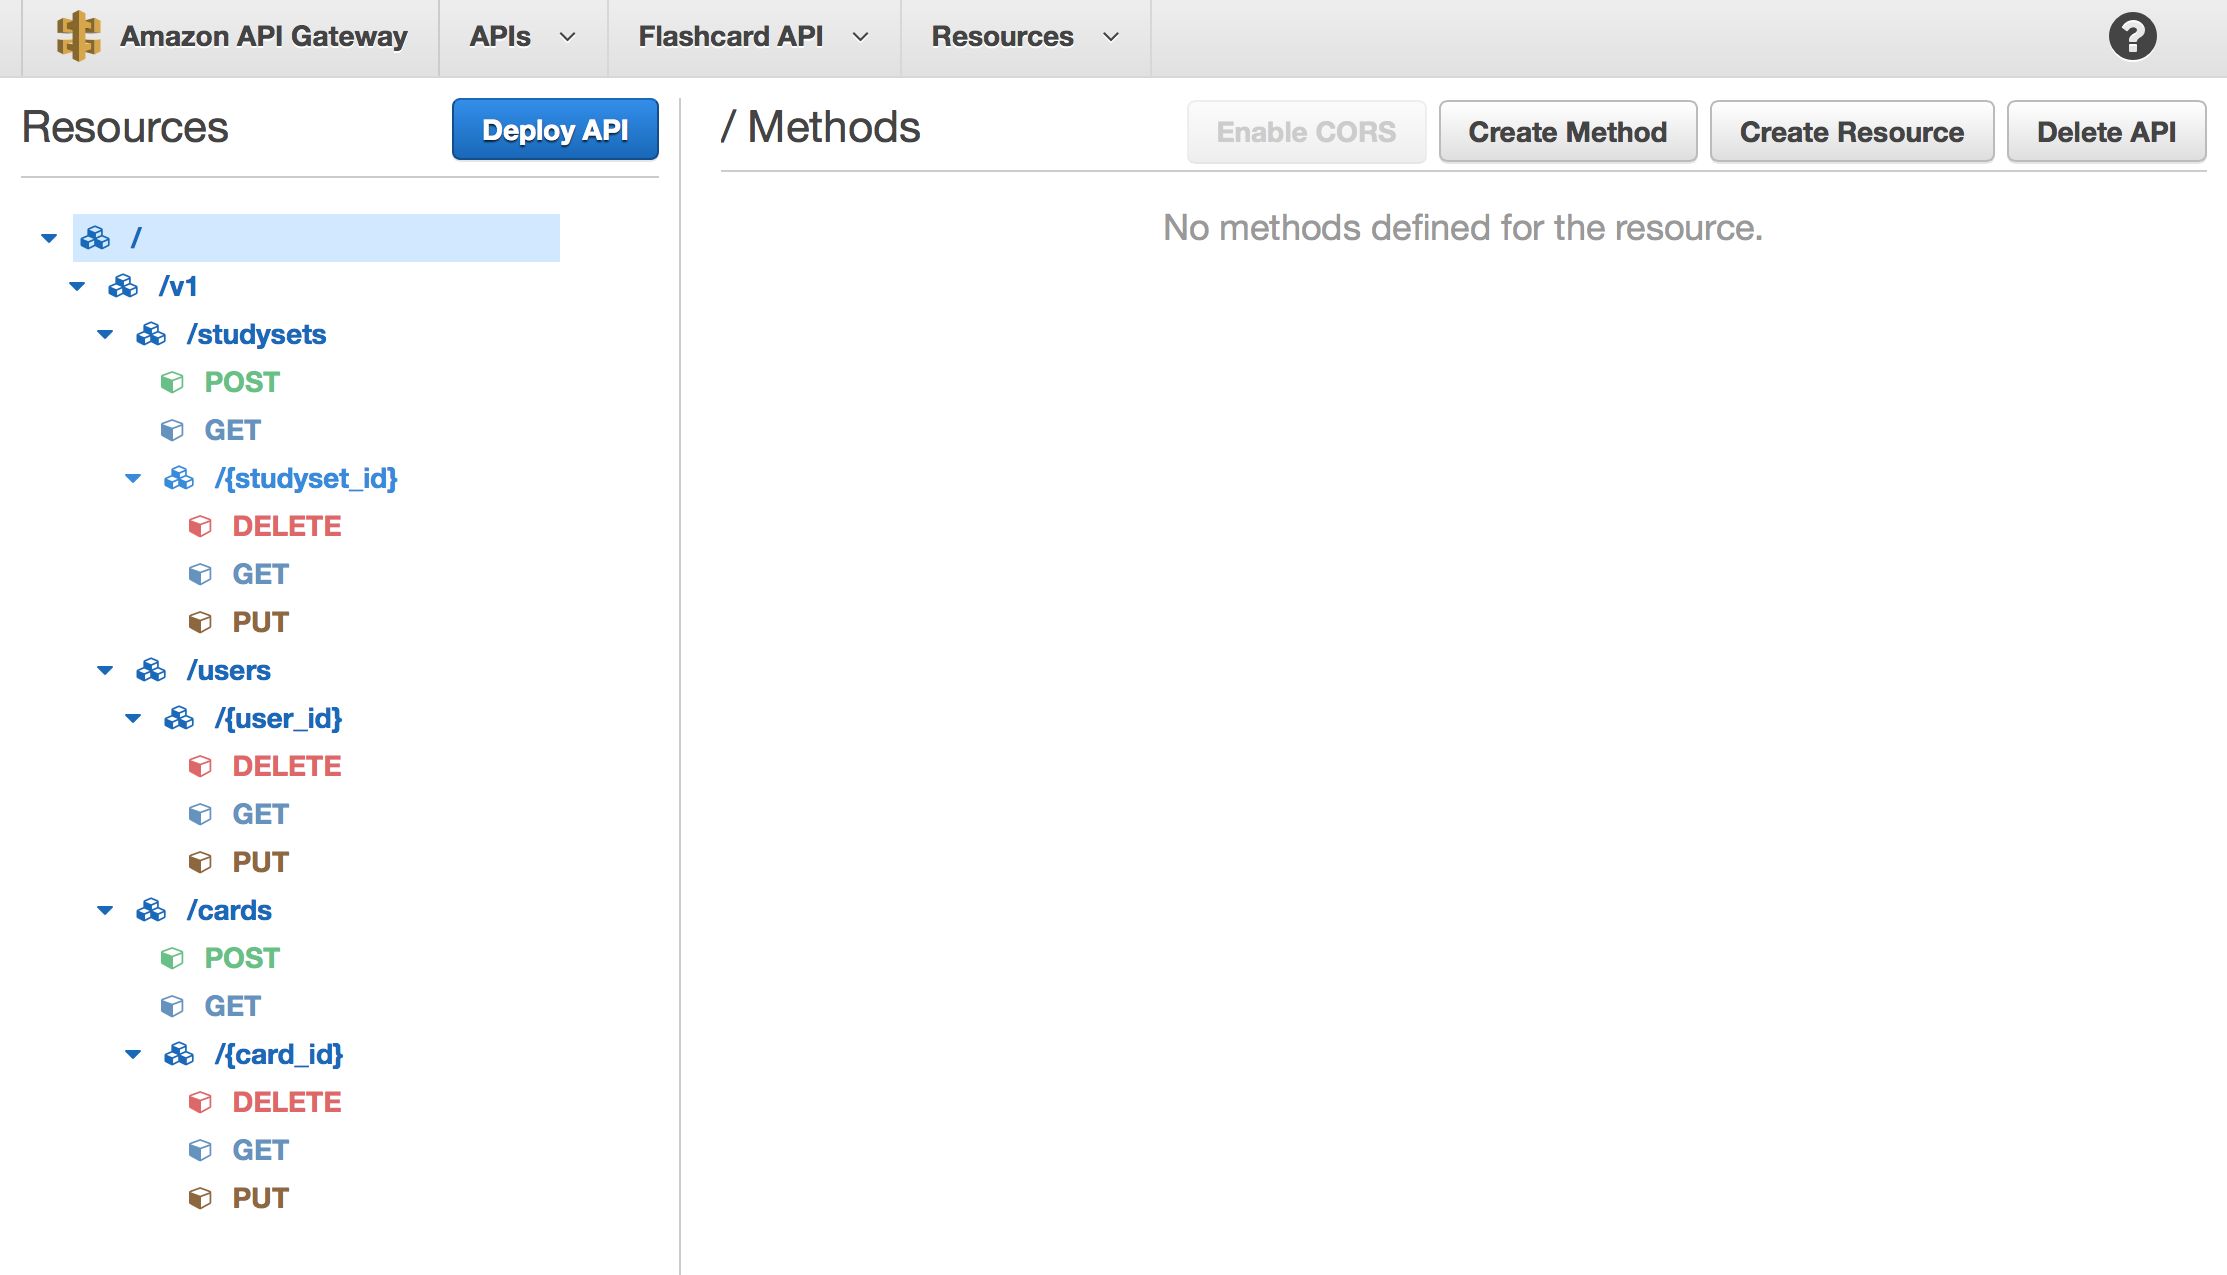
リソース
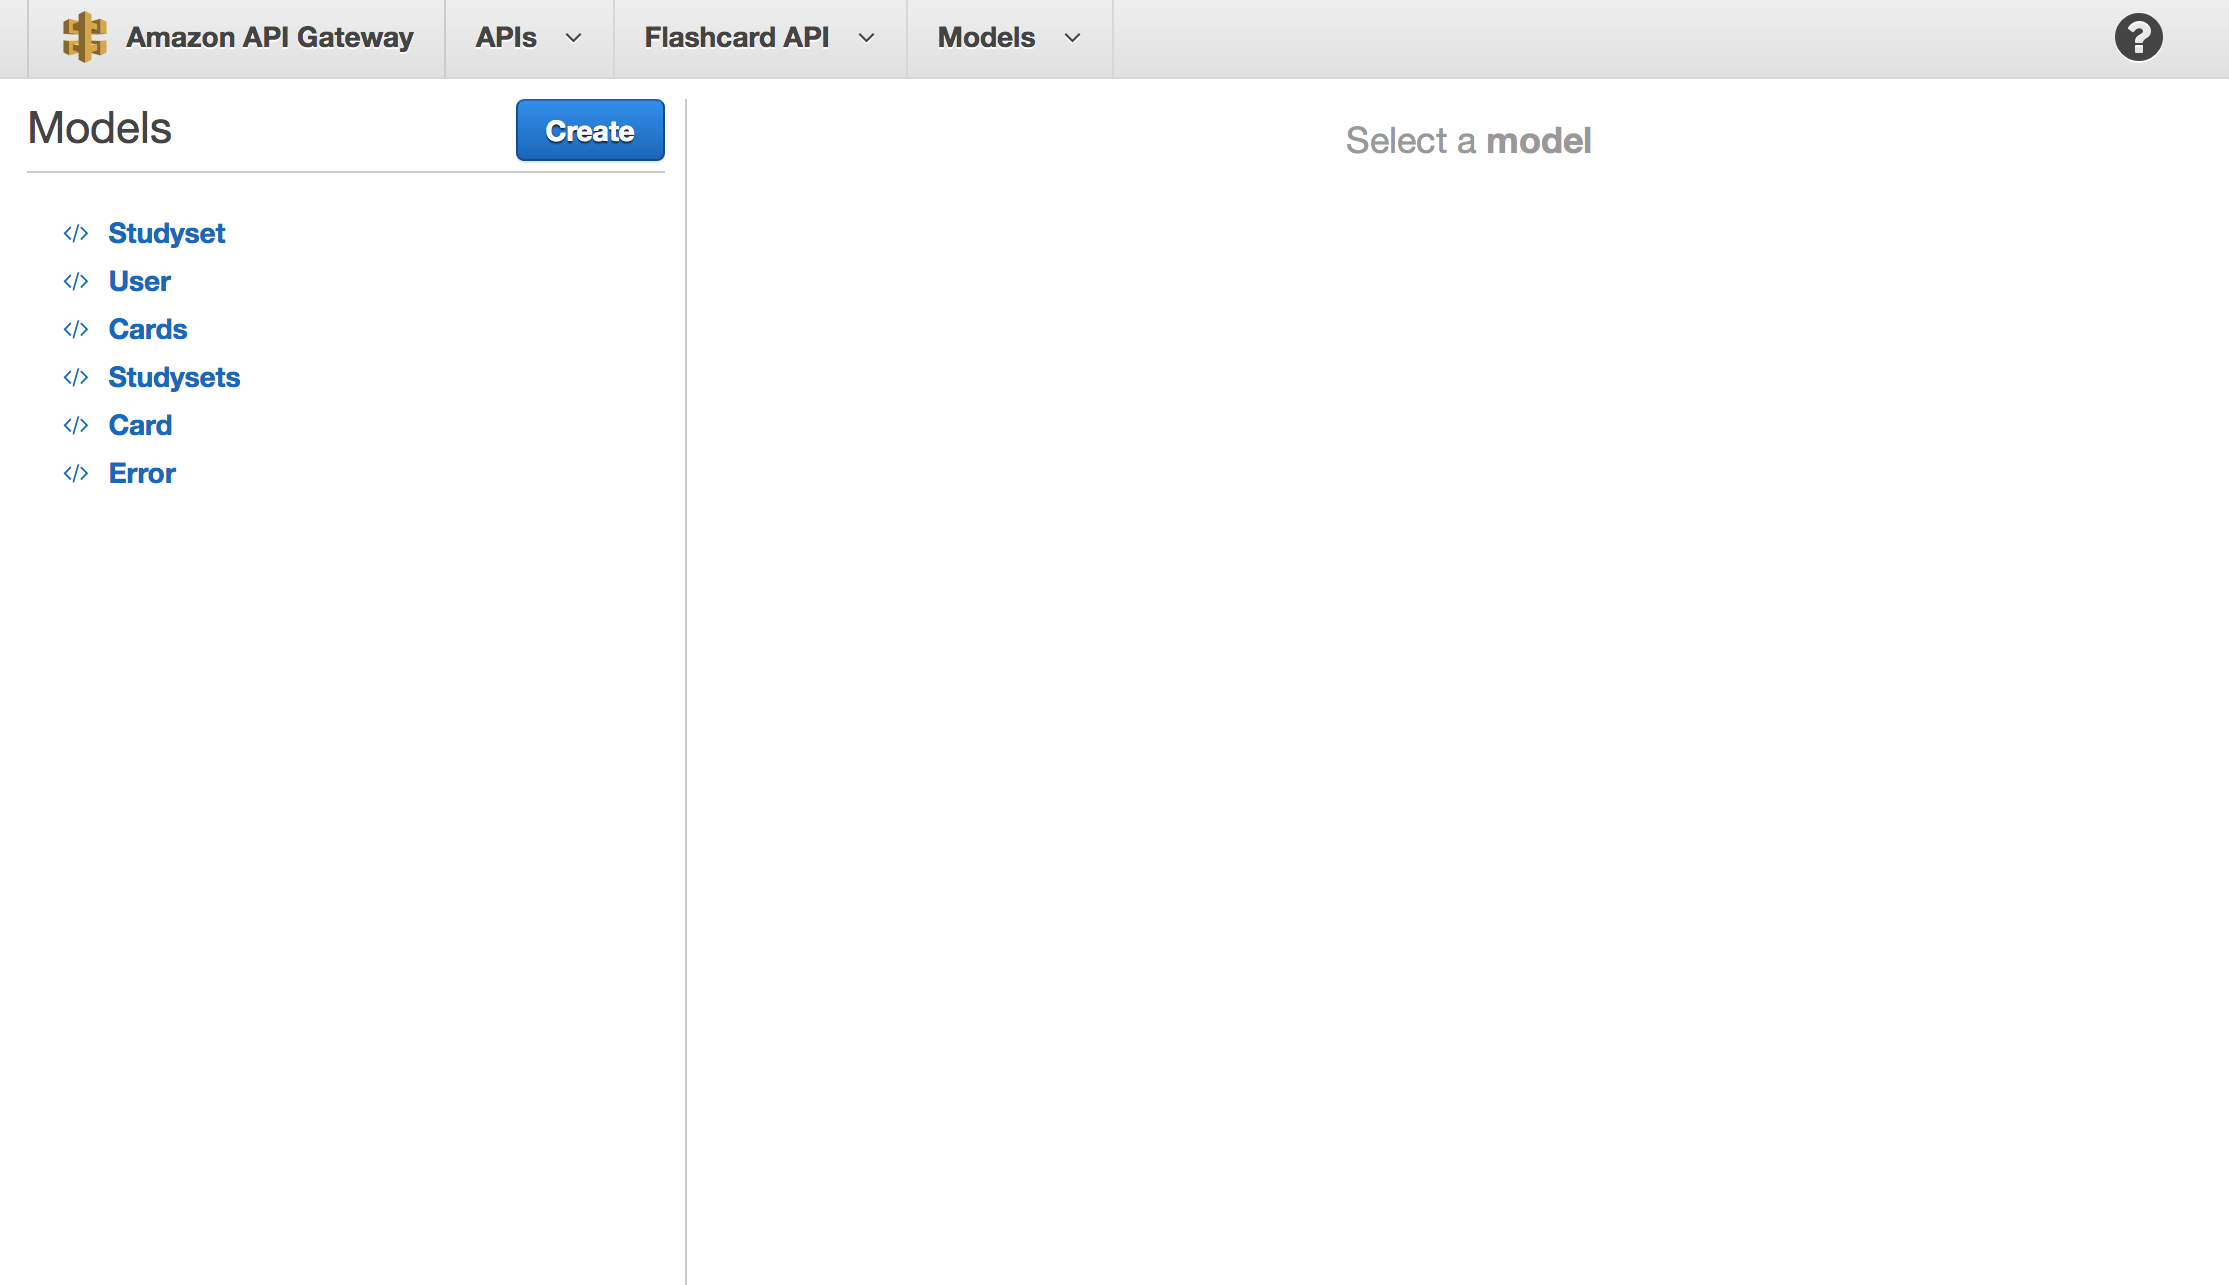
モデル
APIの更新
Swaggerのスキーマファイルを元にAPI Gateway上のAPIを更新します。
-
API IDの取得
aws apigateway get-rest-apis更新したいAPIの
idの値を取得します。例:
{ "items": [ { "description": "Move your app forward with the Uber API", "createdDate": xxxxxxxxxx, "id": "xxxxxxxxxx", "name": "Uber API" }, { "description": "Flashcard API", "createdDate": xxxxxxxxxx, "id": "xxxxxxxxxx", "name": "Flashcard API" }, ] } -
実行
先ほど取得したIDとSwaggerのスキーマファイルを元にAPIを更新します。
./aws-api-import.sh --update [API ID] [Swaggerのスキーマファイル]※デプロイしていない場合
その他
Swaggerではvendor extensionによってベンダが仕様を拡張できるようになっています。
AWS API Gatewayでは現在x-amazon-apigateway-authとx-amazon-apigateway-integrationという項目が用意されていて、認証方法やバックエンドとの接続を設定できるようになっています。

