概要
とある事情でONNX(Open Neural Network eXchange)を勉強することになったので、Windowsで環境を作って画像分類をするところまでを一通り体験。
いろいろなサイトを参考にしたので、ポチポチできるだけの内容にまとめてメモ。
実践
環境
- Windows(WSL2)
- Ubuntu 22.04
- VSCode
環境構築は下記のサイトを参考に実施
https://qiita.com/zaburo/items/27b5b819fae2bde97a3b
Ubuntu実行時に下記のようなエラーが出たらカーネル更新が必要
WslRegisterDistribution failed with error: 0x800701bc
方法はいくつかあるが、私はwsl.exe --updateをたたくと動くようになった
参考: https://hachimoto12.com/wsl2_error_0x800701bc.html
事前準備
ONNXは事前に学習済みモデルをハードウェア等に関係ない状態で定義されており、実行環境に合わせたチューニングが不要。
また公開されているモデルもあり、推論だけであれば自身で学習せずにインターネットから取得するだけで済む。
モデル
今回はVGGモデルを使ってみる。
モデルはGithubに公開されているので、ダウンロード。
$ mkdir -p models
$ wget -P models https://github.com/onnx/models/raw/main/vision/classification/vgg/model/vgg19-7.onnx
ほかにも様々なモデルが公開されているので、試してもよいかも
https://github.com/onnx/models/tree/main/vision/classification
Python環境
ONNXとOpenCVを動かすためのパッケージをインストール
# pip3が入っていない場合
$ sudo apt update && sudo apt install -y python3-pip

$ pip3 install onnxruntime opencv-python
OpenCVを動かす際に下記のエラーが出る場合があるので、事前に確認。
$ python3 -c "import cv2"
ImportError: libGL.so.1: cannot open shared object file: No such file or directory
もしエラーが出たら必要なパッケージをインストール。
$ sudo apt update && sudo apt install -y libgl1-mesa-dev
or
$ sudo apt update && sudo apt install -y libglib2.0-0 libsm6 libxrender1 libxext6
実践
まず、Pythonを起動してONNXのセッションを作成。
今回の環境ではGPUを積んでいないため、CPUを指定している。
>>> import onnxruntime
>>> import numpy as np
>>> onnx_model_path = "model/vgg19-7.onnx"
>>> sess = onnxruntime.InferenceSession(onnx_model_path, providers=['CPUExecutionProvider'])
# GPU(CUDA)を使う場合
>>> sess = onnxruntime.InferenceSession(onnx_model_path, providers=['CUDAExecutionProvider', 'CPUExecutionProvider'])
使用しているモデルの入力と出力の情報を確認。
>>> input_name = sess.get_inputs()[0].name
>>> input_shape = sess.get_inputs()[0].shape
>>> output_name = sess.get_outputs()[0].name
>>> output_shape = sess.get_outputs()[0].shape
>>> print("Input name  :", input_name)
Input name  : data
>>> print("Input shape :", input_shape)
Input shape : [1, 3, 224, 224]
>>> print("Output name  :", output_name)
Output name  : vgg0_dense2_fwd
>>> print("Output shape :", output_shape)
Output shape : [1, 1000]
次に推論するための画像を読み込む。
事前に実行環境に準備する必要があるが、VSCodeの場合はドラッグ&ドロップで転送できる。
>>> import cv2
>>> image = cv2.cvtColor(cv2.imread(filename="penguin.jpg"), code=cv2.COLOR_BGR2RGB)
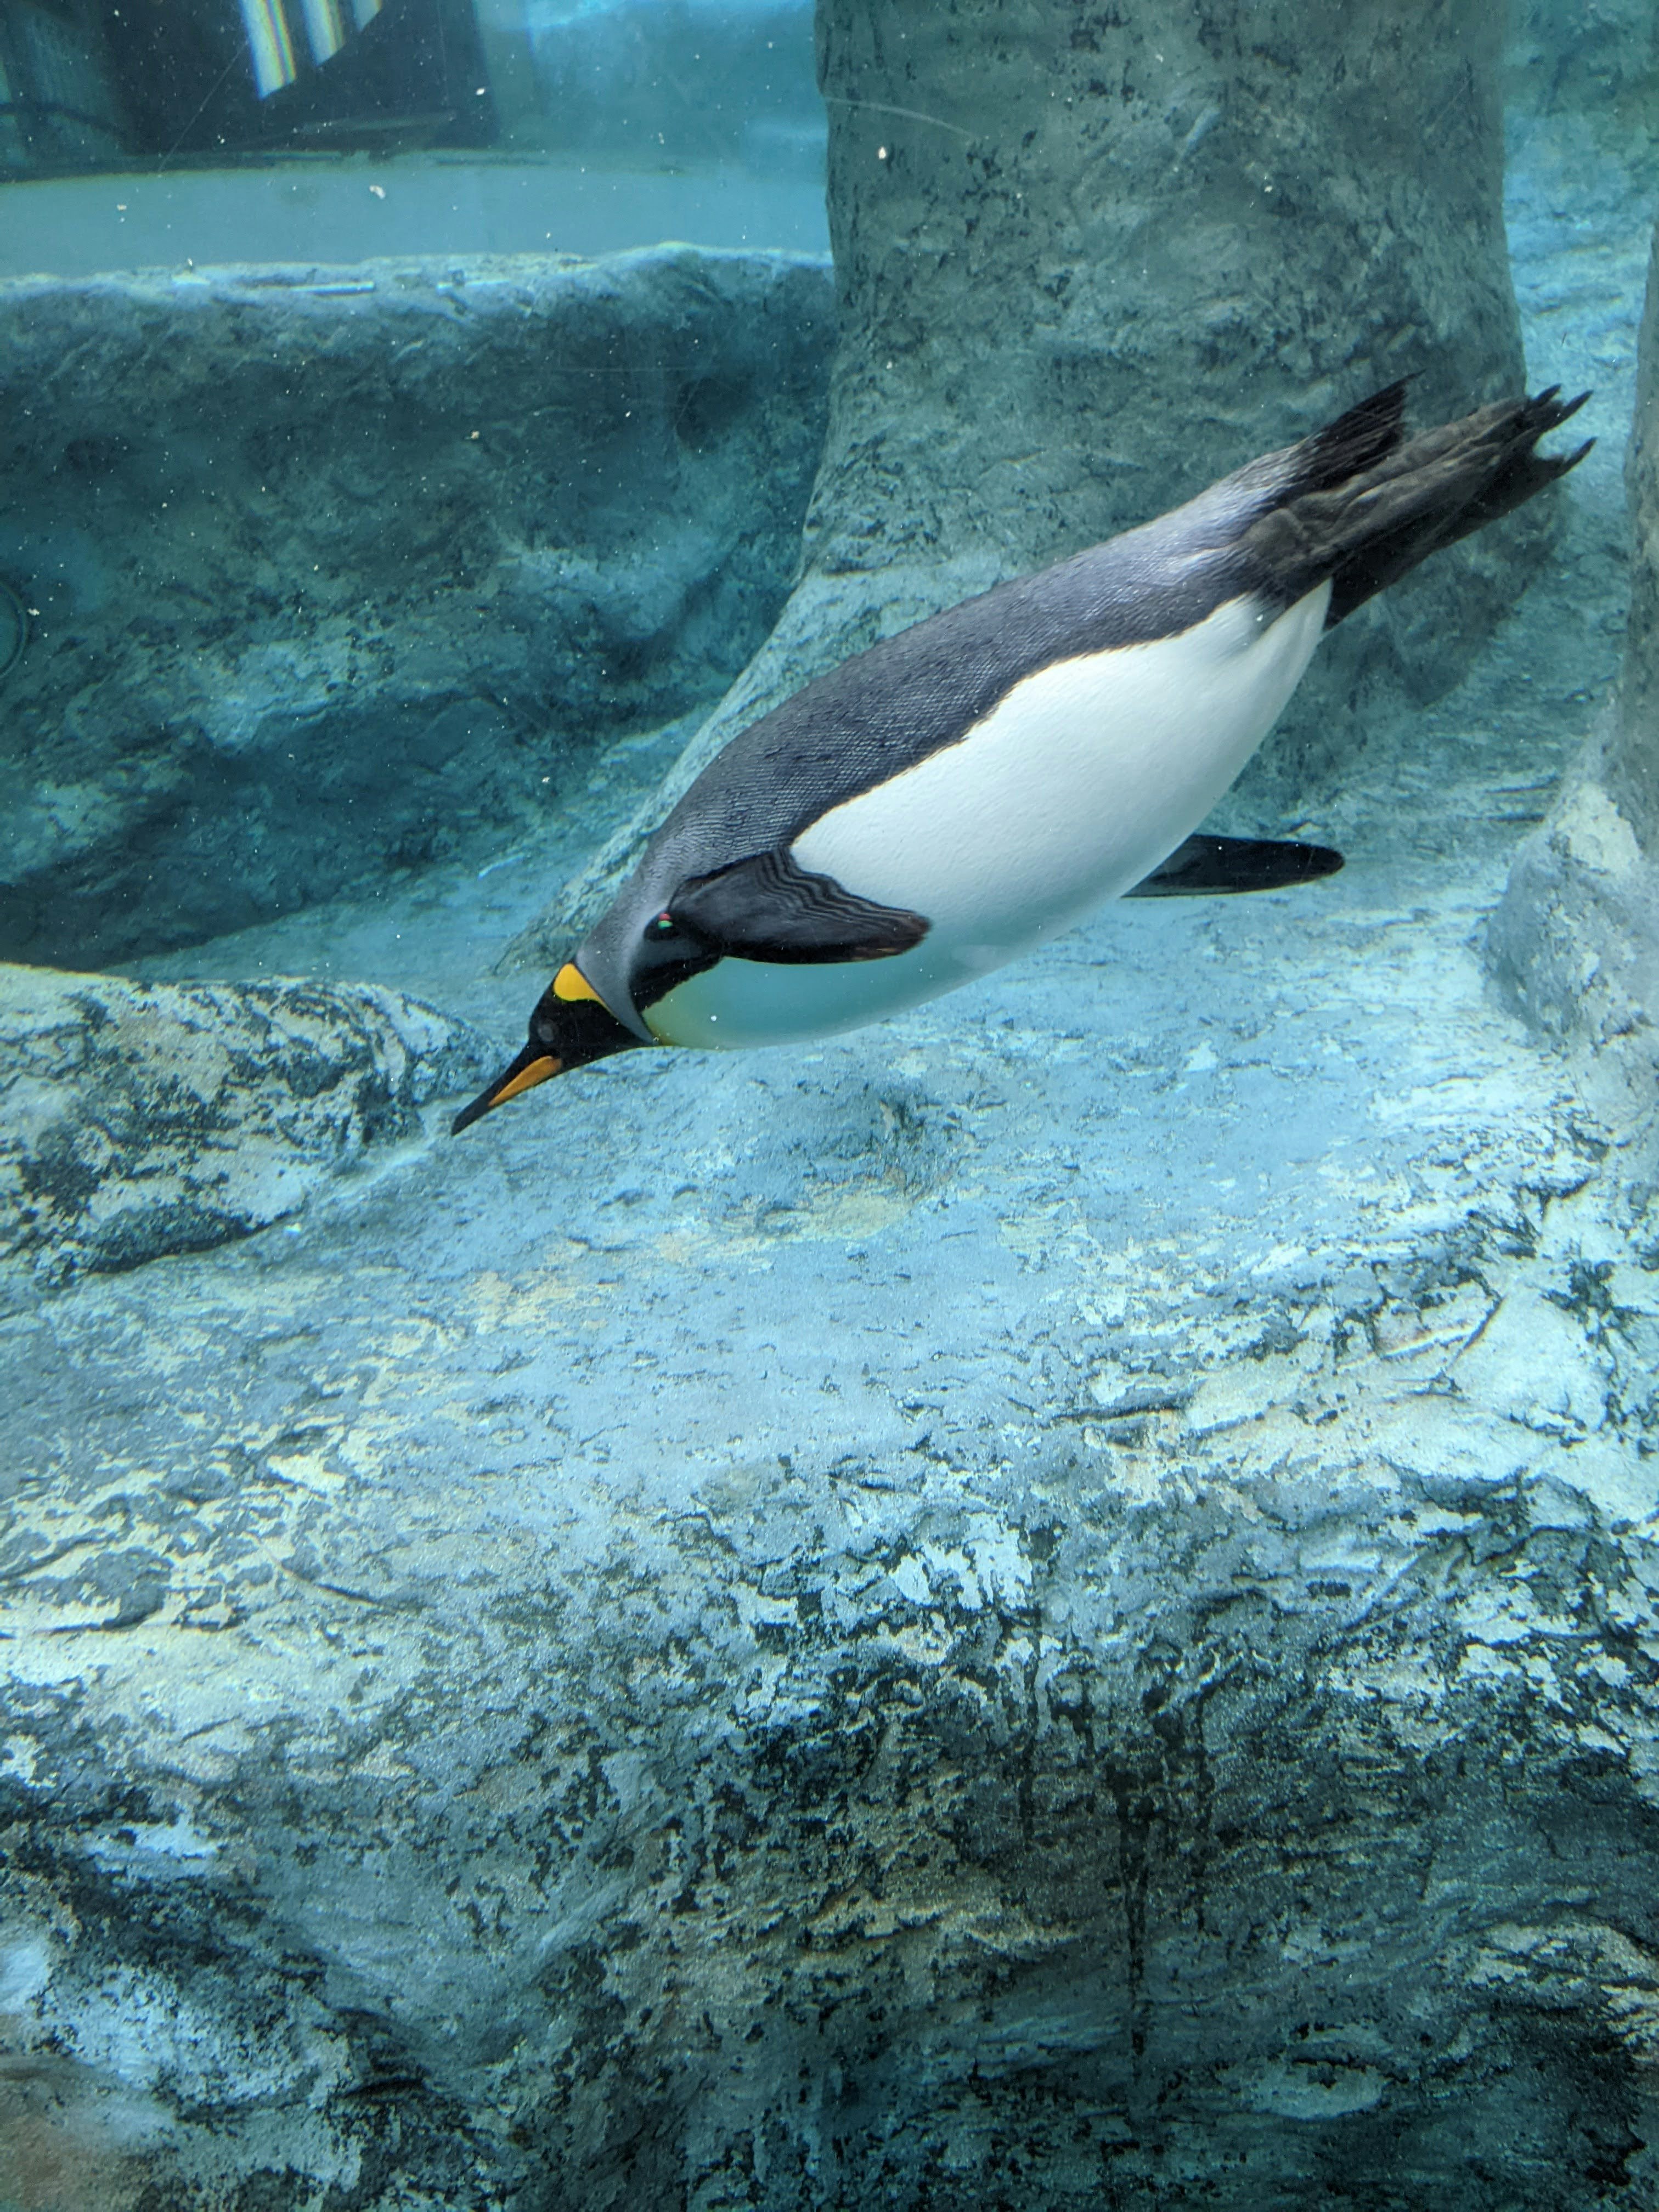
今回使う画像はこちら
(正面向いてないけど大丈夫かな。。。?)

入力画像をモデルの形に合わせてリサイズ
>>> resized_image = cv2.resize(src=image, dsize=(224, 224))
>>> input_data = np.expand_dims(np.transpose(resized_image, (2, 0, 1)), 0).astype(np.float32)
推論実行!
>>> out = sess.run([output_name], {input_name: input_data})
>>> result_index = np.argmax(out[0])
>>> print("Index :", result_index)
Index : 145
推論結果はインデックスで取れるため、何に当てはまるか確認。
まずインデックス一覧のファイルをダウンロード。
wget https://raw.githubusercontent.com/onnx/models/main/vision/classification/synset.txt
取得したファイルから推論結果を取得する。
>>> imagenet_classes = open("synset.txt").read().splitlines()
>>> imagenet_classes[result_index]
'n02056570 king penguin, Aptenodytes patagonica'
おーペンギンと認識してくれた。
まとめ
学習済みのONNXモデルを用意できれば、時間とコストのかかる学習を行わずに気軽に推論を使うことができた。
ほかのモデルも公開されているので、そちらを使ったりPyTouchなどのモデルからONNXに変換することもできるので試してみたい。