特定の UIView のアスペクト比を維持したまま、所定の範囲内に収める方法です。
UIImageView の Aspect fit を UIView でやる感じ。
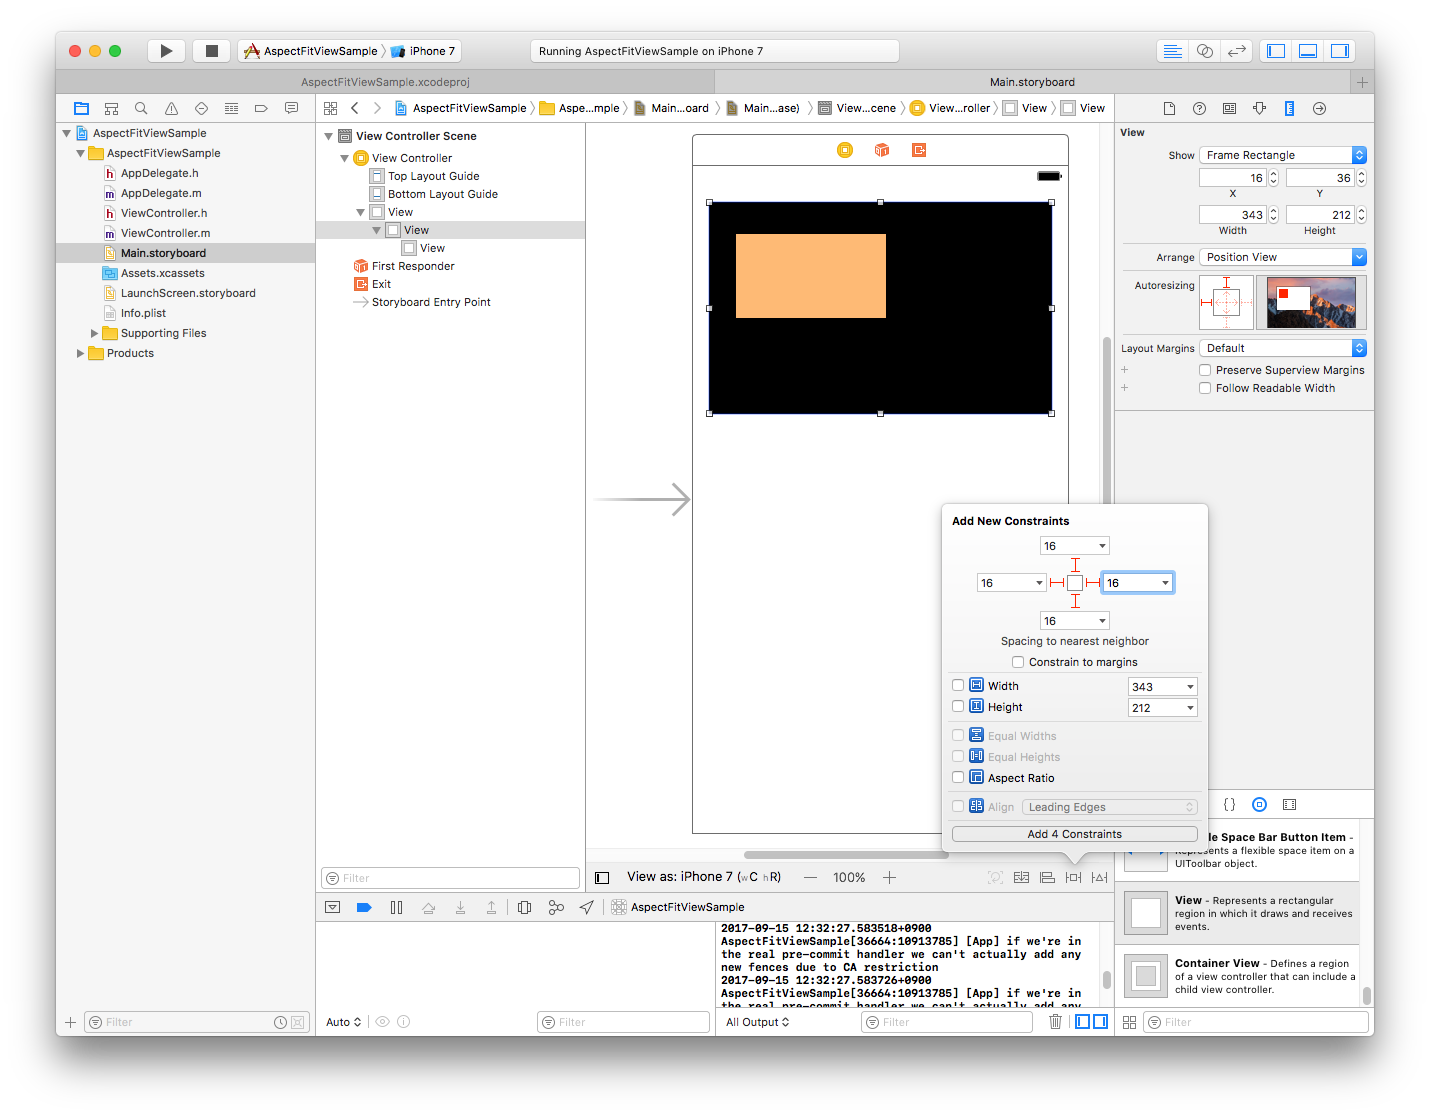
とりあえず適当に UIView を配置
UIView を2つ配置します。
黒い UIView が親、オレンジ色の UIView が子になります。
子のアスペクト比を維持したまま、親の中に収まるようにリサイズされることになります。
親の Autolayout を設定
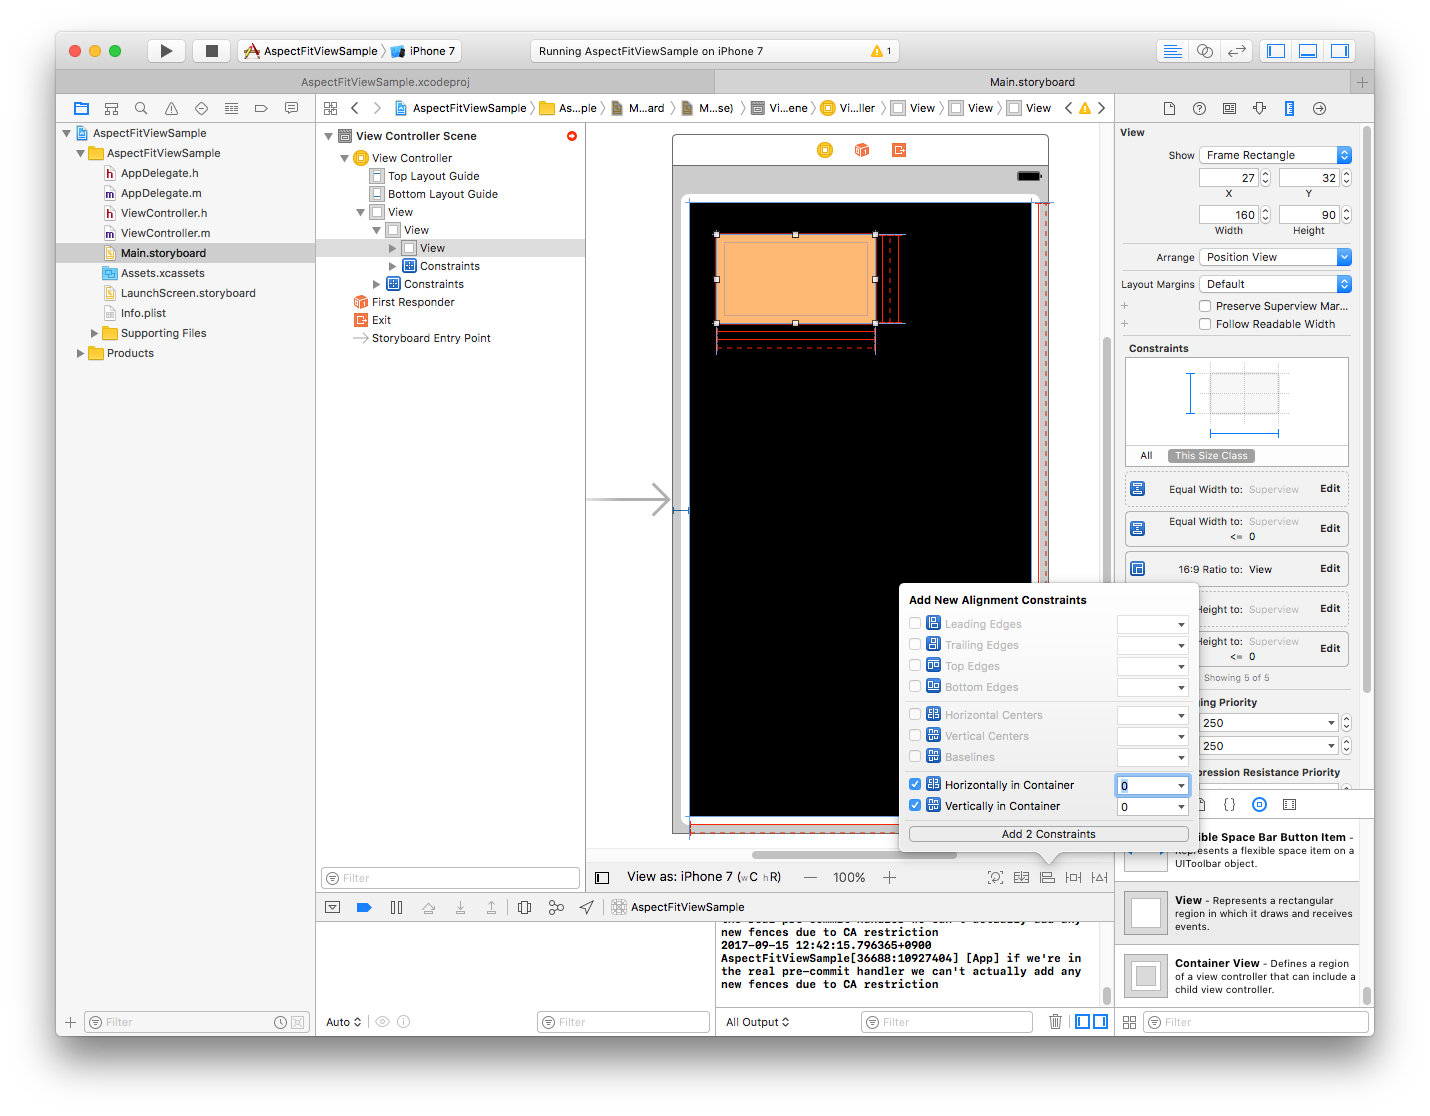
今回は適当に、上下左右に16ポイントのスペースを開けて、画面いっぱいになるように設定します。
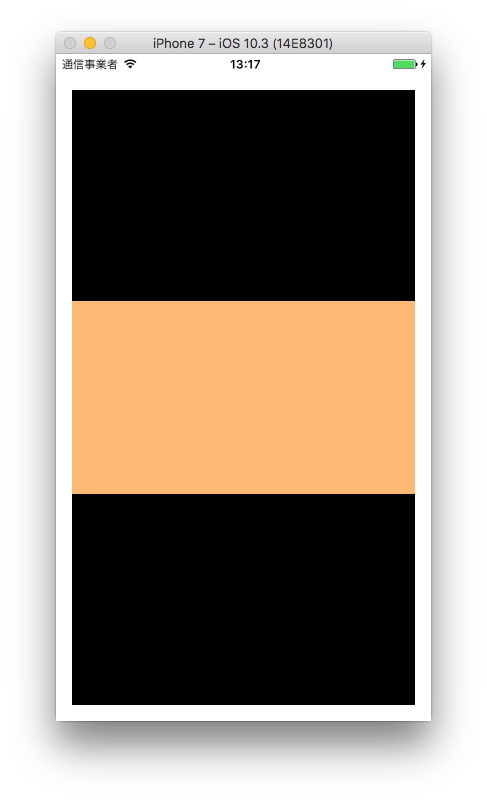
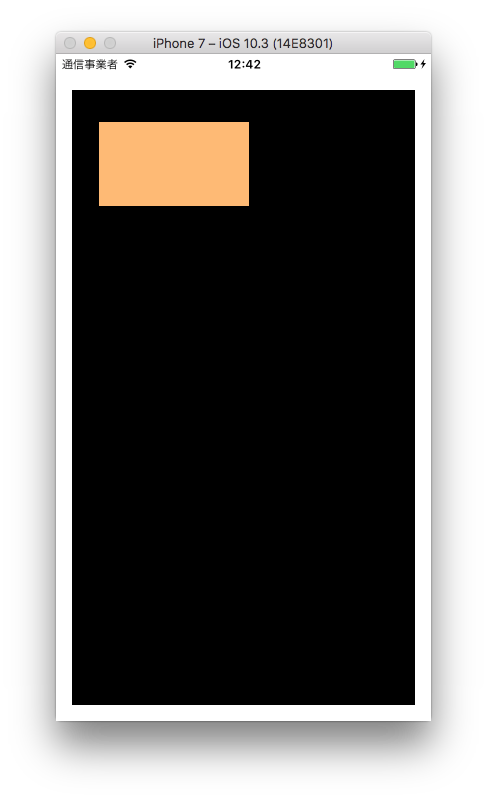
設定後、シミュレーターで実行してみた結果です。
上下左右に16ポイント分のスペースが開いて、画面いっぱいにリサイズされました。
子の Autolayout 設定
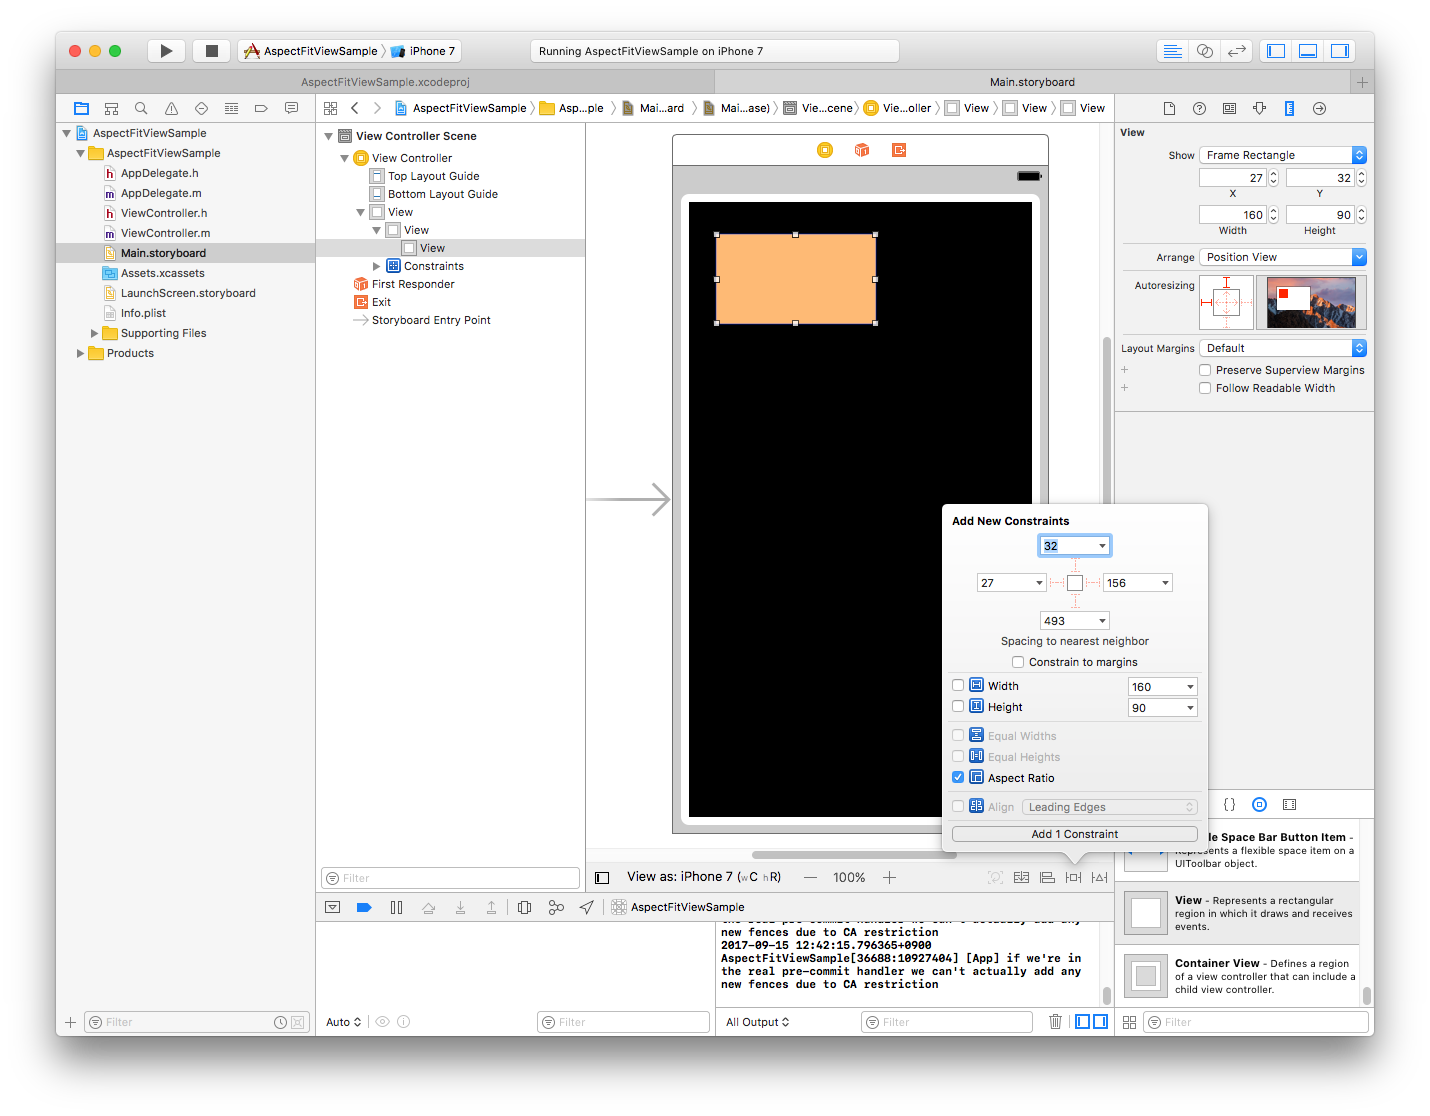
子にアスペクト比の制約をつけます。
今回はアスペクト比を16:9にします。
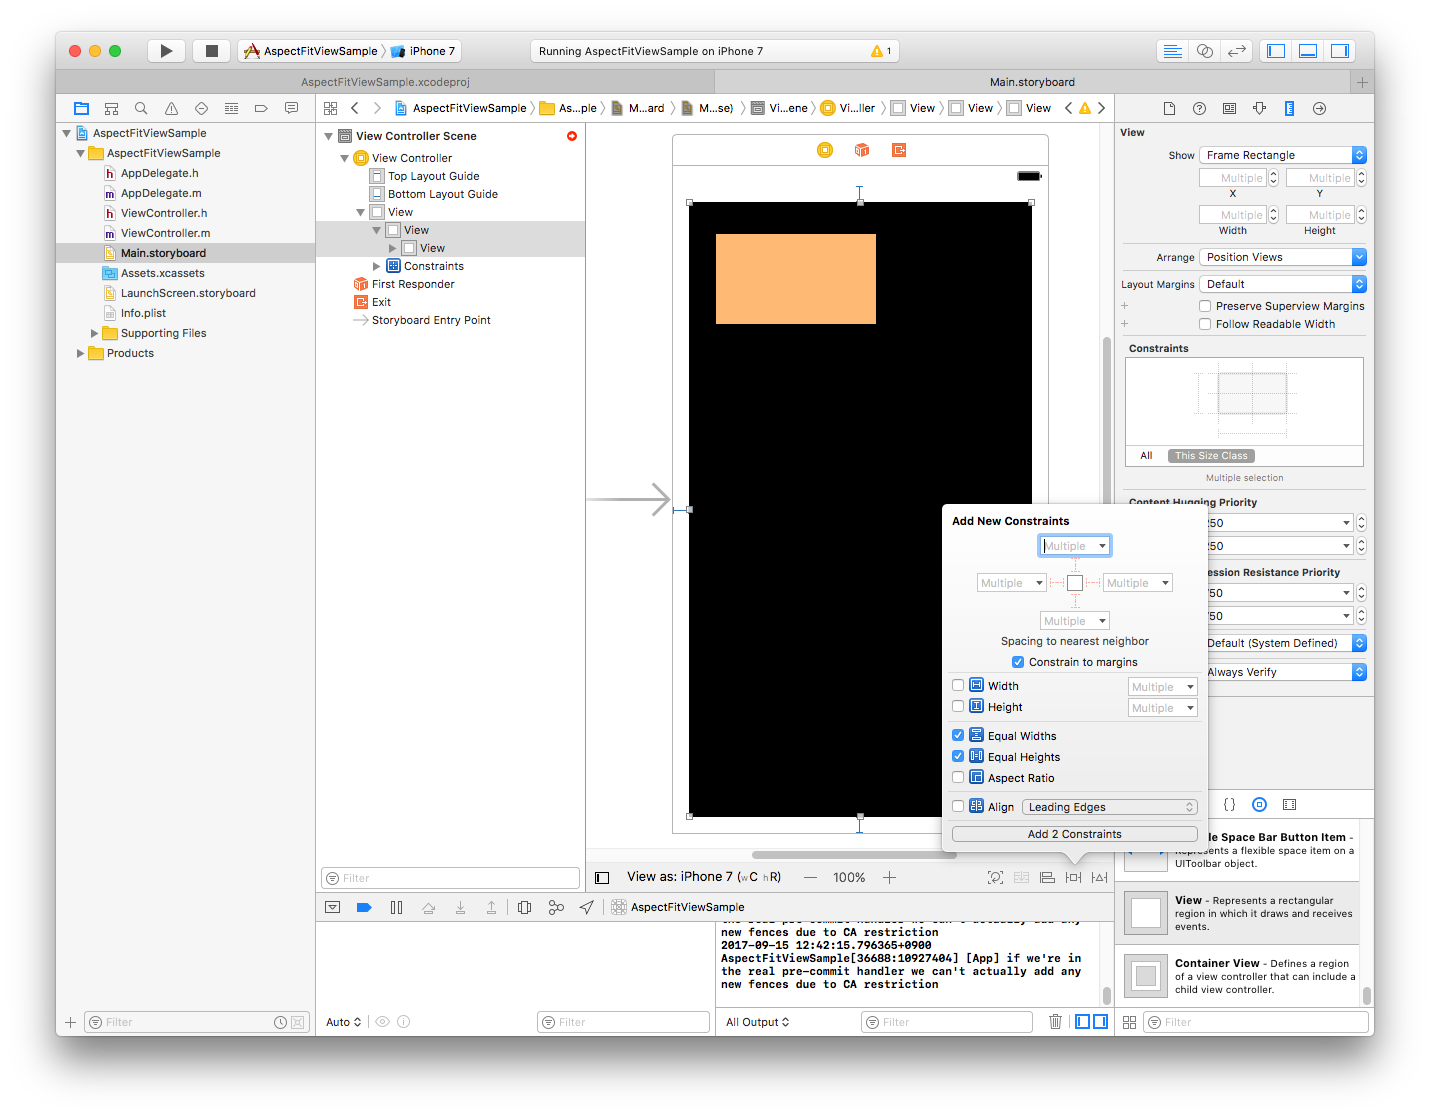
子に、Equal Widths と Equal Heights をつけます。
※しばらく Autolayout でエラーみたいに出ますが、気にせず進めてください。
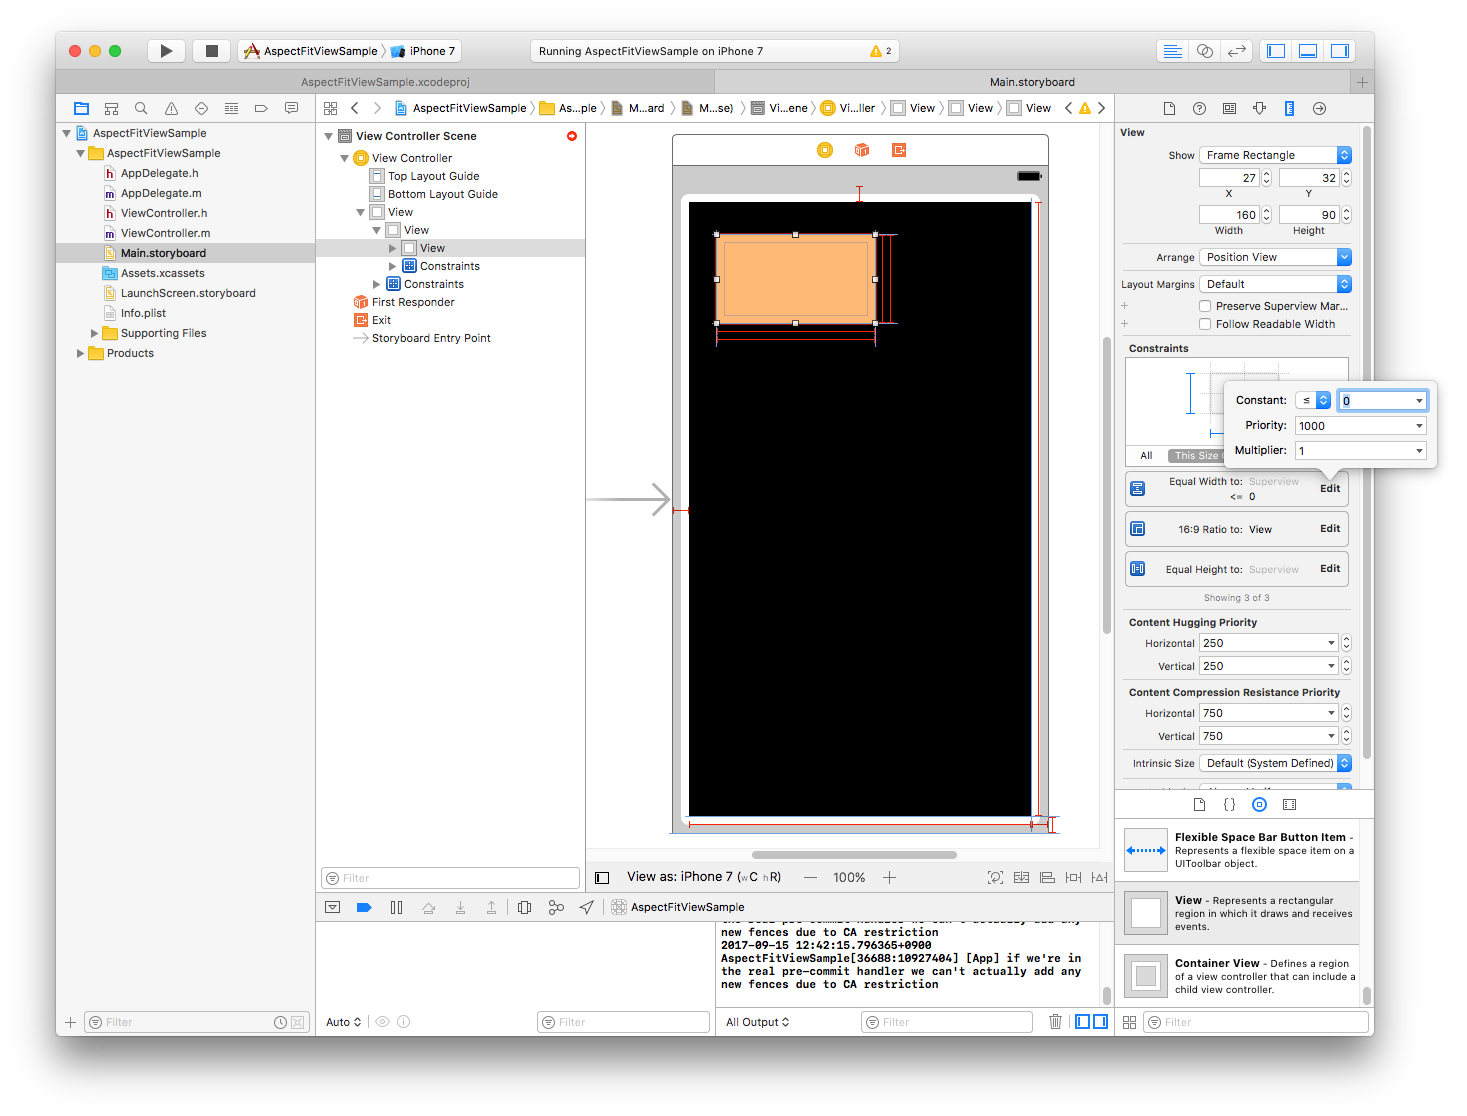
指定した Equal Widths の制約を、less than or equal に変更します。
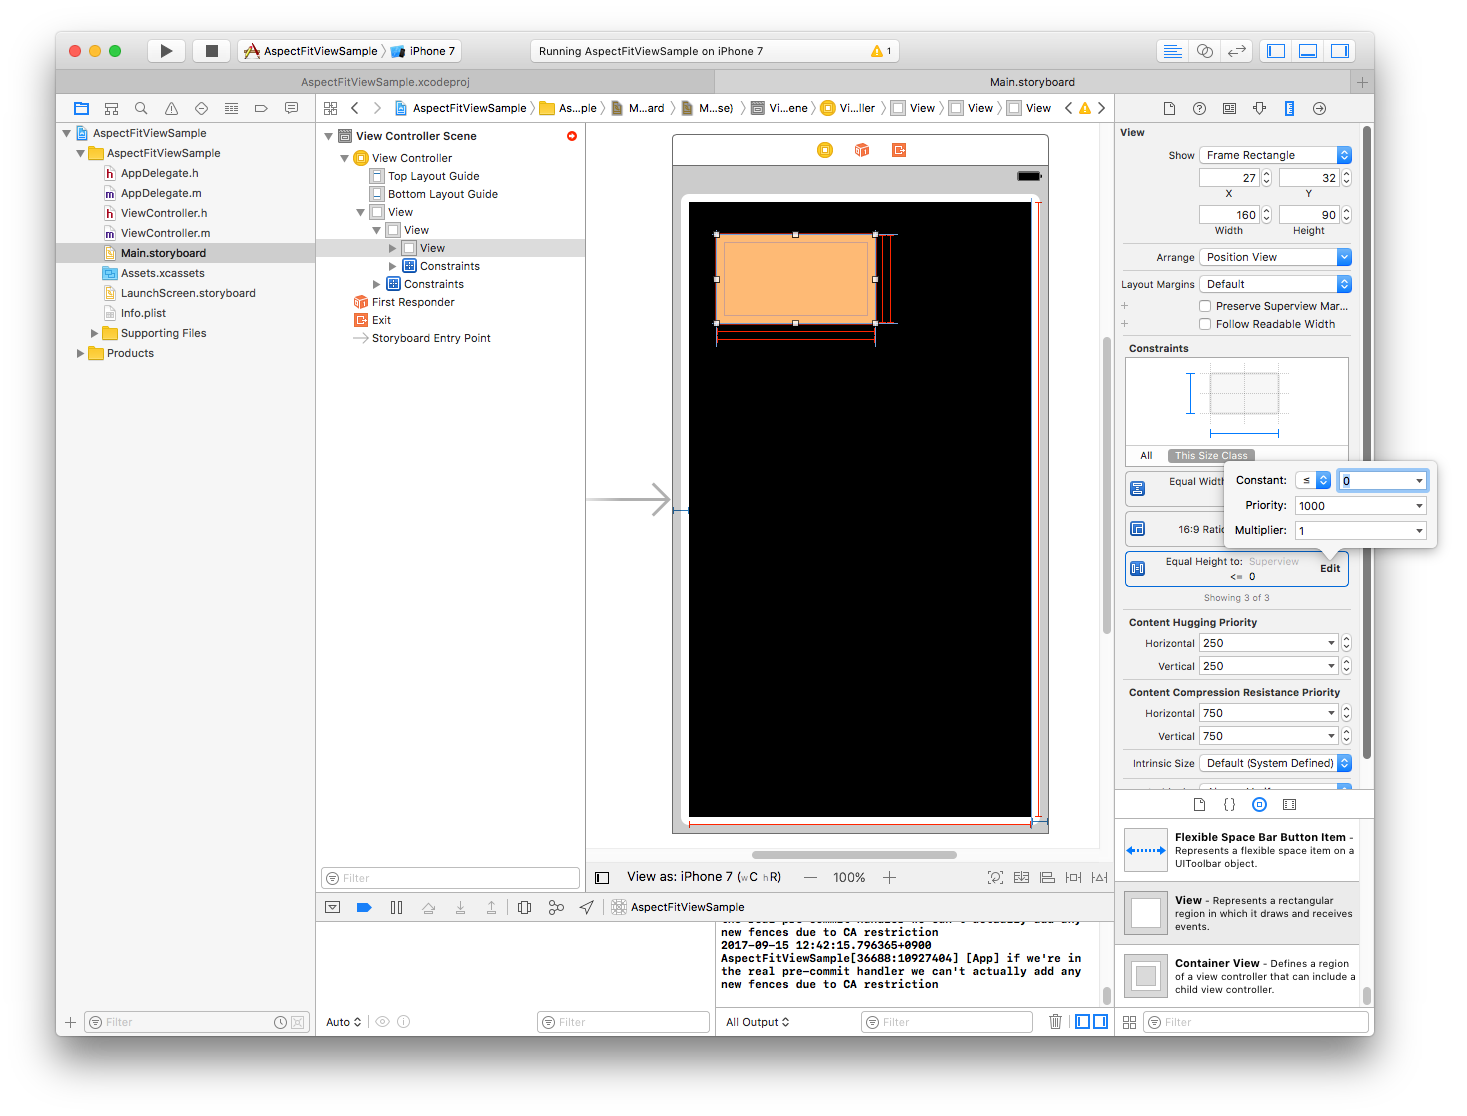
Equal Heights の制約も同様に、less than or equal に変更します。
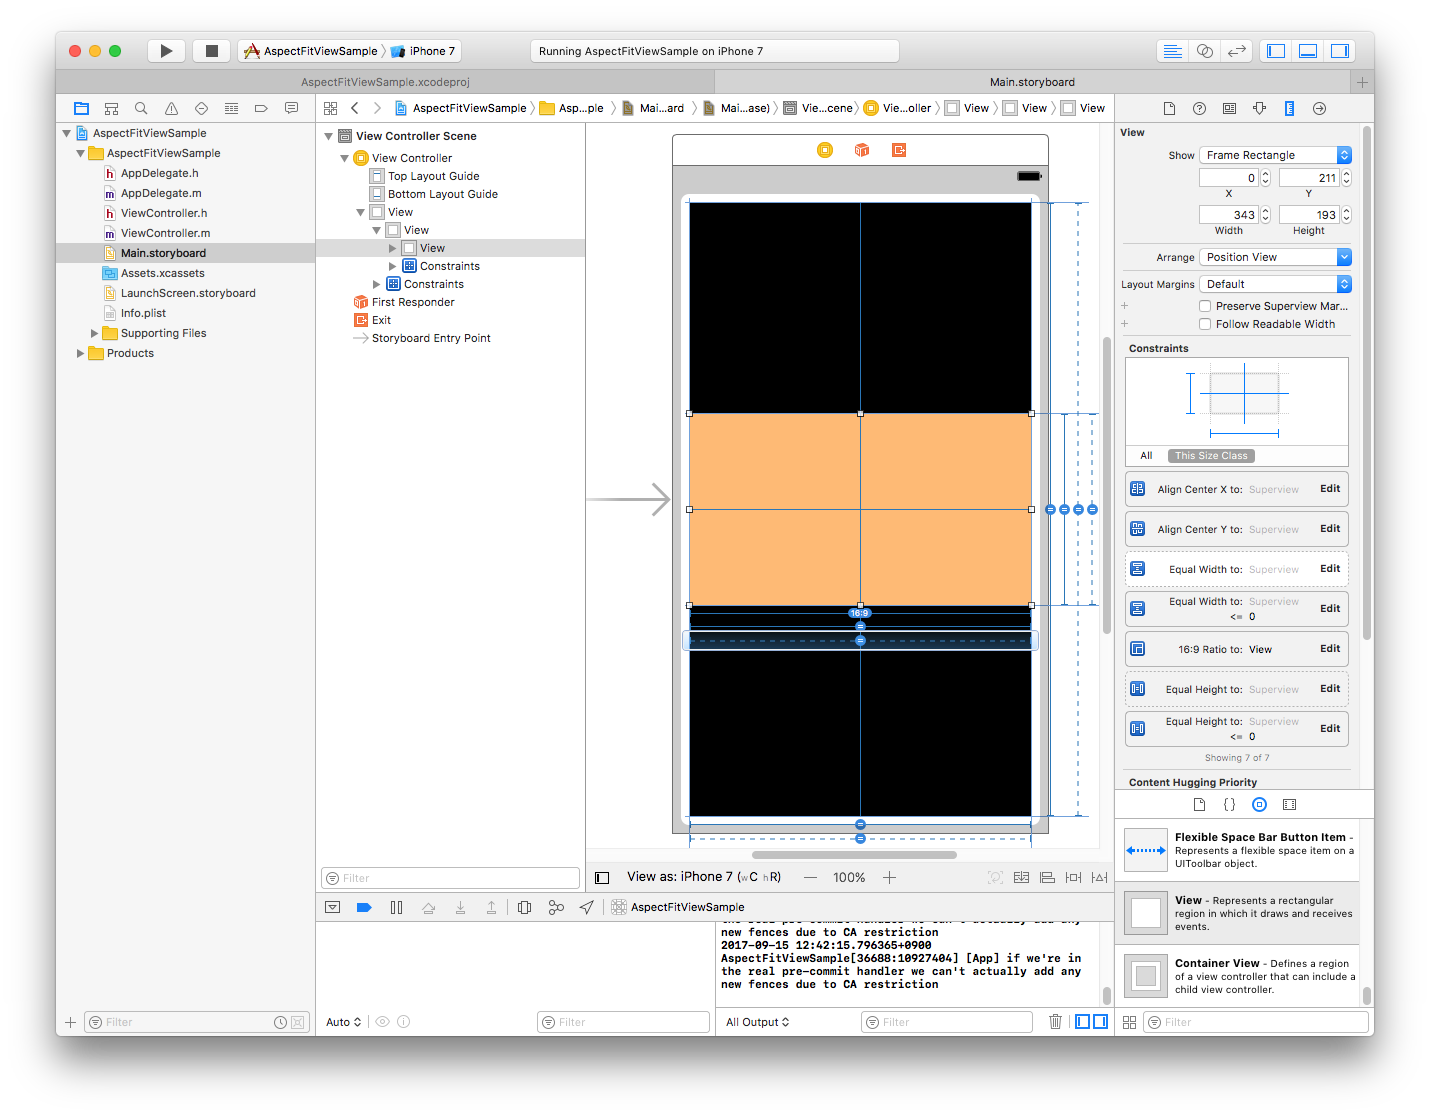
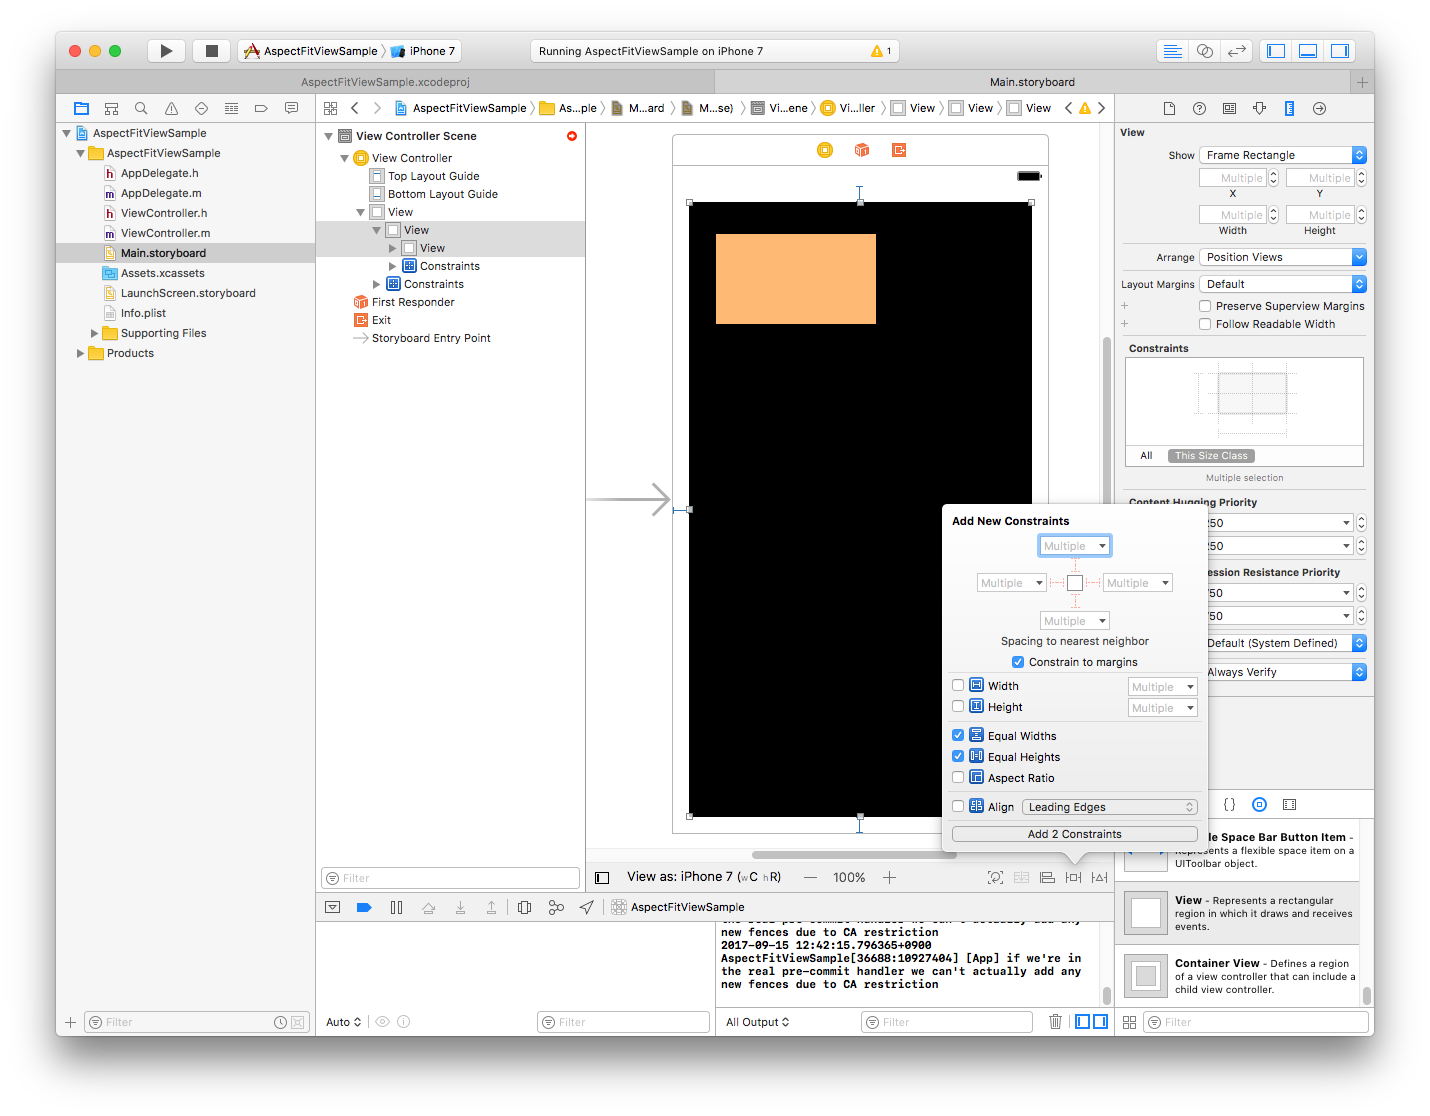
もう一度、子に Equal Widths と Equal Heights つけます。
今回指定した Equal Widths の制約を、優先度750に変更します。
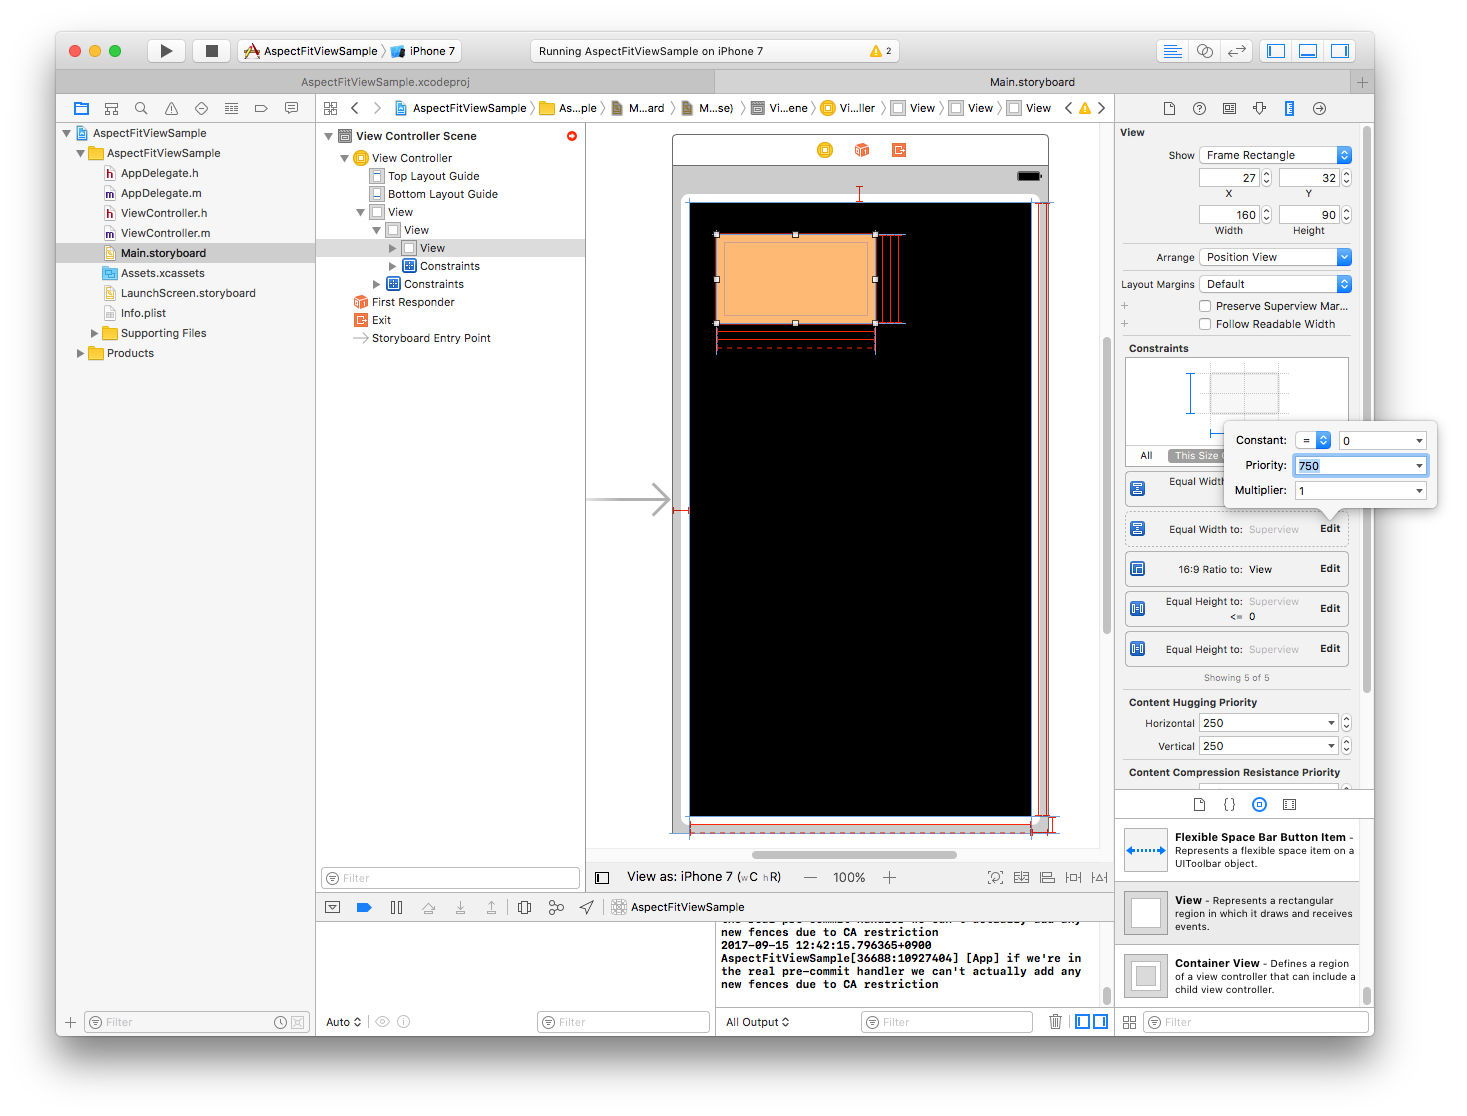
Equal Heights の制約も同様に、優先度750に変更します。
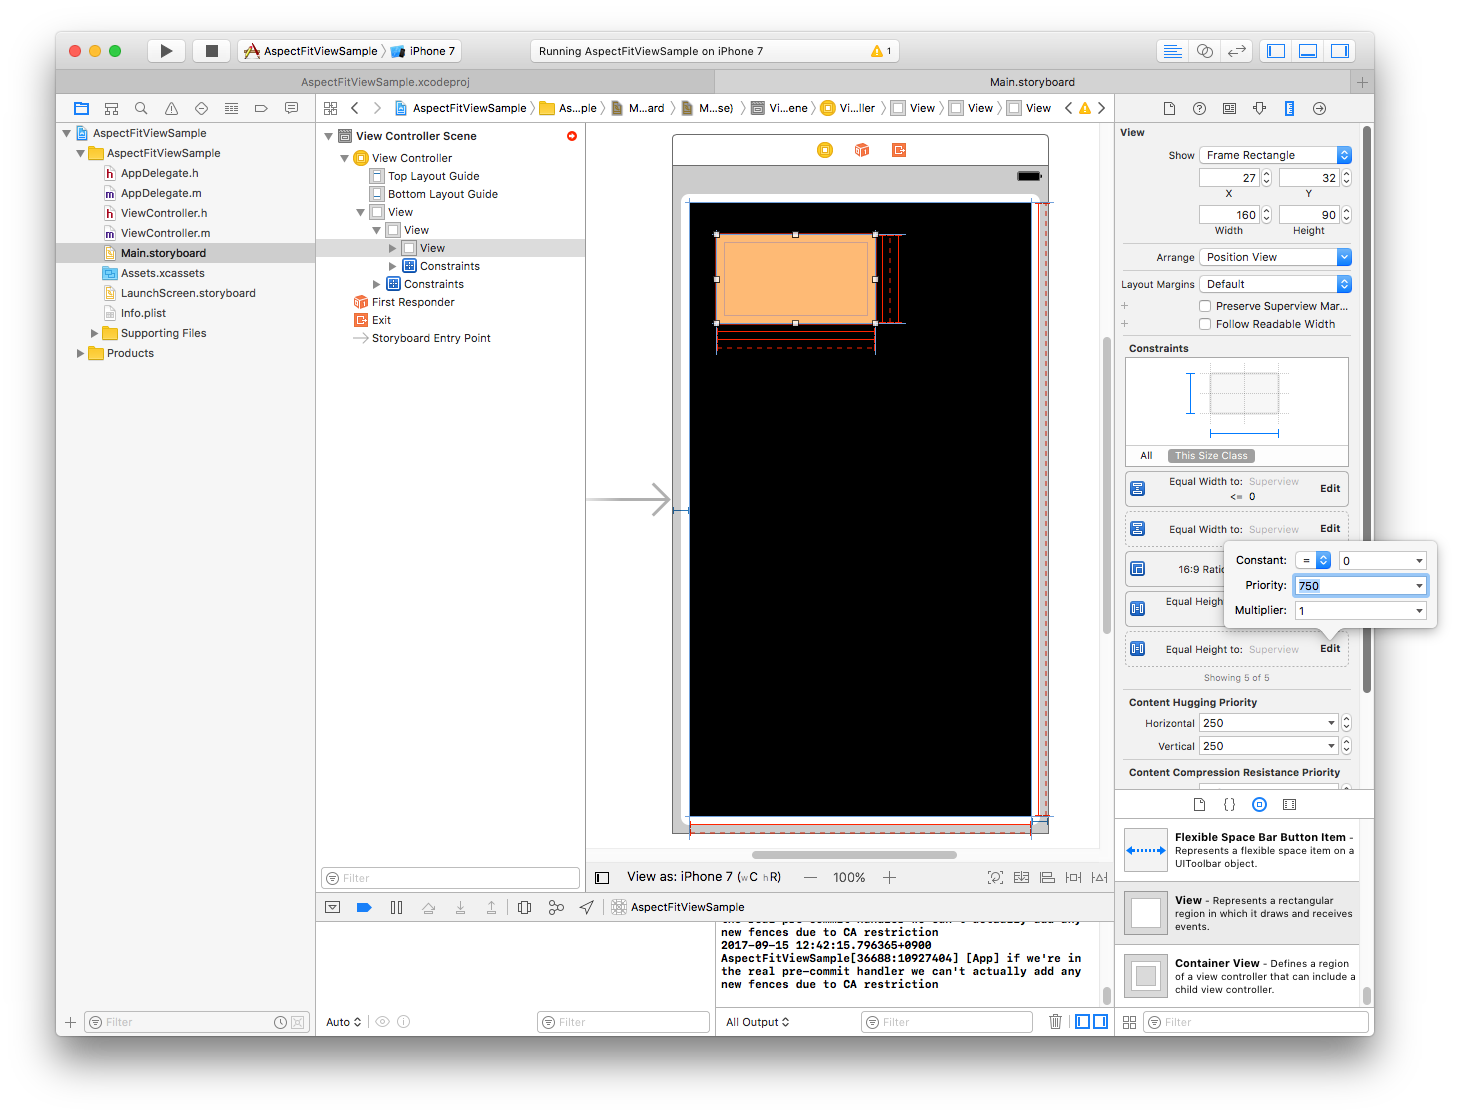
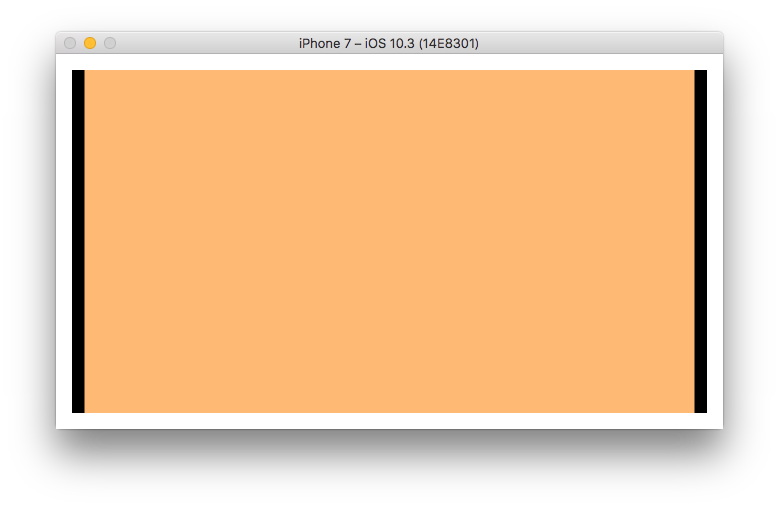
シミュレーターで確認してみると、画面の回転に合わせて、アスペクト比を維持したまま、親のビューの中にピッタリ収まるように、子のビューがリサイズされます。
