IoTのベースOSとなるAndroid Things、ベータを脱して1.0をローンチ、I/O前日に発表
https://jp.techcrunch.com/2018/05/08/2018-05-07-googles-android-things-iot-platform-comes-out-of-beta/
今年のGoogle I/Oの発表はかたずをのんで見守っていました。
去年までは主にスマホのAndroid OSのバージョンアップしか見てなかったんですが、IoTのスタートアップに転職したらGoogle I/Oのありがたみがものすごく広がり、~~株主向けの安心材料提供の場となりさがったAp○leの新製品発表会と違い、~~イノベーションと、人類の未来への指針が、これでもかと詰まっている気がして、ひれ伏すしかないです。
Android Thingsは面白そうなので、ちょっと触ってみたいと思います。もしかしたら仕事で使える武器になるかもしれんし。
公式のマニュアルどおりに進めていきます。
https://developer.android.com/things/hardware/raspberrypi
使用機材
- Mac Book Air
- Android Studio 3.1.2
ラズパイまわり
- Raspberry Pi3
- SDカード 8GB class10
- SDカードリーダー
- ラズパイの電源ケーブル
- モニター
- HDMIケーブル
通信まわり
※Wifi接続がなぜかうまくいかなかったので有線LANを使った。
- モデム
- Ethernet ケーブル
開発者登録とセットアップツールのダウンロード
まずコンソールにアクセス
https://partner.android.com/things/console/
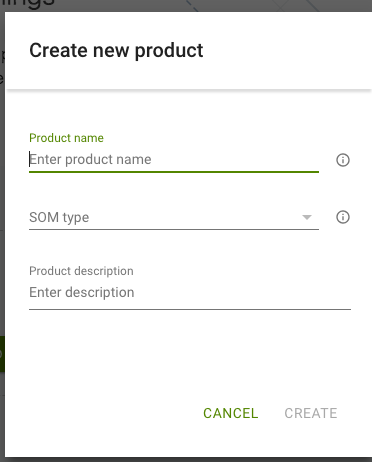
プロダクトを登録する。
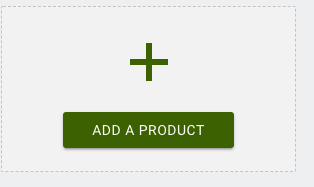
以下の画面では、Product nameは適当、
SOM Typeは Raspberry Pi3、
Product Discriptionは適当。
すると、ToolsメニューからSetup Utilityがダウンロードできるようになる。
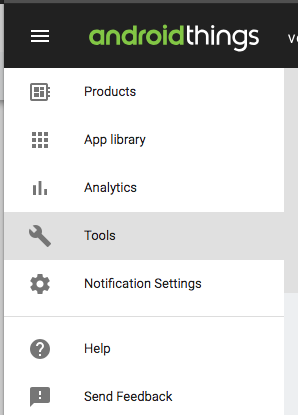
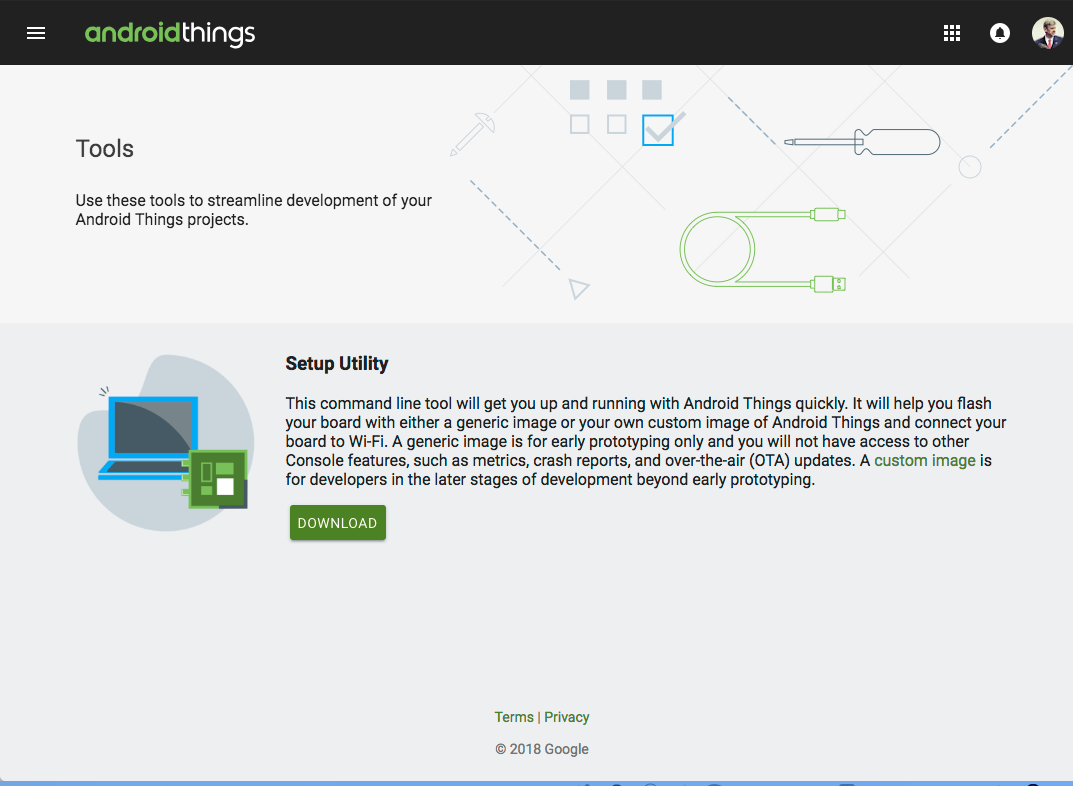
ダウンロードする。
android-things-setup-utility.zip
というファイルを解凍して、任意のディレクトリに置く。
Macでセットアップツールを起動し、SDカードにAndroid ThingsのOSを書き込む
解凍したフォルダには、linux用、windows用、macos用の3種類のファイルが入っている。
/android-things-setup-utility/
android-things-setup-utility-linux
android-things-setup-utility-macos
android-things-setup-utility-windows.exe
このうちmac用を使う。
$ sudo ./android-things-setup-utility/android-things-setup-utility-macos

Android Things Setup Utility (version 1.0.20)
============================
This tool will help you install Android Things on your board and set up Wi-Fi.

What do you want to do?
1 - Install Android Things and optionally set up Wi-Fi
2 - Set up Wi-Fi on an existing Android Things device
1 ←入力
What hardware are you using?
1 - Raspberry Pi 3
2 - NXP Pico i.MX7D
1 ←入力
You chose Raspberry Pi 3.

Setting up required tools...
Fetching additional configuration...
Downloading platform tools...
5.45 MB/5.45 MB
Unzipping platform tools...
Finished setting up required tools.

Raspberry Pi 3
Do you want to use the default image or a custom image?
1 - Default image: Used for development purposes. No access to the Android
Things Console features such as metrics, crash reports, and OTA updates.
2 - Custom image: Upload your custom image for full device development and
management with all Android Things Console features.
2 ←入力
Please enter the absolute path to the zip file containing your image:
/Volumes/atforrp ←入力
Unzipping image...
Error: error unzipping image: error opening zip file: zip: not a valid zip file
Stopping adb server...
Stopped adb server...

If you are having trouble using the Setup Utility, please file a ticket at
https://issuetracker.google.com/issues/new?component=192720.


Press [Enter] to quit.
はい失敗。
「1 - Default image:」の方を選べばいいのかなぁ。。違いがよくわからない。
Do you want to use the default image or a custom image?
1 - Default image: Used for development purposes. No access to the Android
Things Console features such as metrics, crash reports, and OTA updates.
2 - Custom image: Upload your custom image for full device development and
management with all Android Things Console features.
1 ←入力
Downloading Android Things image...
331 MB/331 MB
Unzipping image...

Downloading Etcher-cli, a tool to flash your SD card...
20.5 MB/20.5 MB
Unzipping Etcher-cli...

Plug the SD card into your computer. Press [Enter] when ready
← SDカードを読み込みリーダーにさして、それをMacのUSBポートにさしてから、エンター

Running Etcher-cli...
? Select drive /dev/disk2 (7.8 GB) - SD/MMC ←上下キーで選ぶ
? This will erase the selected drive. Are you sure? ←Y
Flashing [========================] 100% eta 0s
Validating [========================] 100% eta 0s
iot_rpi3.img was successfully written to SD/MMC (/dev/disk2)
Checksum: e41d659a

If you have successfully installed Android Things on your SD card, you can now
put the SD card into the Raspberry Pi and power it up. Otherwise you can abort
and run the tool again.

Would you like to set up Wi-Fi on this device? (y/n)
SDカードへのイメージの書き込みは無事終了。
Raspberry Pi3をAndroid Thingsで起動
MacのAndroid Thingsのコマンドラインツールはこの状態で残したまま、
SDカードをMacから外し、Raspberri Pi3に入れる。
ラズパイからHDMI-DVI変換ケーブルで、
家に転がっていた古い19インチモニターにつなぎ、
電源も繋ぐ。
すると画面にロゴが表示された。
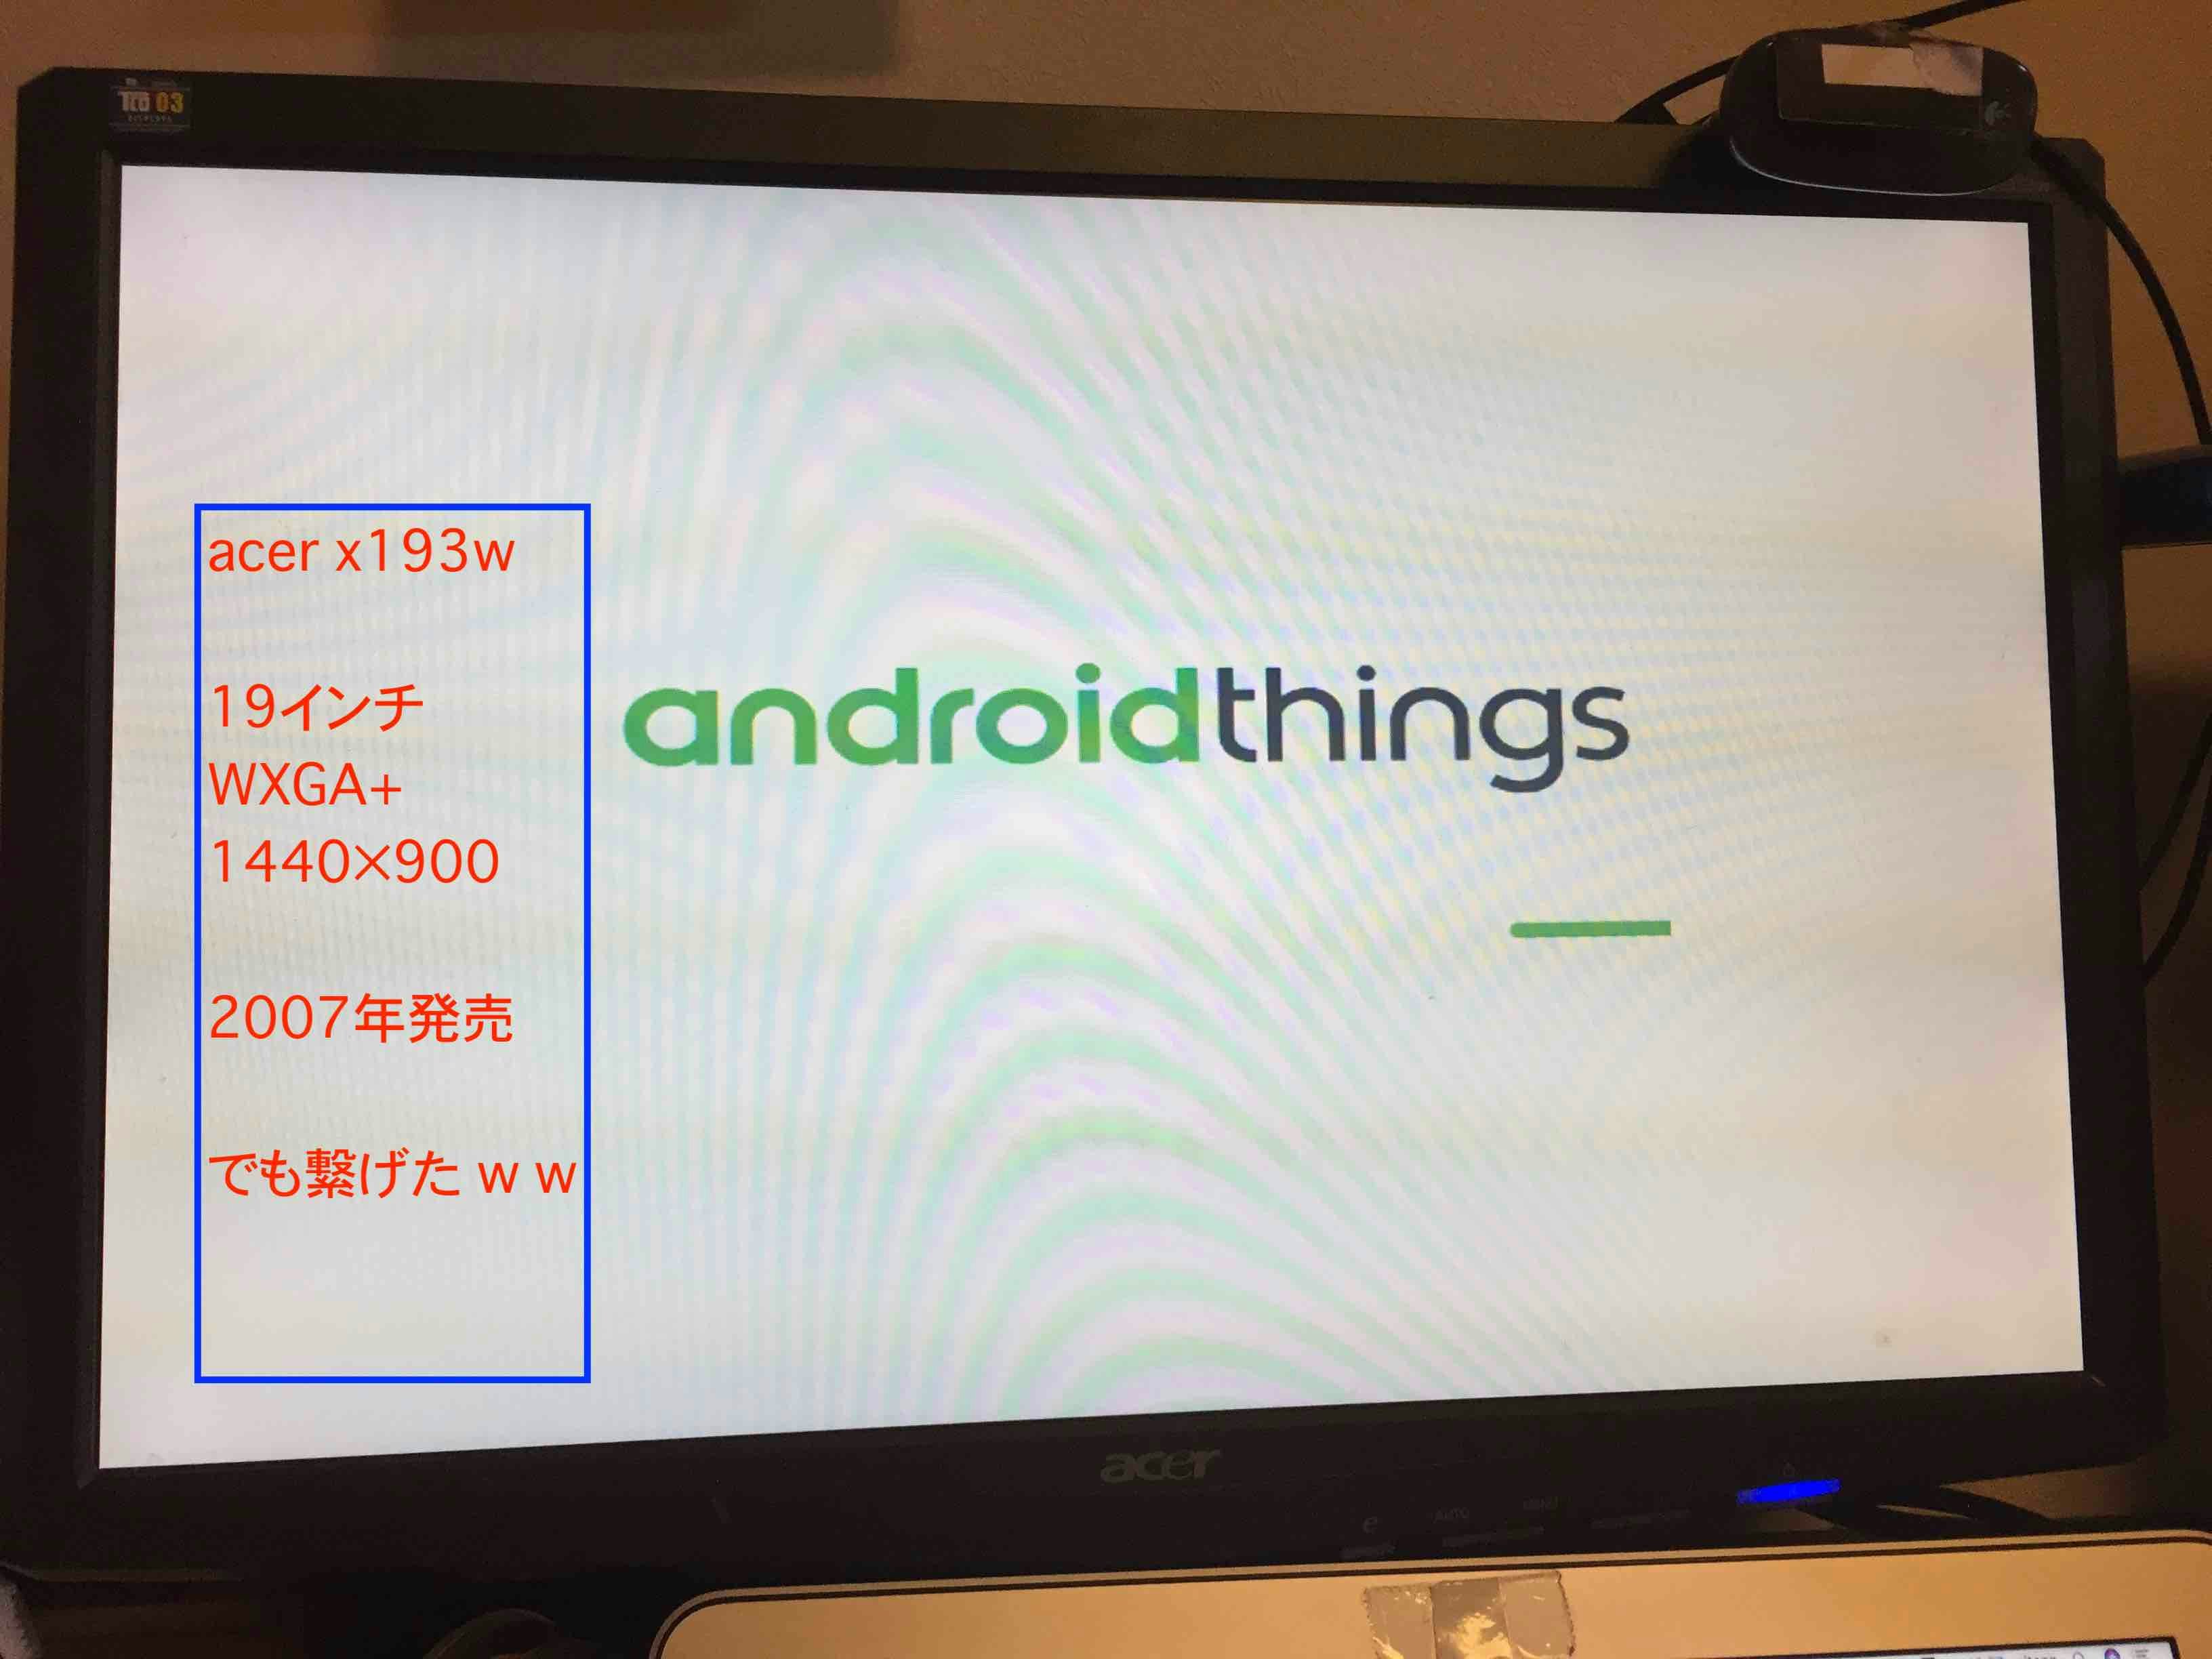
やったね!
Mac上のAndroid Thingsのコマンドラインツールに戻る。
Please plug your Raspberry Pi to your router with an Ethernet cable, then press [Enter].
よく見たら、Ethernet cableと書いてあることに気づき、あわててケーブルを探してルーターとRaspberry pi3をつなぐ。
しかし部屋の反対側にしかケーブルが届かなかったので、一度Raspberry Pi3を電源から抜いて、そちらに持ってって電源を繋ぎなおした。
狭い家だけど、Ethercableはそれより短かったのだ。
再度、Mac上のAndroid Thingsのコマンドラインツールに戻り、続き。
Please plug your Raspberry Pi to your router with an Ethernet cable, then press [Enter].
エンターを押す。
Wi-fiのSSID、パスワードを記入する。
しばらくログを吐き出しながら頑張っていたが、10秒くらいで、WifiSetupService: onDestroyというメッセージが出て終了してしまった。
面倒臭そうなので、いったんWiFi接続はおいといて、その他を進める。
いよいよ Raspberry PiのAndroid Thingsに接続する
IPアドレスがわからないと接続できない。IPアドレスを調べるには、Raspberry Pi3を外部モニターに繋がなければならない。
モデムの横にモニターを持ってくのが面倒だったので、不本意ながら、モデムのすぐ脇にあった46インチのブラビアにHDMIケーブルで接続する。
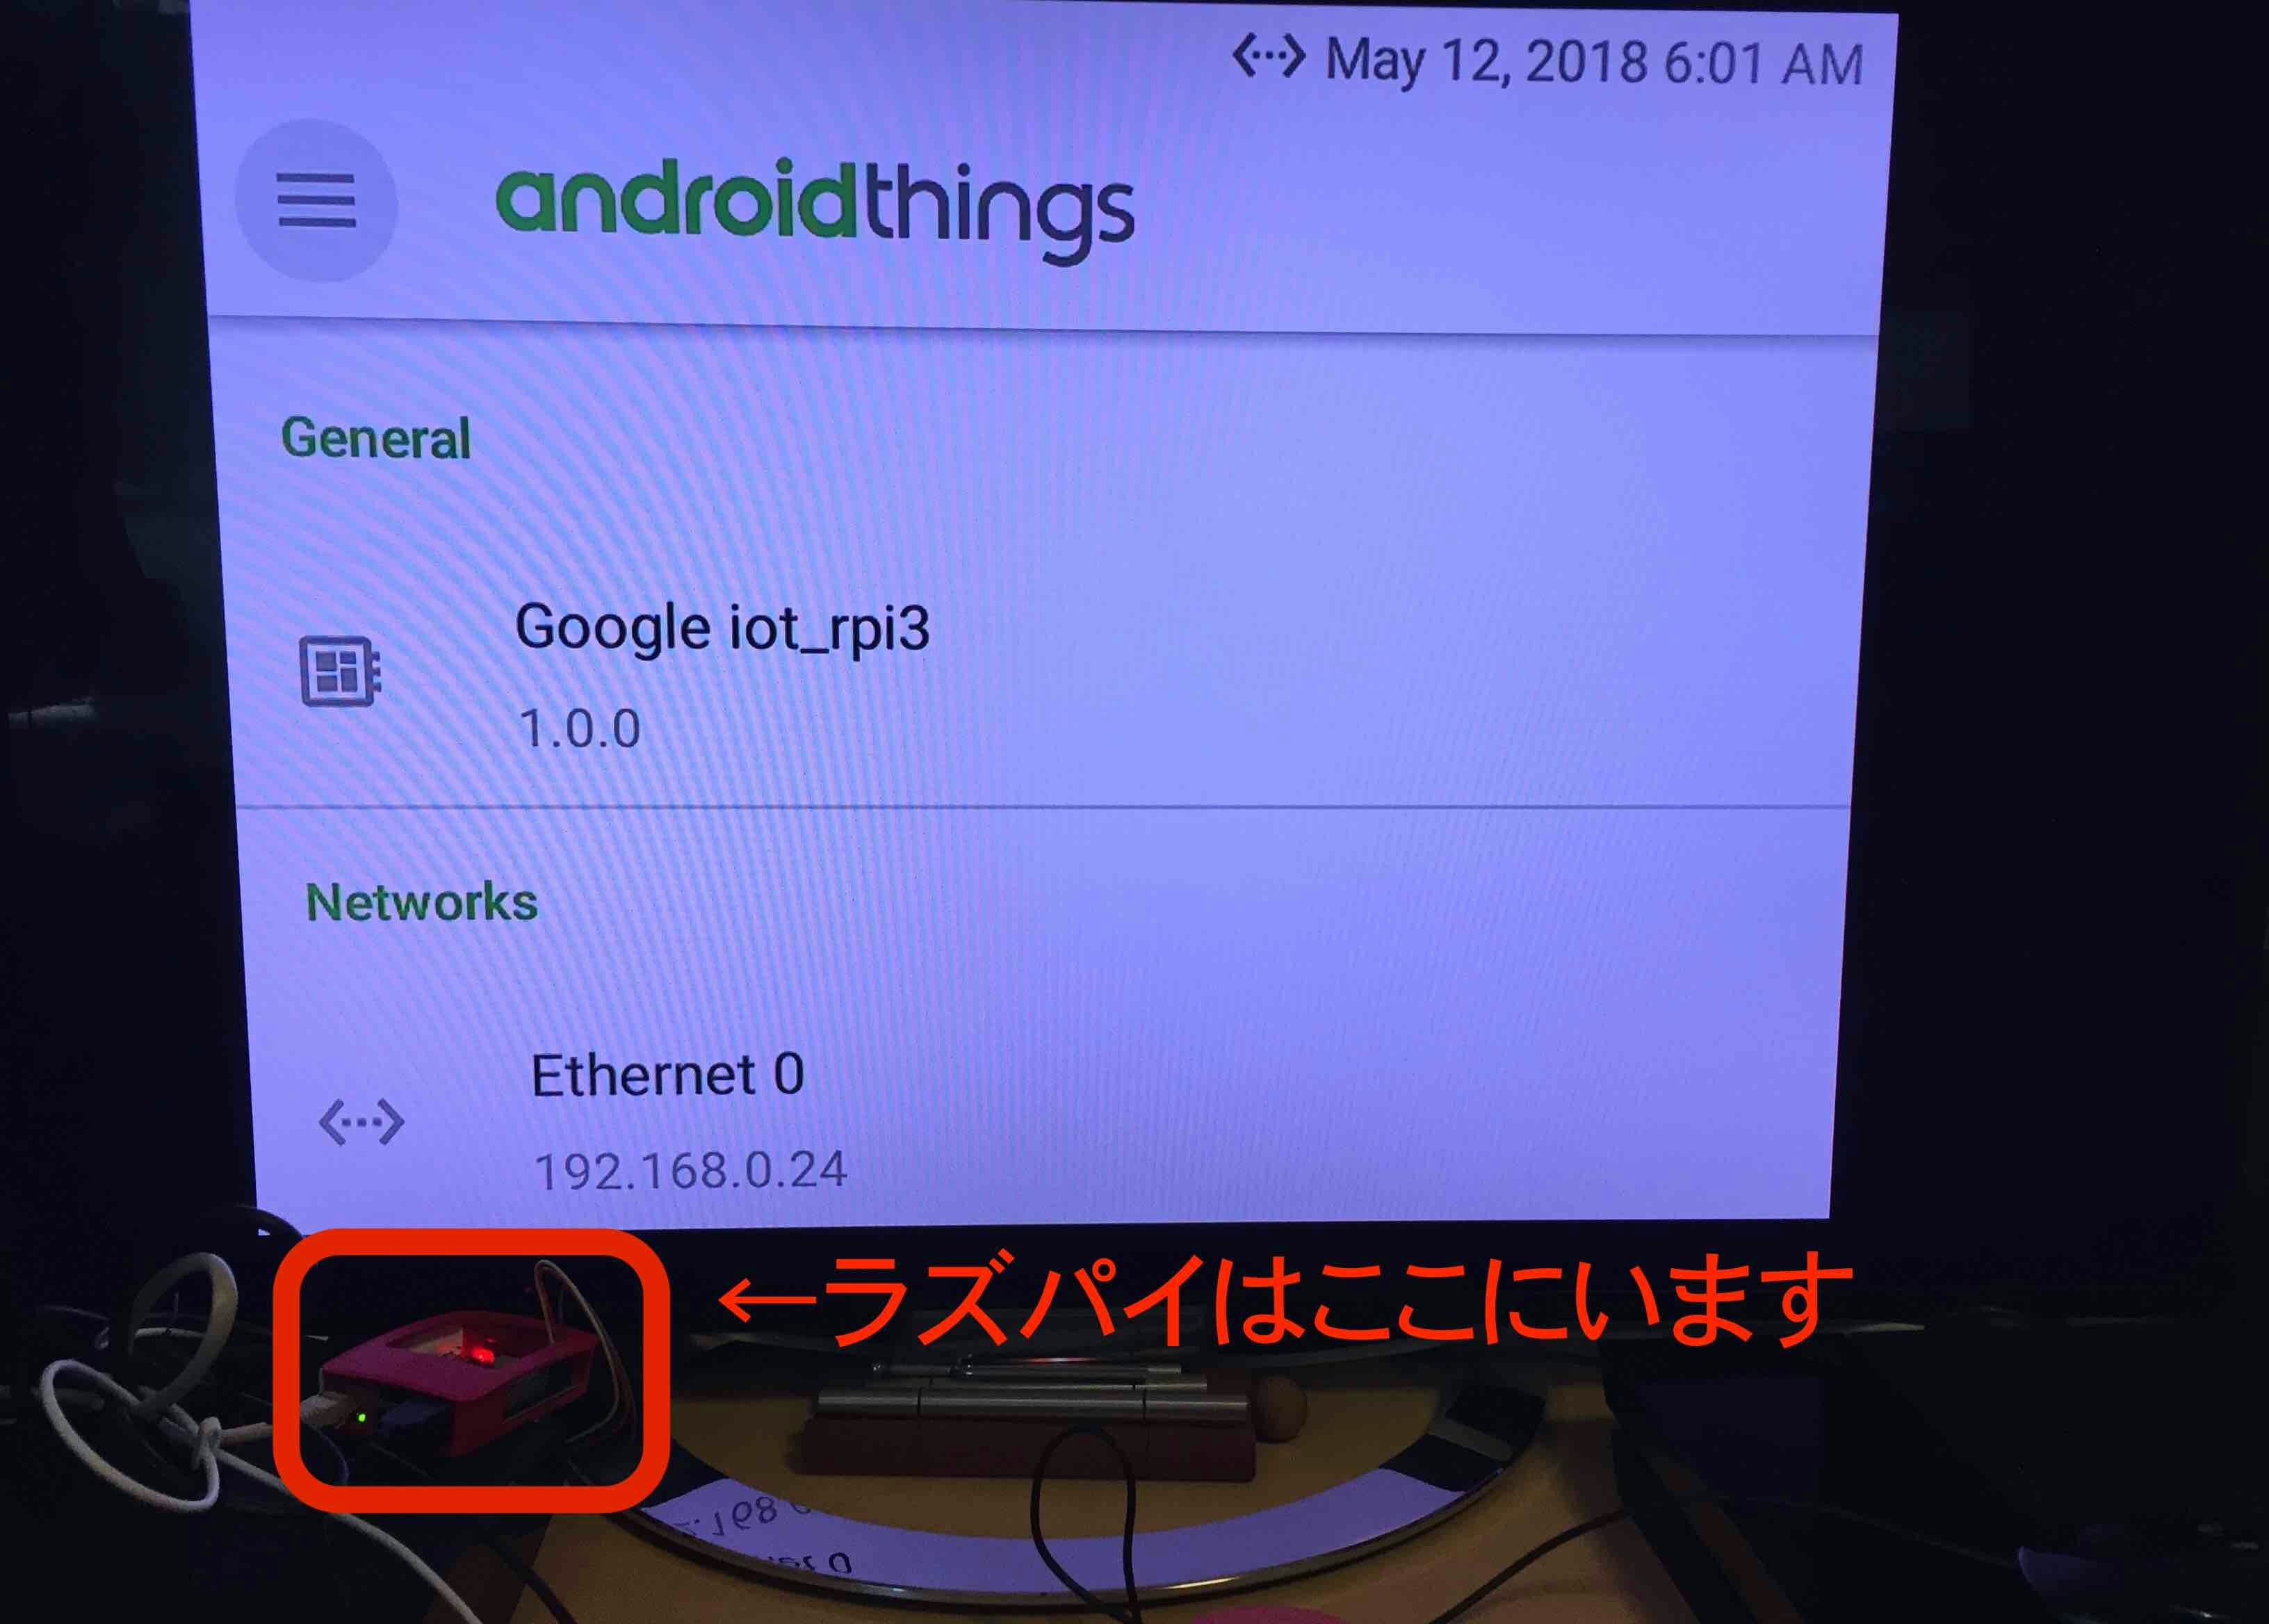
でけえ!
それはさておき、ちゃんと、Android Thingsのメニューと、IPアドレスが表示されたのはめでたい。ネットワークに繋がったことがわかった。
このIPアドレスに対して、Macからadbツールをつかって接続する。
(あらかじめAndoid Studioをインストールしておく。)
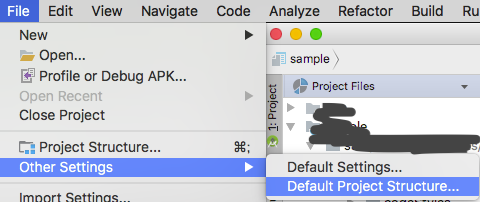
adbのパスは、Android StudioのGUIを起動して調べることができる。
File > Other Settings > Default Product Structure...
.bash_profileに書いても良いけど、あまりMacのはいじりたくないので、フルパスで呼び出す。
$  /Users/sitopp/Library/Android/sdk/platform-tools/adb connect 192,168.0.24
* daemon not running; starting now at tcp:5037
* daemon started successfully
unable to connect to 192,168.0.24:5555: nodename nor servname provided, or not known
あっ、IPアドレス書き間違えた。もう一度。
$ /Users/sitopp/Library/Android/sdk/platform-tools/adb connect 192.168.0.24
connected to 192.168.0.24:5555
しーん
接続できたっぽい。
プロンプトとかは、出ない。
adbなので、USBケーブルで繋いだAndroid端末に接続できたようなものか。
感想
同じネットワーク上じゃないと入れないという制限はあるが、
鍵の取り交わしとか何にもしてないから、同じ学校とか工場とかのネットワーク上のAndroid Thingsに、
IPアドレスさえわかれば、誰でもログインできるんじゃないかな?
それとも、SDカードにOSイメージを焼いたMacでしか接続できないようになってるとか。。まさかそんな(^^;)
Android Things用のアプリを作って公開するなら、Androidスマホと同じで、あっさり盗まれる前提で、ローカルには重要なものを保存しないとか、お金にかかわるものは全部サーバサイドでやるとか、どうしてもローカルに置かなきゃならんものは暗号化しとくとか、そういう配慮は必要かもしんない。
以上です!