お手軽にCI/CDを作成できるらしいAutomated deployment for GKEを試してみました。
https://cloud.google.com/blog/products/application-development/automated-deployment-pipelines-come-to-gke
手順
- Kubernetesクラスタを作成する
- Kubernetesクラスタにデプロイする
- Automated deploymentを作成する
- テストする
1. Kubernetesクラスタを作成する
Automated deploymentの手順の中で作成できる新規クラスタは、なぜかContainer Registry(=Cloud Storage)へのリード権限がないので、docker pullでこけてデプロイに失敗します。
上記を回避するために
NODE POOLS - default-pool - Security - StorateがRead Only
になっていることを確認して、Cloud Storageのリード権限を持ったクラスタをあらかじめ作成しておきます。

2. Kubernetesクラスタにデプロイする
2-1. nginxのサンプルのDockerfileをgithubのリポジトリにpushする
FROM nginx:latest

COPY index.html /usr/share/nginx/html
index.html
<!DOCTYPE html>
<html>
<head>
<title>Welcome to nginx!</title>
</head>
<body>
<h1>Welcome to nginx!</h1>
・・・
</body>
</html>
2-2. githugのリポジトリをソースに指定してデプロイする

VIEW YAMLのコピペからkubernetes/nginx.ymlファイルを作成後pushしてから次へ進みます。
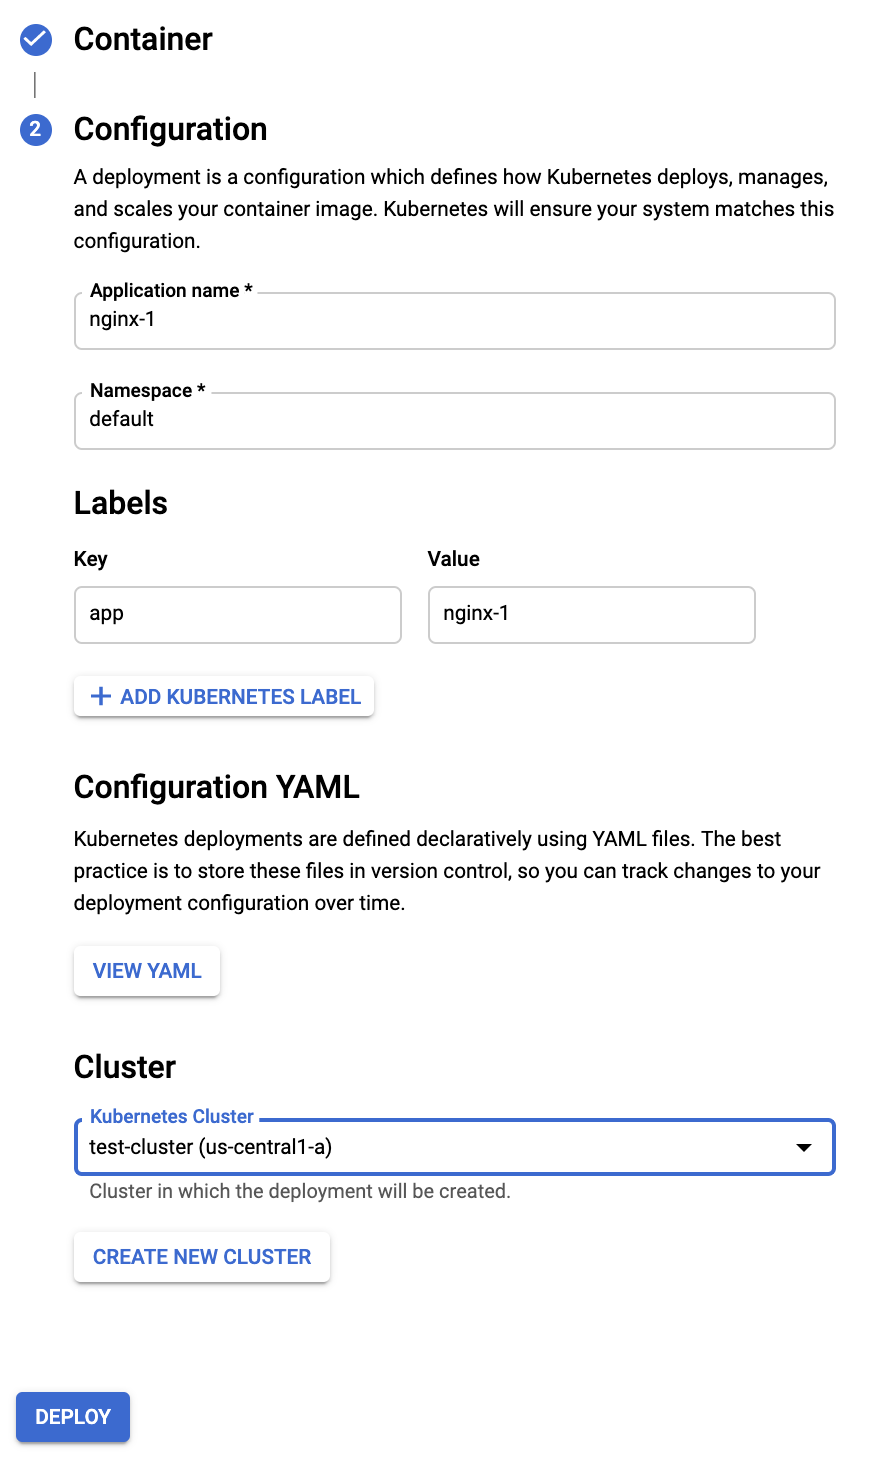
2-3. デプロイ後の画面

3. Automated deploymentを作成する
3-1. Automated deploymentの作成を開始する

3-2. Automated deploymentを設定する


GOOGLE-RECOMMENDED YAMLをkubernetes/nginx.ymlにコピペ後pushしてから次へ進みます。

設定が完了するとデプロイが開始されます。

4. テストする
index.htmlを更新してpushすると自動デプロイされます。

感想
- Automated deployment作成中に新規に作成するクラスタがCloud Storagのリード権限がなくimageのpullが出来ずにデプロイが失敗するところでかなりハマりました。
- まだ細かな設定ができない感じ。また「Multi-container workloads are not supported」だそうで、これからの改善に期待です。