実行環境
【Xcode】Version 9.2
【Swift】Version 4.0.3
概要
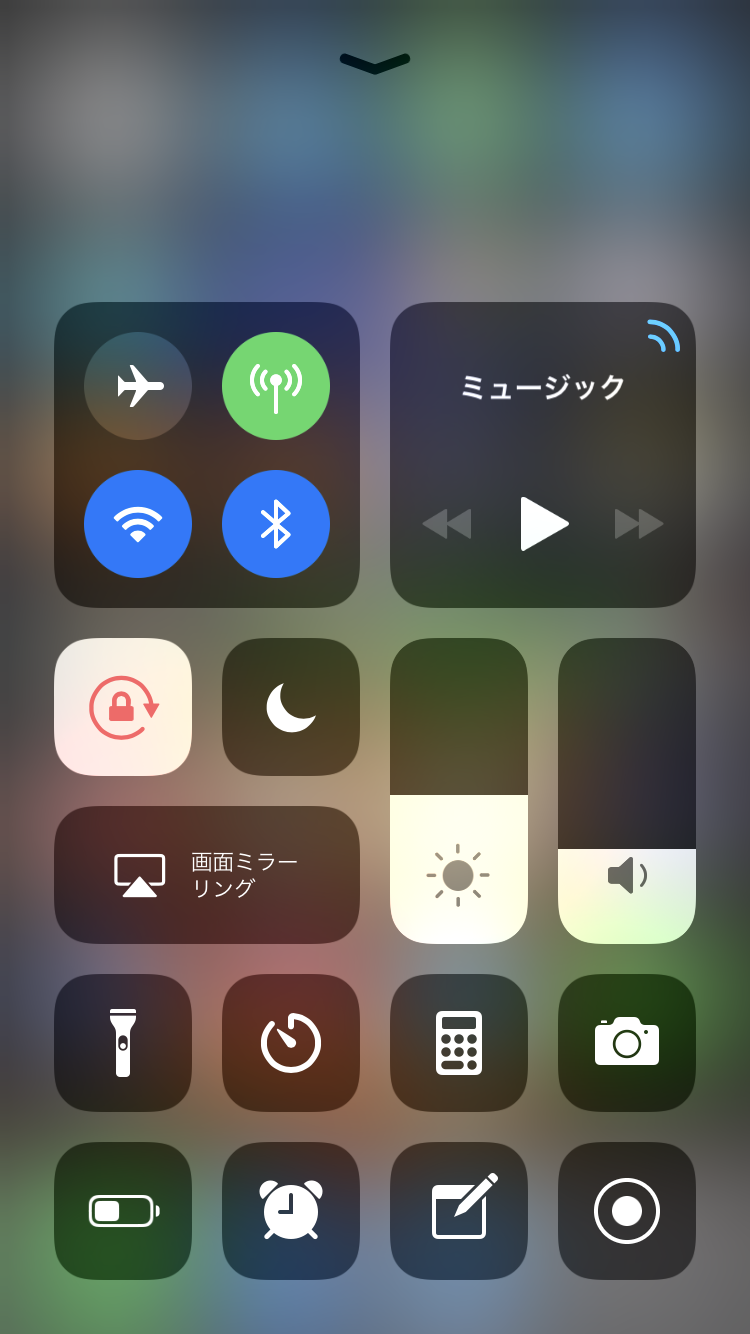
通知センターやパスコード入力画面でよく見かける背景がぼけてる感じのあの効果です。
実装
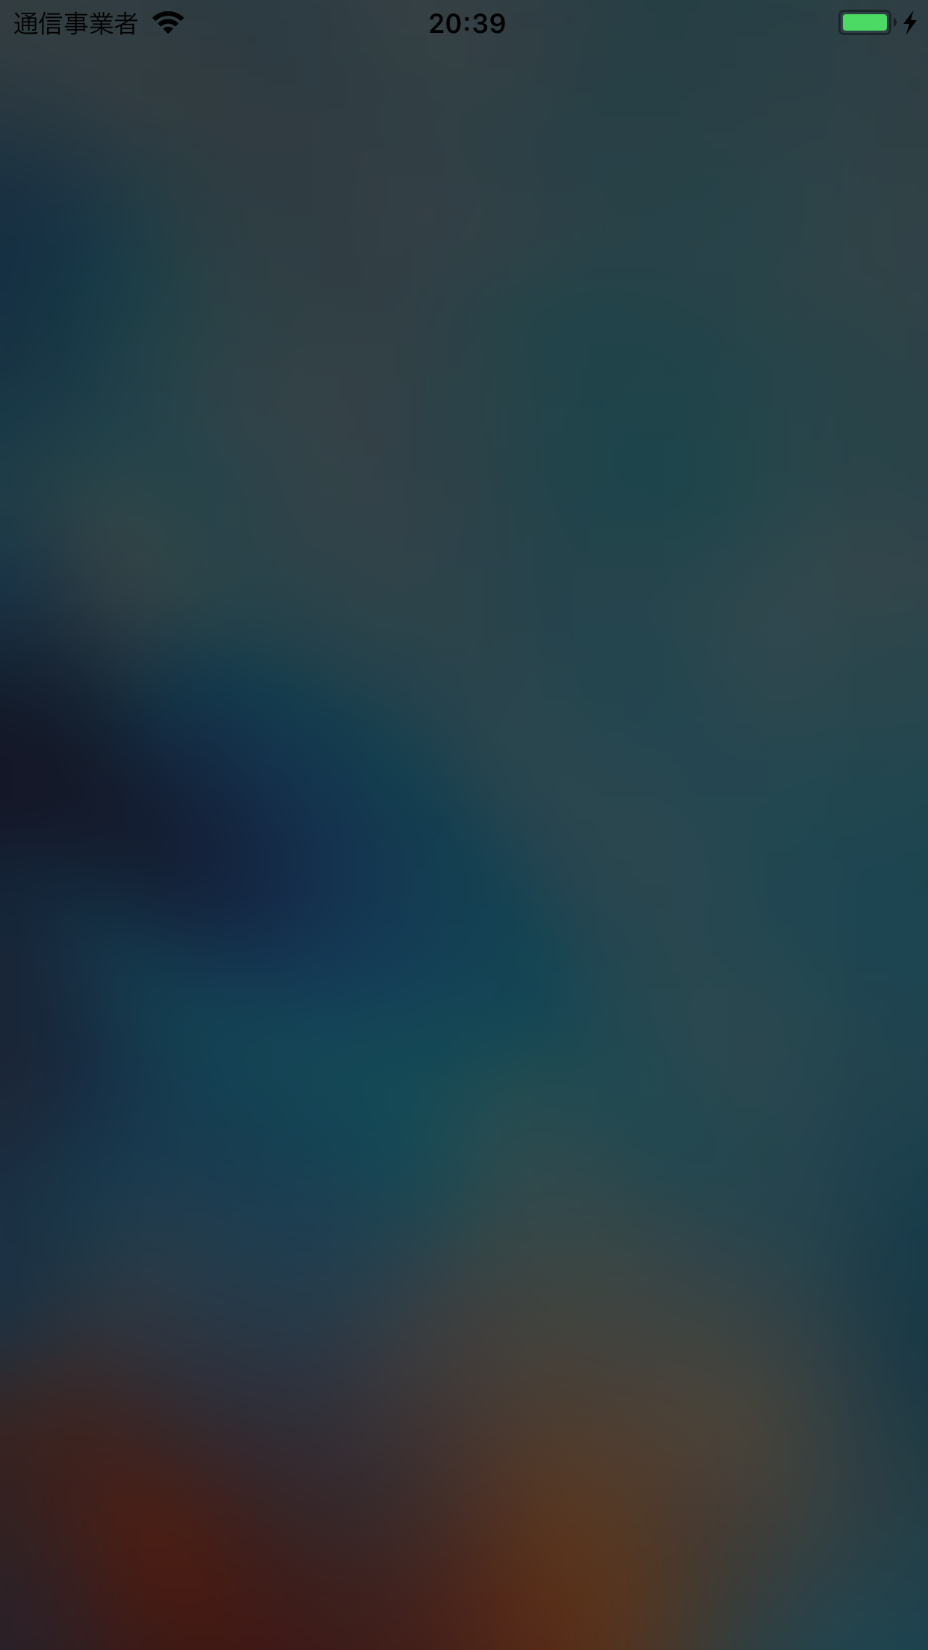
今回は、iOS8から実装されたUIBlurEffectを使って実装します。
まず、画面サイズと同じ背景をUIimageを使ってセットしておきます。

次に、ブラーエフェクトを施したエフェクトビューを画像の上に重ねます。
ViewController.swift
override func viewDidLoad() {
    super.viewDidLoad()

    // ブラーエフェクトを作成
    let blurEffect = UIBlurEffect(style: .dark)

    // ブラーエフェクトからエフェクトビューを作成
    let visualEffectView = UIVisualEffectView(effect: blurEffect)

    // エフェクトビューのサイズを画面に合わせる
    visualEffectView.frame = self.view.frame

    // エフェクトビューを初期viewに追加
    self.view.addSubview(visualEffectView)
}
以上のコードだけでぼかし効果を追加できます。簡単ですね!
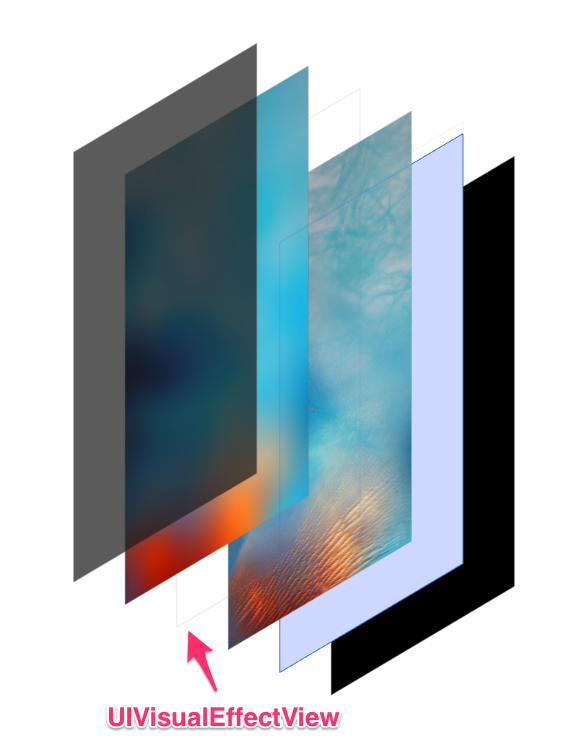
ちなみに、レイヤーはこんな感じです。
UIBlurEffectのスタイル
UIBlurEffectのスタイルは以下の3つがあります。
extraLight

light

dark
おまけ
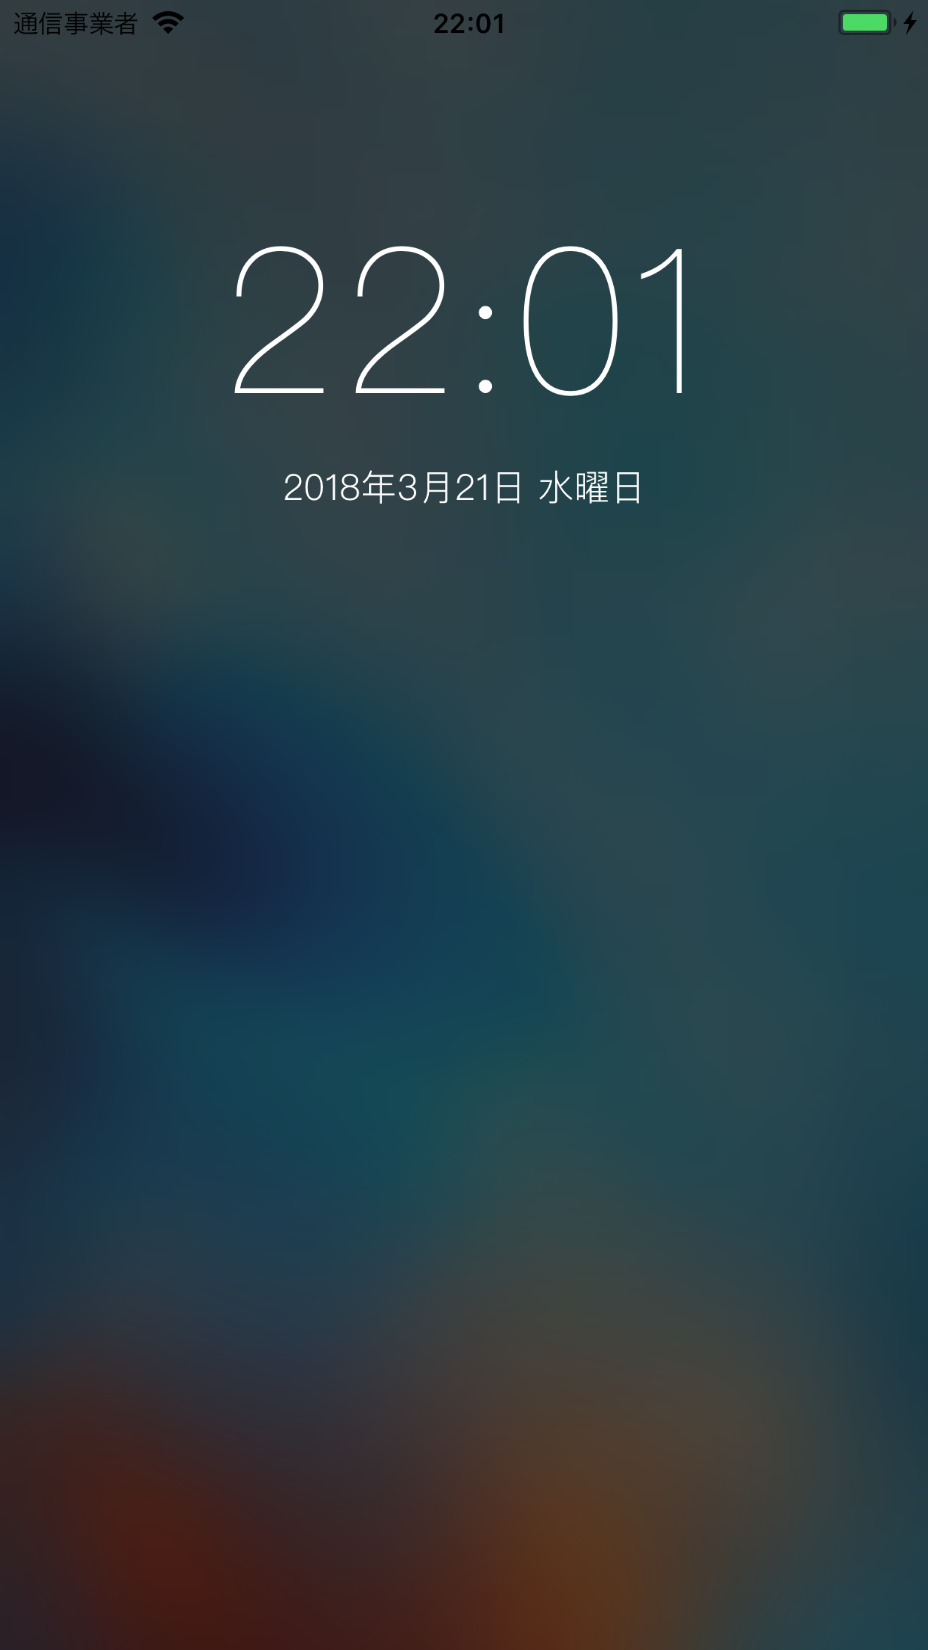
現在時間と日付を追加して、通知センターぽくしてみる。
ViewController.swift
override func viewDidLoad() {
    super.viewDidLoad()

    // ブラーエフェクトを作成
    let blurEffect = UIBlurEffect(style: .dark)

    // ブラーエフェクトからエフェクトビューを作成
    let visualEffectView = UIVisualEffectView(effect: blurEffect)

    // エフェクトビューをviewに追加する
    visualEffectView.frame = self.view.frame
    self.view.addSubview(visualEffectView)

    // 時間を設定
    let now = Date()
    let timeFormat = DateFormatter()
    timeFormat.timeStyle = .short
    timeFormat.locale = Locale(identifier: "ja_JP")

    // 時間を追加
    let timeLabel = UILabel()
    timeLabel.textColor = UIColor.white
    timeLabel.font = UIFont(name: "PingFangHK-Ultralight", size: 90)
    timeLabel.text = timeFormat.string(from: now)
    timeLabel.sizeToFit()
    timeLabel.frame.origin.y = 80.0
    timeLabel.center.x = self.view.center.x
    self.view.addSubview(timeLabel)

    // 日付を設定
    let dateFormat = DateFormatter()
    dateFormat.dateStyle = .full
    dateFormat.locale = Locale(identifier: "ja_JP")

    // 日付を追加
    let dateLabel = UILabel()
    dateLabel.textColor = UIColor.white
    dateLabel.font = UIFont(name: "PingFangHK-Light", size: 16)
    dateLabel.text = dateFormat.string(from: now)
    dateLabel.sizeToFit()
    dateLabel.frame.origin.y = timeLabel.frame.maxY
    dateLabel.center.x = self.view.center.x
    self.view.addSubview(dateLabel)
}